I’ve not been doing any serious modelling lately but have been assembling some FW190s in 1.48.
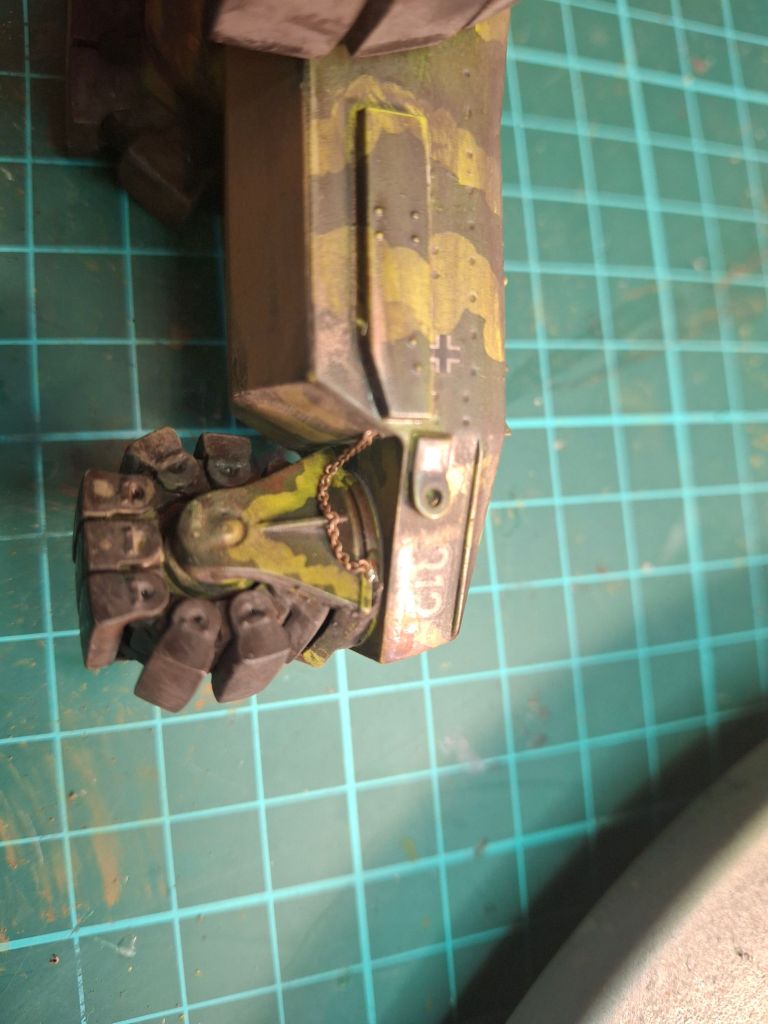
I bought a Eduard FW 190 kit that contains multiple bodies etc to make two full kits. I tried to sell it a few years back with no luck. Further research later showed that this kit had a reputation for bad fit and yes they are right.
As I need a few new paint mules with most of them more than five years old this seemed an ideal way to use them.
They still need some cleanup as I only took minimum care with assembly as I quickly saw that fit was a major issue.
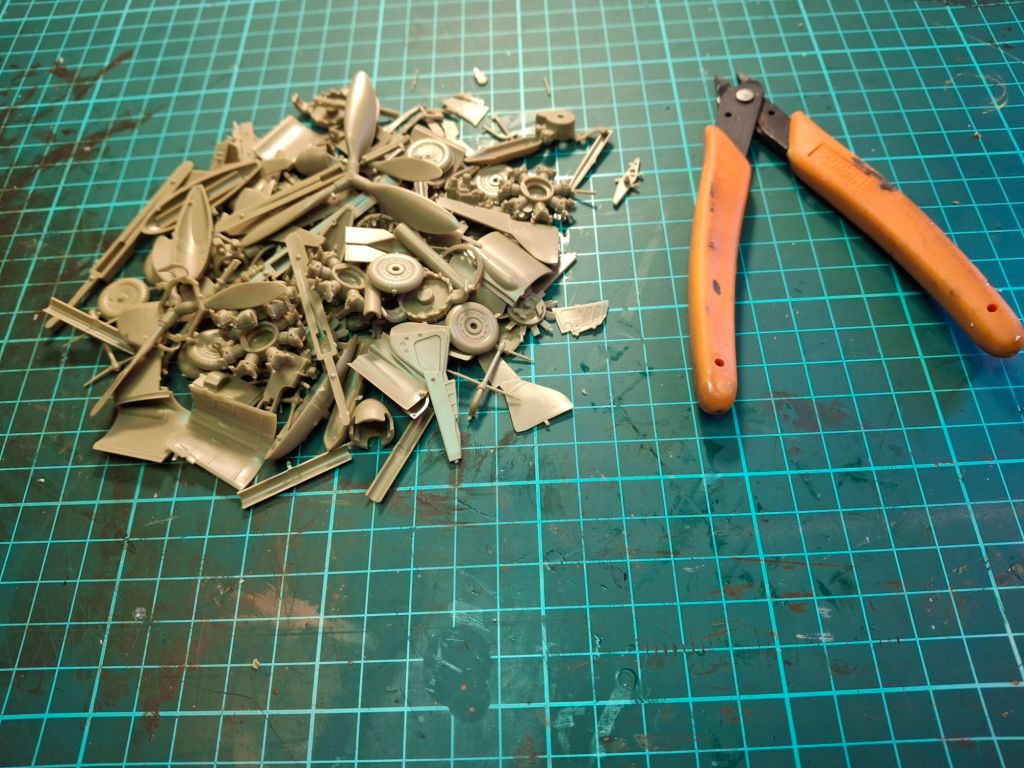
Once I’d done all these I went through the sprues and took off anything I thought I could use along with throwing the etched brass in the FW 189 box and the decals in my usual folder.
These will go in the spares drawers. I know that this is controversial in some areas of modelling but I suspect that those people only build Tamigawa kits and have never needed to fabricate a replacement part including one lost to the carpet monster.
Not much actual done. I’ve been futzing around on the old Revell 1.32 Hawker Typhoon I last built 50 years ago but still working on the engine which needs a bit of work.
I’ve got a side project of packing up and cataloguing my rather large book collection. This is in part so some painting can be done which will eventually lead to me getting an indoor modelling room some time this year. This will make modelling in winter and summer a lot more pleasant and with the shelving will allow me to have my modelling books close at hand.
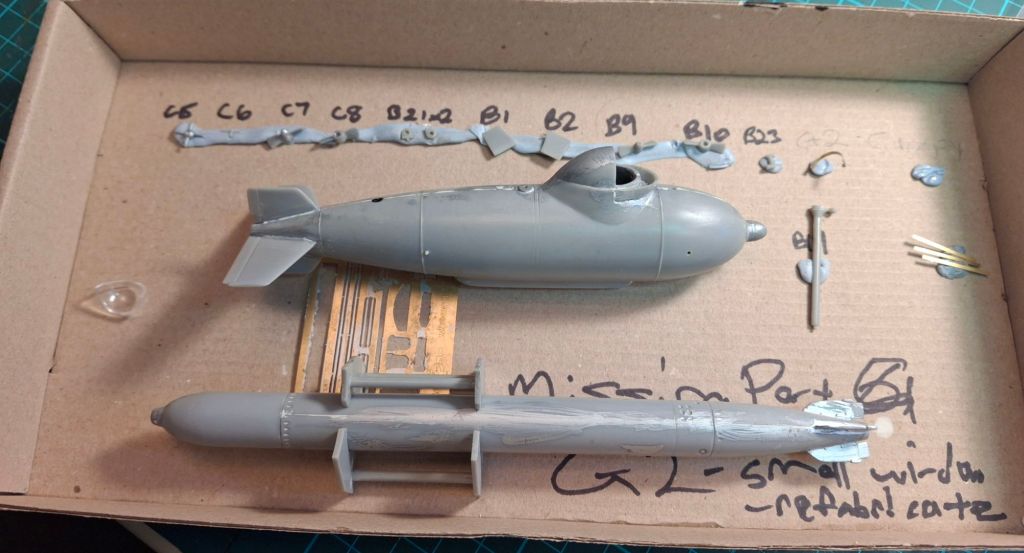
I also acquired this kit for the princely sum of $16 including postage. I’m planning on getting it to hover and the device to do that will cost over $70 but should look good.
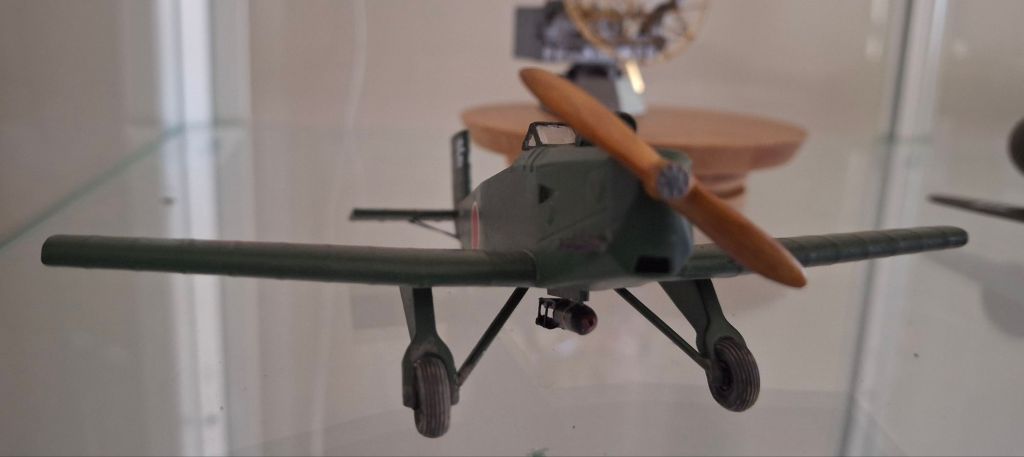
Well I finished the last 0.2% on the TaGo today including the wooden prop kindly painted by a friend. Quite happy with the result. Yes there are a number of things that aren’t so good but fortunately most people won’t spot them.
The new year brings new projects which I’ll start tomorrow after the traditional desk cleanup(s).
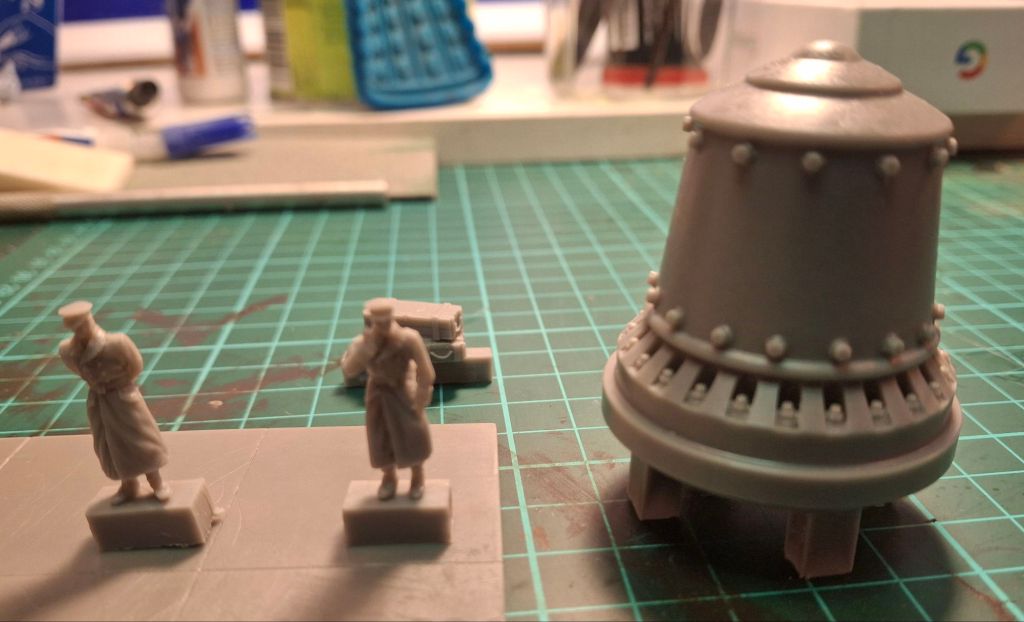
Hint – one will be a kit I did 50 years ago and lost as I moved houses and another is a secret silly project.
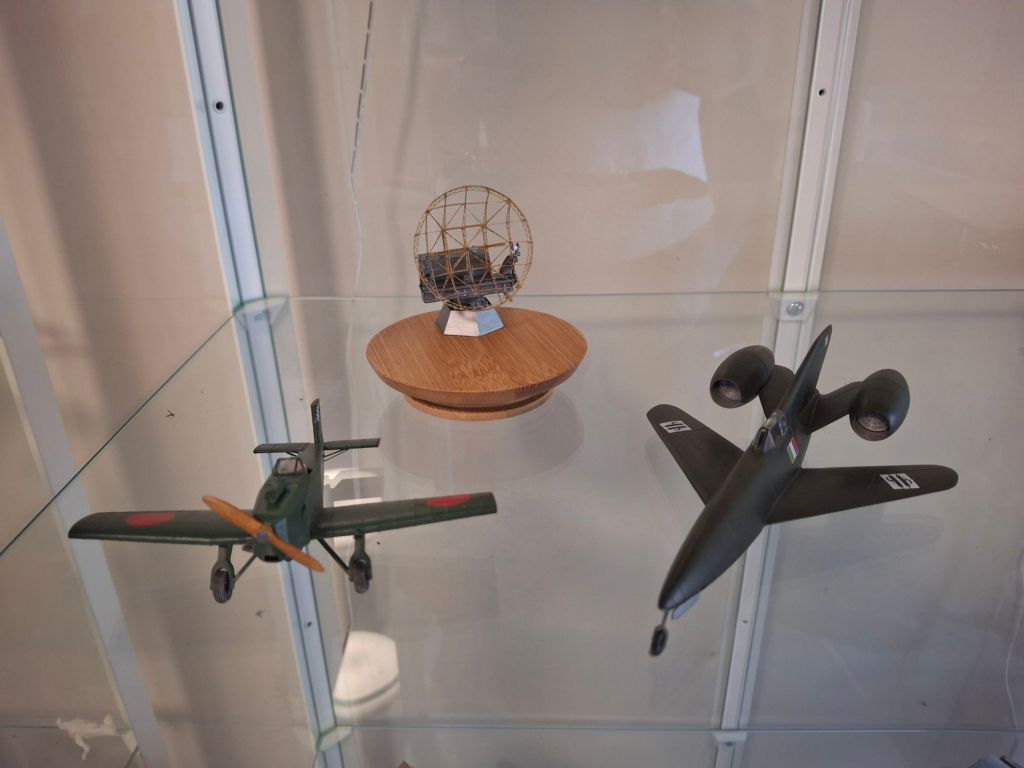
And lastly all three for 2024 together – I was surprised how big and agricultural the TaGo really is.
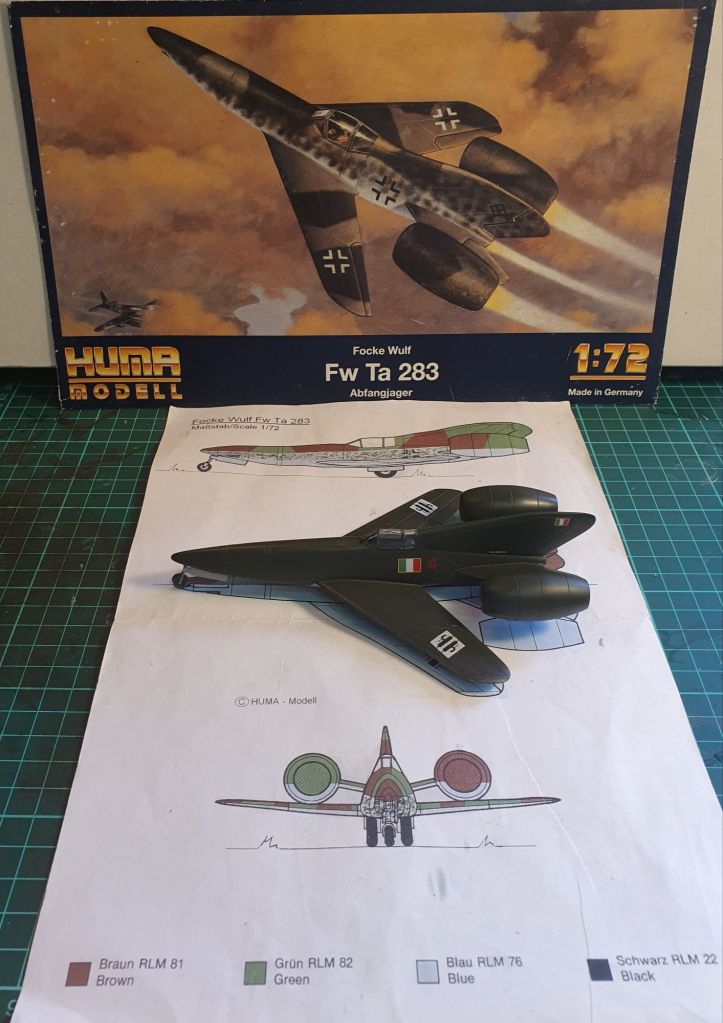
This has been a good year from a modelling perspective with 2.98 models completed. I’m not going to get the TaGo over the line unfortunately but I will be counting it in the 2024 total.
I could possibly do it but rushing it will mean it is more likely to be messed up than completed. I’ve only got the tail skid and propeller to add.
The exhausts and one undercarriage strut need to set up overnight and a little touch up around these and the canopy will be needed tomorrow. I may add a little more weathering powder if warranted also.
Completed kits 2024
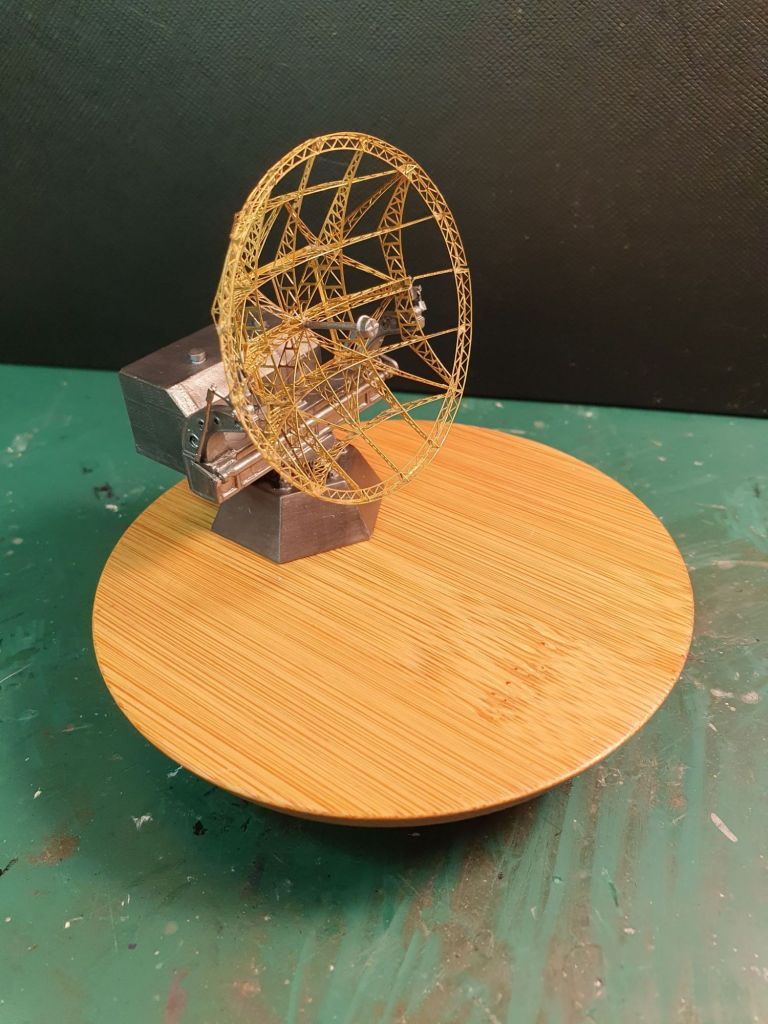
Wurzberg radar 1.144
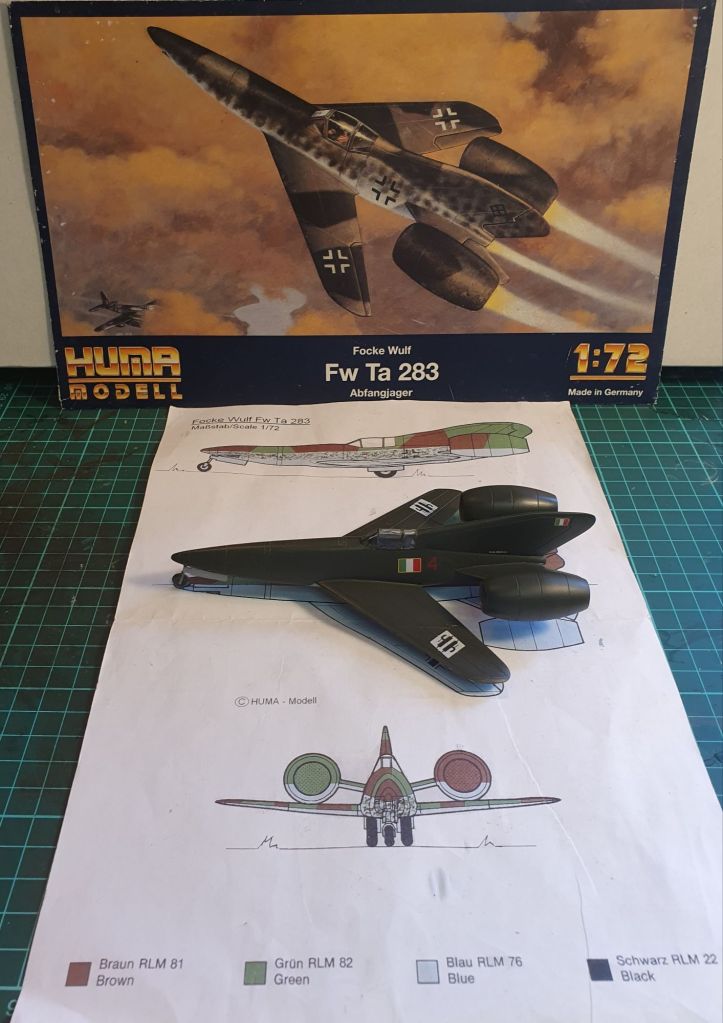
Huma Fw Ta 283
And almost done TaGoAnd my latest book finished which related to the TaGo This one has beaten me for the moment and may return next year. Getting the fuselage sorted is a major hassle.And lastly wise words on my language
I rattle can sprayed the TaGo with Tamiya IJA green over my usual primer which looked fine. Unfortunately a ghost seam along the back half of the top of the fuselage showed up. I’ve heard of this problem but never seen it. Next step was to sand it today in preparation for another coat.
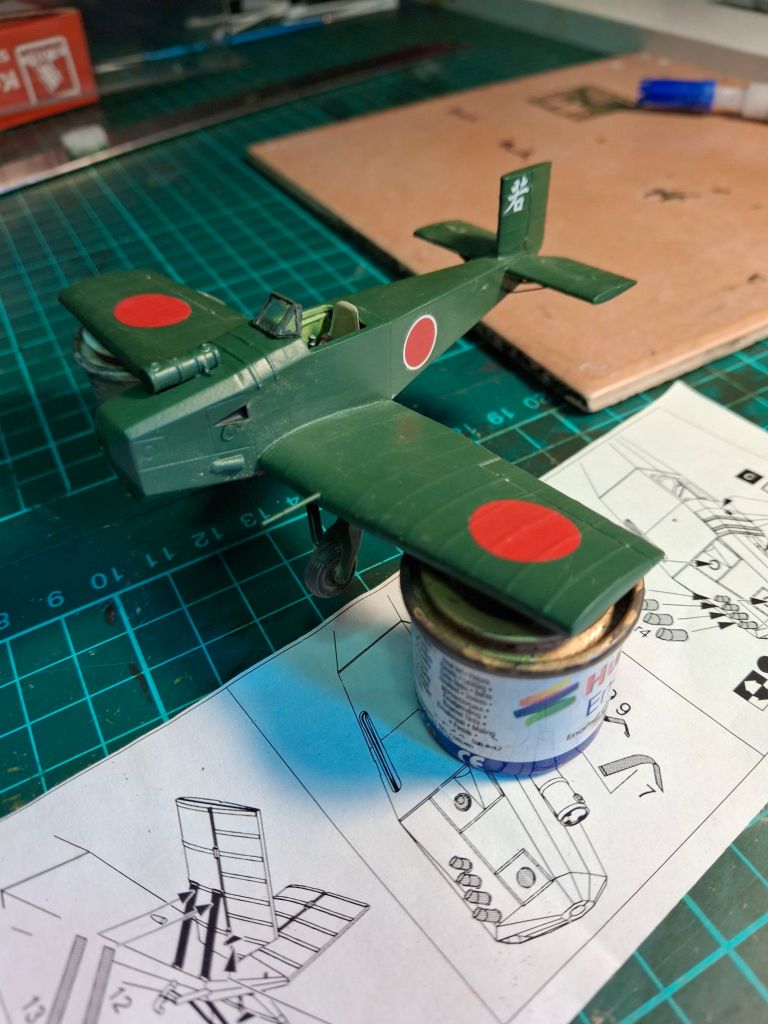
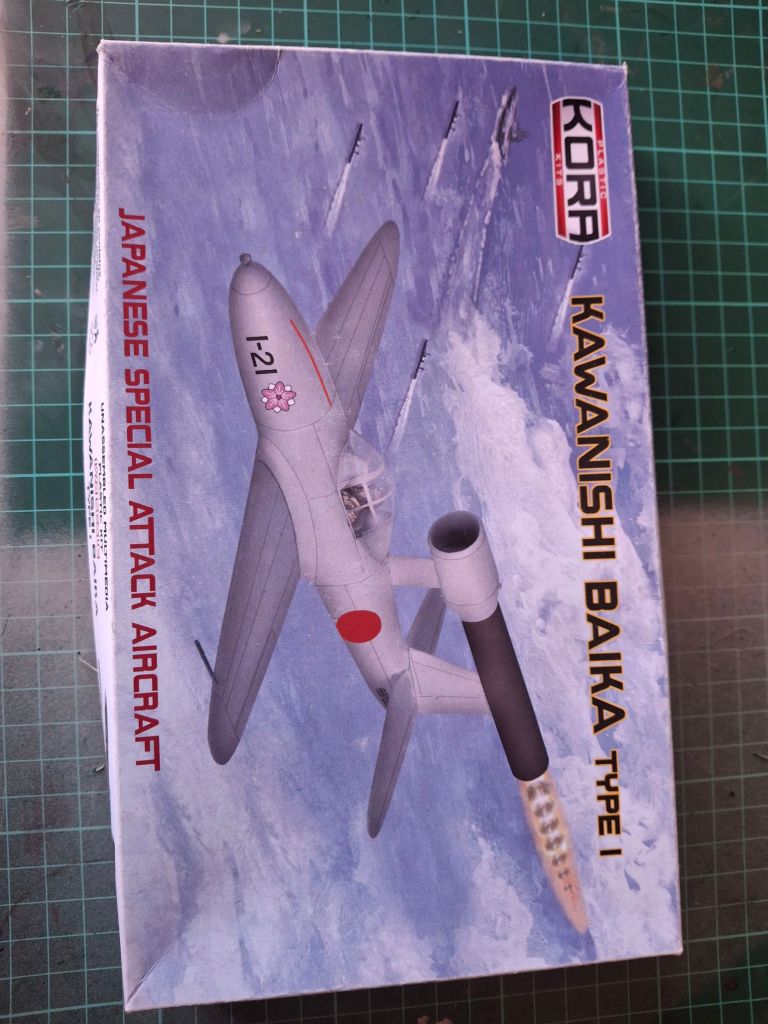
Hopefully I’ll get to this soon. I’m also working on the Kora Baka I but being limited run I’m still fighting to get the fuselage halves together. More fettling and Milliput to go. This is at the top of the picture below.
Below are some recent book acquisitions via EBAY.
Given my kids have left I’m now removing all the stickers we foolishly allowed them to put up in their wardrobes. After 15 plus years they are certainly stuck on.
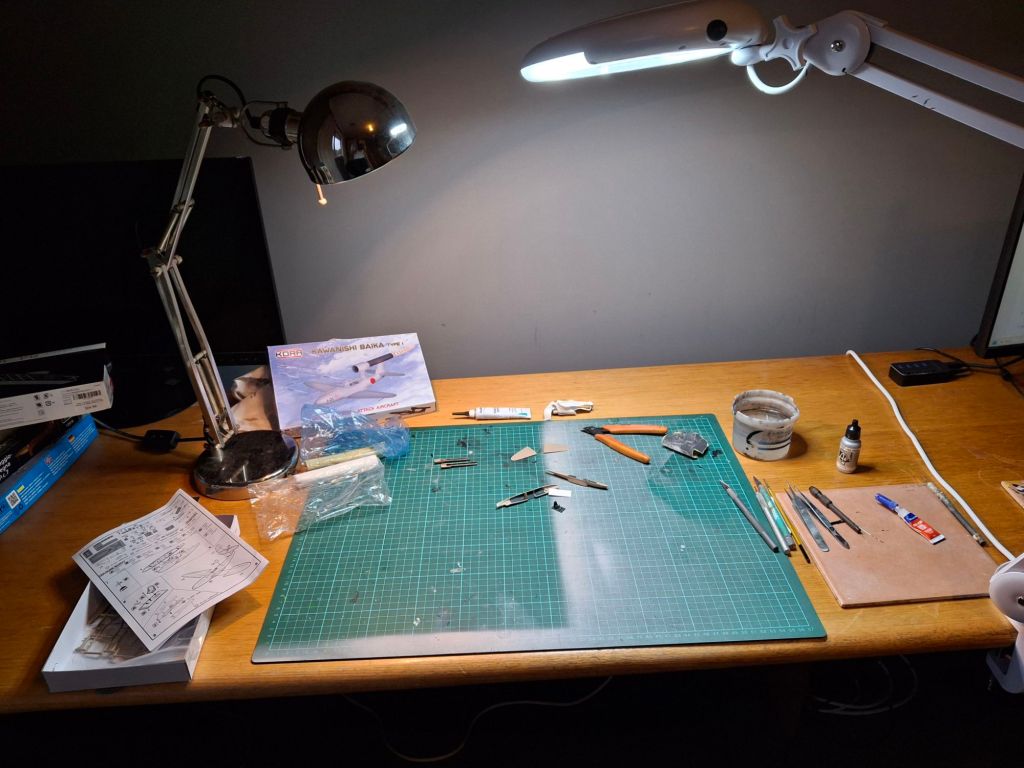
I’m temporarily moving upstairs to escape the worst of summer here in Australia. Eventually I will get something I have rarely had in 50 plus years of modelling and that will be an indoor area. Even better than a shared laundry/workshop space is it will be just a modelling area only.
New upstairs space with aircon
This won’t occur until later next year but with a new wall and doors installed I will have my own room with air-conditioning.
The above is the current configuration to be replaced by a sit to stand desk where the current one is with doors to the right and a wall to go in the open space this photo was taken from.
In front of the wall will be storage cupboards mostly for modelling supplies and some kits. There will only be very limited hand painting to occur here with the airbrushing to continue in my garage spray booth. The display cabinets will stay as is and a reading chair will be added.
Upstairs the Baka 1 is being worked on and in the garage the TaGo will continue when the weather improves.
The above is a result of the last of my children leaving home slightly earlier than expected.
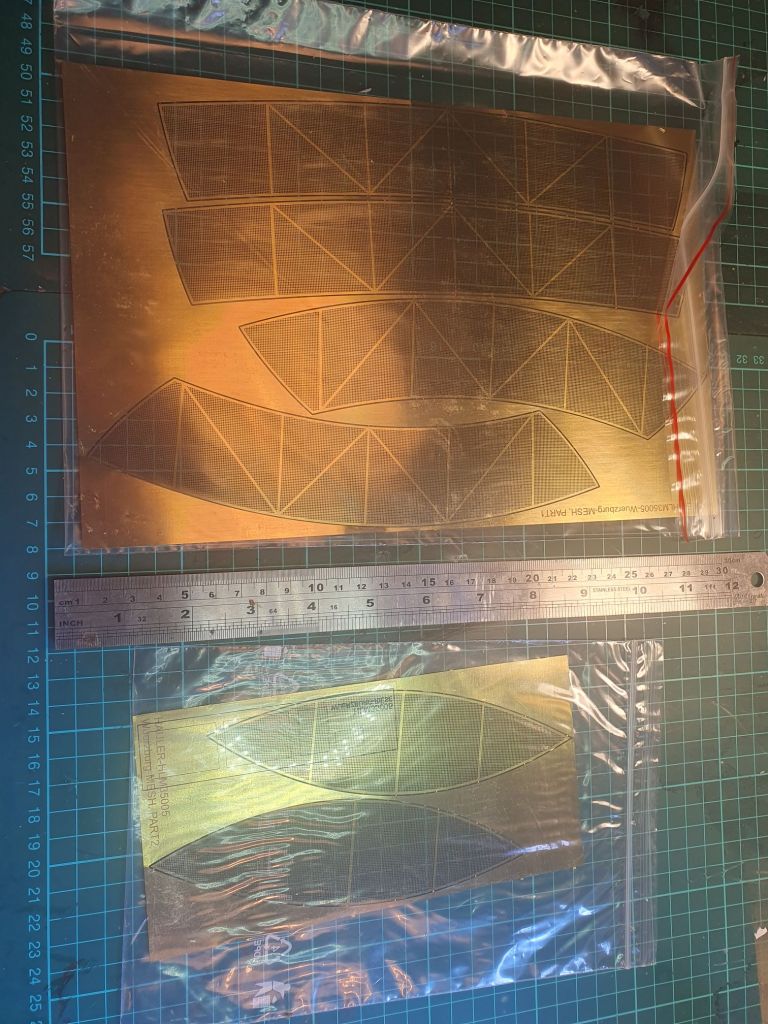
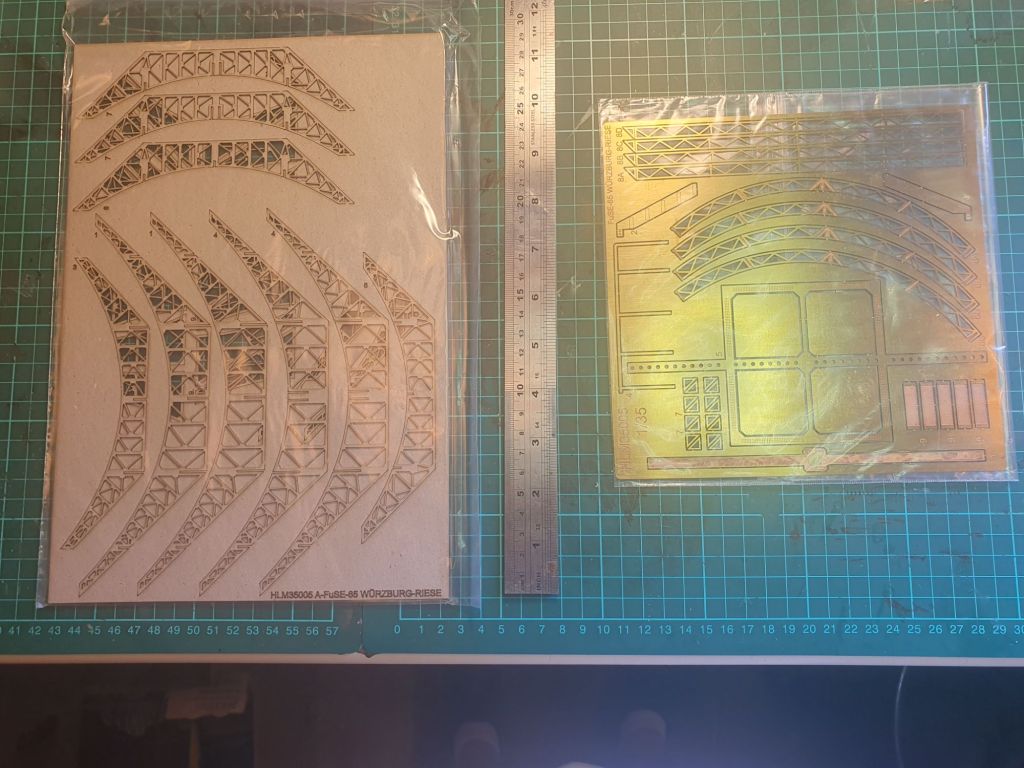
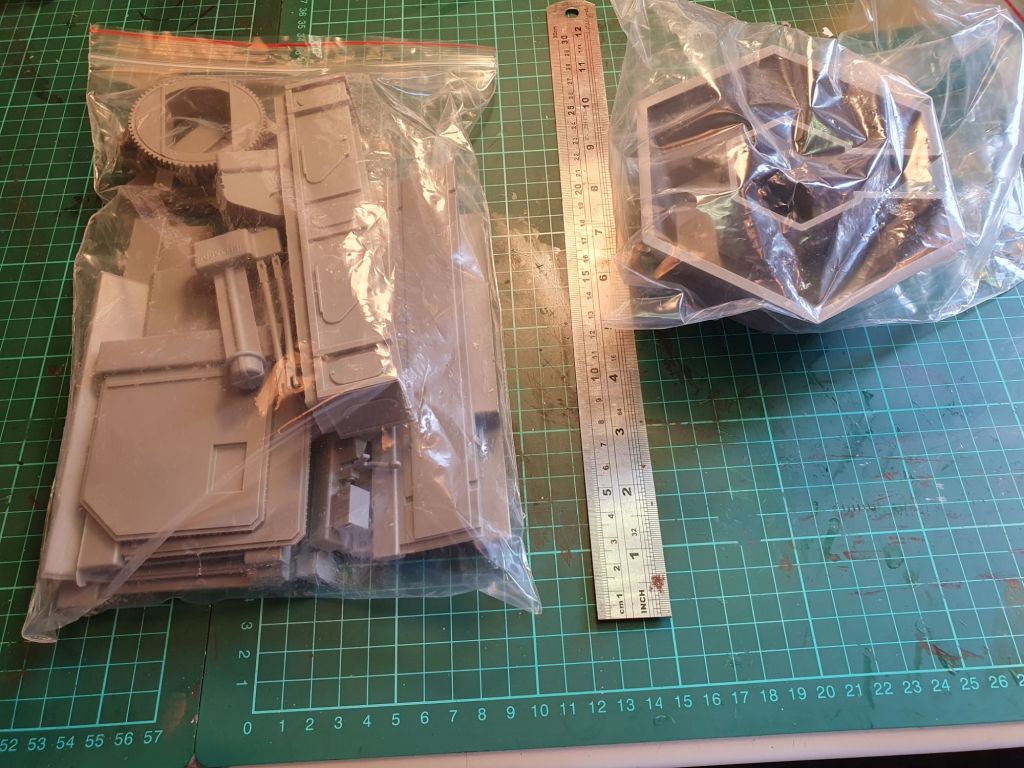
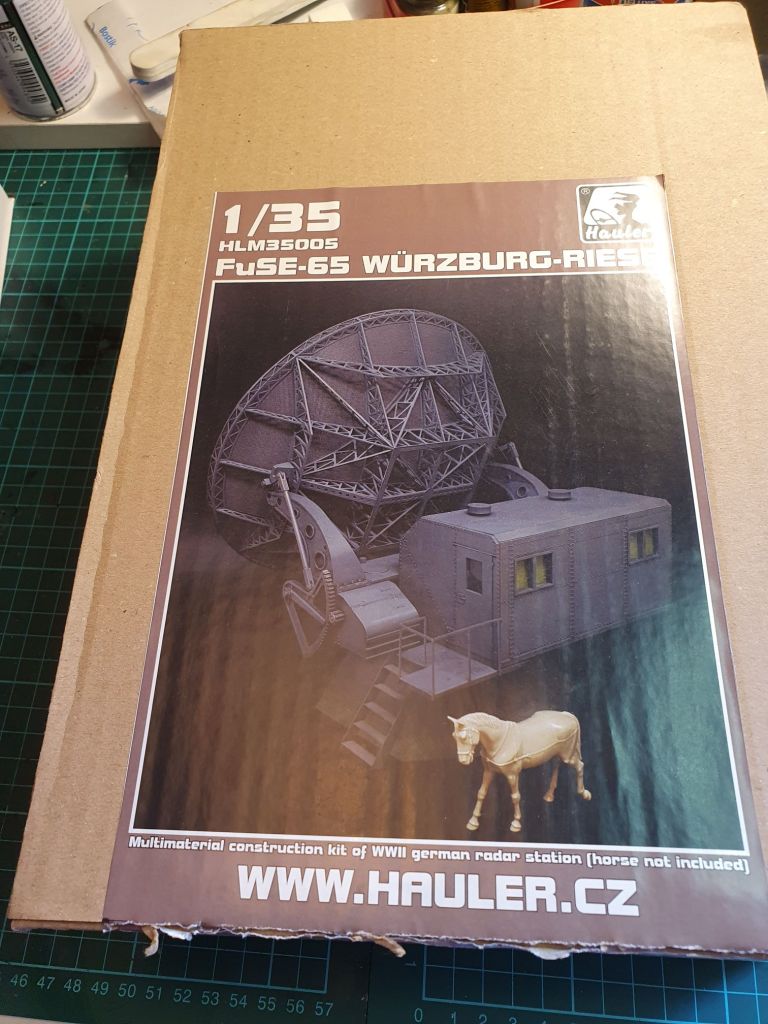
I dragged out my 1.35 Wurzberg kit from Hauler today for a quick fondle and to check out the components.
I can now confirm the mesh is done in etched brass and the main frame is in laser cut wood with the outer pieces in brass also. The rest is mostly resin except for some small details like the hand rail and stairs.
I’ll be seriously tempted to replace the rail with plastic or metal tube rather than brass. I may get someone to look at metal with soldering as a better idea as this is not my skill set.
I’ve also got some radio sets in the hope of detailing the cabin.
The base is hollow cast which is sensible as solid casting would probably lead to warping of the resin.
I also managed a little primering of the Ta Go.
And as we all know “The Spice must flow !” even in book form.Ok just so wrong !
Regular readers will know I have struggled to complete anything in the last few years that involved airbrushing.
I completed this just now with a strange mixture of elation and disappointment. Elation with having completed it without tossing it against a wall and happiness that I at last did some airbrushing semi successfully.
I’m happy with my masking efforts as mostly this was pretty good with not a lot of touch ups needed. The exception was the canopy where the tape was left on for months and caused issues. Other things – my rescribing of panel lines was pretty good and this is was mostly down to a new scribing tool and better technique including using a fresh scalpel blade where needed.
Also happy with the little bit of weathering I did.
The dissapointments included a pebbly finish on my airbrushing that I didn’t fix so that caused issues with decals silvering that were partially solved by Tamiya Extra Thin cement and multiple layers of Mr. Mark Softer. The selection of Techmod decals played into this.
Also annoying was the undercarriage area with fit still an issue. I should have paid more attention to this as it made the end work harder.
I sprayed Vallejo Satin Varnish on last but I still had scratches in the paint after handling even with gloves on. I’d like to try someone else’s varnish next time.
And lastly the rookie mistake was forgetting to weight the nose so it’s a tail sitter with Blu Tack under the front wheel. This is something I normally sort out early on but somehow missed it.
If I do the Toad Resins version one day they at least made the nose from white metal so it won’t tail sit.
On the whole I’m happy to have completed this kit but there’s lots of lessons to apply for my next kit. But that’s what modelling is about in some respects.
After a break I’ve started in on a little modelling in assembling a 3D printed Tardis. I got as far as cutting the sides out and a bit of cleanup.
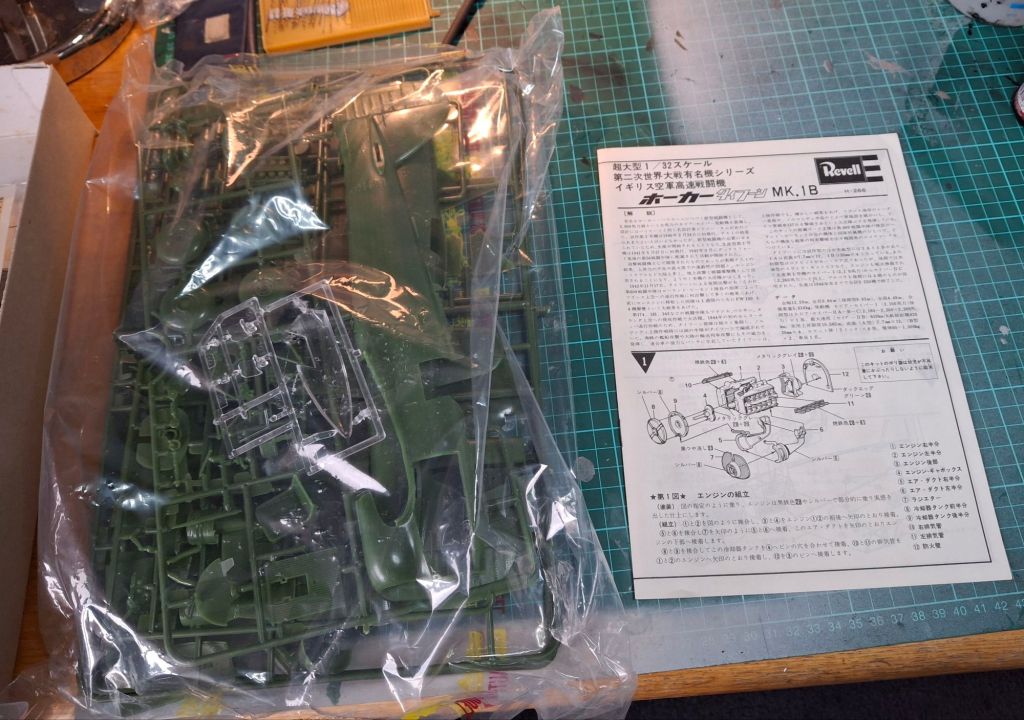
And a book I ordered months ago finally turned up Below is the last stuff from Japan. This was Leonardo LG in Tokyo which seemed to specialise in second hand stuff some of which was quite old. I was restrained and only bought the following- the Typhoon kit is one I did 50 years ago in 1.32 scale from Revell. The last photo is some souvenirs I picked up in Japan.It was a rabbit warren inside Leonardo LG
Another shop was Tam Tam and the usual Yellow Submarine. These were all in Akihabara or Electric City. Lots of nerd type stuff but with that slightly weird Japanese bent.
Just left Hiroshima and apart from the obvious visiting place also managed to go out to an island that was a Kaiten training base. Museum guide had very little English but was very helpful. It was supposedly no photography but as my partner assisted via Google Translate I was able to get a few photos.
They had a Kaiten interior that was built a bit overscale for a movie and a full one outside and there was also a more rusty one at the port we caught a boat out to the island from.
Trolley for transporting KaitenPort Kaiten above Kaiten on island
Below is the tunnel used to transport Kaiten out to the training facility including some docking areas and two pens that they would have sailed from. The first run was 2kms out and back building up to circumnavigating the island.
Typical bullet train looking more like a fighter cockpit.
The Yellow Submarine and Volks stores were located conveniently close to each other with the Volks on the 4th floor of a mall next to a railway shop. The Volks shop whilst smaller than the Kyoto one had a similar layout and feel with less actual aircraft tanks etc in comparison. And yes I finally succumbed and bought a lot of modelling accessories as they were around 50% of the usual Aussie price. It made me a bit more experimental in my choices including a cheap scriber bit.And these were just weird as things to buy.