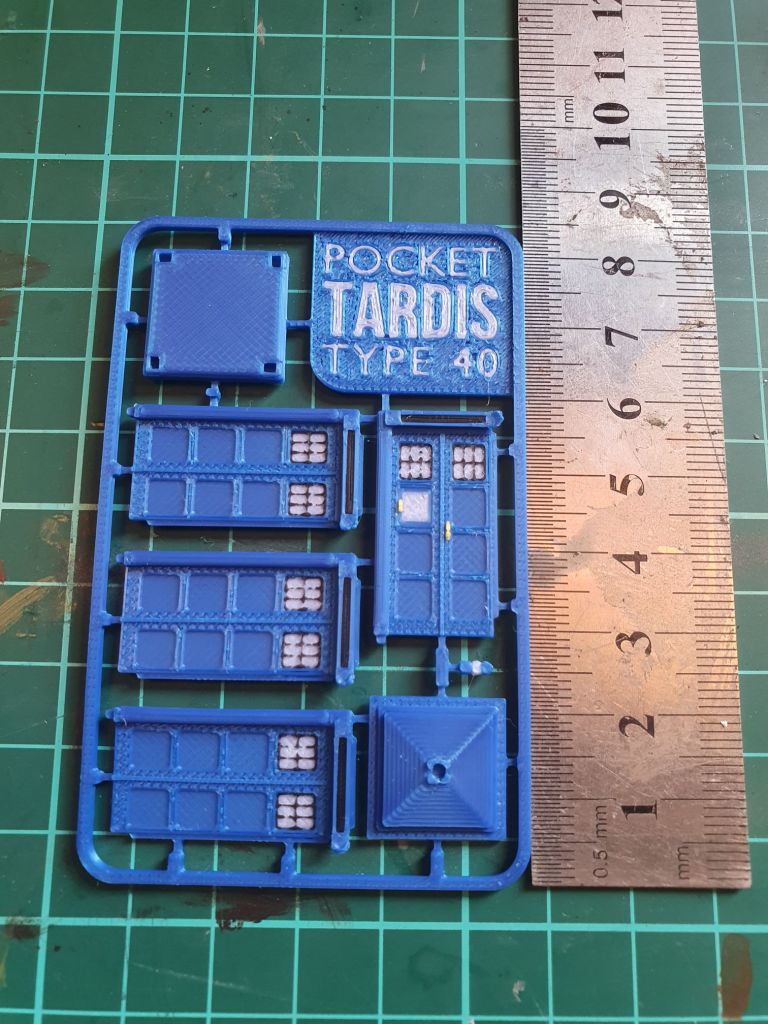
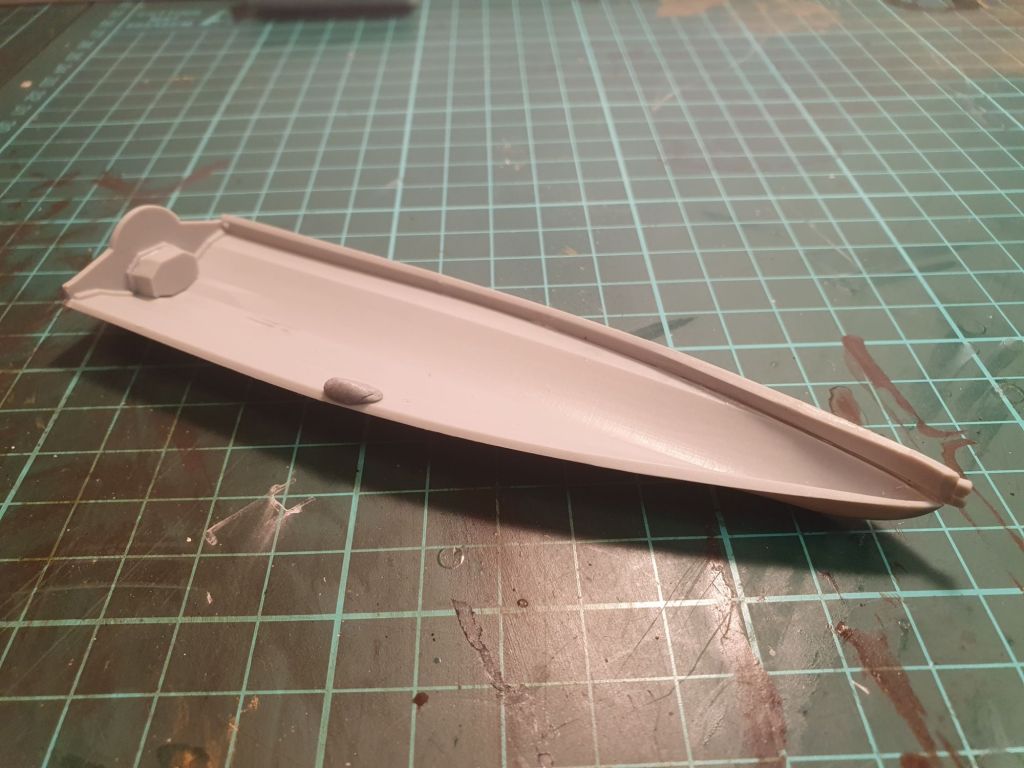
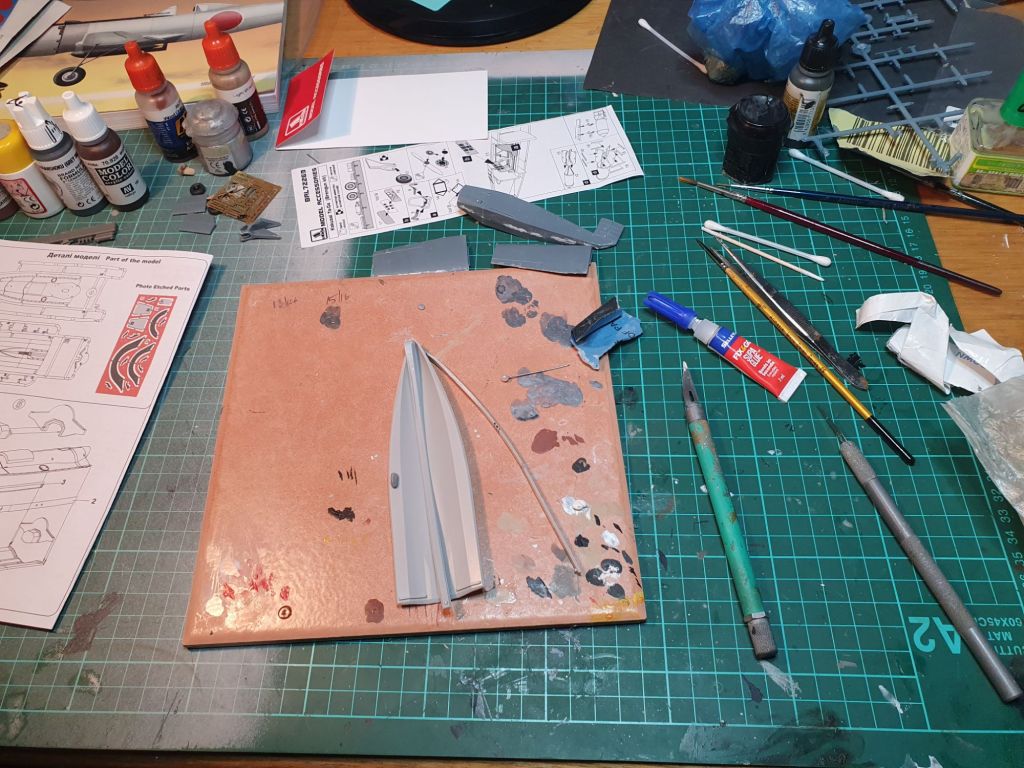
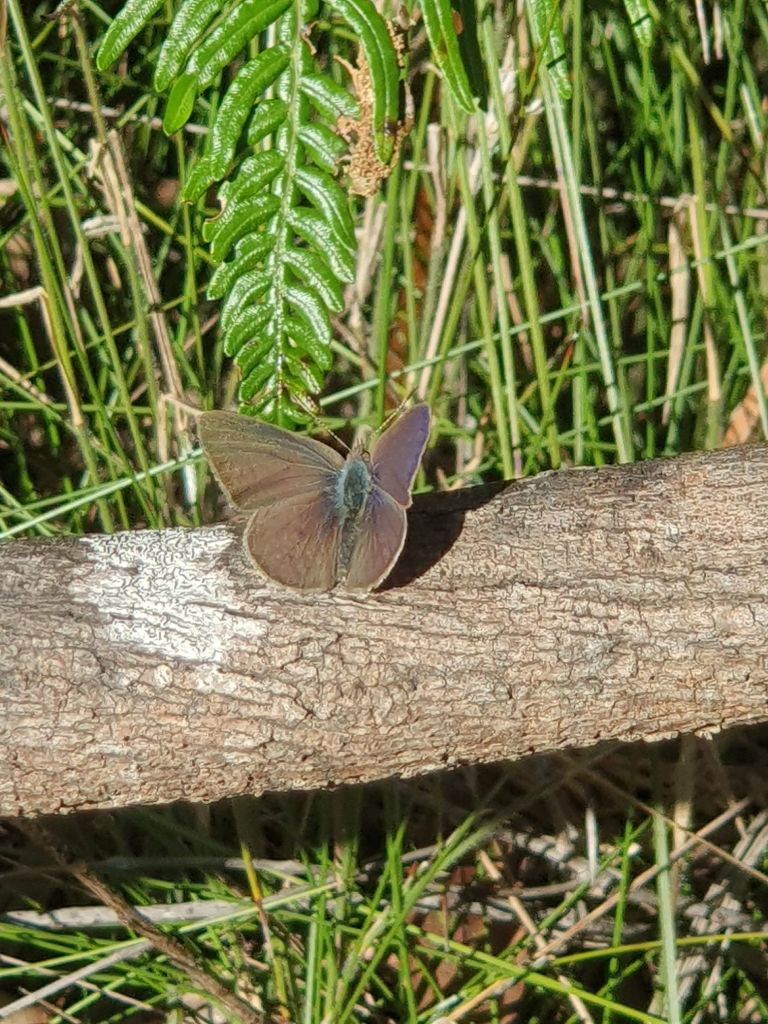
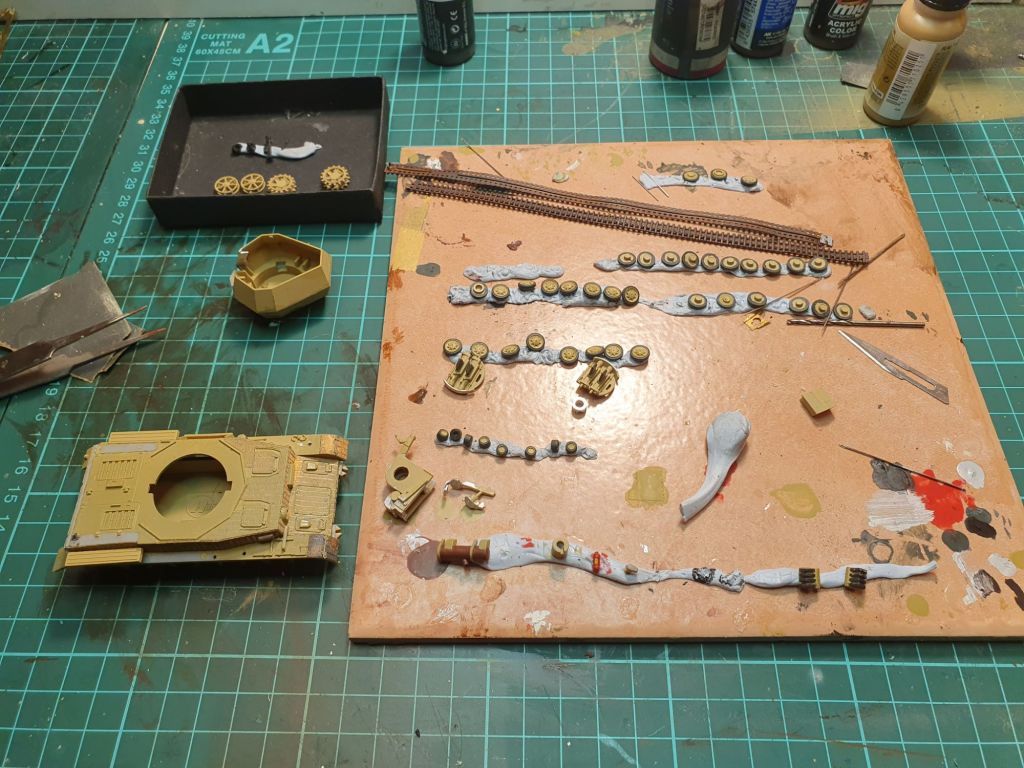
After a break I’ve started in on a little modelling in assembling a 3D printed Tardis. I got as far as cutting the sides out and a bit of cleanup.
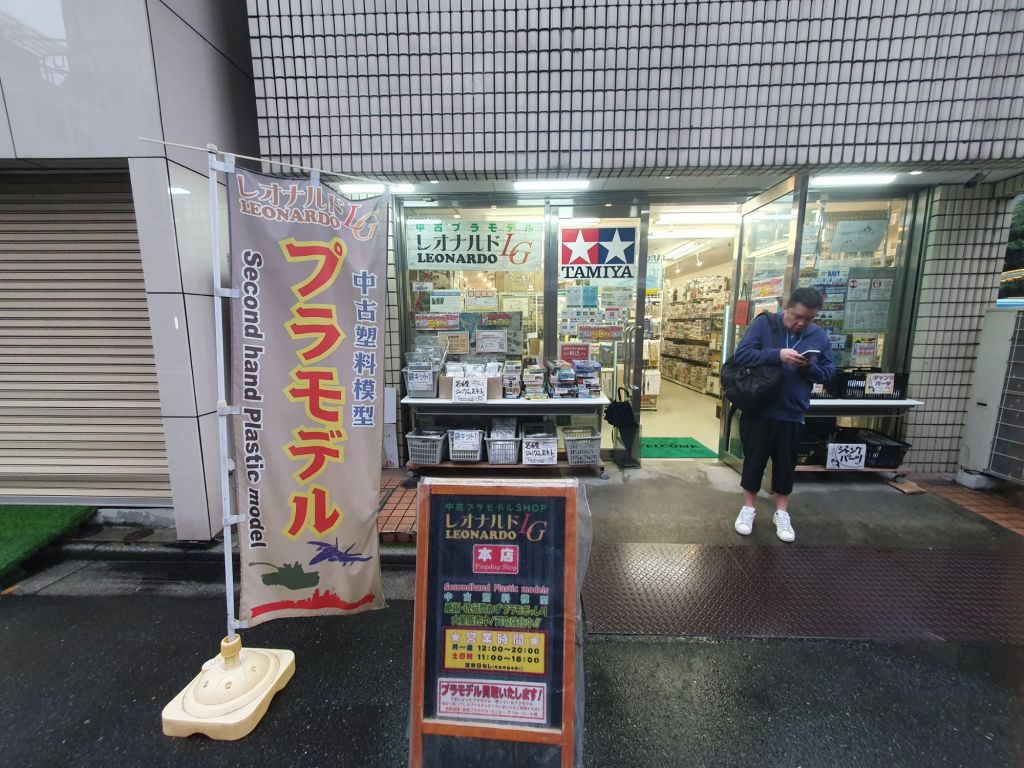
And a book I ordered months ago finally turned up Below is the last stuff from Japan. This was Leonardo LG in Tokyo which seemed to specialise in second hand stuff some of which was quite old. I was restrained and only bought the following- the Typhoon kit is one I did 50 years ago in 1.32 scale from Revell. The last photo is some souvenirs I picked up in Japan.It was a rabbit warren inside Leonardo LG
Another shop was Tam Tam and the usual Yellow Submarine. These were all in Akihabara or Electric City. Lots of nerd type stuff but with that slightly weird Japanese bent.
Just left Hiroshima and apart from the obvious visiting place also managed to go out to an island that was a Kaiten training base. Museum guide had very little English but was very helpful. It was supposedly no photography but as my partner assisted via Google Translate I was able to get a few photos.
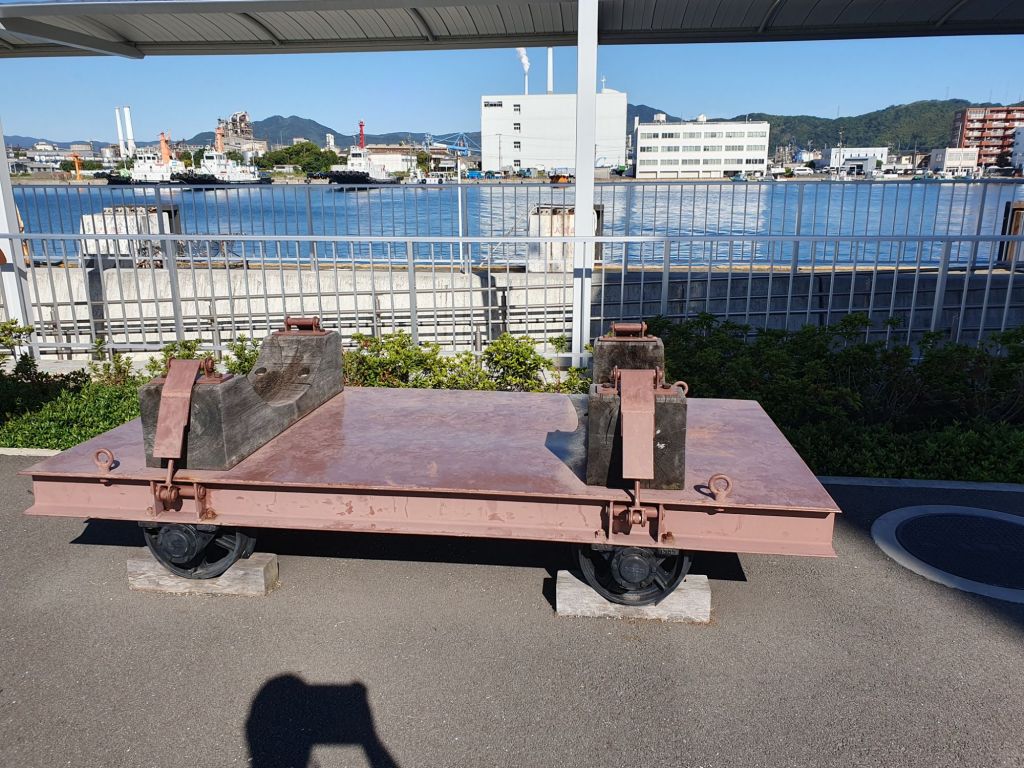
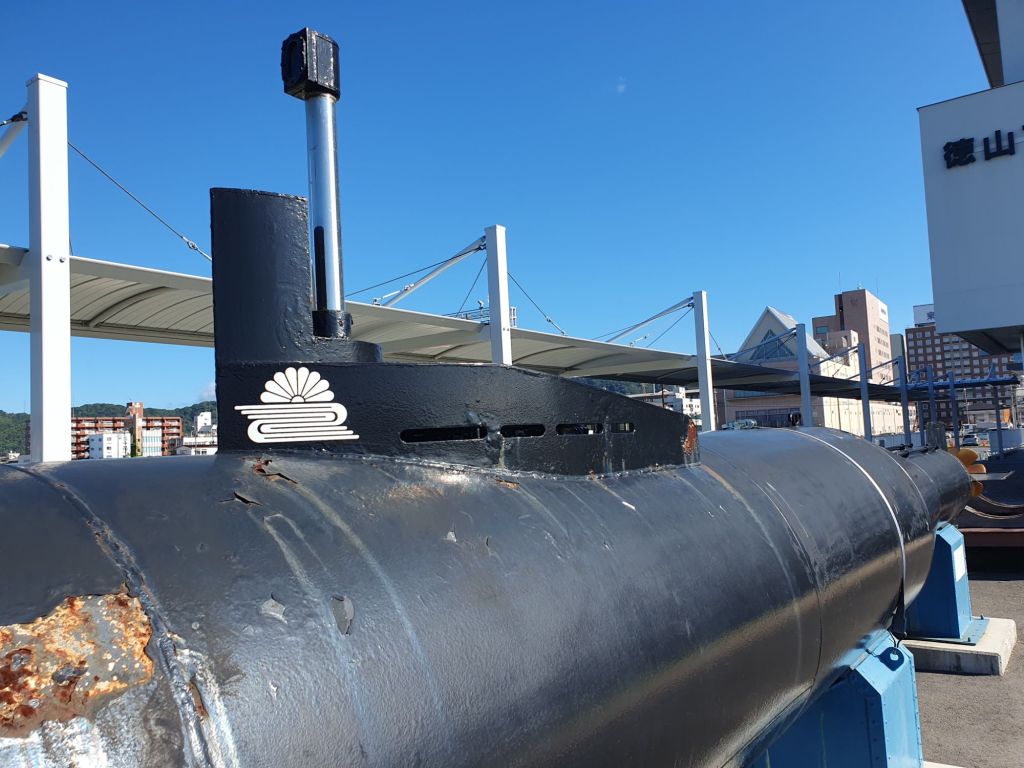
They had a Kaiten interior that was built a bit overscale for a movie and a full one outside and there was also a more rusty one at the port we caught a boat out to the island from.
Trolley for transporting KaitenPort Kaiten above Kaiten on island
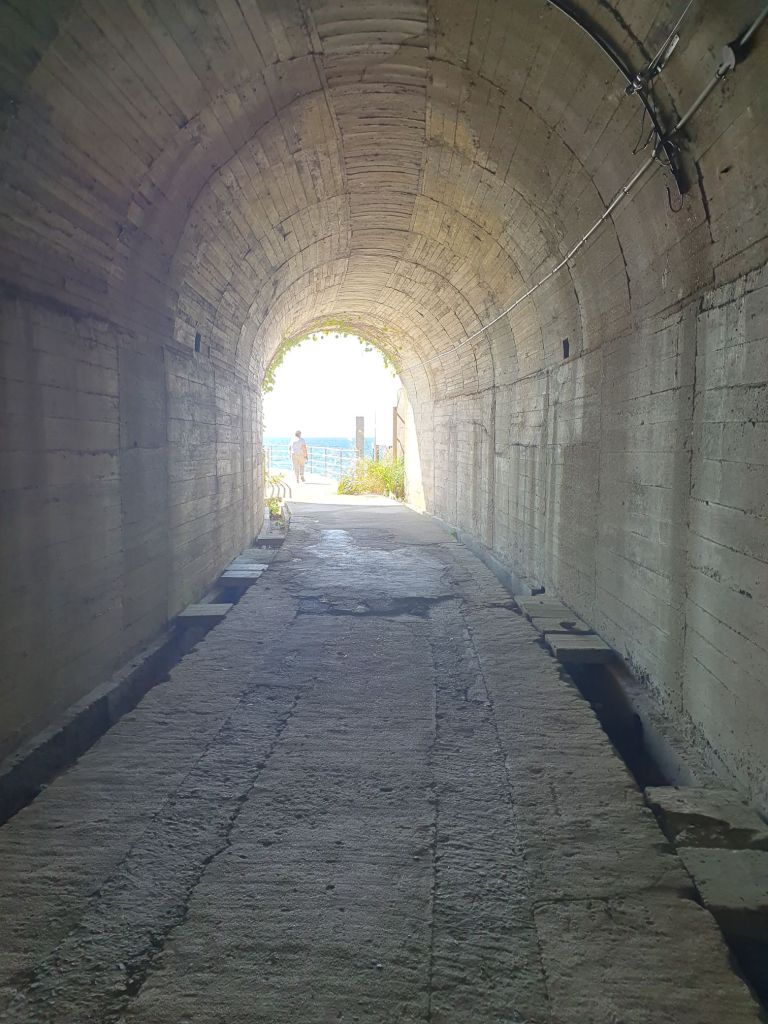
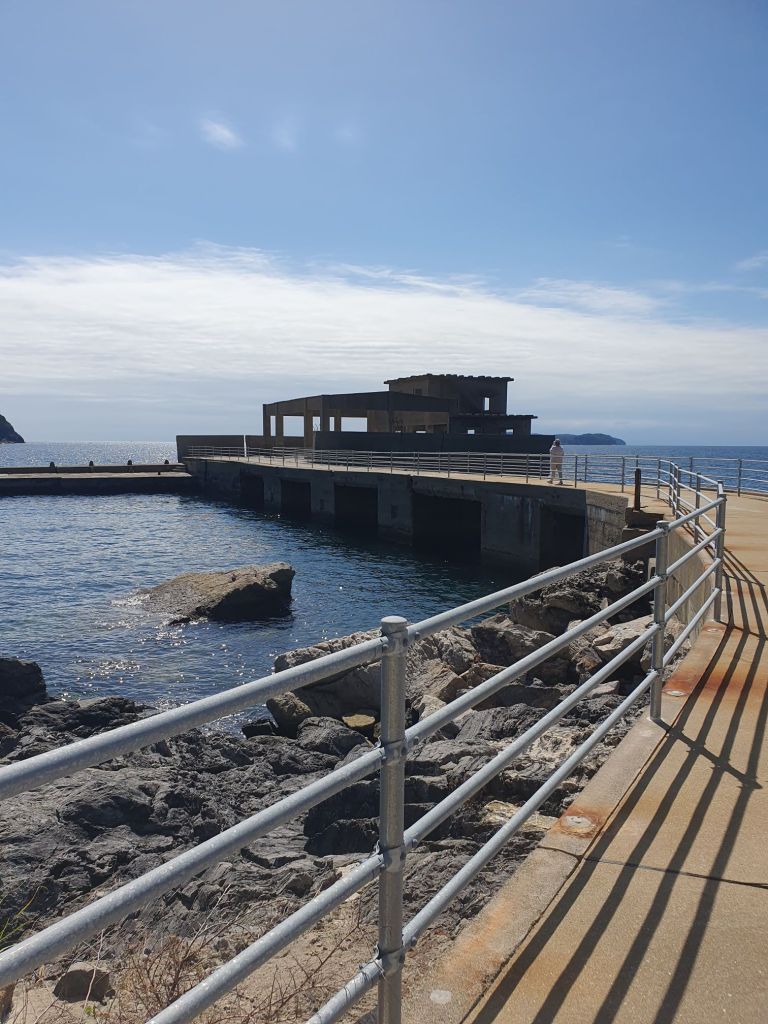
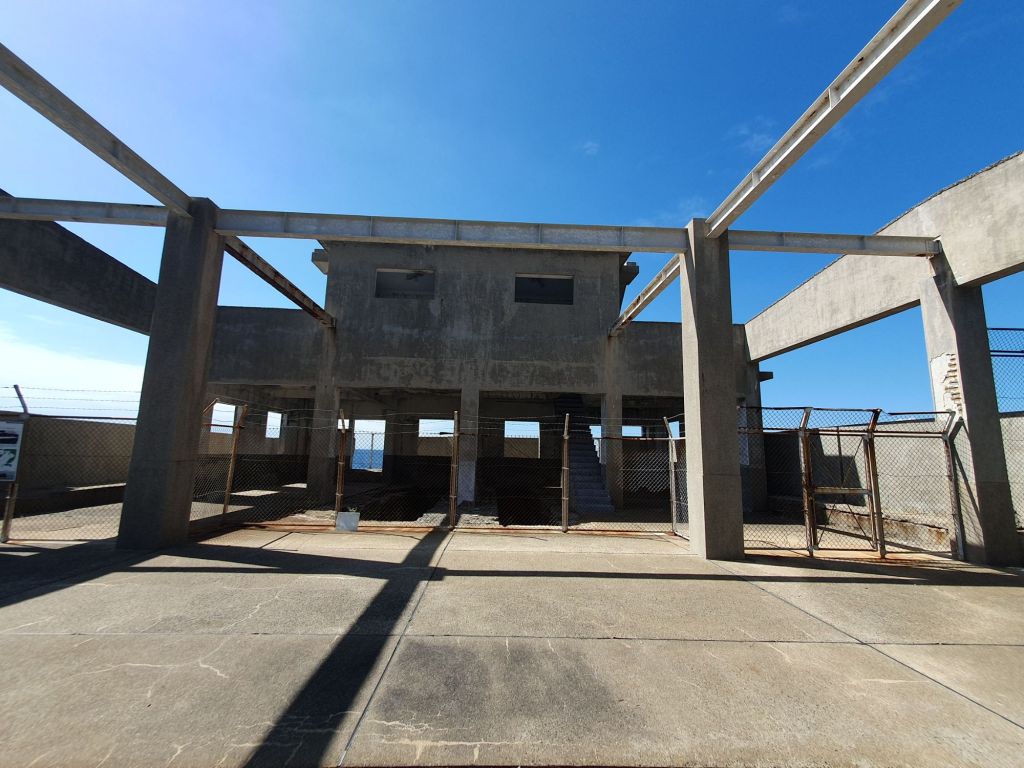
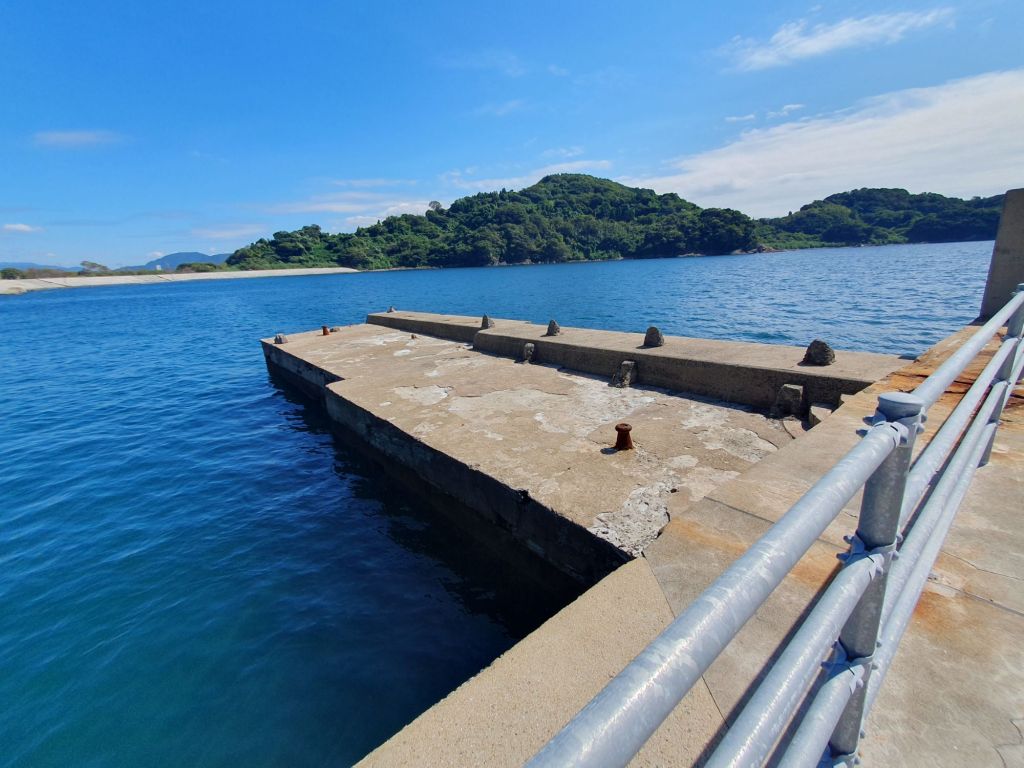
Below is the tunnel used to transport Kaiten out to the training facility including some docking areas and two pens that they would have sailed from. The first run was 2kms out and back building up to circumnavigating the island.
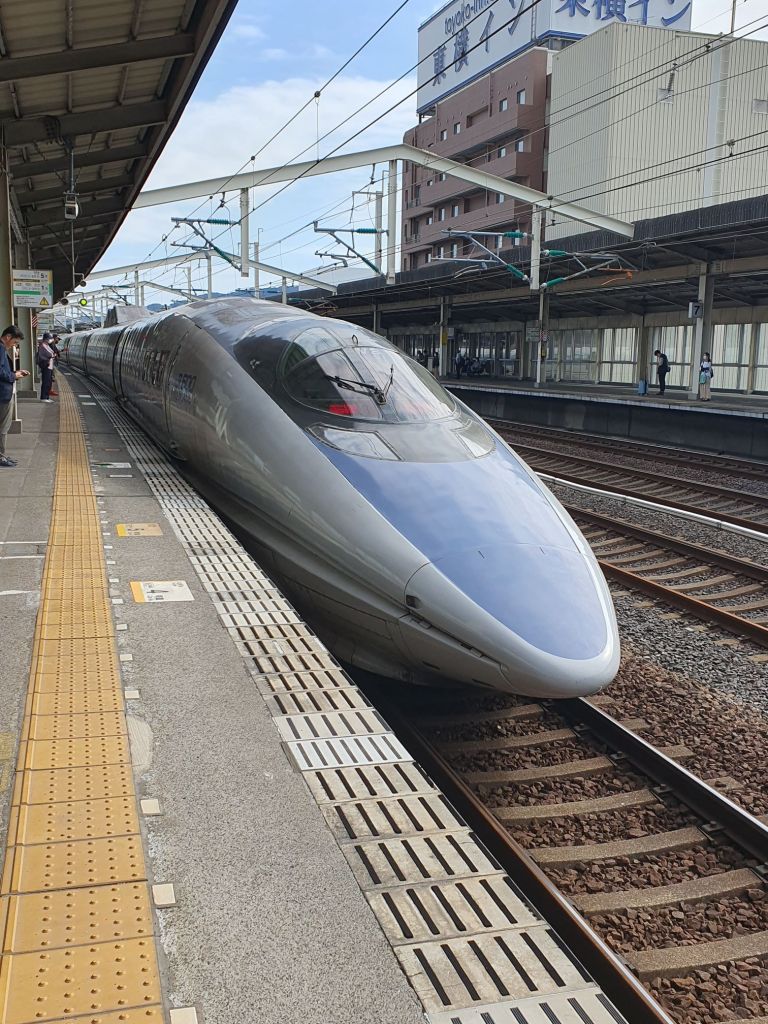
Typical bullet train looking more like a fighter cockpit.
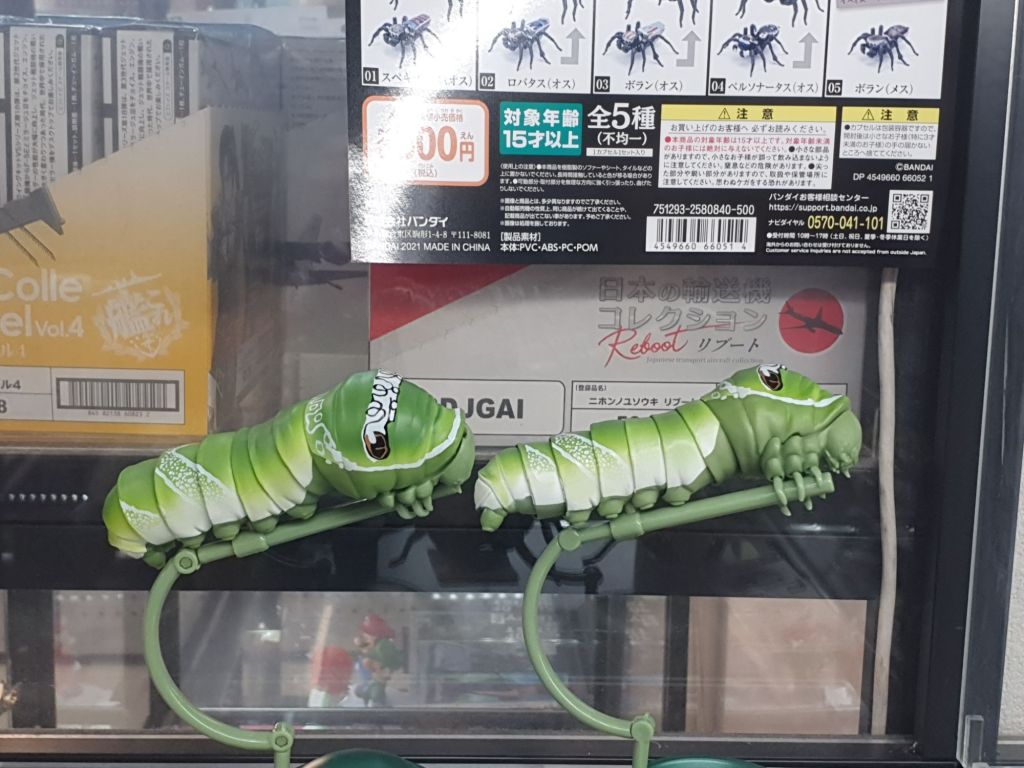
The Yellow Submarine and Volks stores were located conveniently close to each other with the Volks on the 4th floor of a mall next to a railway shop. The Volks shop whilst smaller than the Kyoto one had a similar layout and feel with less actual aircraft tanks etc in comparison. And yes I finally succumbed and bought a lot of modelling accessories as they were around 50% of the usual Aussie price. It made me a bit more experimental in my choices including a cheap scriber bit.And these were just weird as things to buy.
Yes folks I’ve been to Volks model shop in Kyoto. It’s unexpectedly hot here in Japan for autumn with 30 plus days the norm. I caught an Uber to the shop as it’s a bit off the beaten track.
What follows is lots of photos. I’ve got to say it’s the first model shop I’ve ever been to with two real aircraft engines and props from a 109 and a 190.
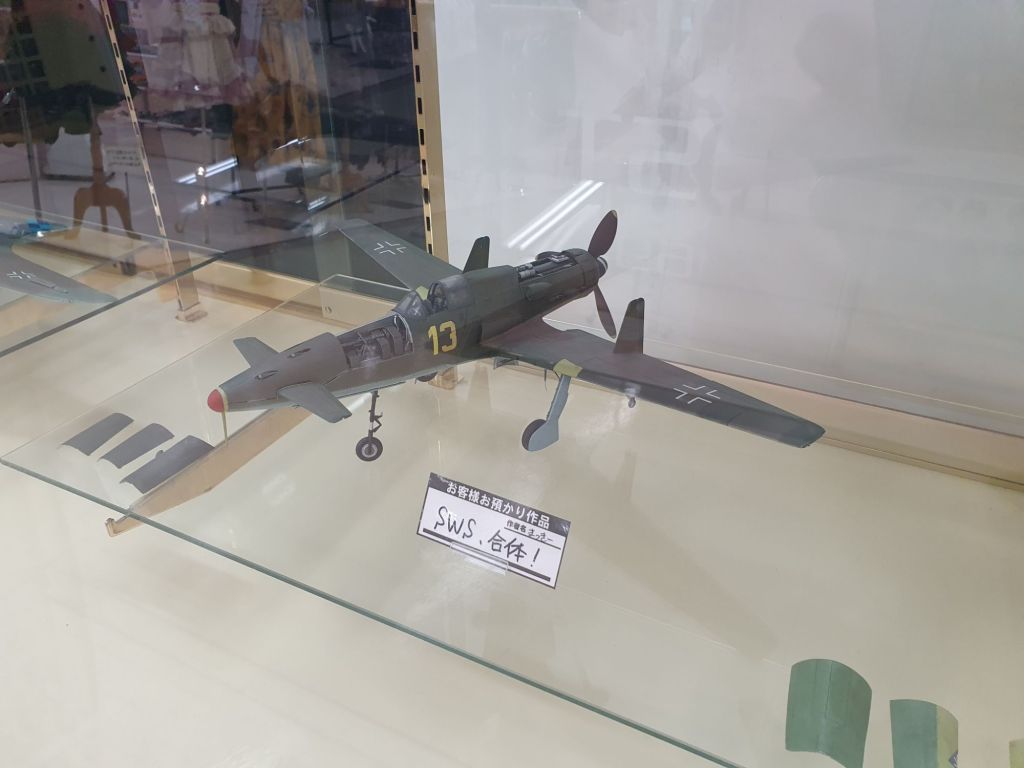
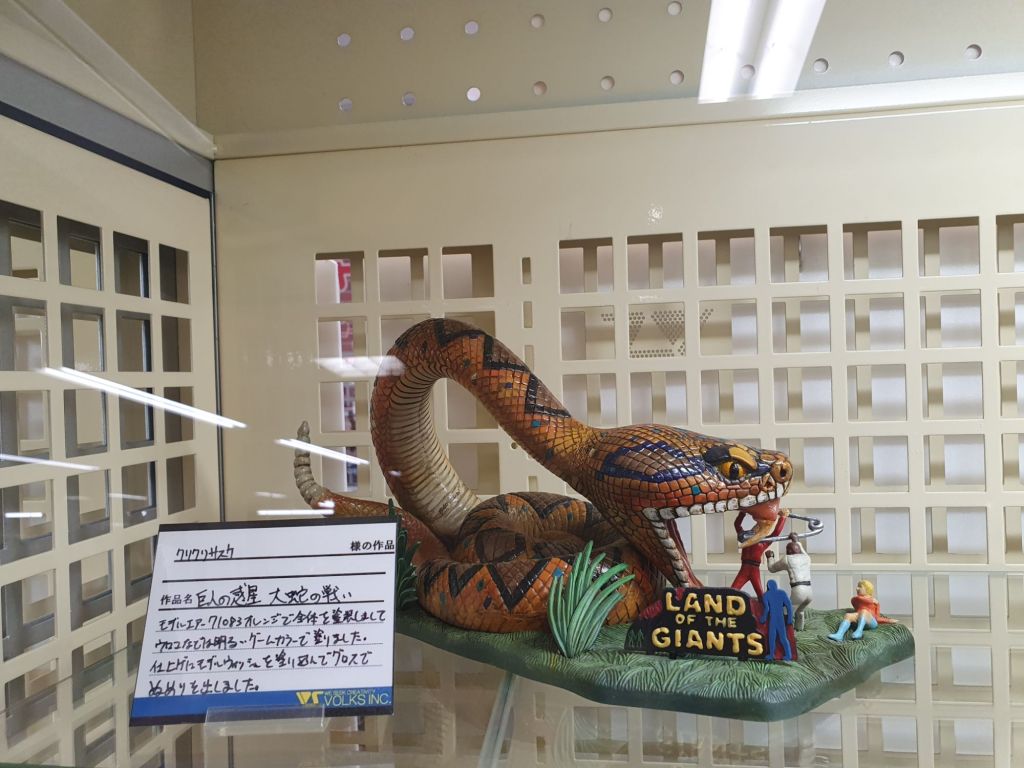
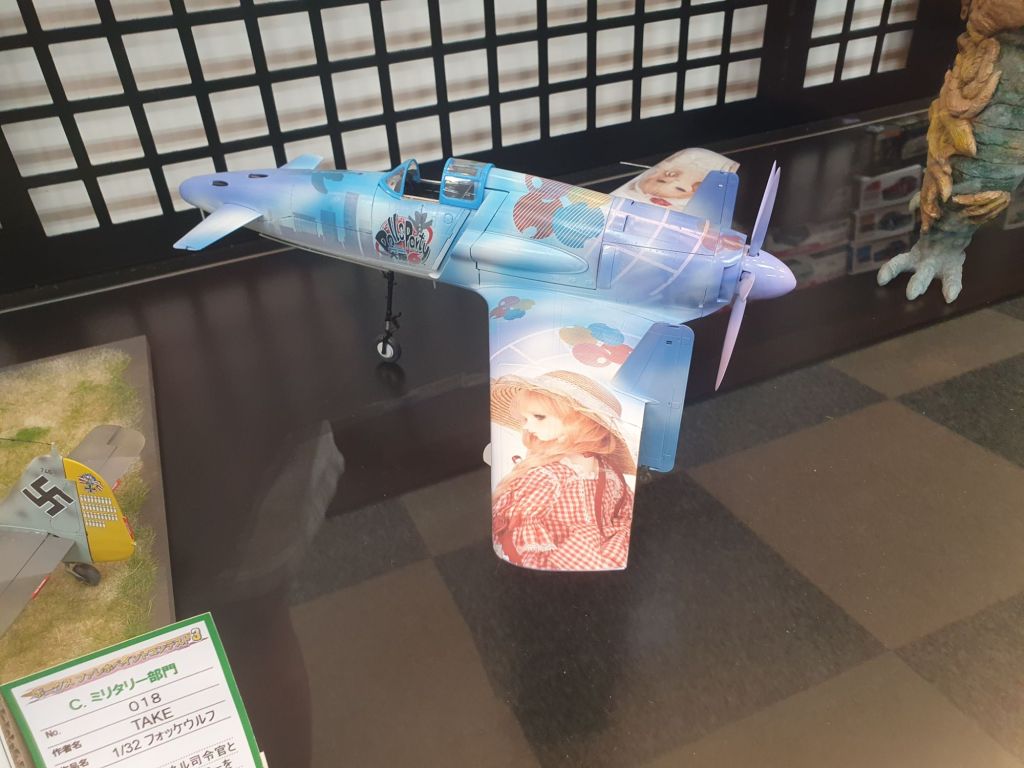
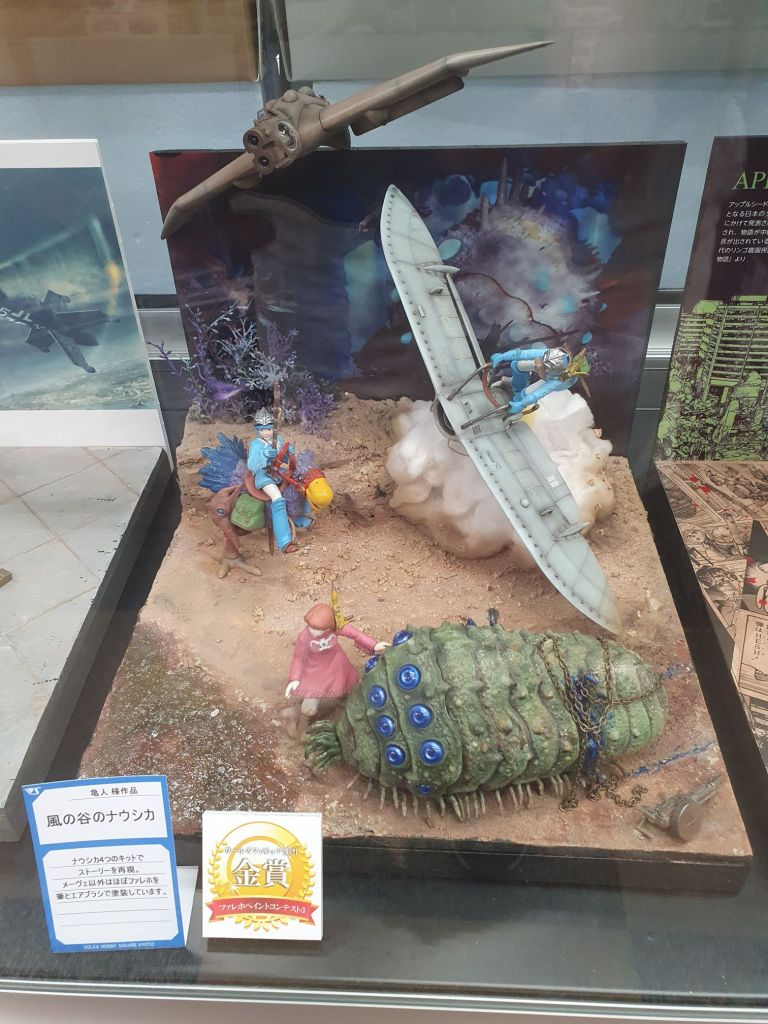
Inside is fairly heavy on being like a model show along the walls with lots of finished works on display.
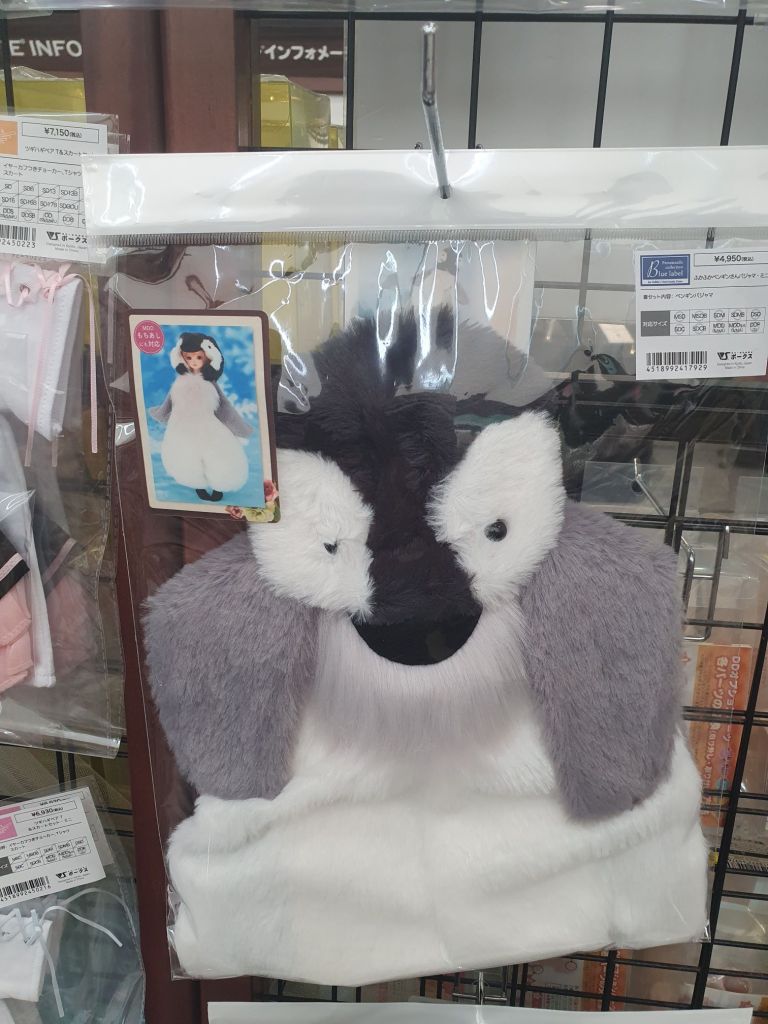
Being Japanese there is an element of some fetishist figure hobbies which I’ll skip over with the other extreme being costumes for sale like this penguin one.
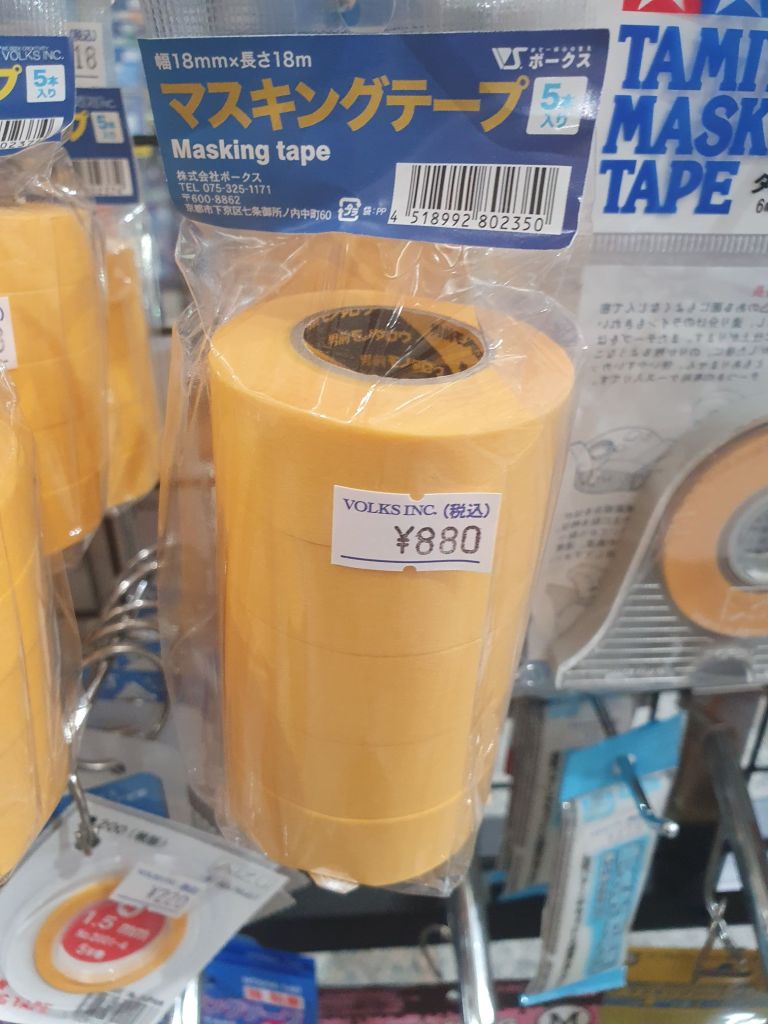
There were a lot of modelling tools for sale including the following – I’ll be picking up sone of the faux Tamiya tape when I get to Tokyo.
The Tamiya glue was interesting as I’ve never seen it in Australia or sone of their other tools.
Next up is some of the display models
Size wise the store is broken up into two halves connected by a small corridor with the more serious models and trains in the back half and the tools etc in the front.
Most of the kits were Japanese with a thin sprinkling of European kits but nothing unusual I had to have.
I did pick up some thin masking tape, some guns for my SWS 1.48 Shinden and a model magazine and that was it. I hope to get more in Tokyo at the end.
I left there and on the way back discovered the Kyoto Train Museum so had a pleasant time before walking home after 14,000 steps. Glad I got the Uber one way at least.
Over the last year or so I’ve struggled with airbrushing. Often not able to get any paint out or just way too much. I’ve done quite a few kits that have stopped when they were ready to paint. Any kits I’ve finished have been single colour mostly via rattle can.
I’ve sought help with this but without any success. On a friend’s recommendation I bought a cheap airbrush again. This came with three needles with one already fitted. This is the thickest one.
I set up today with about 22 psi and a 50/50 mix of paint and thinner with a little bit of flow improver. I sprayed from a bit further away than usual with a light coat then flipped the model through 90 degrees and finished off in this way. Lots of light coats from further away has given a much better finish and I noticed when I moved closer it tended to puddle a little.
The end result is a paint job I am happy with which has left me in a much better place.
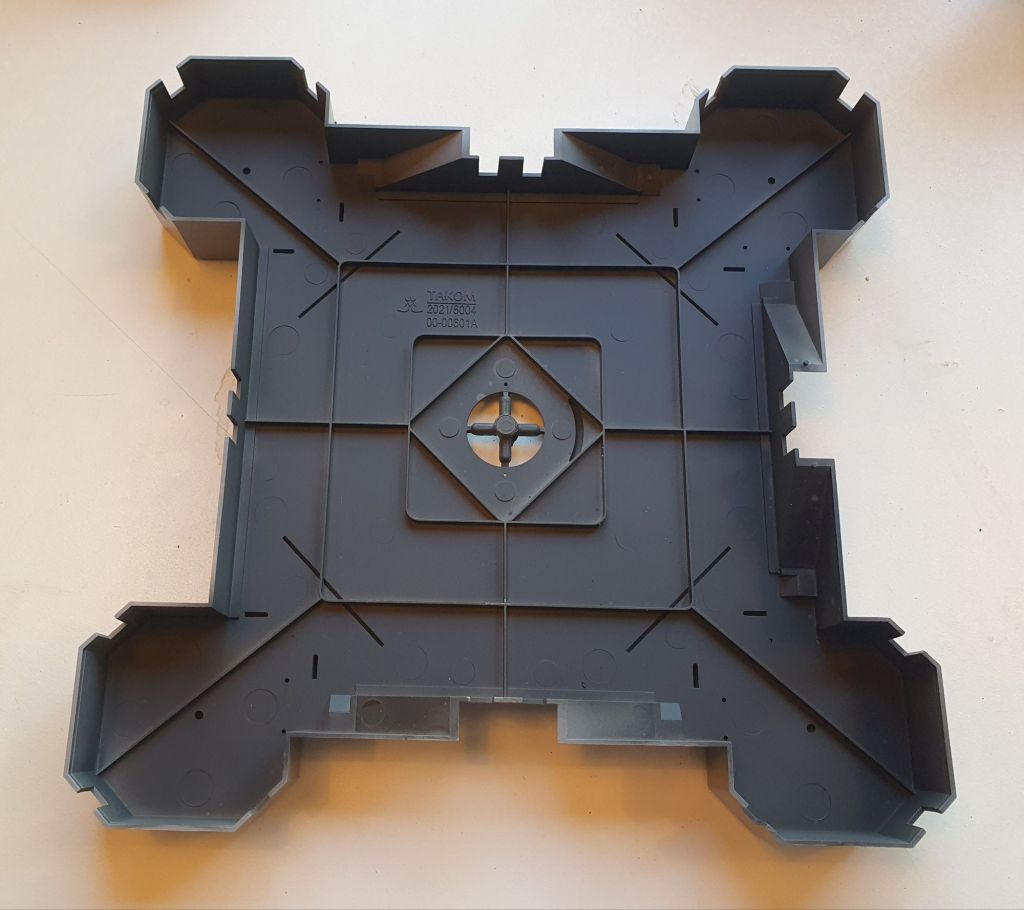
In case you are wondering this is the base for a Flak tower on the underside.
In other news I’m still working on the Ta Go and now adding some brass bits after adding the undercarriage struts.
The padding in the cockpit is for when I finally get to doing the undercoat.
The USV has also now had the top deck added but it’s a bit on the back burner and still needs a few PSR items fixed.
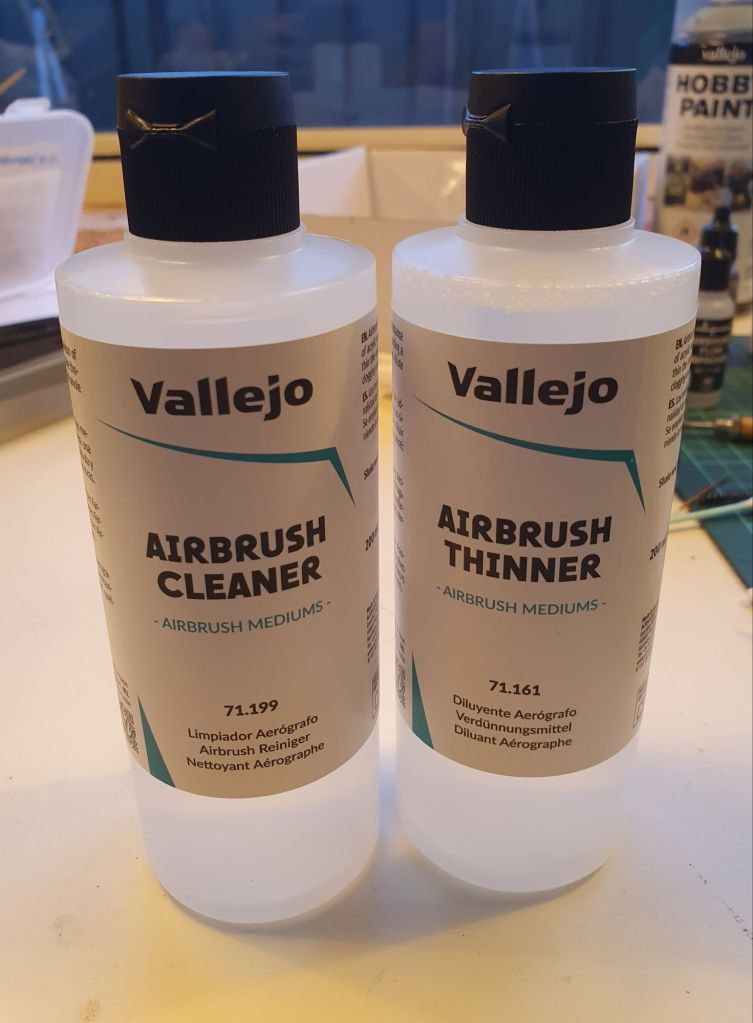
On the strength of good results with my airbrushing I went to my local HS and got the below in the larger size containers. It’s certainly cheaper with the bigger bottles.
Now I’ve worked at least a few of the bugs out of my airbrushing I’m going to practice a bit more before I go away. 🙂
On that note I’m off to Japan soon so any updates in the next few weeks will be from there. I may buy a few kits there but as my interests are not the usual Tamigawa stuff I’m not sure how many that will be.
Below is the view through my magnifying lenses light in between efforts to carve out the wing roots. Despite the language in the SAM review of this kit it took me quite a while to get this right. I just wish once that the reviews reflected reality instead of the highly sanitised view they convey. My weapon of choice is my faux Dremel by Miniart which works best on plastic. It doesn’t melt the plastic like my Dremel. The toothbrush was for cleaning out the deepened holes in the wing roots.
I did end up using some filler but not Milliput for the wing roots.
On the USV front I used up the last of my old batch of Milliput around the sides to give a little more rigidity to the whole structure. I slightly overdid it so the Dremel did come out for this job. I’m now trying to fit the top deck which has required a little fettling but I think this is more my fault than the kit’s.
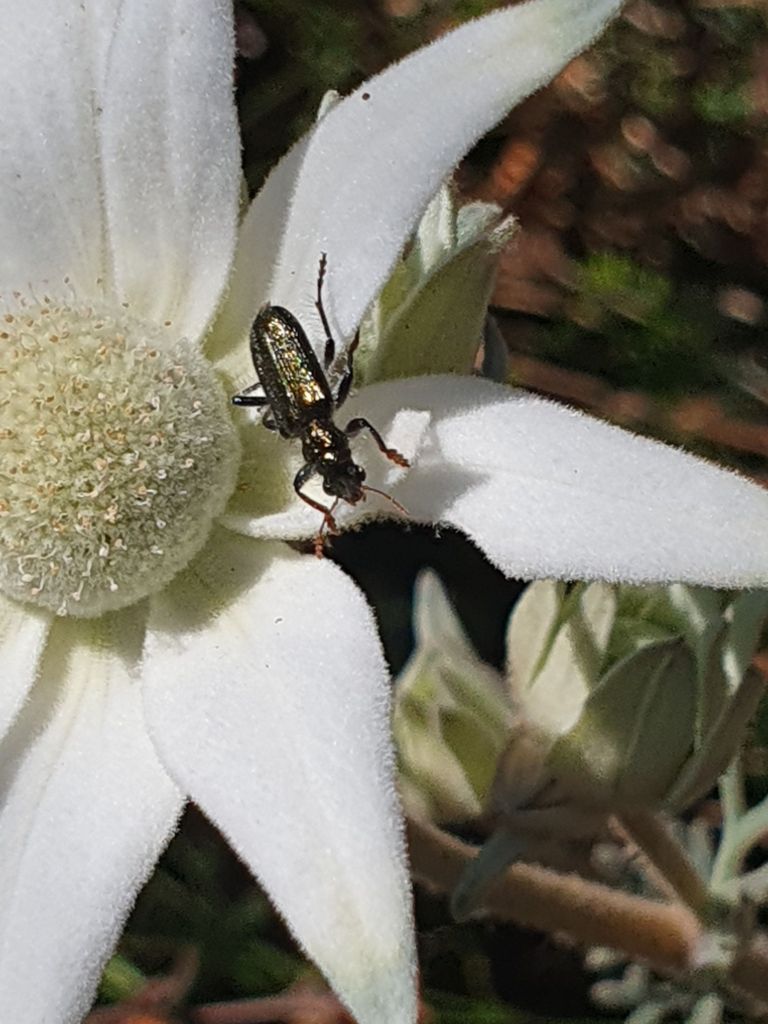
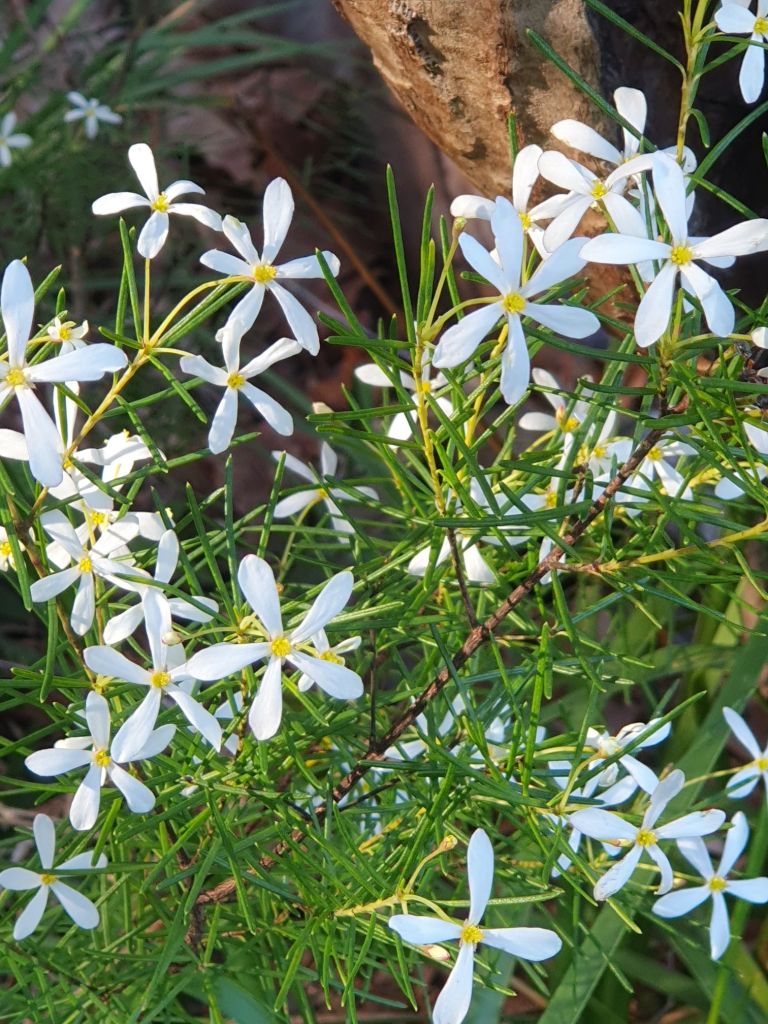
And lastly some spring flowers from my Friday morning walk.
Absolutely none today despite having plenty of time I ended up doing some reading on a Norwegian SS unit, which wasn’t a great book, poorly written and cheap reproduction on the photos.
I’m now doing some work downstairs again with the weather getting warmer finally. I went and did an airbrushing lesson at my local hobby store and whilst that gave me some inspiration the reality a few days later was not inspiring still. At least I got paint coming out but it was still pooling in little drops on the model. I’ll be trying again over the coming week.
The Ukrainian USV now has one side fitted with the second still to be done.
The TaGo needs the wings cleaned up again but the body is now together at least. It’s a very typical short run fare with the PSR cycle.
My Wirbelwind build ended badly with me making an unrepairable mistake (by me at least ) and so it ended in the “Well of tears”.
I’m still upstairs in the secondary site with work on the Ta Go continuing. The body and wings are now together and on the second stage of the PSR cycle. If there is a third cycle it should be minor.
I’ve also started the MicroMir Ukrainian USV boat that they are using. I did a lot of cleanup on a recent phone call and since this week so reasonable progress is being made. I’m going to start assembly this weekend.
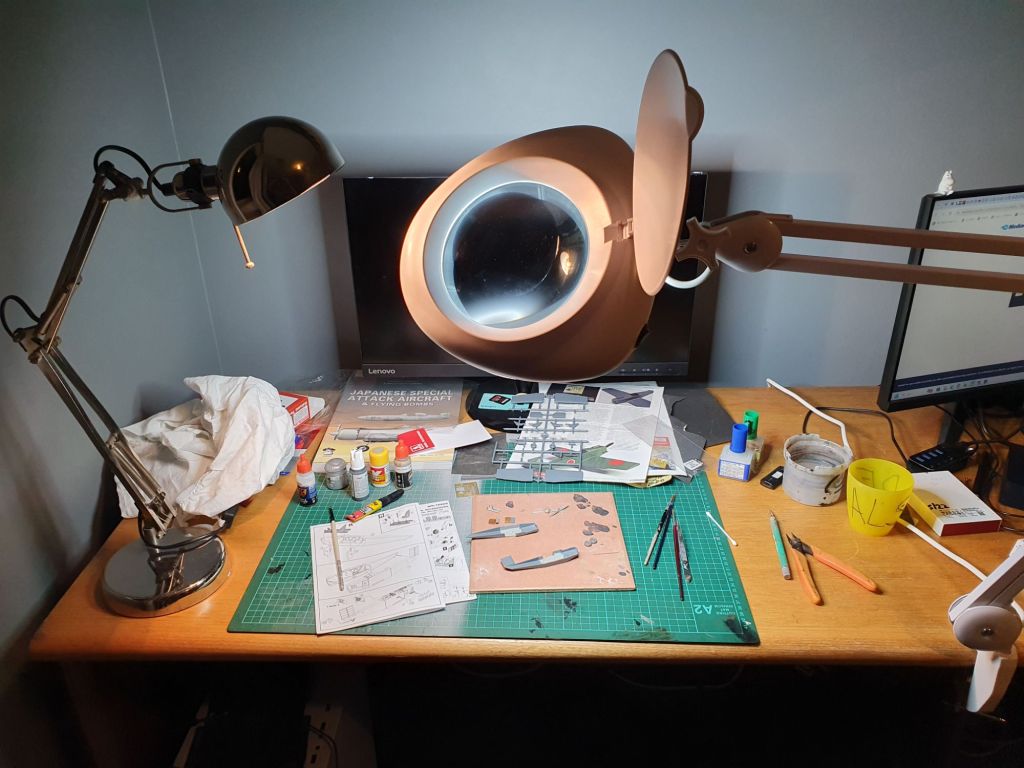
Below is a shot of the rather confined bench space and work so far.
Yes I’m not committing to regular Sunday updates again but here’s where I’m up to. Most of the parts have been looked at with much of the construction done. It’s now time to clean up all the loose ends before I start painting the main body.
I got the new magnifying light set up for upstairs. Whilst it’s a much smaller desk space and it needs to be non smelly paints etc it is MUCH warmer than my usual garage space in winter.
I’m working on the Brengun Ta go plane. It’s a typical short run kit of a purpose built kamikaze craft. I’ve even used some wood grain decals for the first time. I think a white background colour rather than using a light wood would have worked better.
I’m still assembling the cockpit area so more on this later.
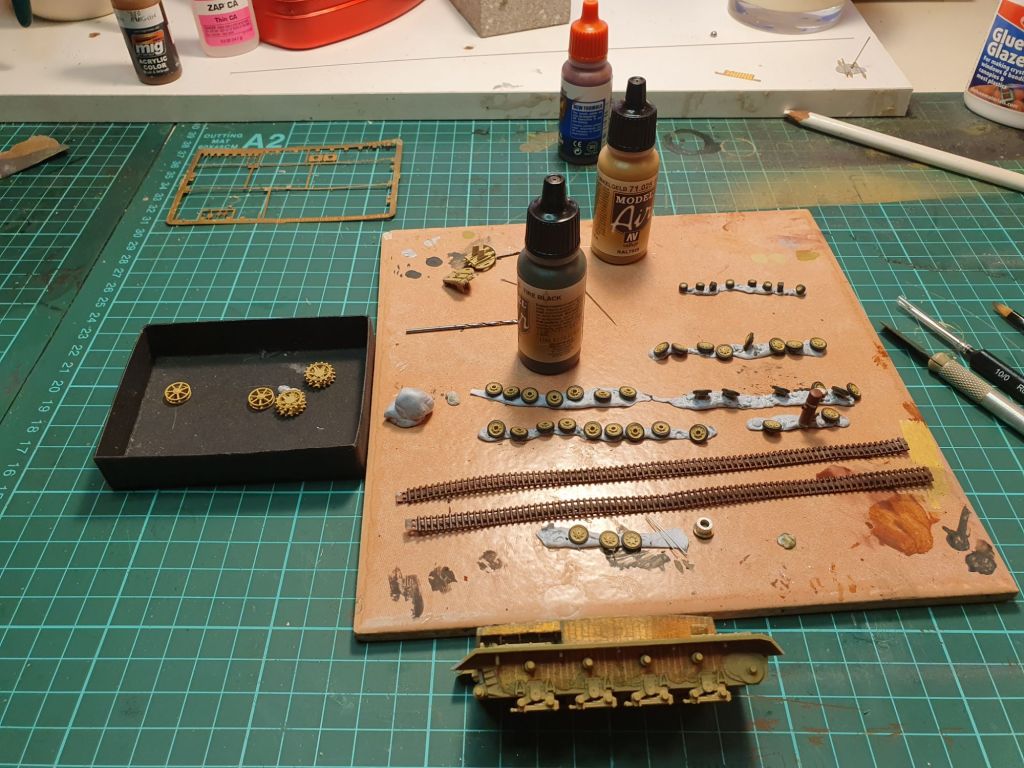
In the garage on slightly better days I’m still working on the Wirbelwind. The main body is now together and I’m adding small details. Lots of little modelling tasks including painting the rubber band tracks.
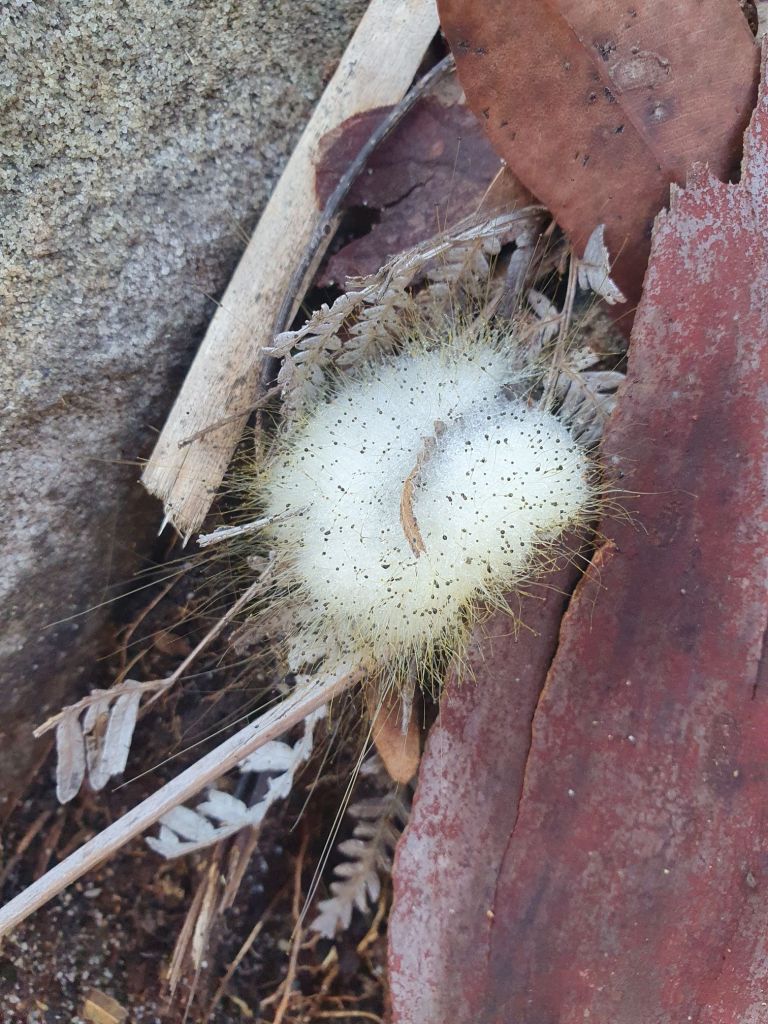
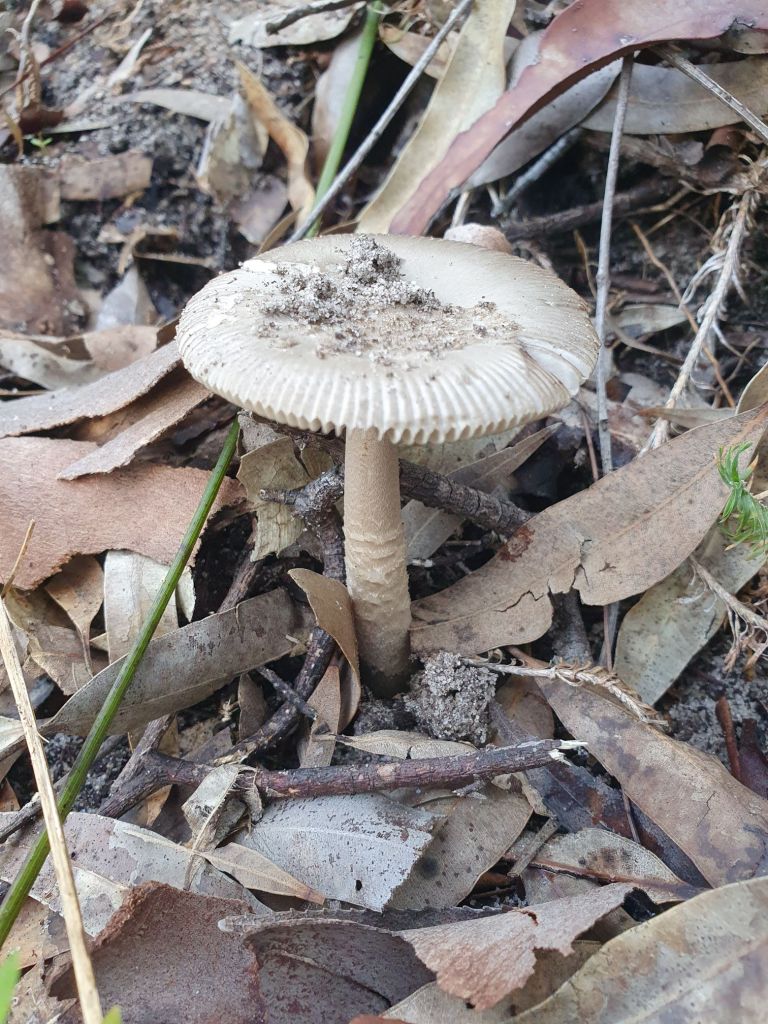
Given the wet cold weather expected this week I think it’s fitting to close with some images from recent walks I’ve done locally.