Monthly update

Leave a comment

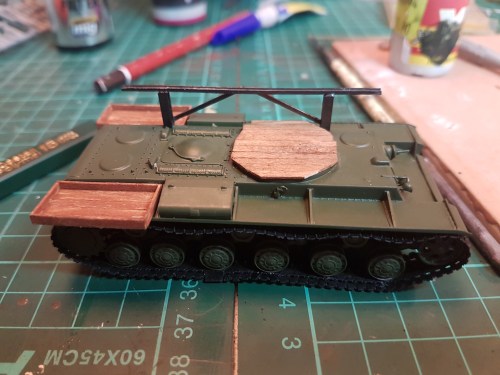
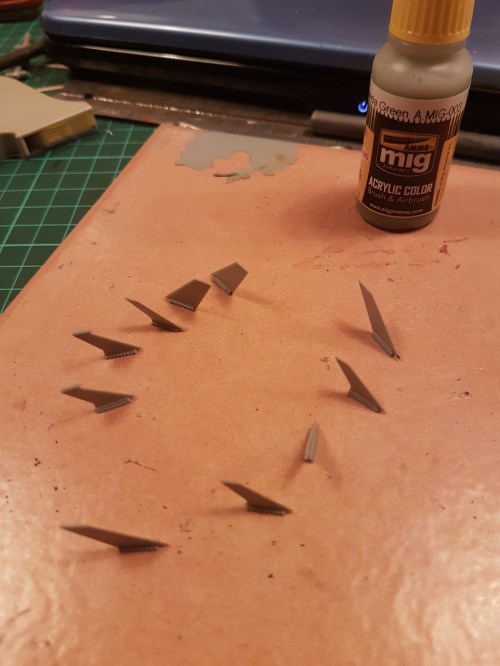
See the pictures below.

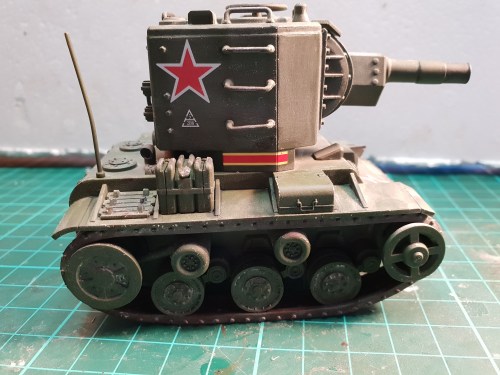
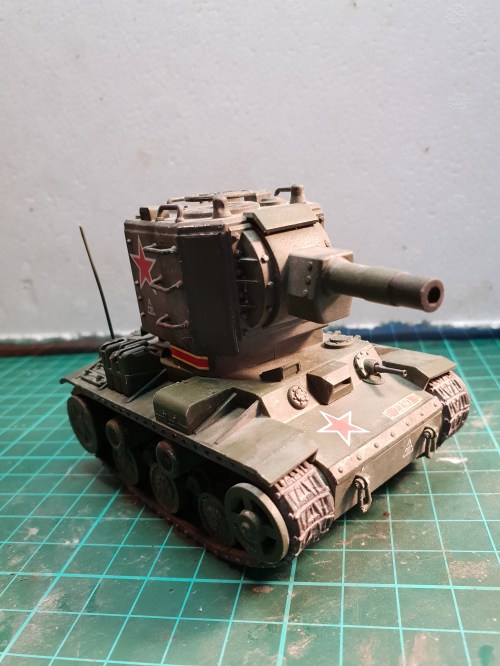
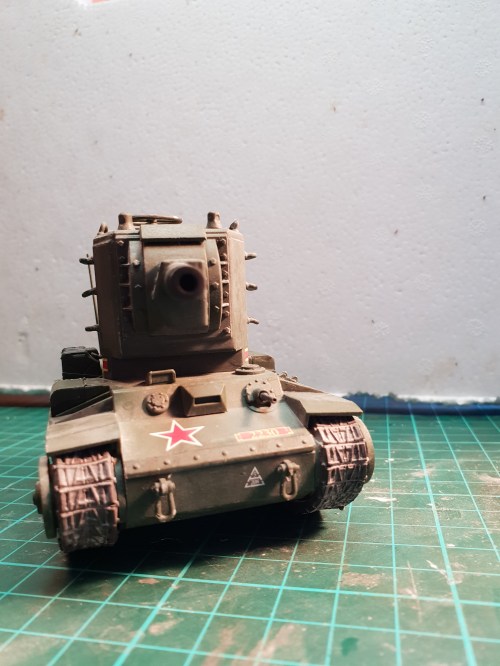
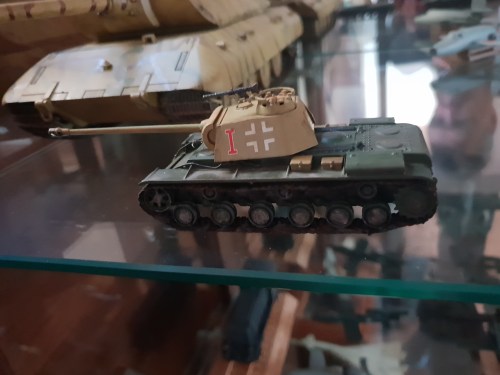
I ran into issues with varnishing the Meng Toon version and that is why things have dragged.

Its nearly done, just needs another small round of weathering.

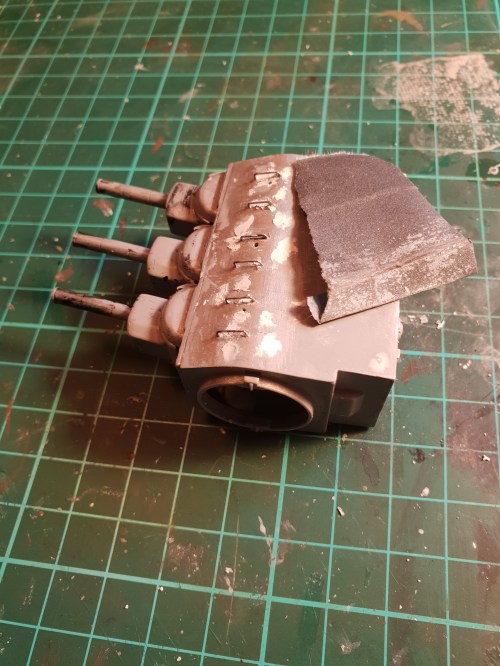
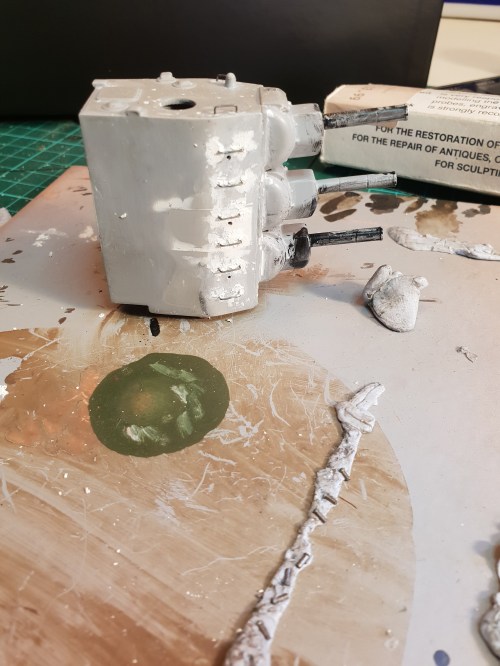
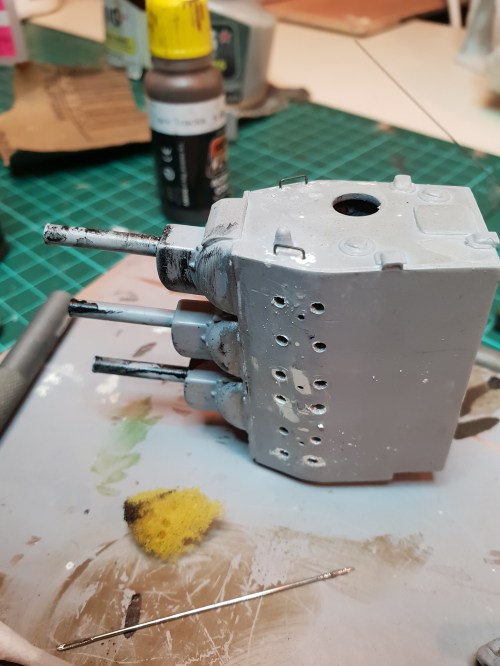
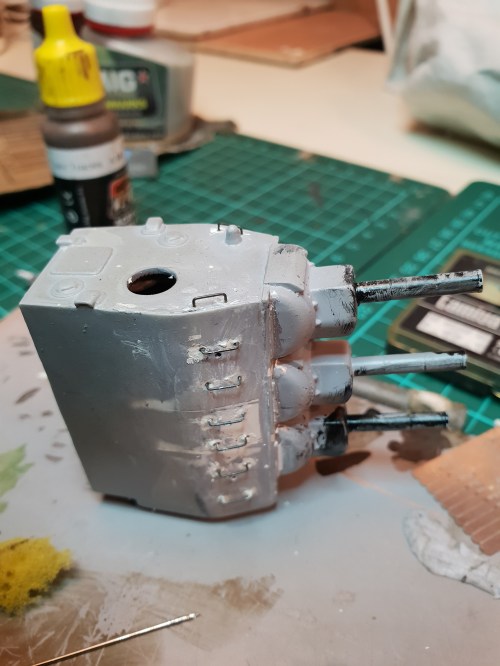
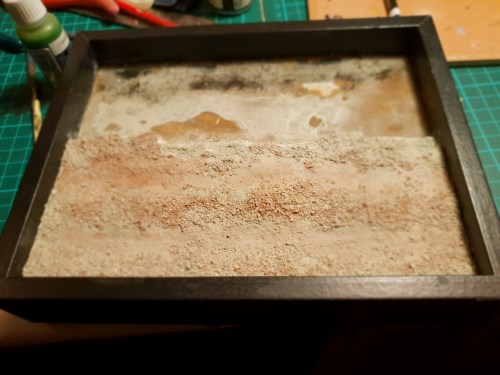
I’ve got one side of the rungs on the 3 storey turret in but as this is the beauty side i have one that i am tempted to redo. Painting and weathering should be easy I hope. On the diorama side of that i wasn’t ultimately happy with the mat i used so it got ripped out and I will need to buy a new one soon.

Another snowy KV2 day

Leave a comment

I

finished this on the weekend and am mostly happy with it. The IR sights are from a ModelCollect kit and I copied the support slab from the Modelcollect kit onto some thin sheet. I debated whether to add the black wires but in this scale they would be fiddly so I left them off.

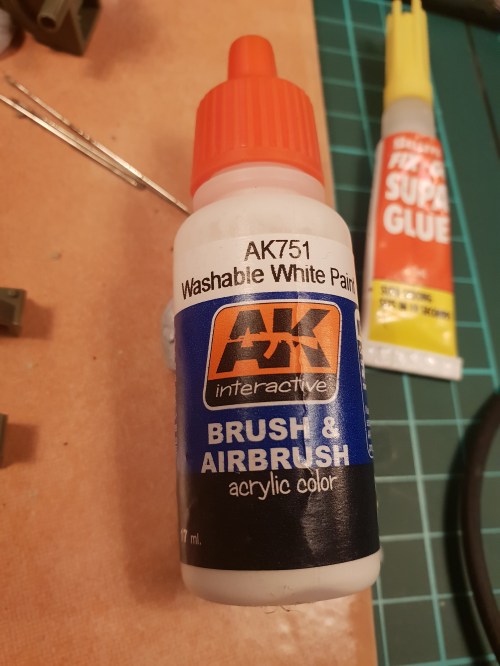
The whitewash is my first attempt at this. I used AK washable white over a matt varnish. When I initially tested this I did it on a old Airfix He 177 kit over a gloss varnish. This would have been a better idea for the final effort as the matt varnish caused the paint to stick better and so scrubbing off with a paint brush was more difficult. I got caught up with using a matt varnish to seal the decals in and forgot about the effect of using the wrong sort of varnish.

This is much easier than the hairspray method that is featured in the AFV magazines

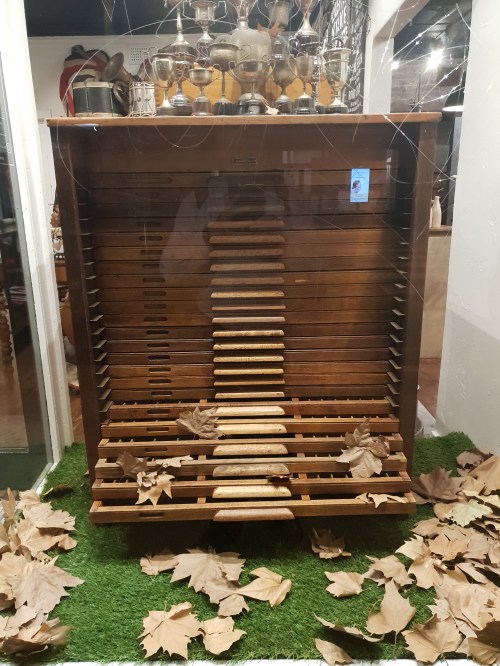
The last few photos are one of specimens in the Melbourne Museum followed by some serious storage drawer porn.

Not buying anything yet ad everything has a 4 figure price tag but its fun looking!

Catch up on KV2 land

Leave a comment

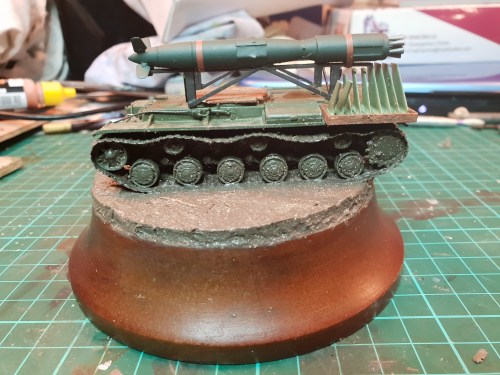
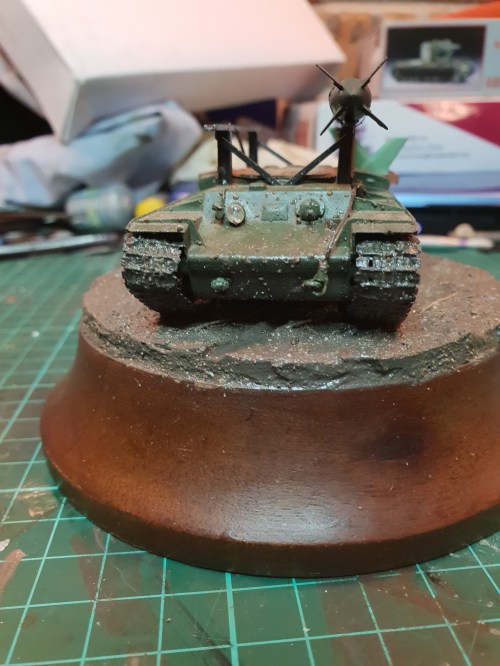
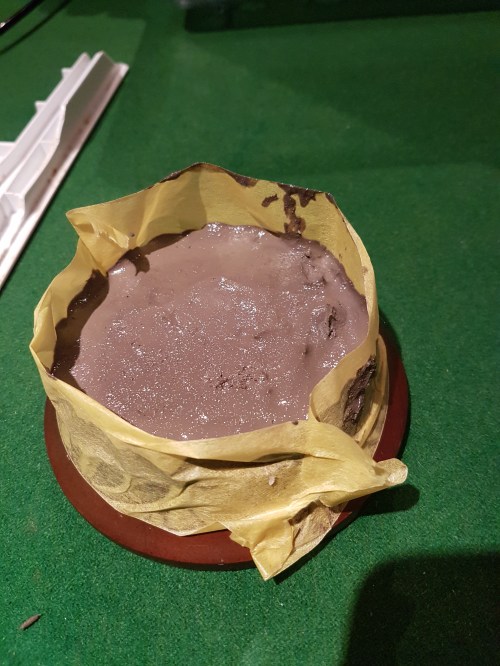
ok below are some pics from the finished munition schlepper KV2 and whatever else. The mud I used turned out well but a bit gloss so a little matt varnish was dabbed on in parts.

Zig Zag progress

Leave a comment

Firstly I will do a Melbourne show update but it may be a while.

I’m making progress on my three remaining KV2s but none are finished. AMS has set in on the 3 storey one so more details are being added slowly.

The Munitionschlepper is progressing slowly with most work being done on the diorama part. The mud has dried well with the little twigs in it but I had to work out a rough position for yhe model. Some mud has been added to the tank but more weathering will be done once it is all together.

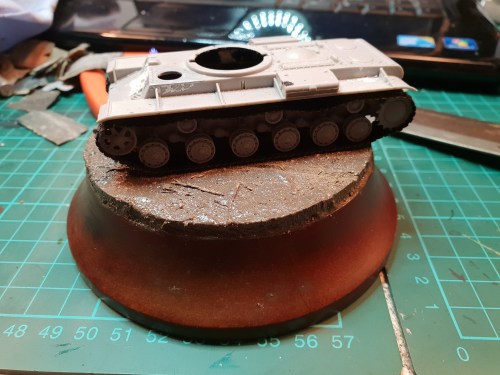
Next up is the Stug. The body is sprayed in green but still needs the whitewash. The turret is unpainted as it is the test bed for adding the metal rungs. I now have a metal bending template and this produces accurate rungs. Incidentally bending in the 5mm place produces a 5.5mm gap between the ends. This is because of the rounded corners produced. The rungs produced are reasonably consistent in size at least.

The templates have seperate strips that can be broken off to use for marking out the holes to be drilled. The Milliput is for an earlier attempt at 5.00 mm wide not the required 5.50 mm

Next up is the 3 storey one. The photos show the holes to drill for pistol ports being 3 per side. Also seen here is the open front viewing port. The door plate and opening hinges are also done and awaiting fixing at the end.

The thinned empty light fitting has also been done but not added.

I need to added the pistol port plugs, inset steps and rungs.

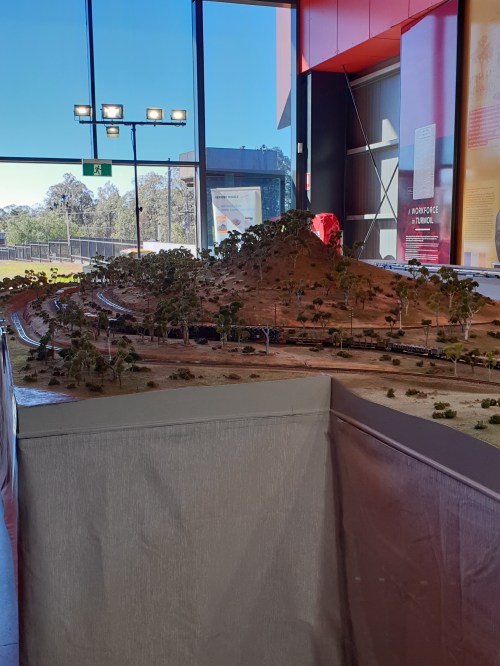
Lastly is a shot of the workbench which is a bit crowded with kits, old DVD’S and other junk from a recent cleanup upstairs.

And a few other bits

KV2 progress report

1 Comment

I currently have 3 KV2s in various stages of completion along with the Meng toy version yet to be started.

Munition schlepper

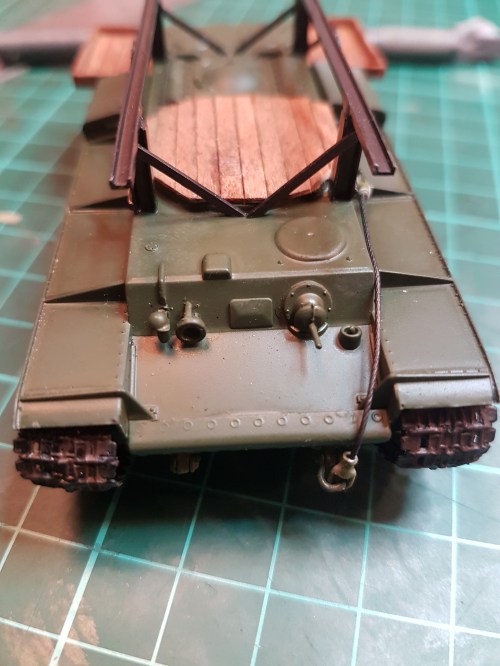
This is almost there except for weathering. The rocket is yet to be painted due to the recent cold wet weather. Ive added the cross braces.

This tank will go on a small plinth with some AK Mud for the base. This is out in the lounge to get it dry

Next up is the Stug which is mostly waiting for the steps to be created using a tool coming from Japan. It needs a little sanding on the turret and will get a whitewash scheme.

Last up is the 3 storey turret which also needs steps but is coming together slowly. The base is slowly getting there also.

Last post before Melbourne

Leave a comment

Off to Melbourne this weekend for the national show. Im aiming to fit in 2 games of AFL and 1 of VFL also. Hopefully I will arrive back inspired and ready to finish a few things.

I was not happy with the rungs on the Stug and potentially the 3 storey turret KV2 so I have ordered a wire bending jig from HLJ which will hopefully give me even looking rungs.

I’ll be doing some last pieces of bracing and weathering on the weapons carrier KV2 as a priority when i get home. I also have some tow ropes to complete so that will occupy next weekend complete with blue air based on previous occasions. Last on this update is my new jacket bought in rural Victoria last summer. I found it hot then unsurprisingly but its still quite warm in my unlined garage on a cold Sydney winter day!

Quick update

Leave a comment

Just some photos.

Firstly the rocket carrier. The first rail for a rocket is now on along with the boxes for the fins. In hindsight I could have fitted another rail but there would not be anywhere to put the fins anyway. The fins will be done on a light green with the main body in Dark Green 82.

Stug turret

Leave a comment

Have added a turret fron the dpares box and eventually will add a night sight. I now have turret steps in wire added to replace the solid plastic steps of

the kit which were awful.

Below are some photos for the rail construction on the rocket carrier.

Book

Leave a comment

Just got this from Book Depository – much cheaper than local $85 vs $125 and packed well.

That the price includes postage is great.

Progress Pic

Leave a comment

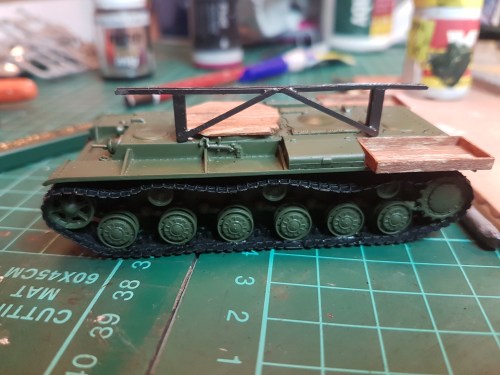
On the right is the KV2 Munition schlepper with some of the storage bay for the rocket fins started on the front right.

On the left is the Stug KV2 version.

Both kits are in the process of having the tracks added. This is by far the hardest part of the kit to make it look half decent. I now do this on the bottom but there is lots of stretching and tweaking to get it right. I do not like one piece rubber band tracks.
Older Entries Newer Entries