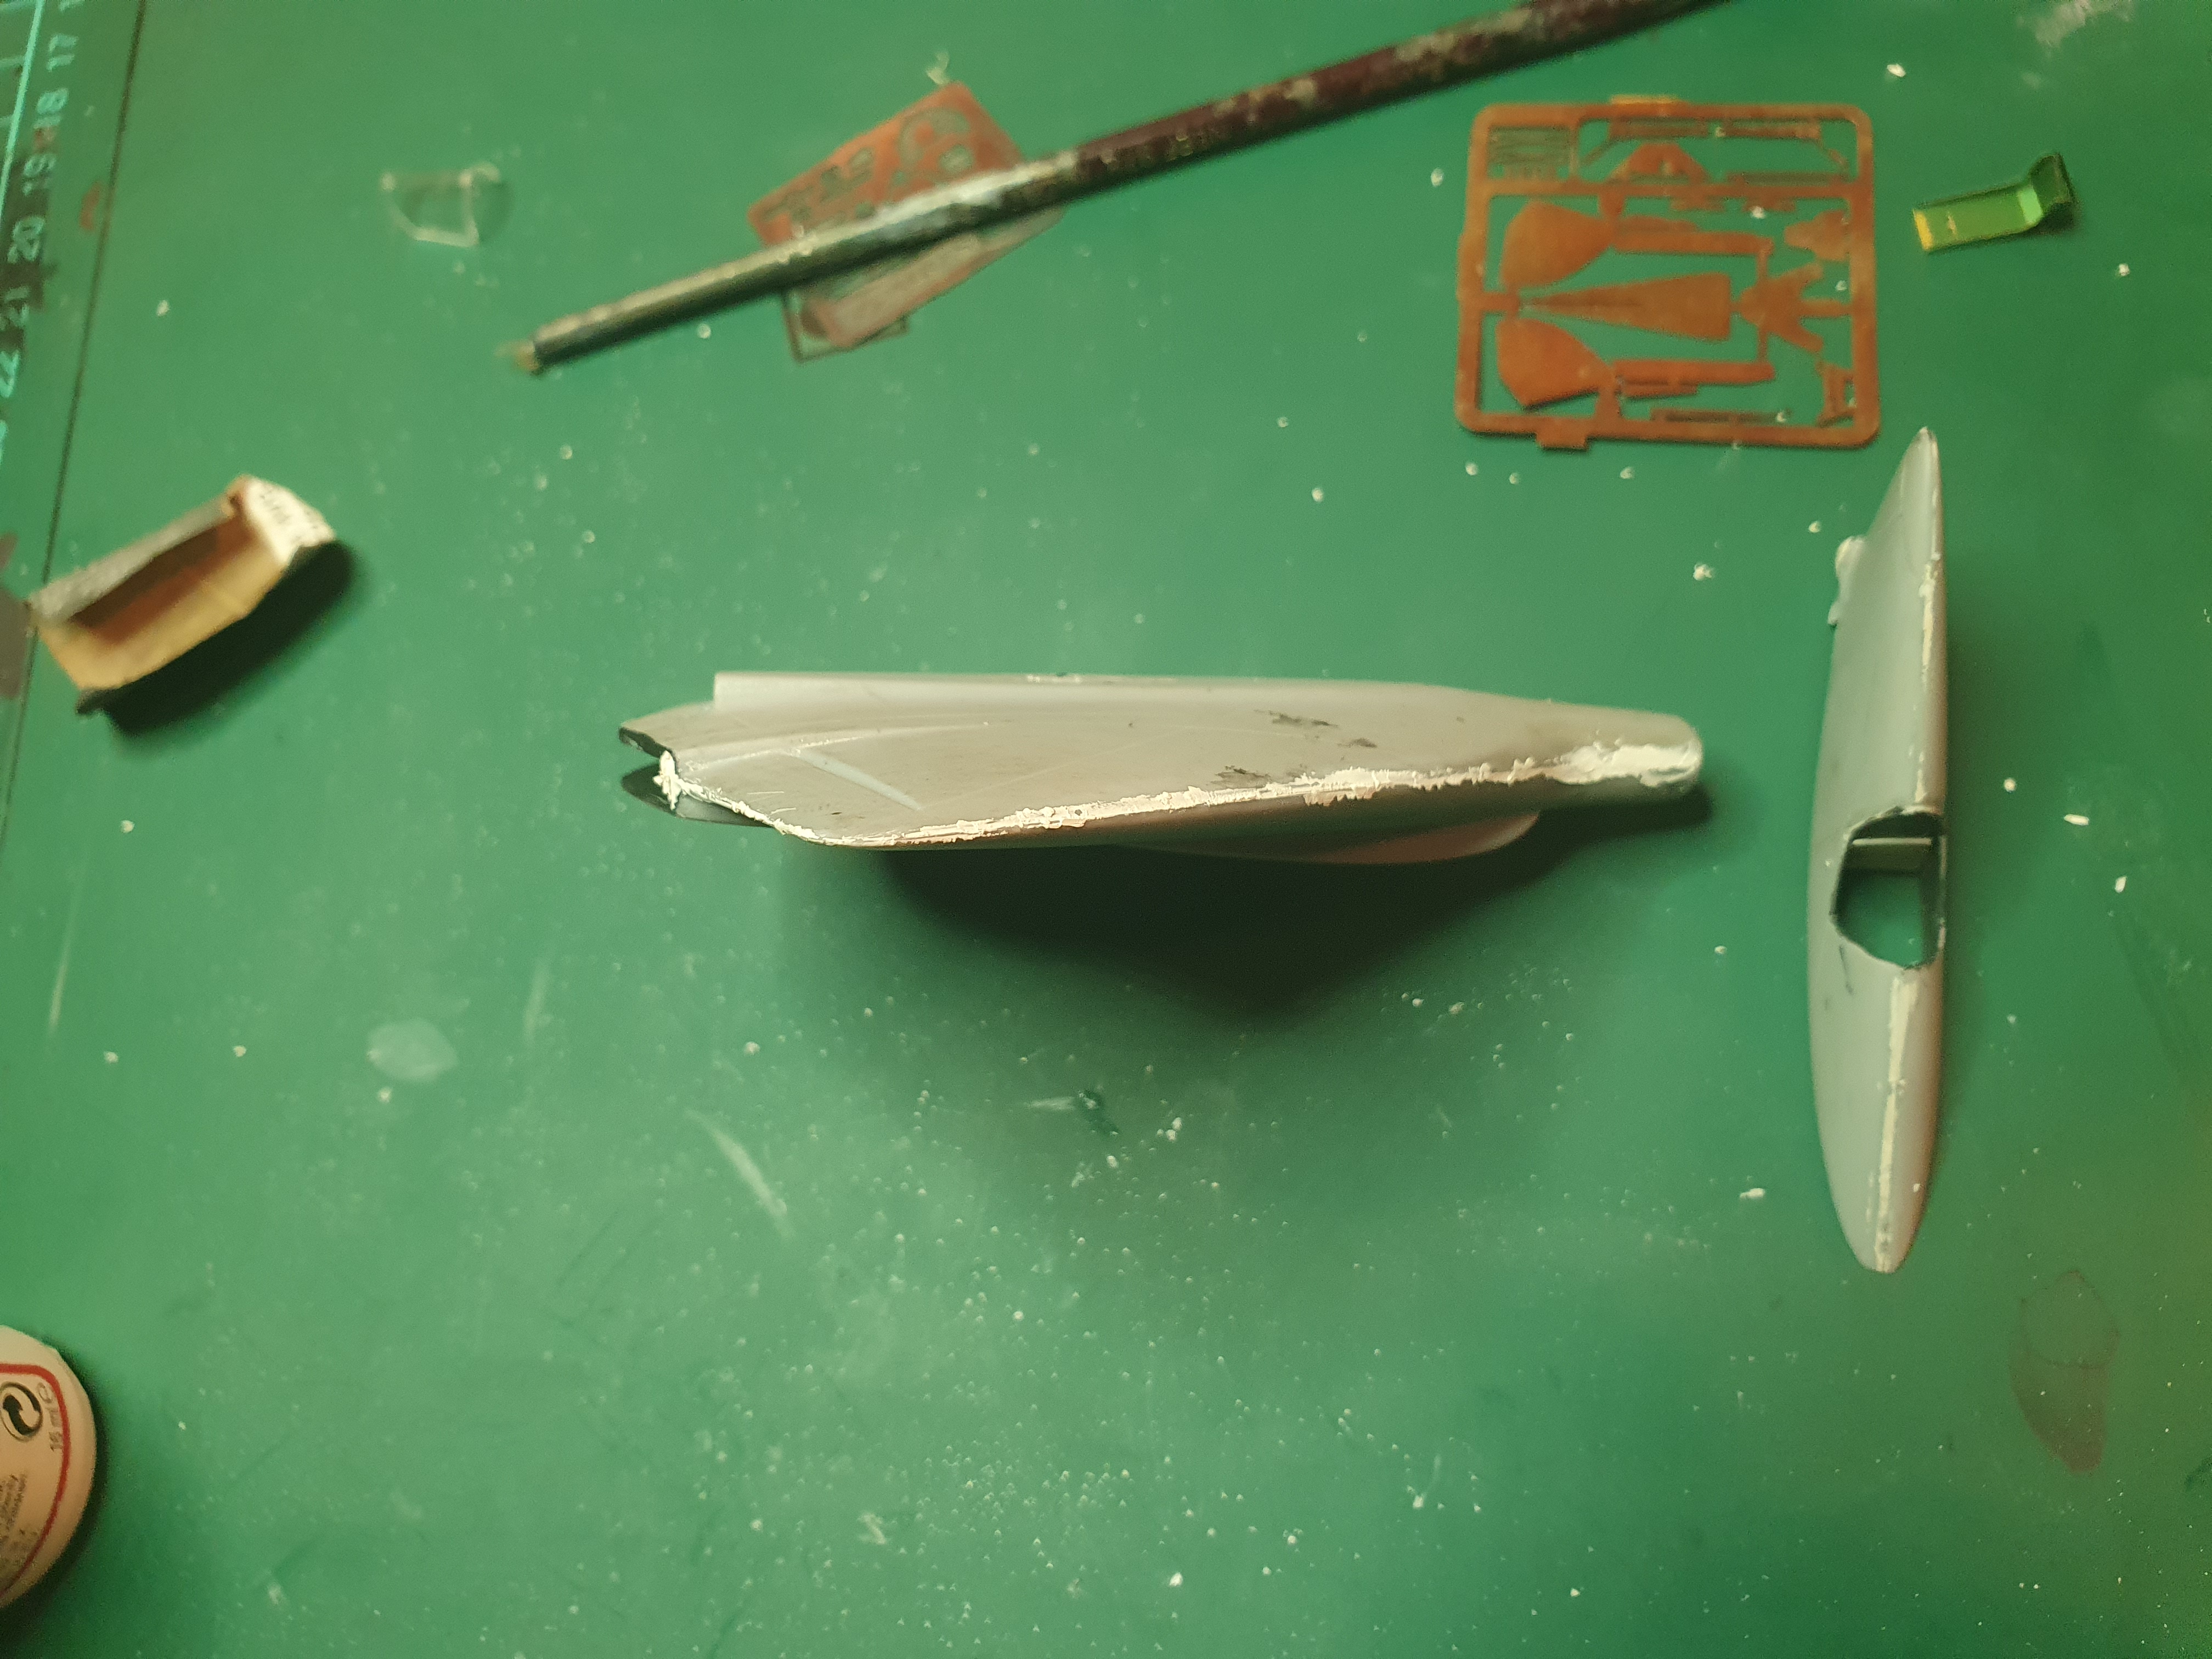
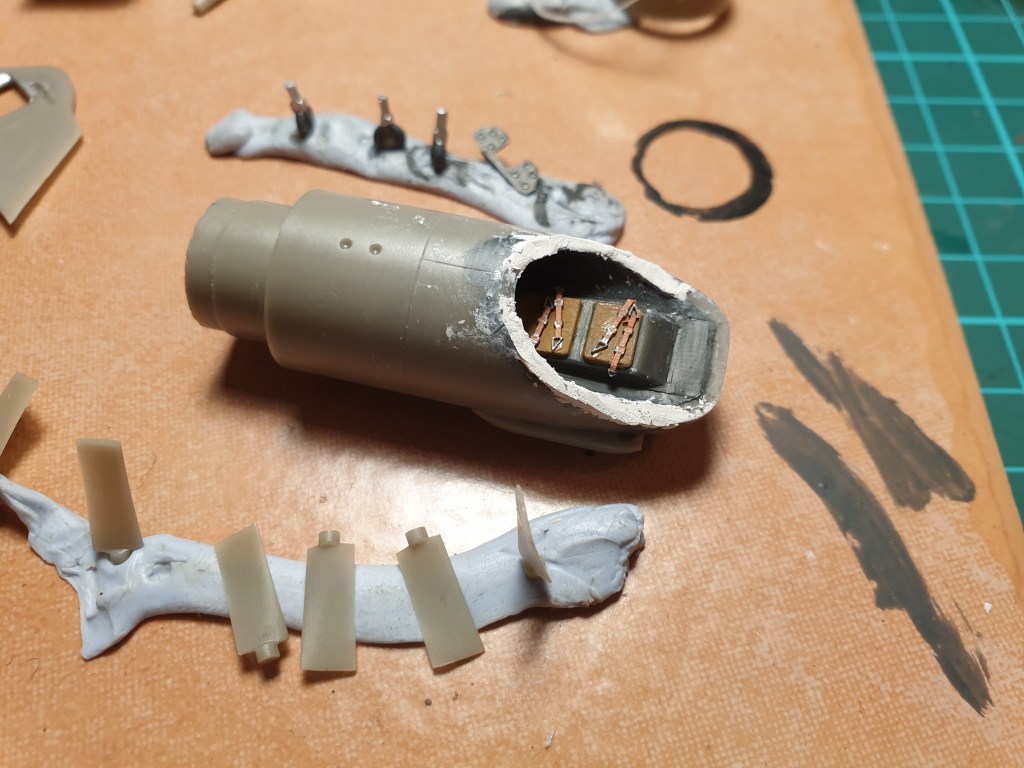
Did a bit more yesterday. I’ve got the two body halves joined and Milliputed now.
I’ve also started some work on the cockpit by thinning the sidewalls and adding in a backplate for the seat. I’ve also added in a rocket engine at the back of the tail in metal tube. I had to break out the faux Dremel for the first time in years to carve out this hole as the Dremel drills were too large. Surprisingly it still works.
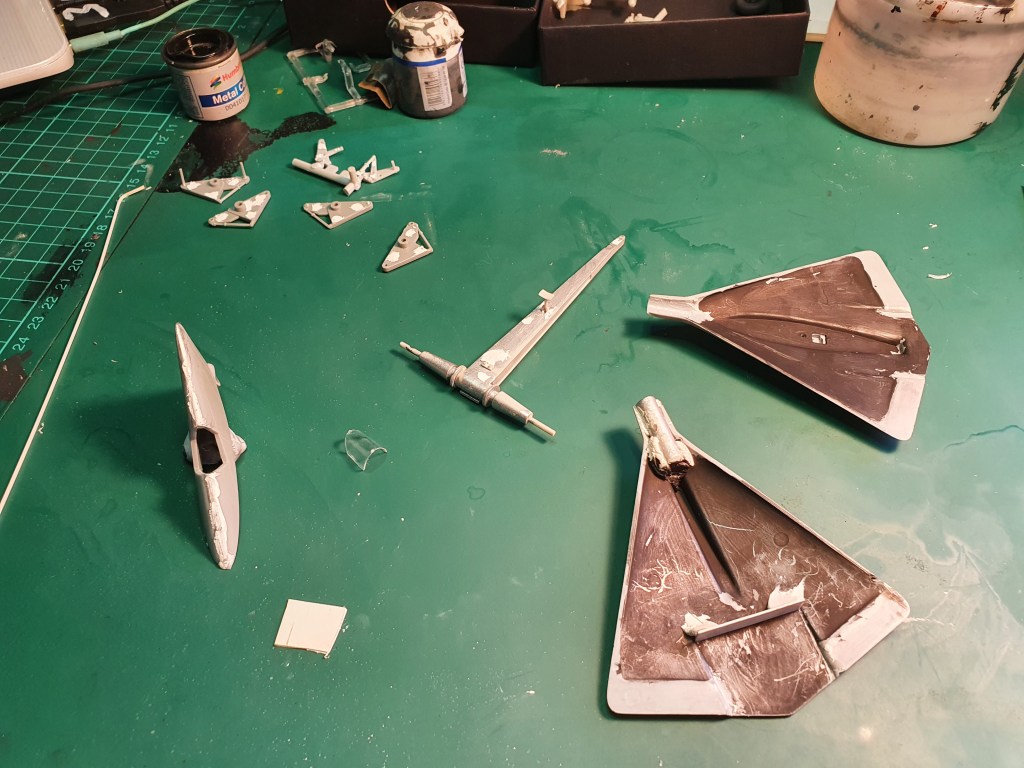
More work over the last two days. I was going to do the rear exhaust area in Milliput but have now switched to plastic card.
Putting the plastic card at the cockpit rear has incidentally improved the canopy fit in at least one dimension of the three.
I’ve also quickly assembled a German etch brass seat that fits in now. I’m going to thin the cockpit walls a little so I can fit in some instrument panels along the side. Not joining the fin in yet is allowing me work in the cockpit area at least.
Some changes after a fair bit of modelling. I’ve put the kit trolley back in the spares box and dug out the trolley for the Ar E377 from the Dragon.
As I’ve already done most of the filling and sanding already this seems the better option. Again this was from the spares box.
Note the blocking plate is now in the bottom section. I’ve also found a drawing for the cockpit as a side view so will be using that for detailing purposes. The square of plastic at the front is now in as a backing plate to start boxing in the cockpit.
Last year was disappointing for the known reasons and I didn’t get any models finished but I now have a pile of 9 ready to paint kits.
I’m going to do some more airbrush practice on Wednesday so maybe I will be able do some real painting this month.
In the meantime I have dug out the PM Lippisch P13a kit. It’s a reasonably well known kit but not necessarily in a good way. It’s a simple kit in terms of parts count but otherwise has lots of fit issues and parts that are just too simple in their detail level.
There is a good review on Modelling Madness which summarises the issues well – canopy does not fit and the cockpit needs better details, intake needs replacement with a metal tube as does the rocket at the rear, a blanking plate in the middle, the trolley wheels are too simple and shitty decals.
As I go along you’ll see what I have done.
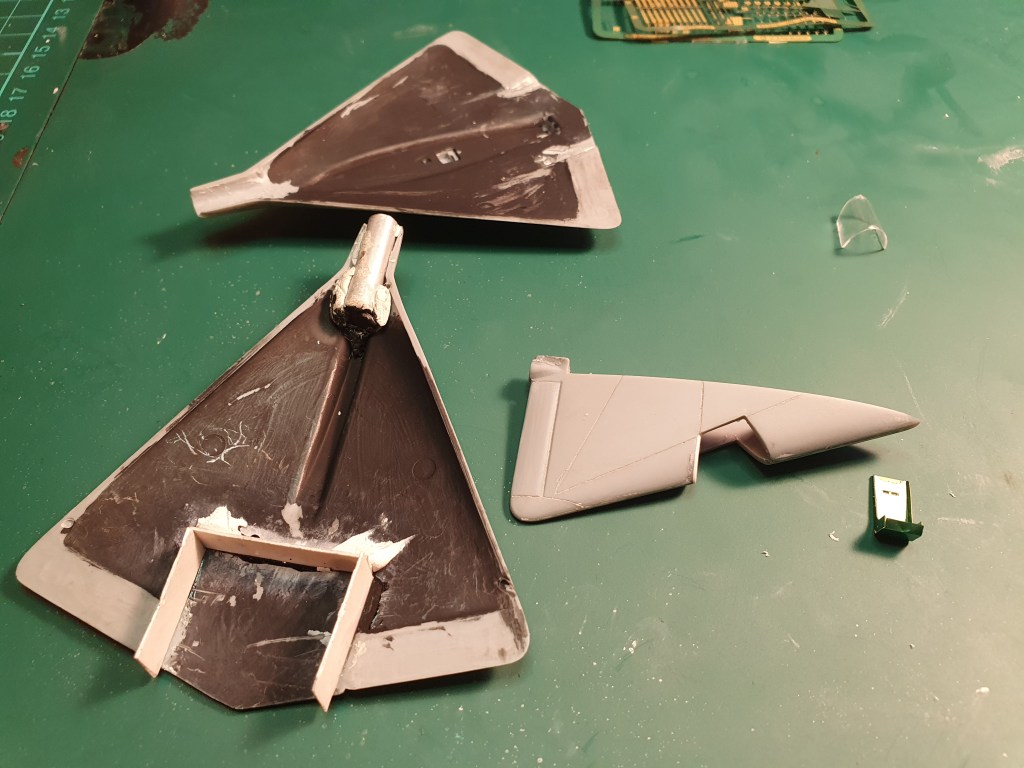
This was after I sanded off the pebbly surface and removed the location tabs
Intake in after some Dremeling (RHS) and lots of Milliput .I’m going to keep the fin portion apart for a while until I fix up the cockpit and canopy area and then fit it.
I did find two diagrams of roughly what the cockpit area should look like at least.
The pilot sits up surprisingly high according to these diagrams.
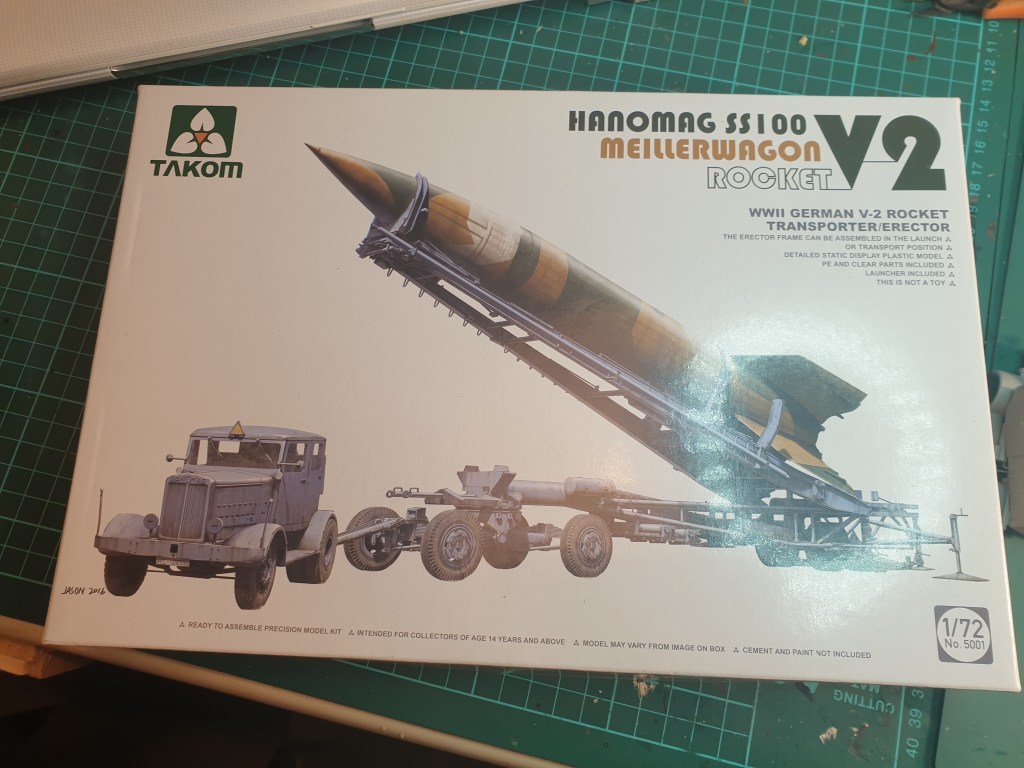
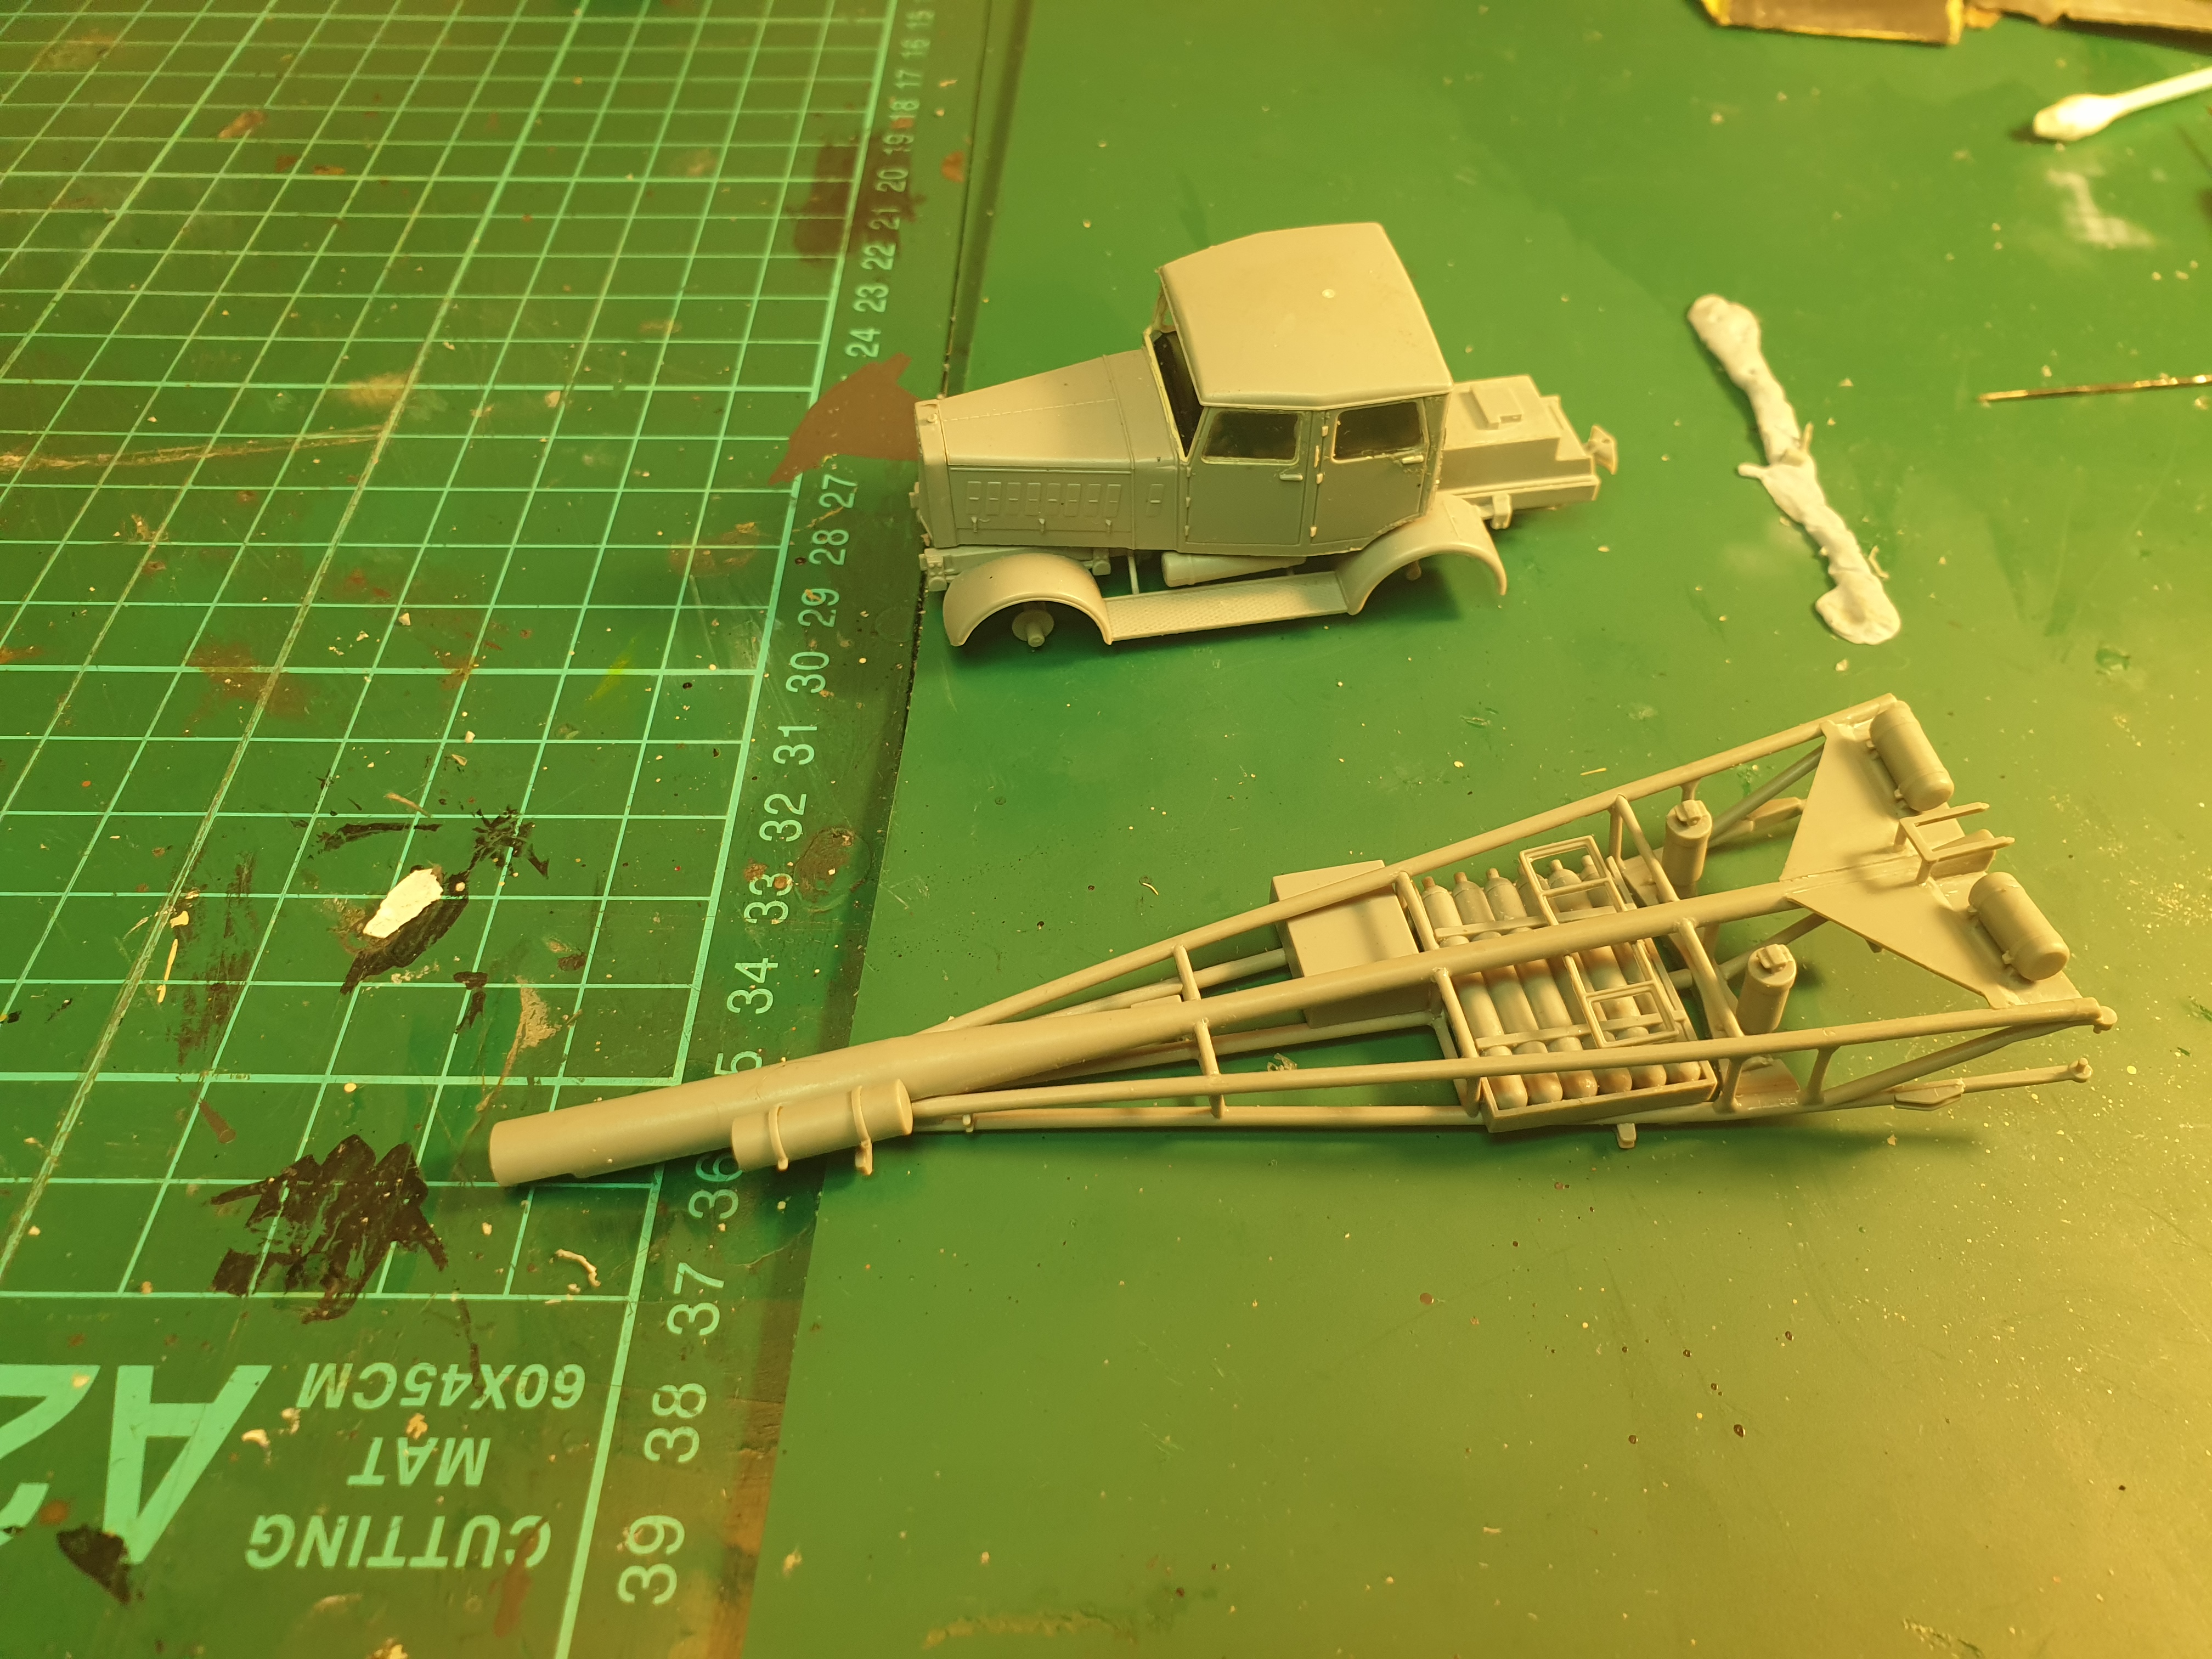
This is a quick update on this kit from Takom in 1.72
Its certainly well detailed and the Hanomag doesn’t seem to have some of the issues Special Hobbies one did. The Meillerwagen is lots of pieces stuck together with a bit of a tendency when trying to add some parts for other bits to be knocked off. Adding the jacks to raise and lower the cradle has been a bit of a struggle at times.
I’m taking a weeks break so no real modelling will be done but maybe some magazines might get read.
There’s a lot going on here with 36 stages to complete and assembly has involved using multiple glue types to get things together.
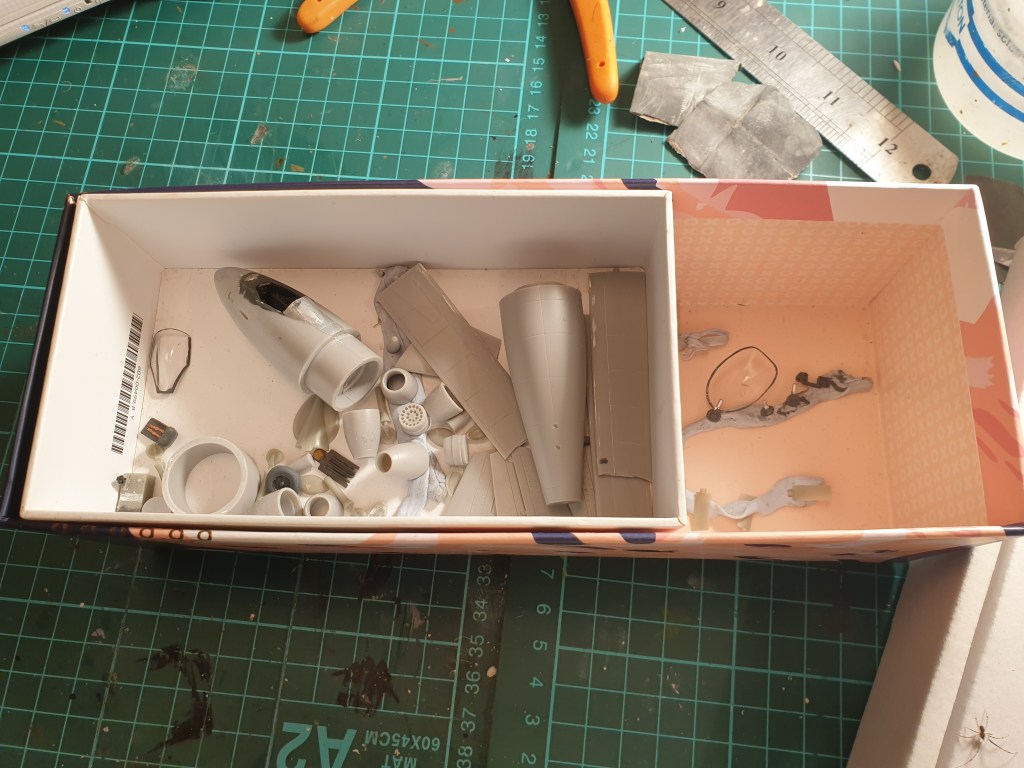
Well both these L46 resin kits have drained my mojo at the canopy stage. Both kits have all the parts cut out and trimmed up but fitting the canopies has dragged on and I have stopped for now.
I intend to do some airbrush practice over the long weekend and a brief clean of the desktop. I will probably start on something else for the moment.
Some Archer transfers decals arrived today also with some of the creature eyes already packed up to give to a friend.
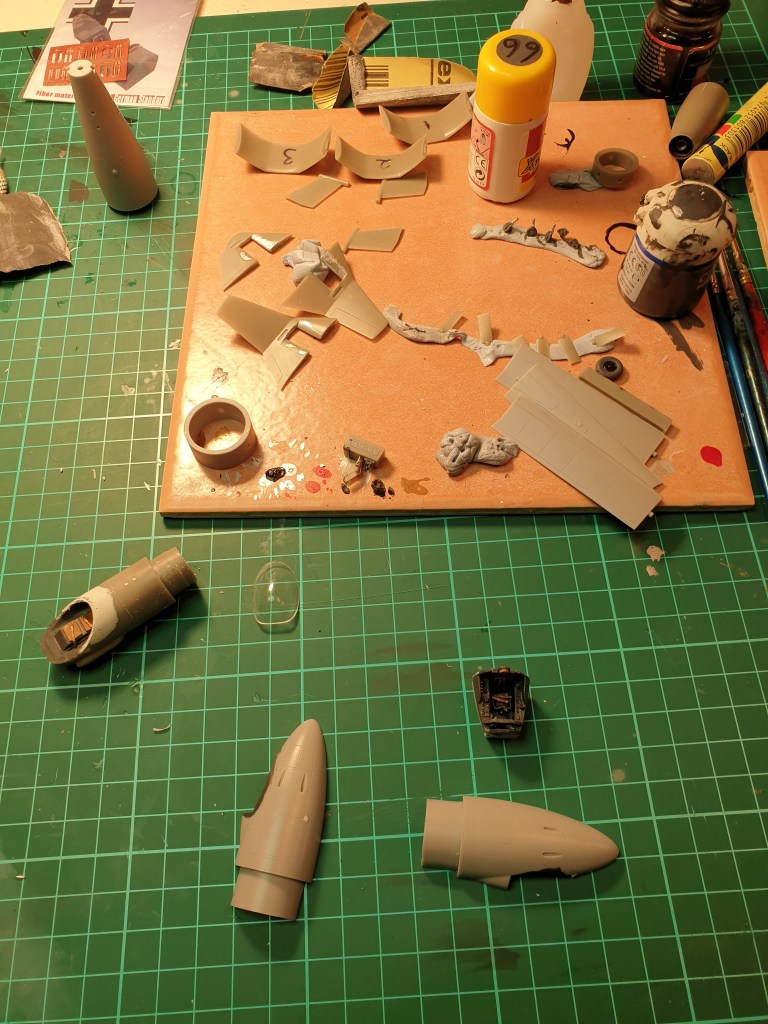
Currently I’m working on both the Heinkel Wespe and the Fw Triebflugel. The Wespe is on its 6th or 7th PSR cycle for fitting the damned canopy ( bottom left) and the Triebflugel is moving along except for the wings, cutting these out and getting them straight along the edge is proving problematic but that’s tomorrows job. The cockpit is painted ( bottom right ) but needs some fettling to fit.
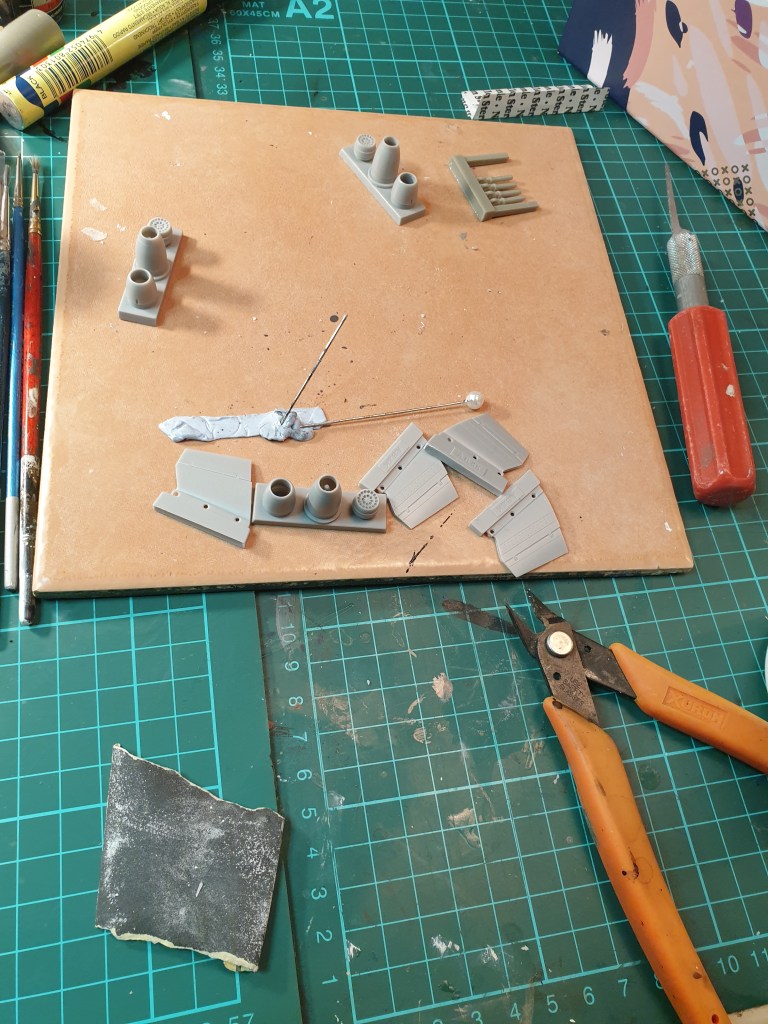
I’m still yet to cut out the nine engine pieces and the four tailplanes but again a job for tomorrow as its a day off.
Below is some of the Triebflugel (sadly this word comes up as an option after only 3 letters ) parts. Top left is the bottom of the body which I’ve already cut the moulding plug off. Some of the other parts are marked in black to indicate how much resin will be carved off. The moulding is very good quality with nice panel lines and rivet marks.
I’ve just test fitted the canopy and whilst it’s fine on the front and back the sides have gaps which explains the Milliput you see below.
I can do a couple of other things tonight but this will need to get sorted tomorrow for any other progress to occur. Cutting out the Triebflugel parts may be a backup exercise tomorrow.