After Xmas modelling

2 Comments

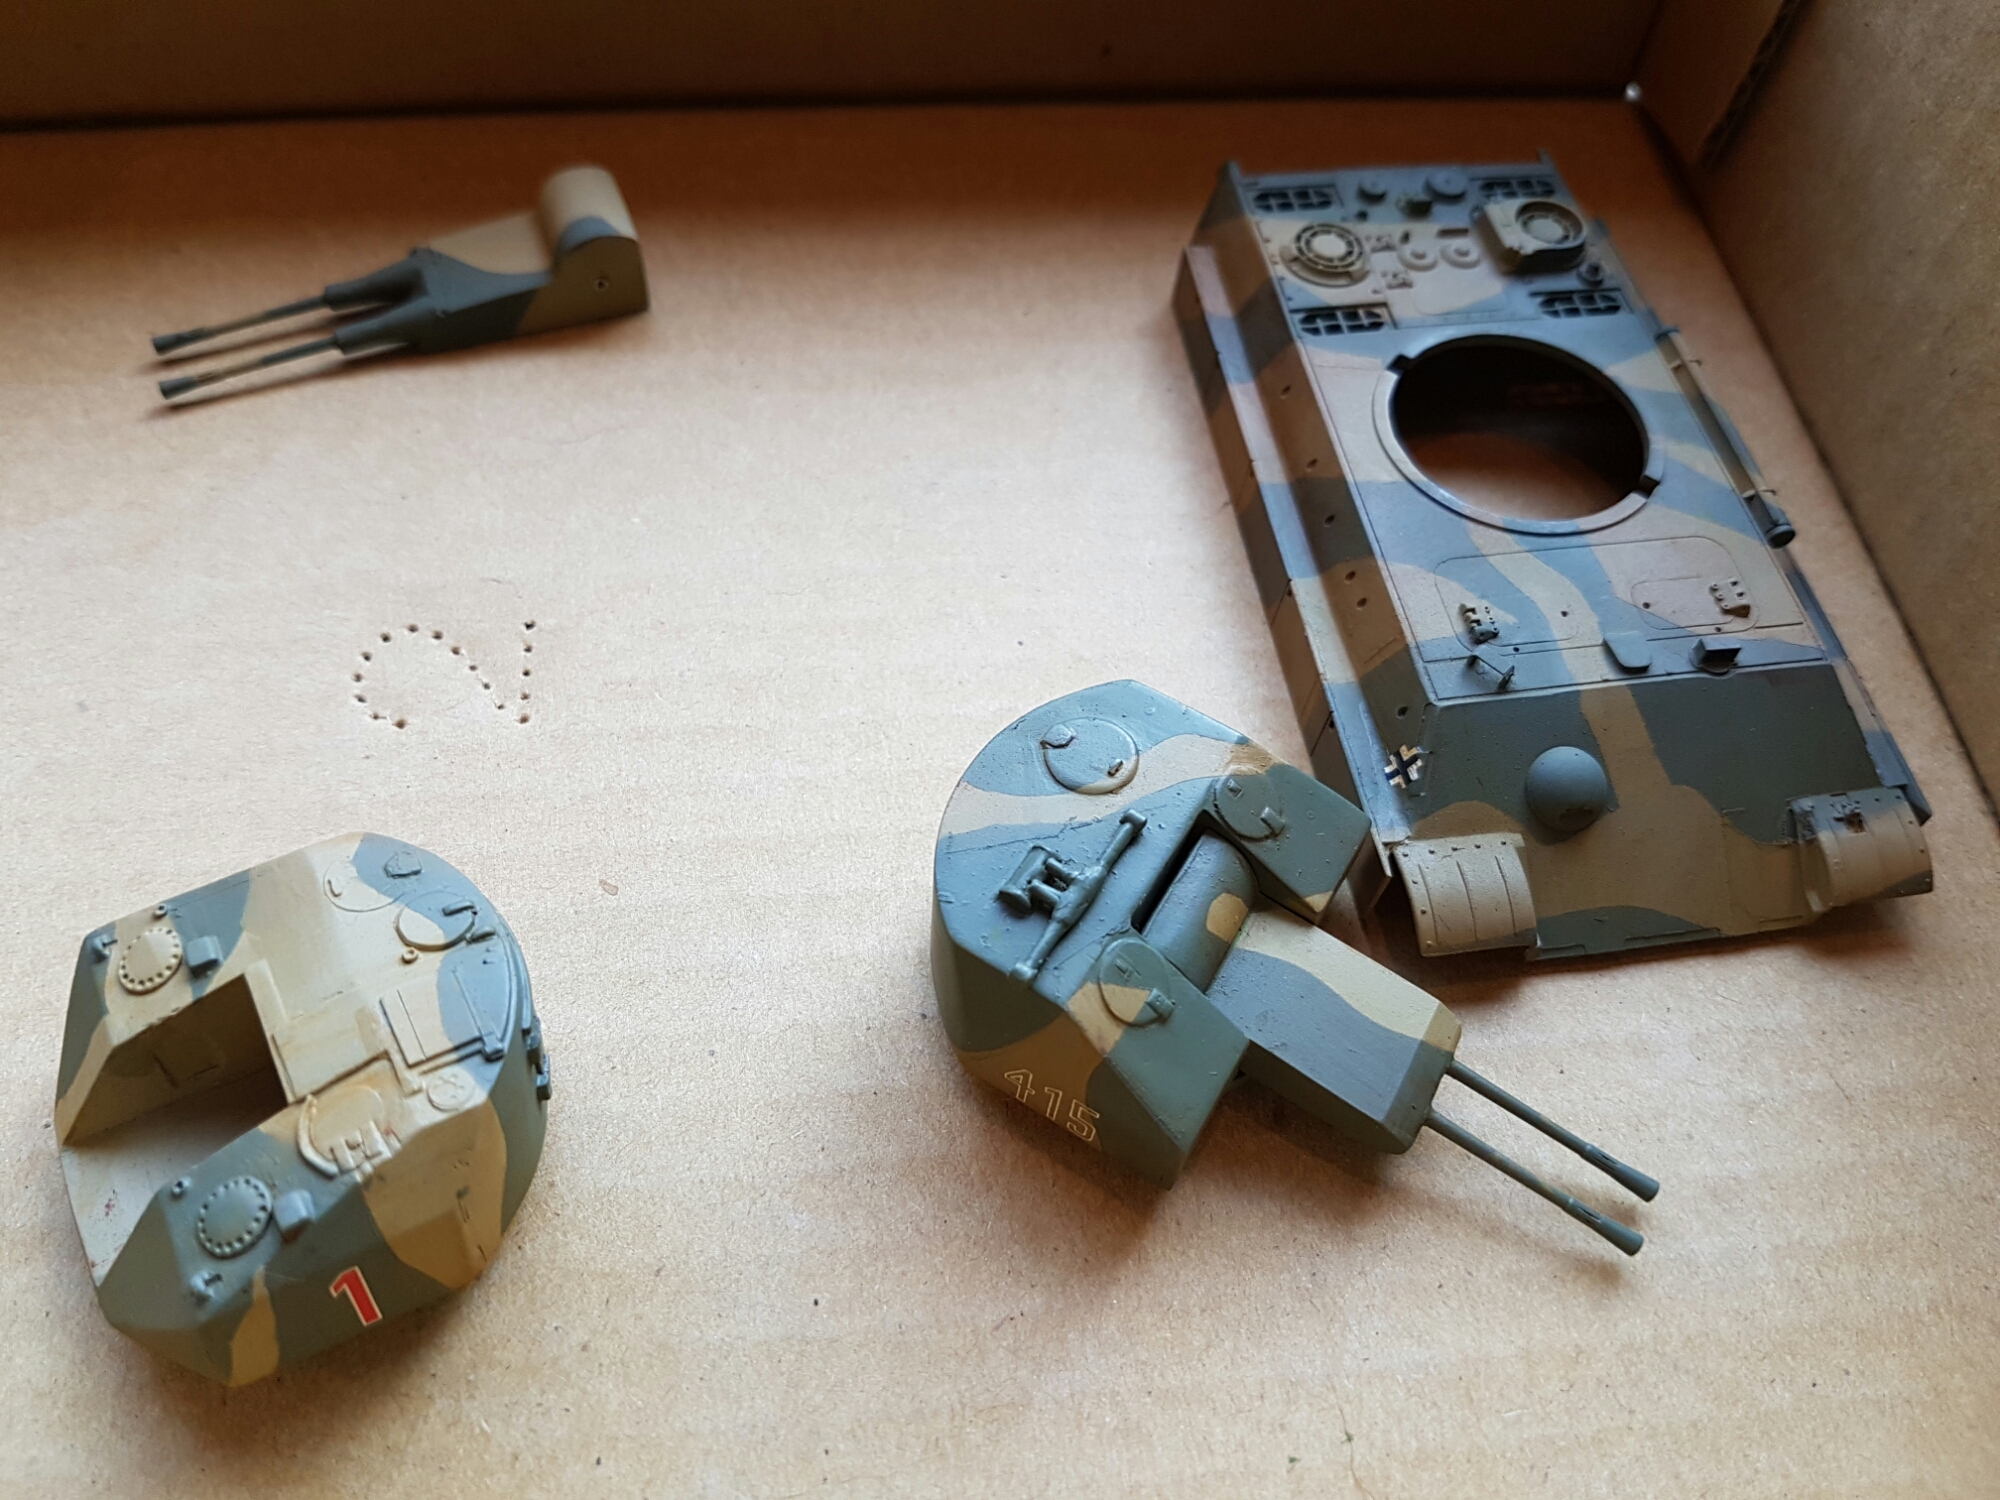
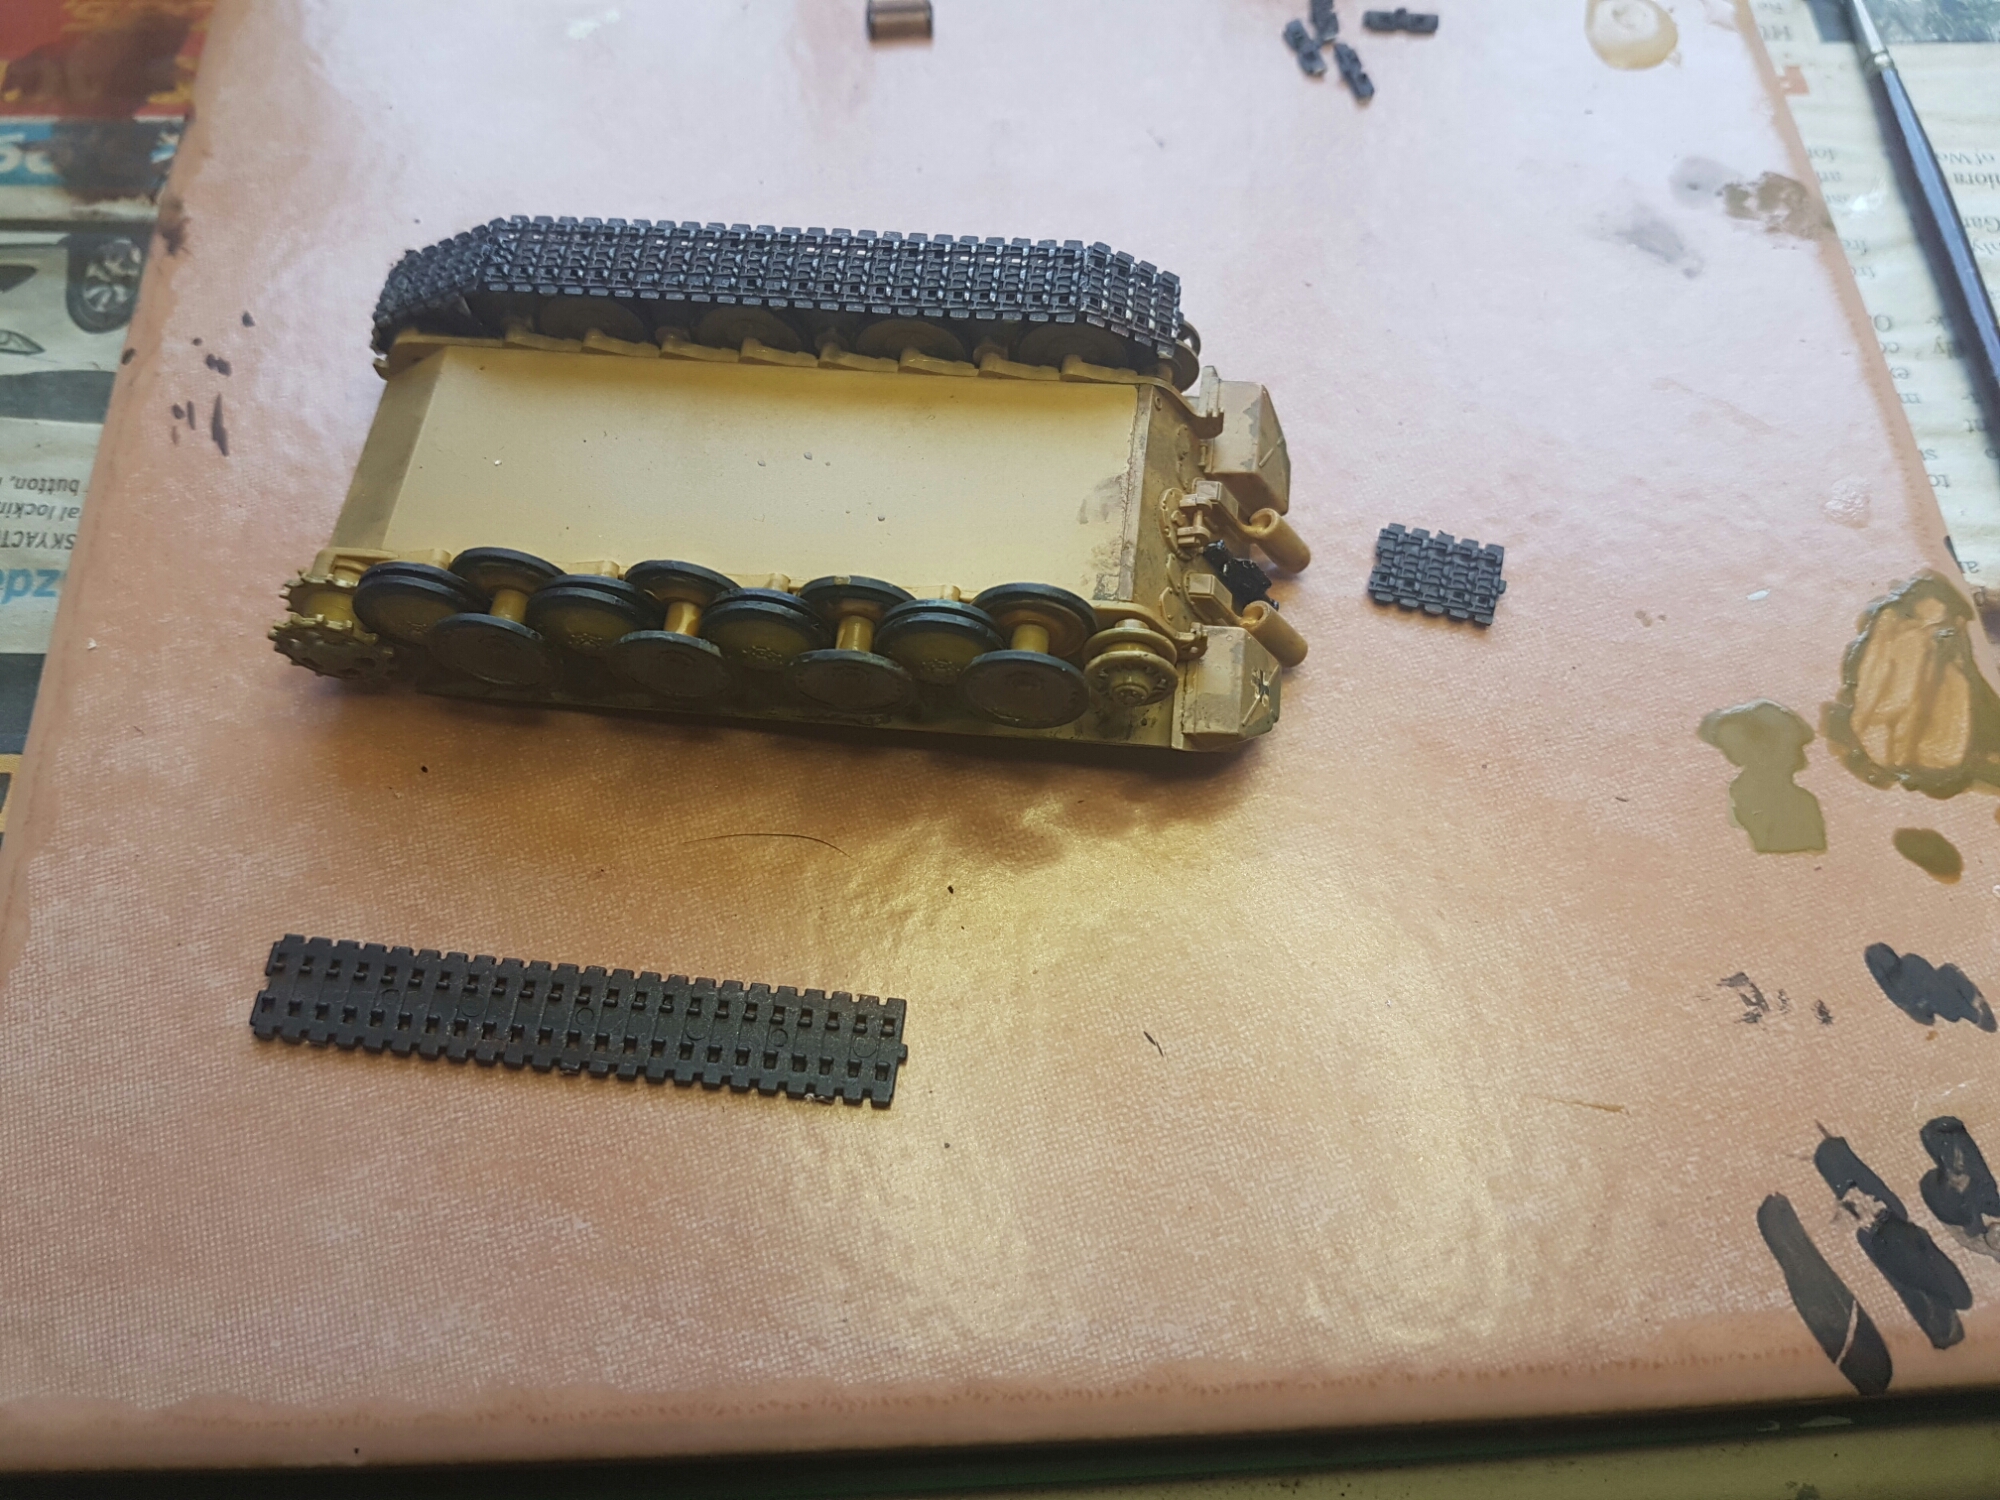
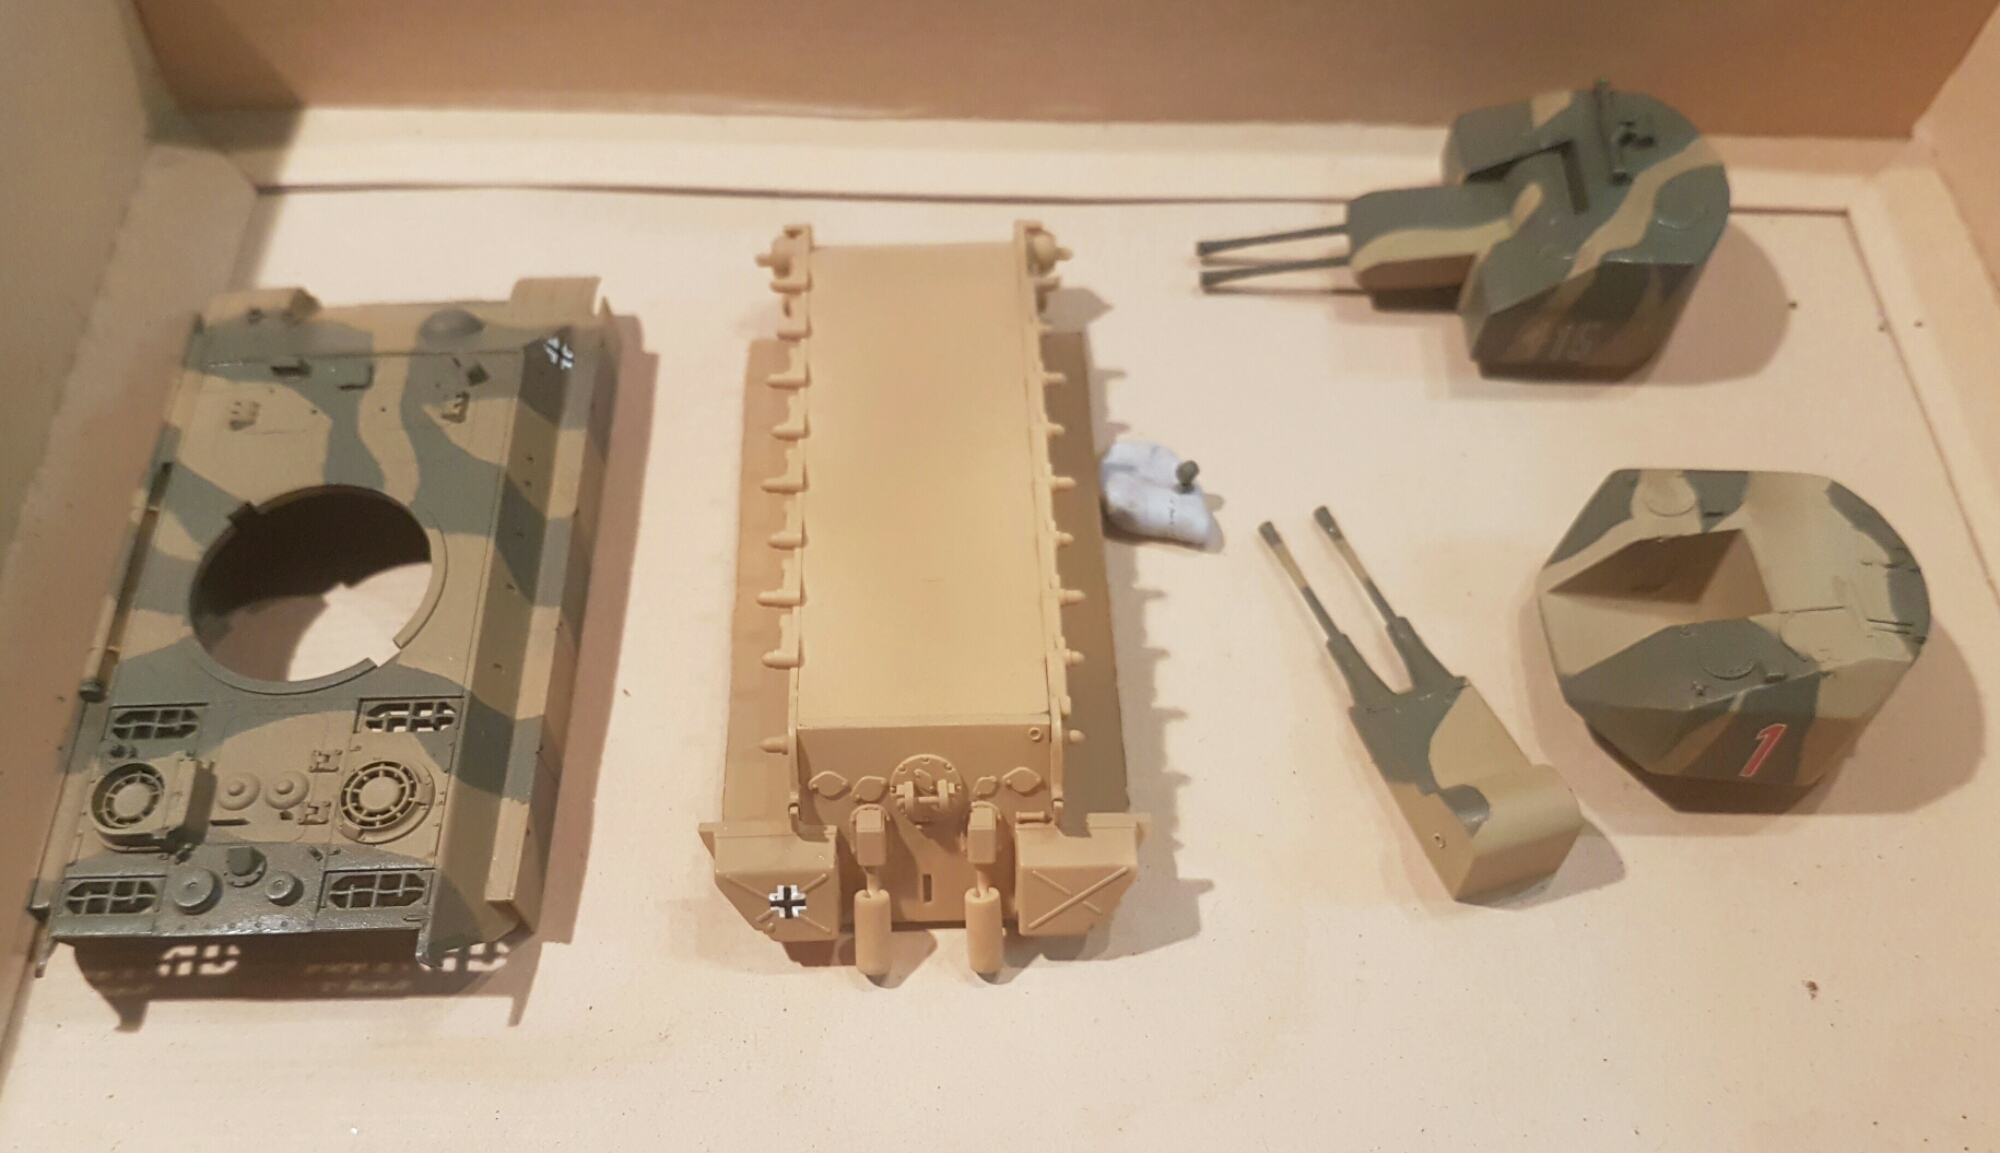
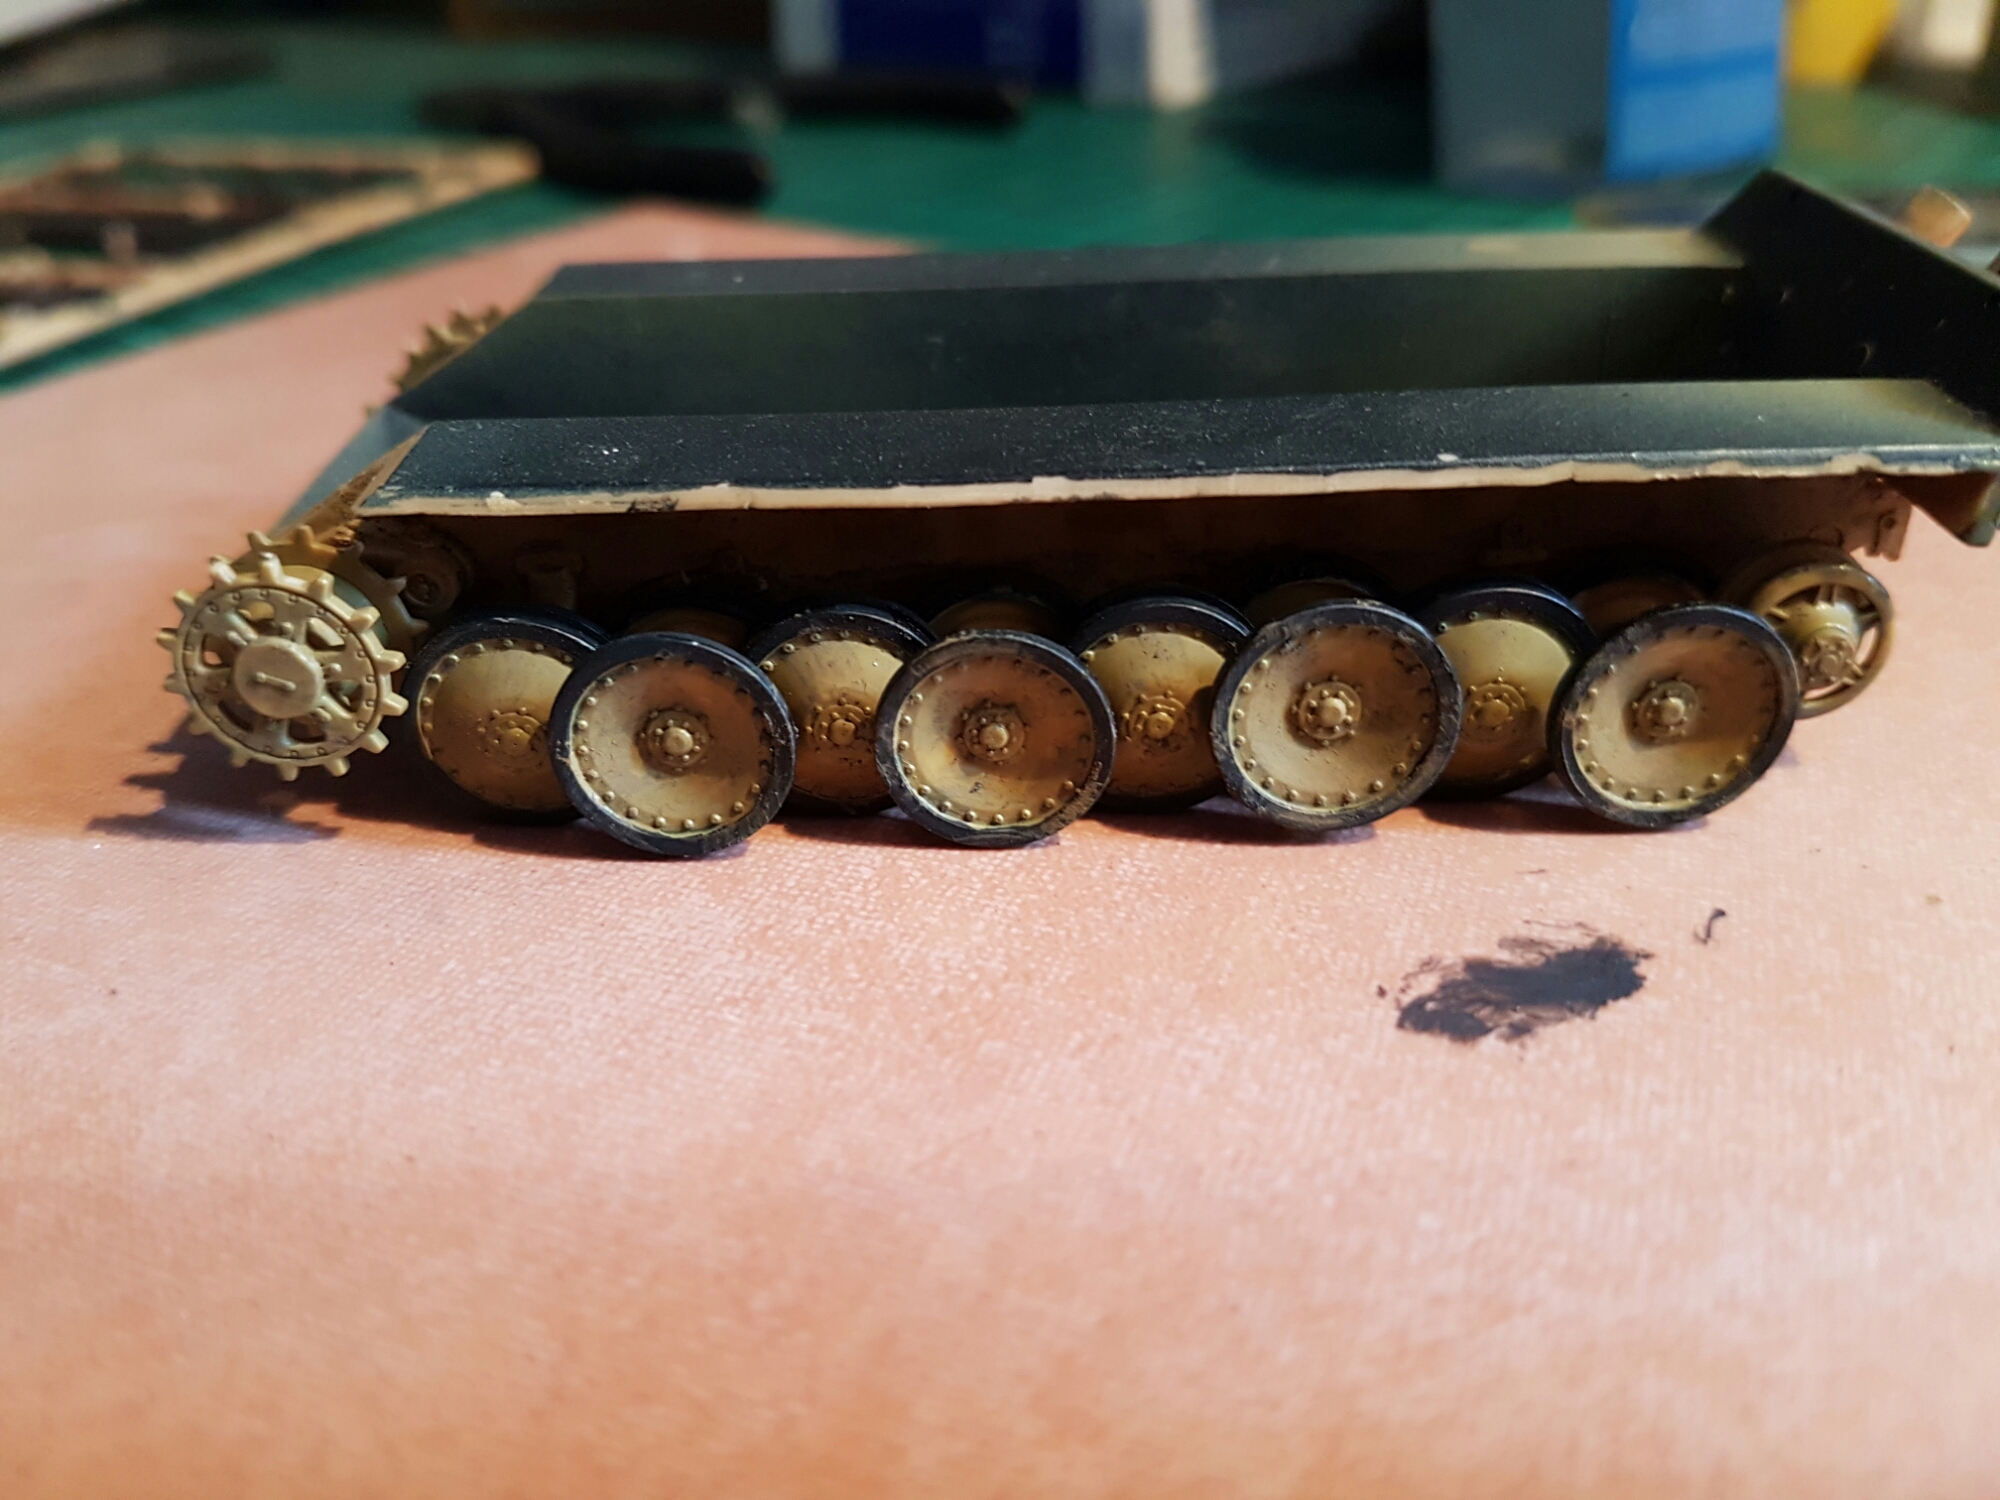
Ok a little while since the last update. I have been concentrating on the AA Panther with a little weathering and the true joy of track construction. I am nearly finished one side and just started with one piece on the other with 6 links left on the other side.

Hopefully I will finish it by the 31st to make 4 kits finished in one year. after last year that is great.

Back home – time for modelling

Leave a comment

I will share the Telford experience later in a separate post.

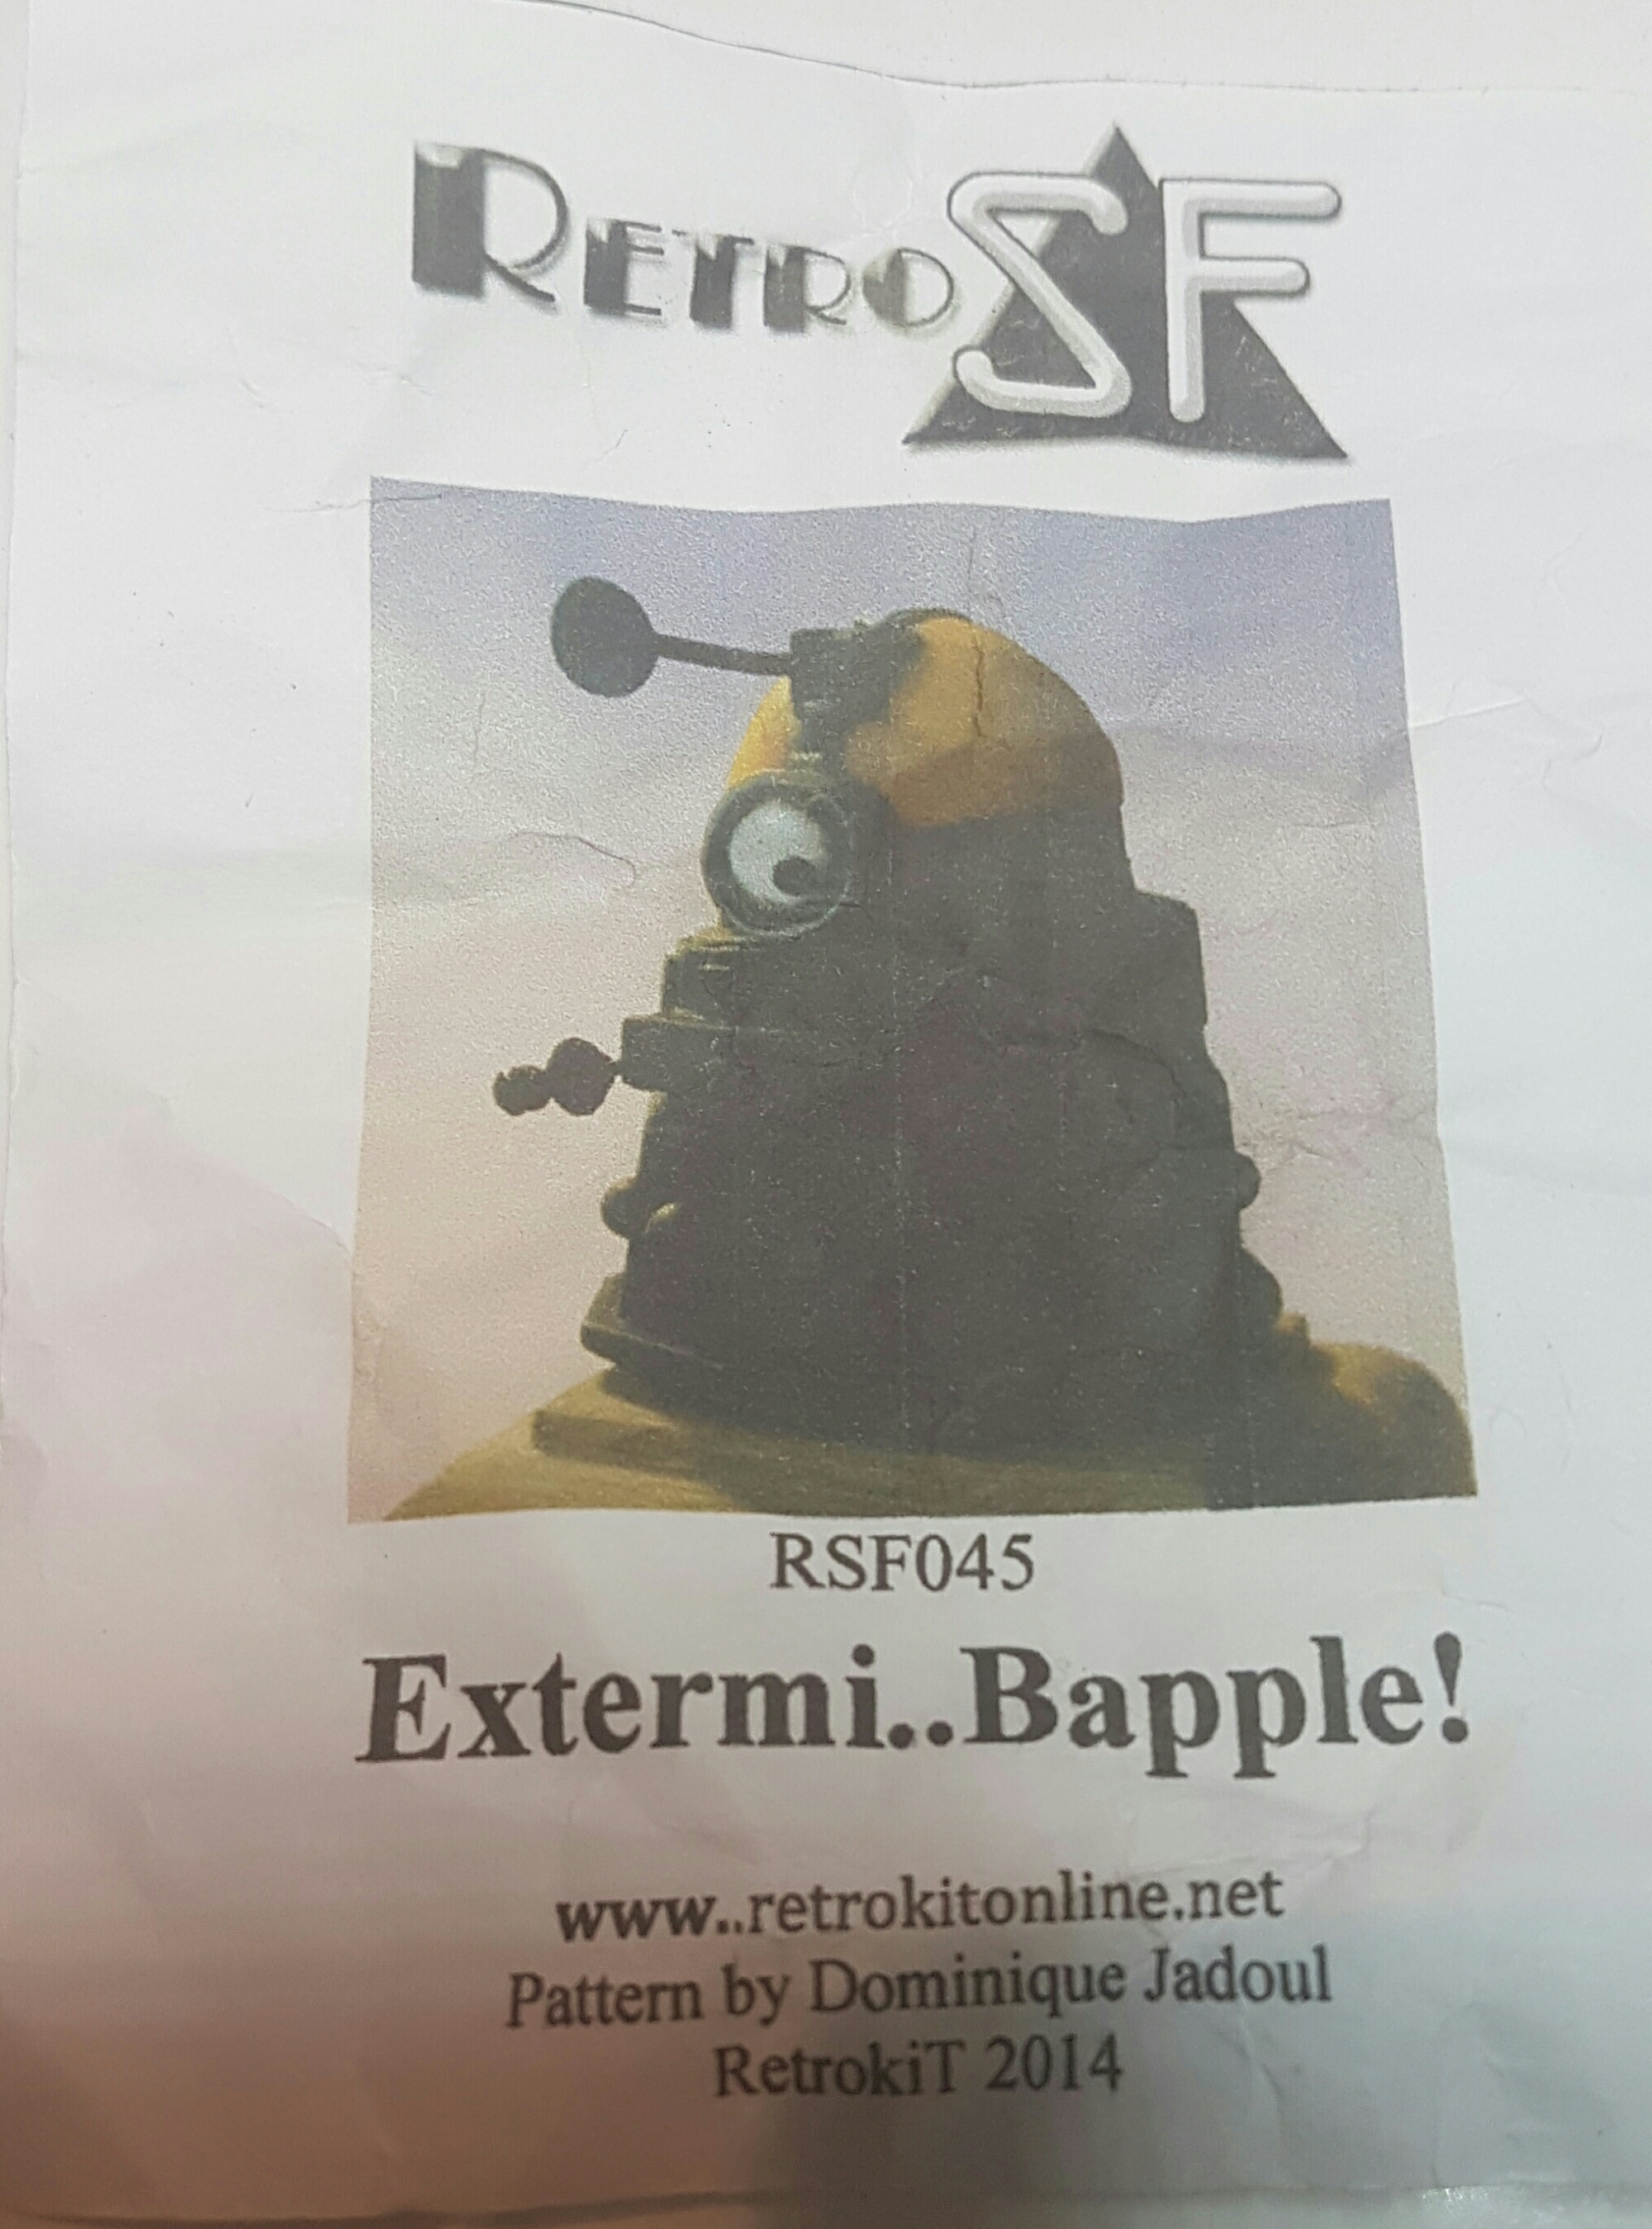
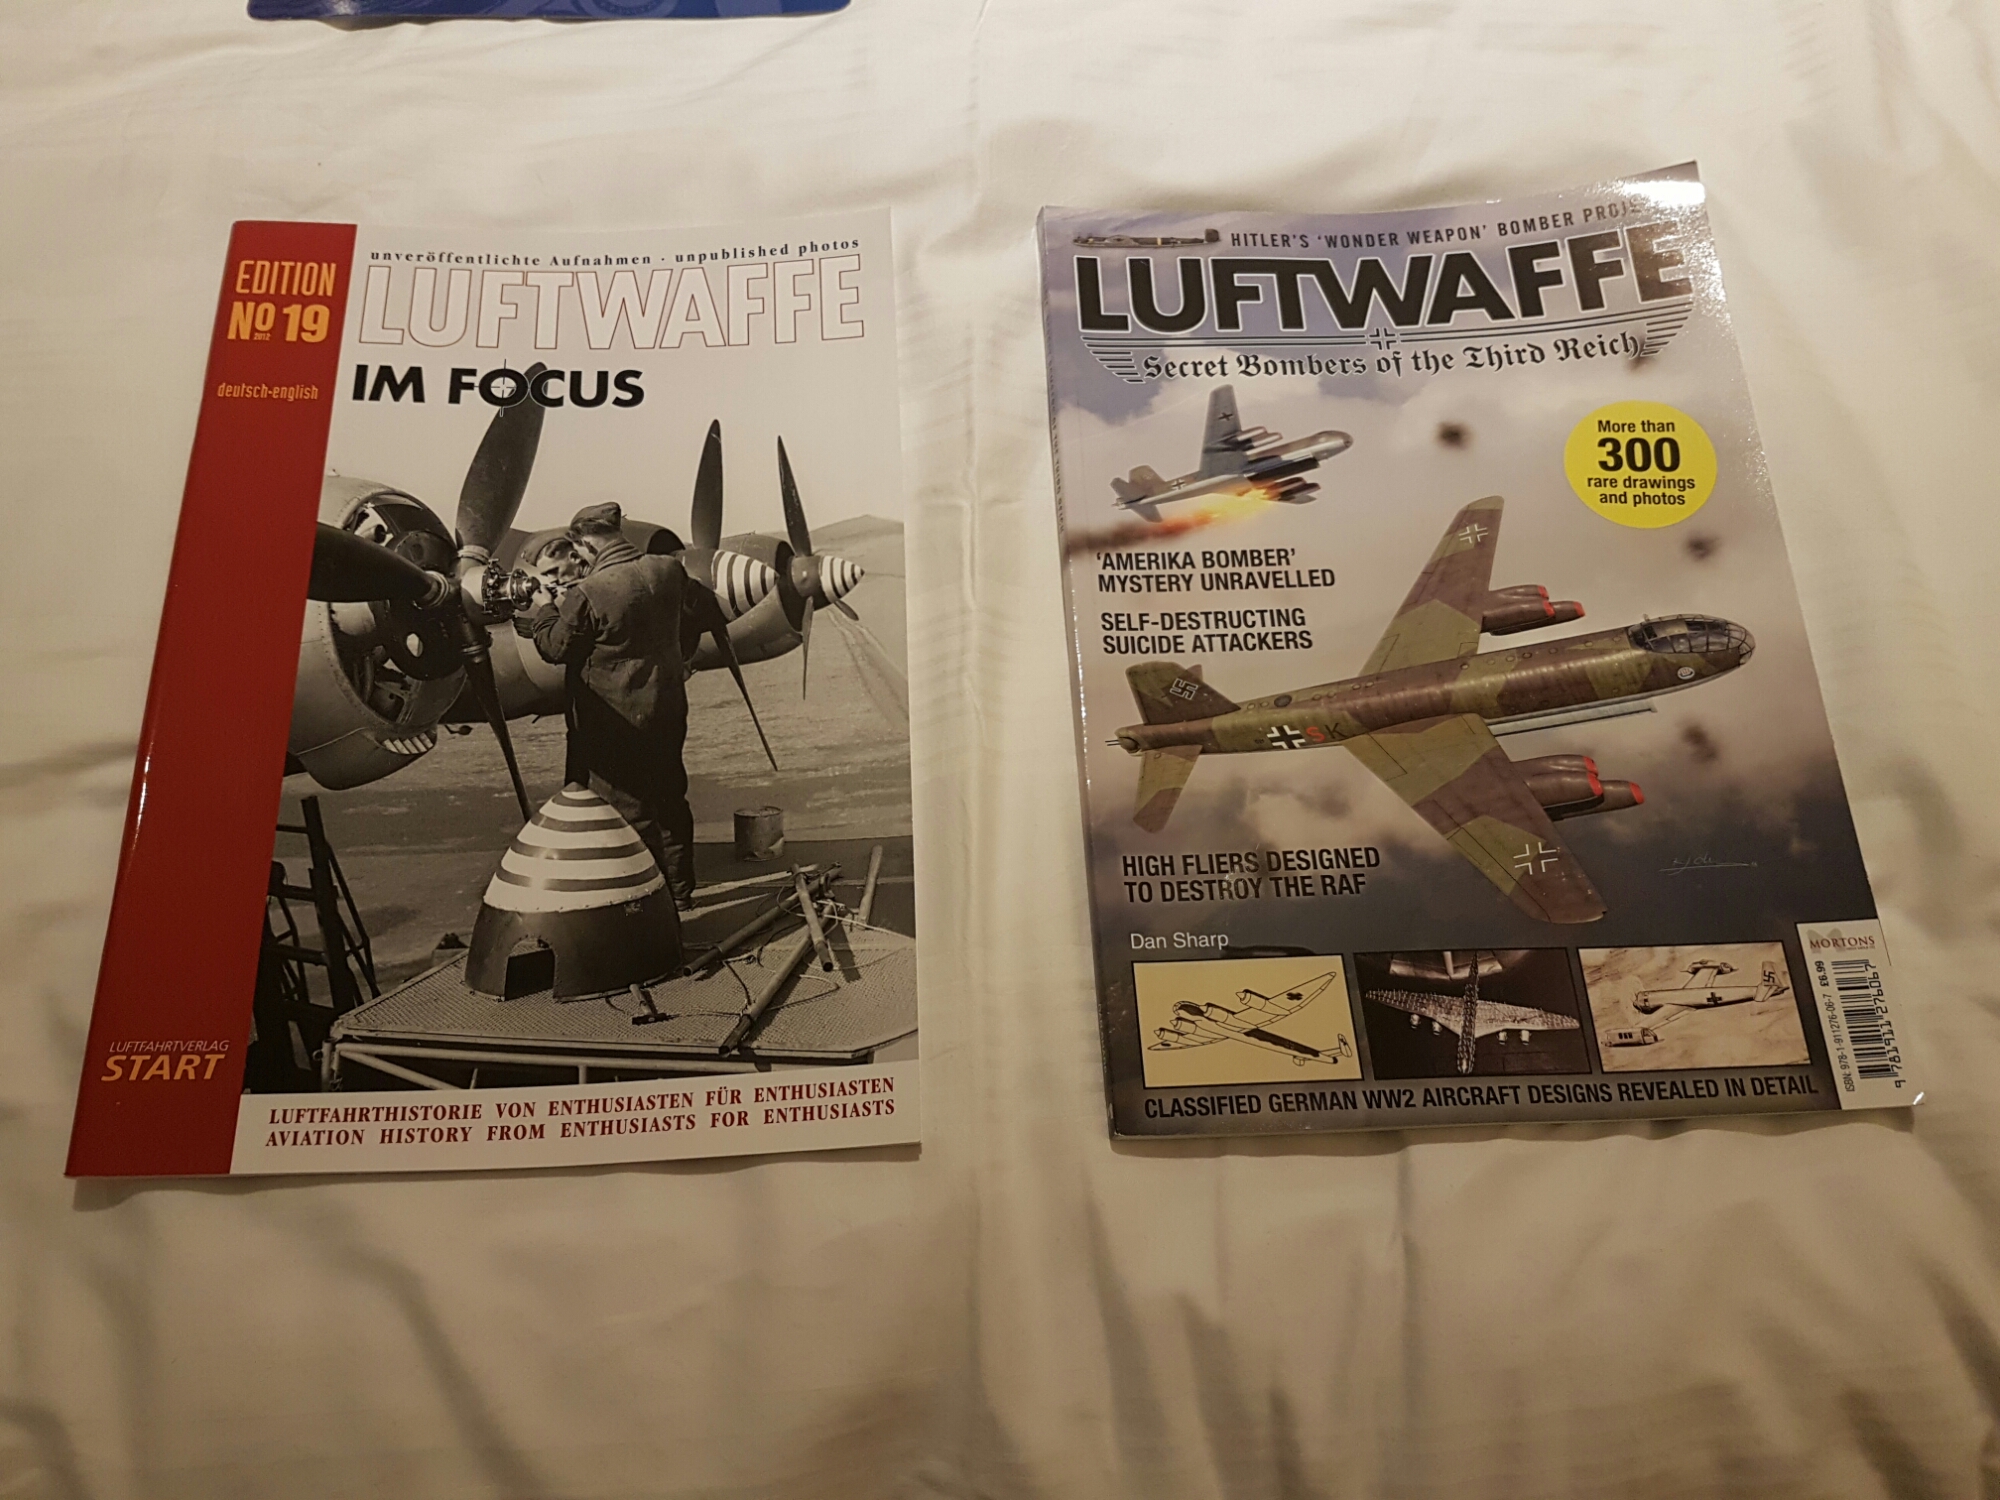
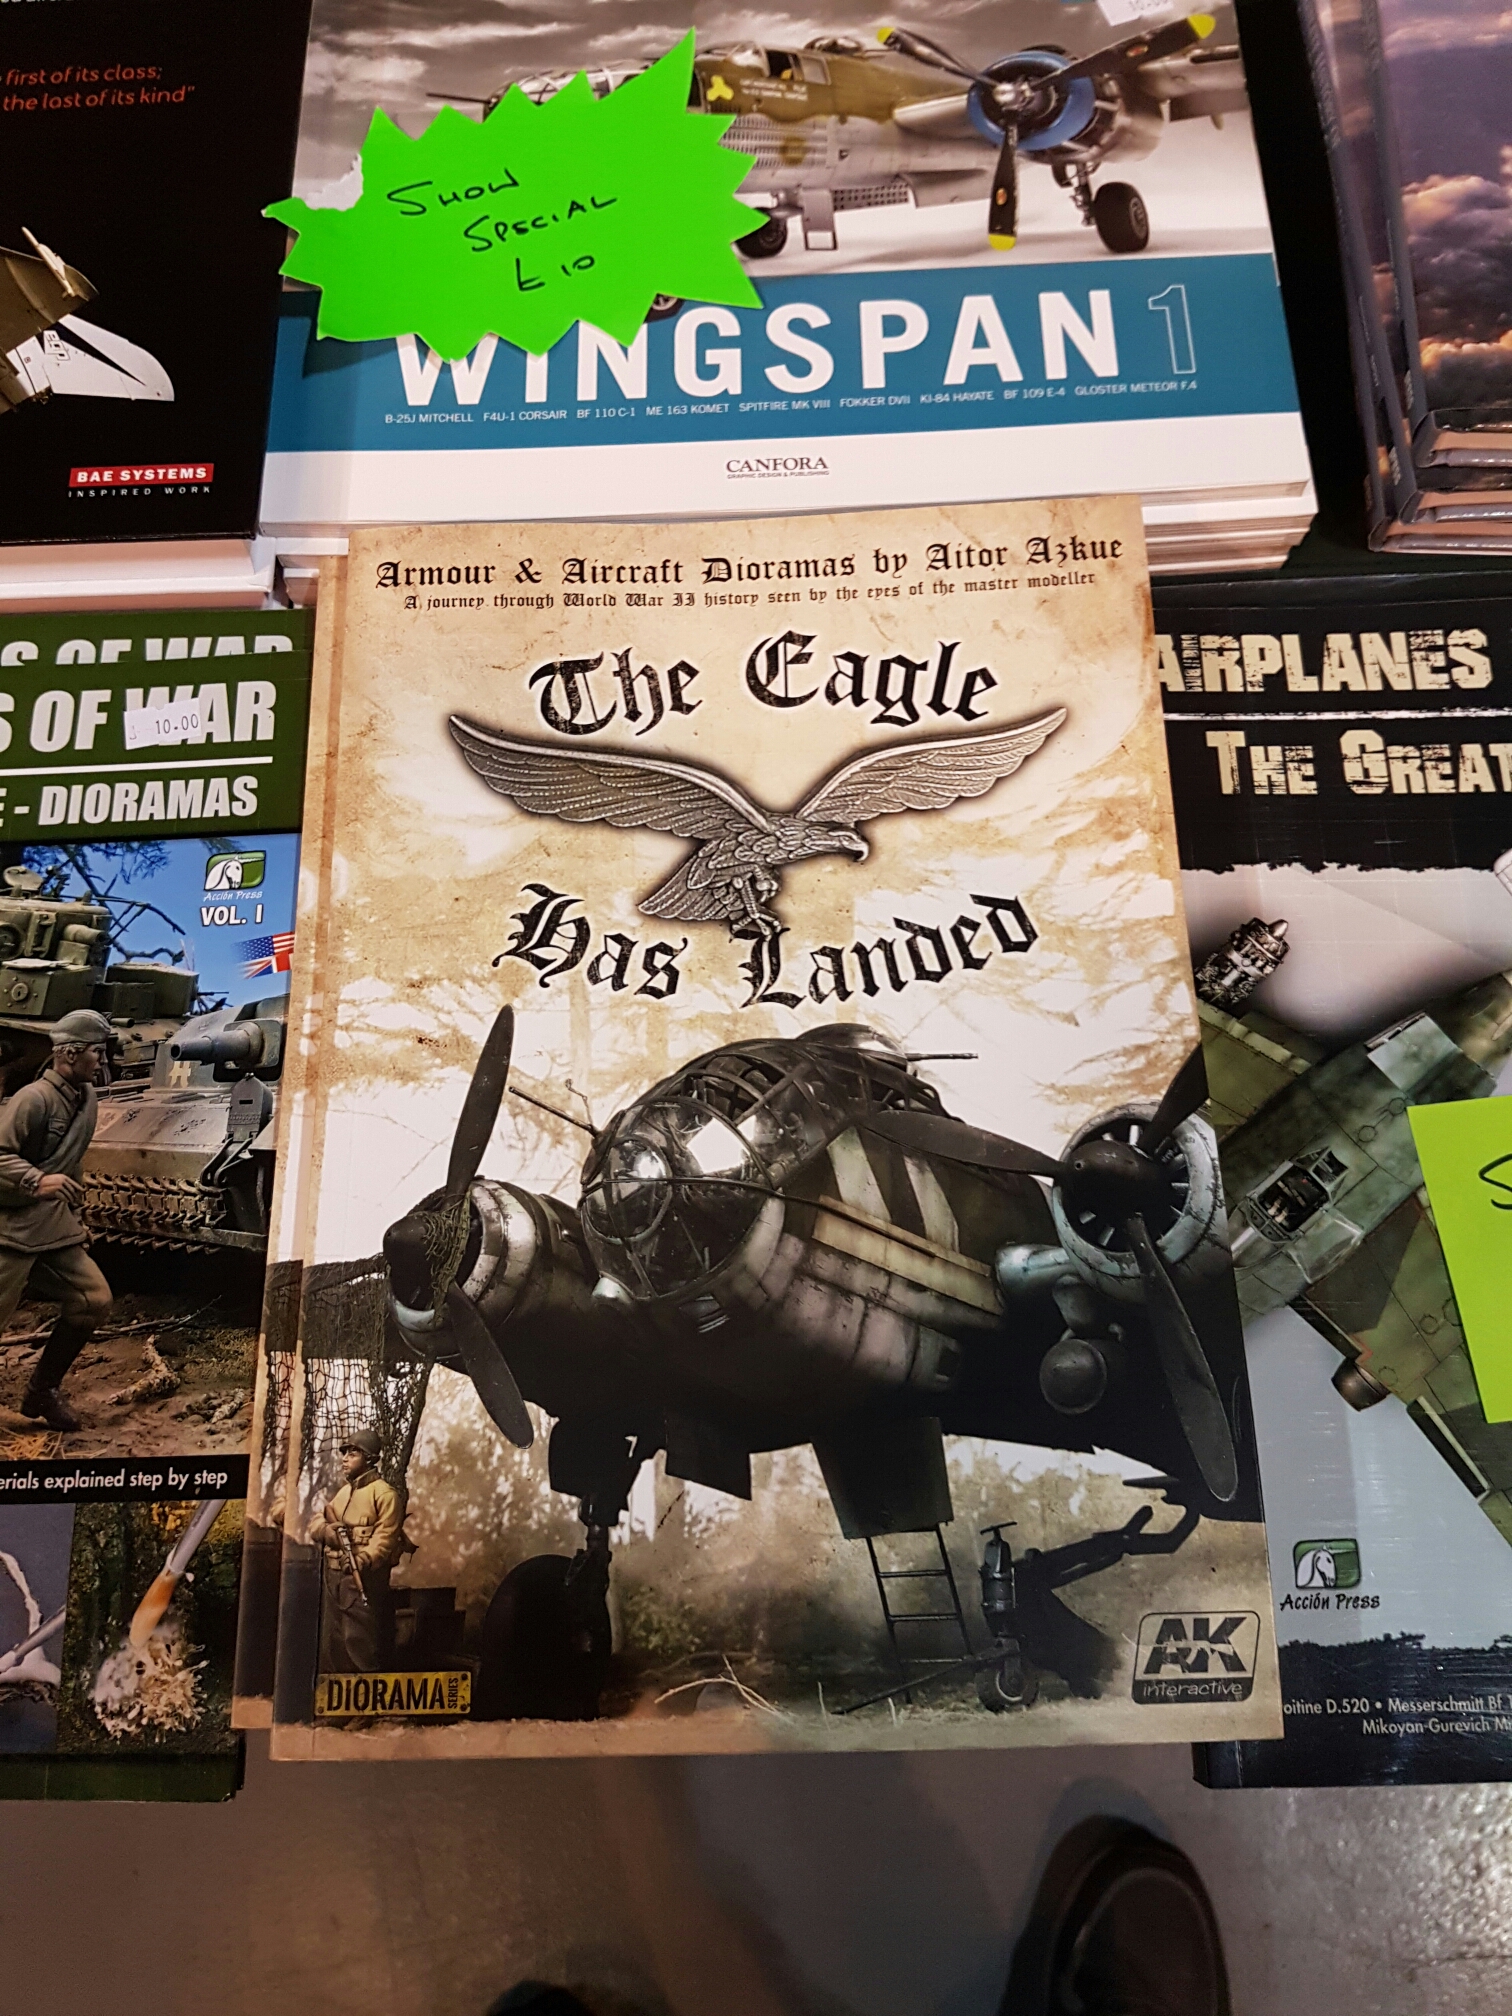
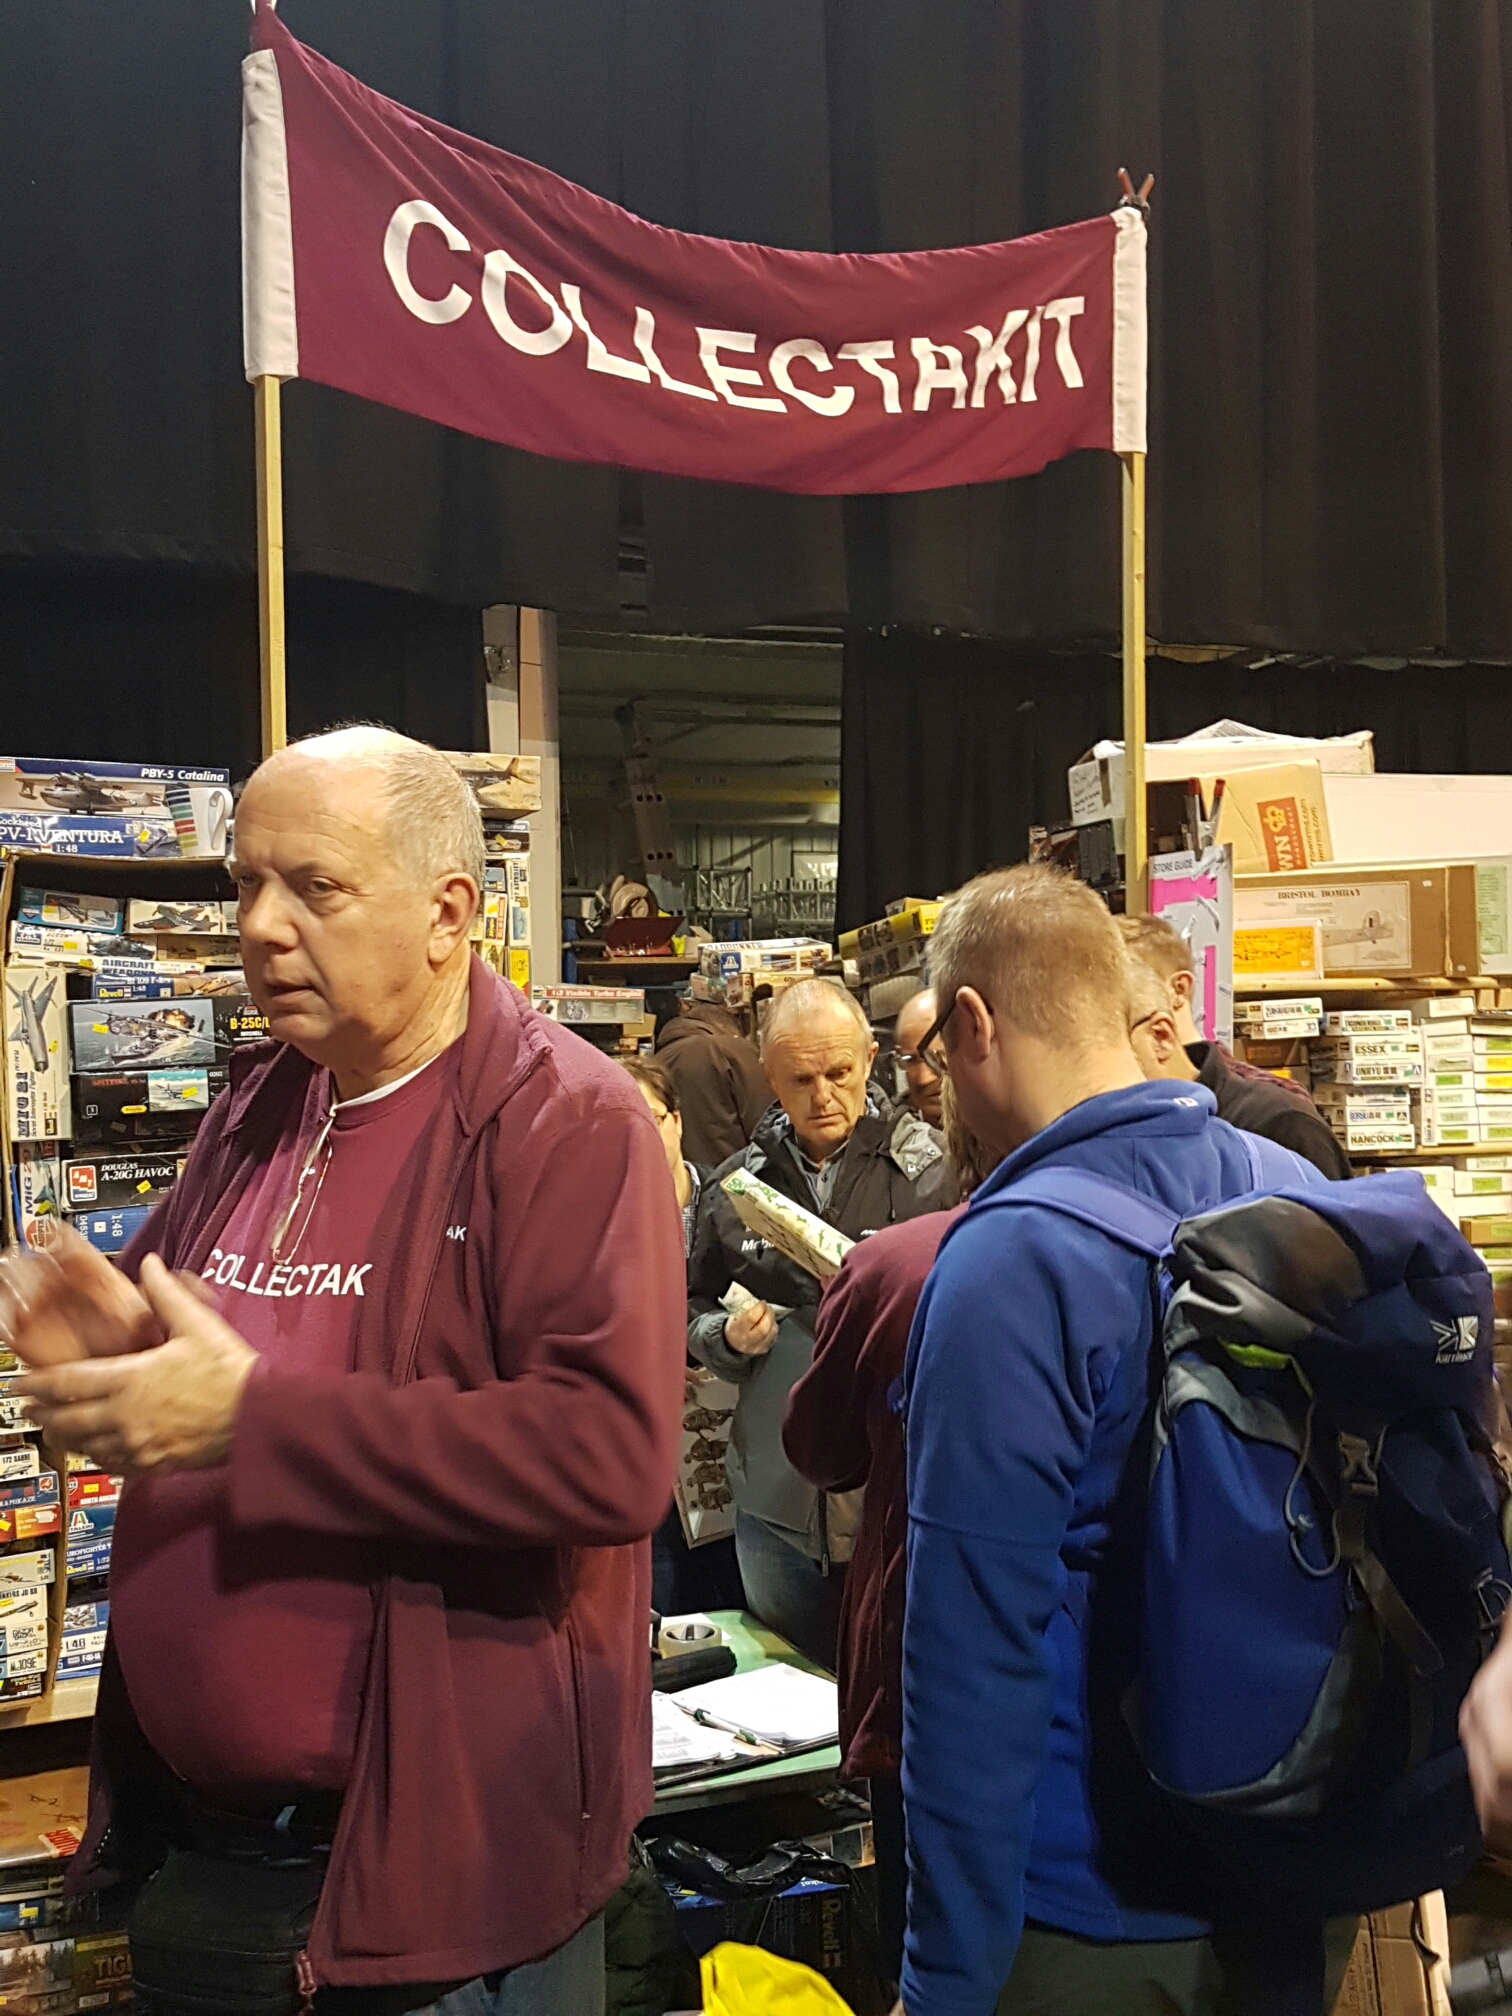
At Telford I picked up a resin Minion Dalek cross figure for about 9 Pounds. I know next to nothing about Minions so some research will be required. On the other hand I know a bit about Daleks.

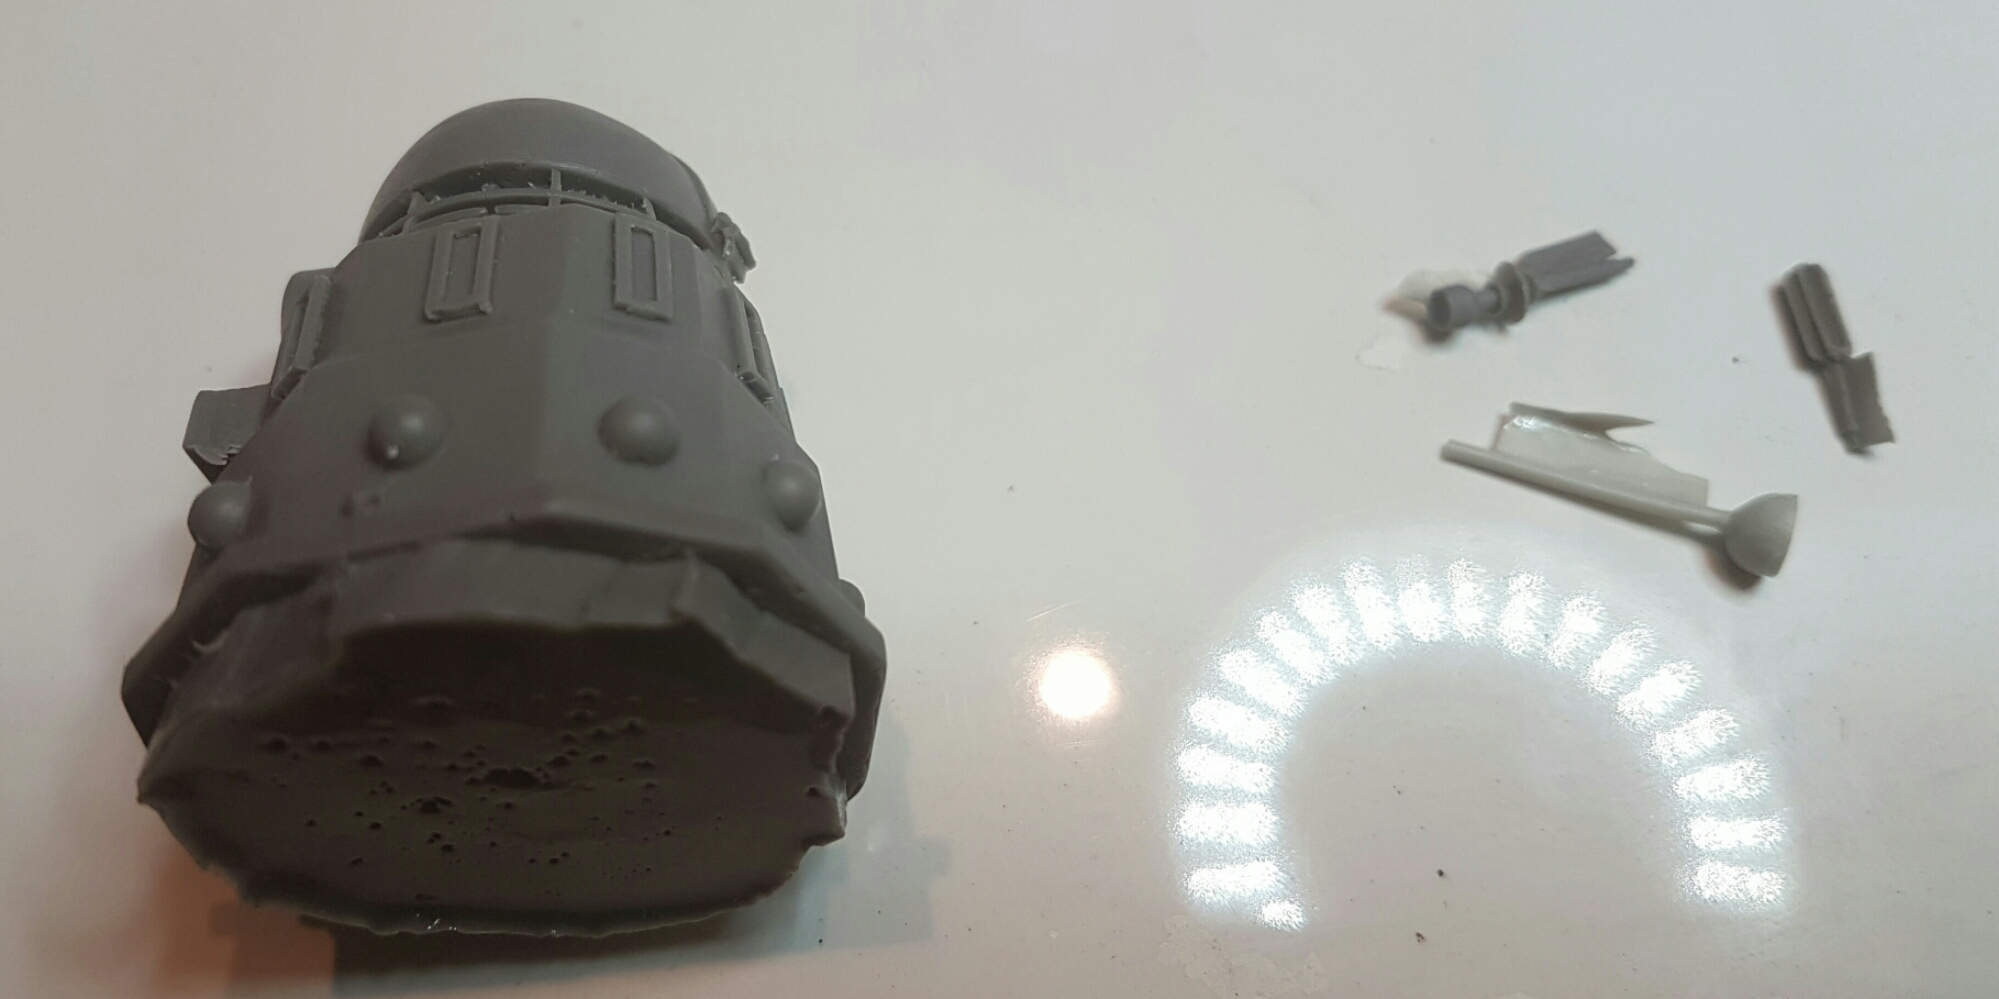
The kit is from Retrokit SF and is fairly well cast. There’s a few bits of flash and a couple of lumps that will need to be scraped off but not a lot of work really. The bottom moulding plug is a bit thick and will need a razor saw and a face mask to clean up. 

The 2 guns and toilet plunger will require a little hot water bending to straighten.

h

e

Flak Panther will be getting a look in with a matt varnish coat over the weekend.


And lastly a little wisdom from the Thai Border Patrol Commissioner.

Telford Part 2

Leave a comment

More pics. Most are on my camera but here are a few off my phone

recreational weed below but only 1.35 scale


Telford update part 1

Leave a comment

Some images below

Tired in London

Leave a comment

I made it but quite tired after 26 hours travel.

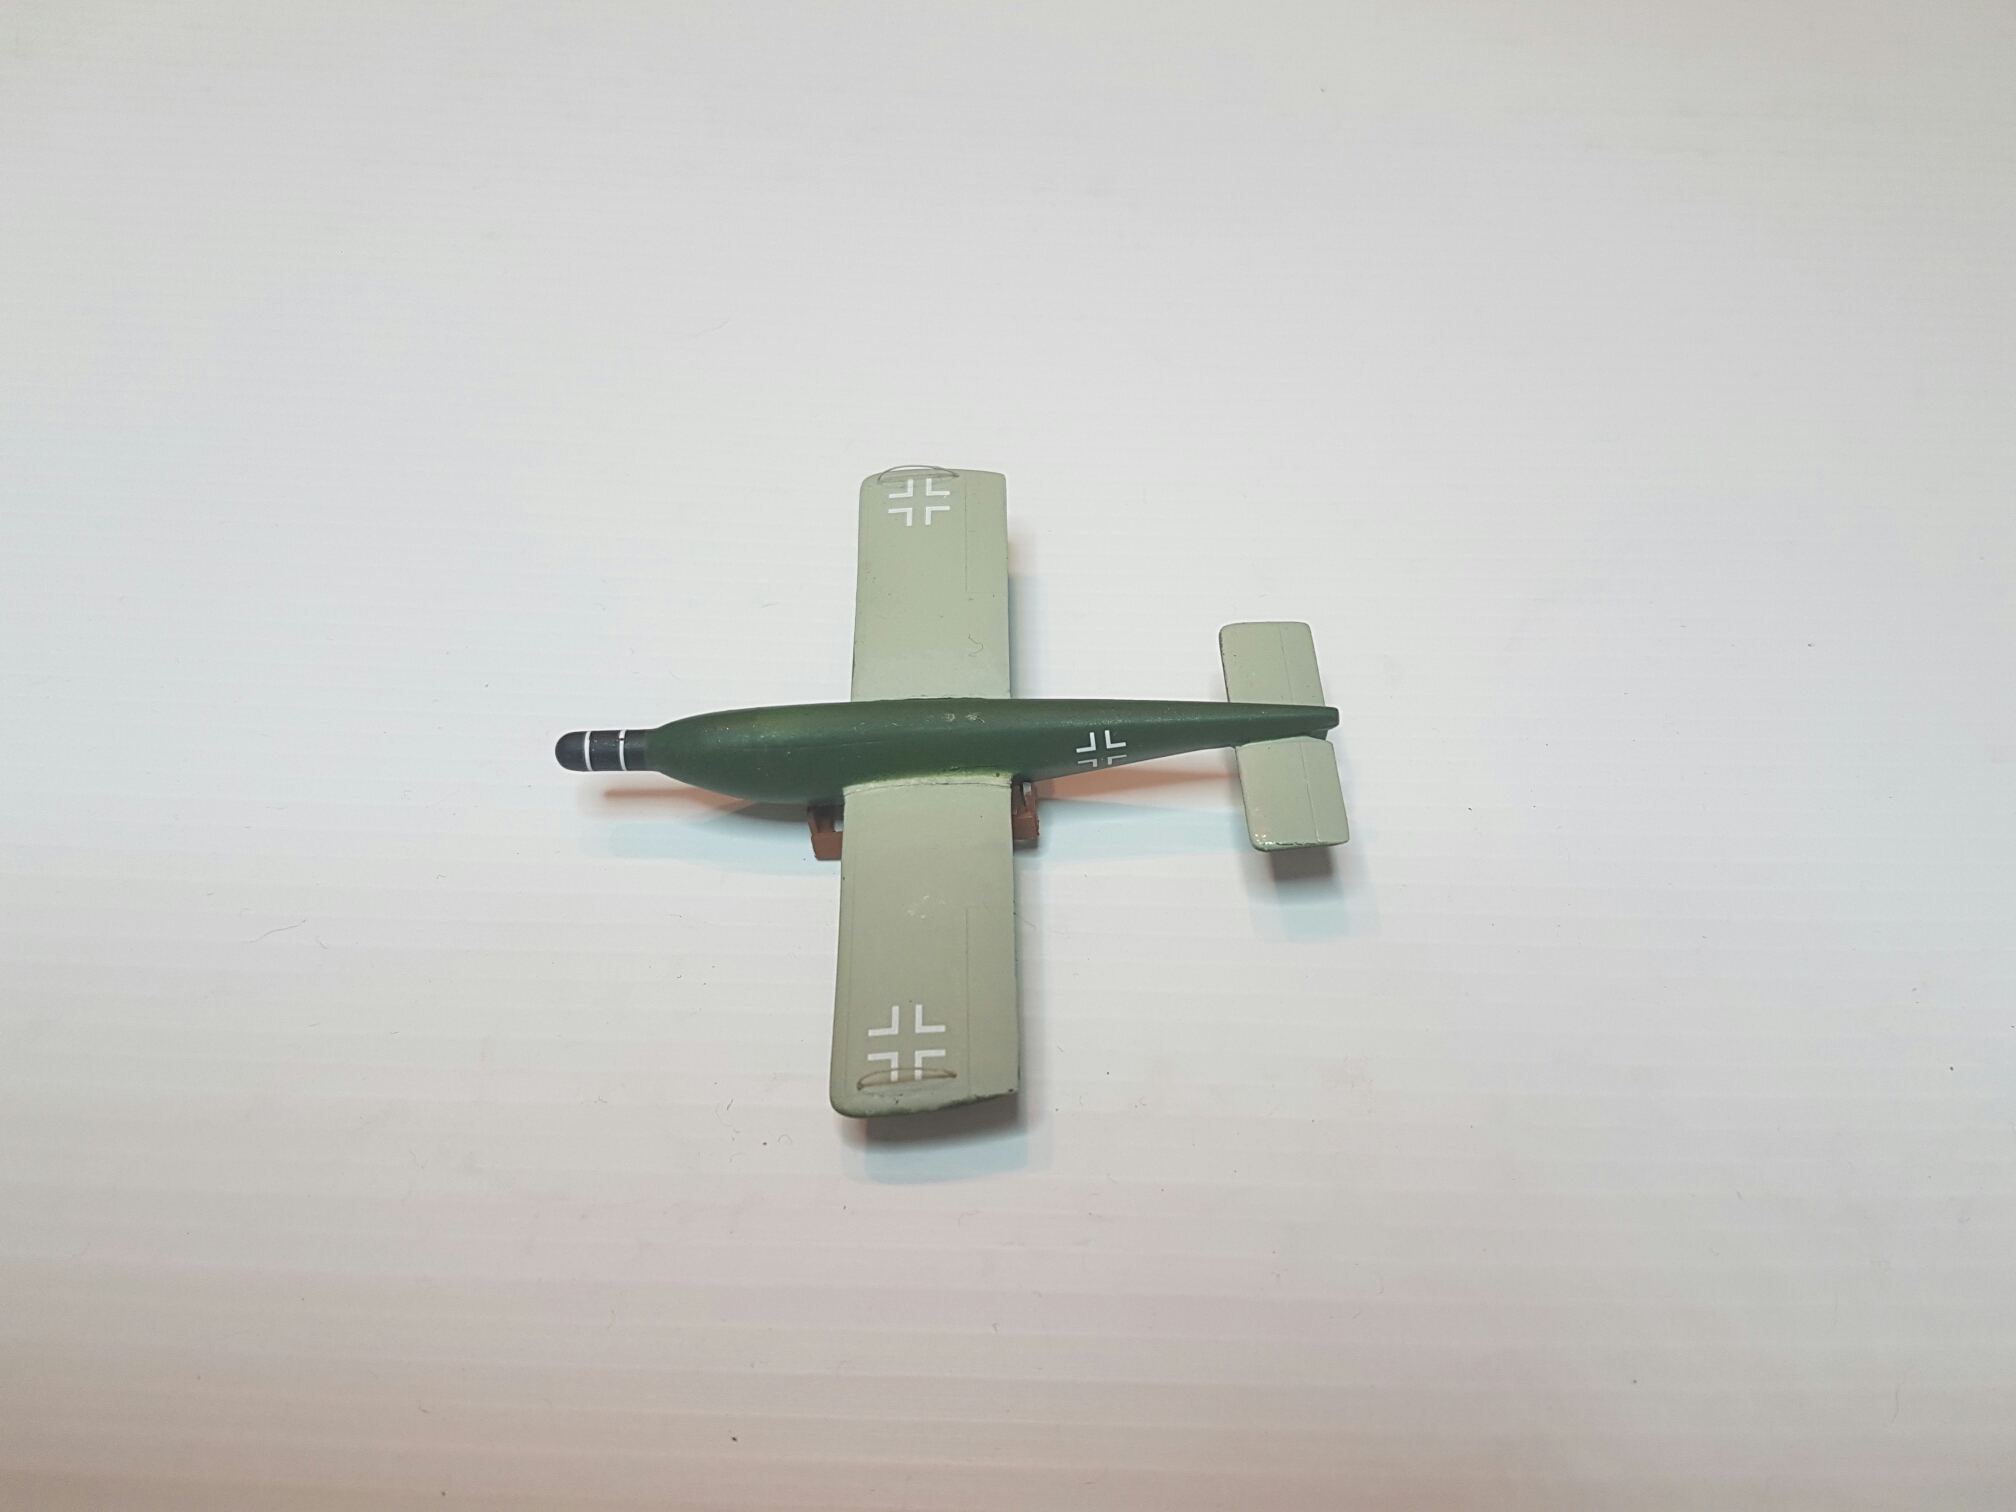
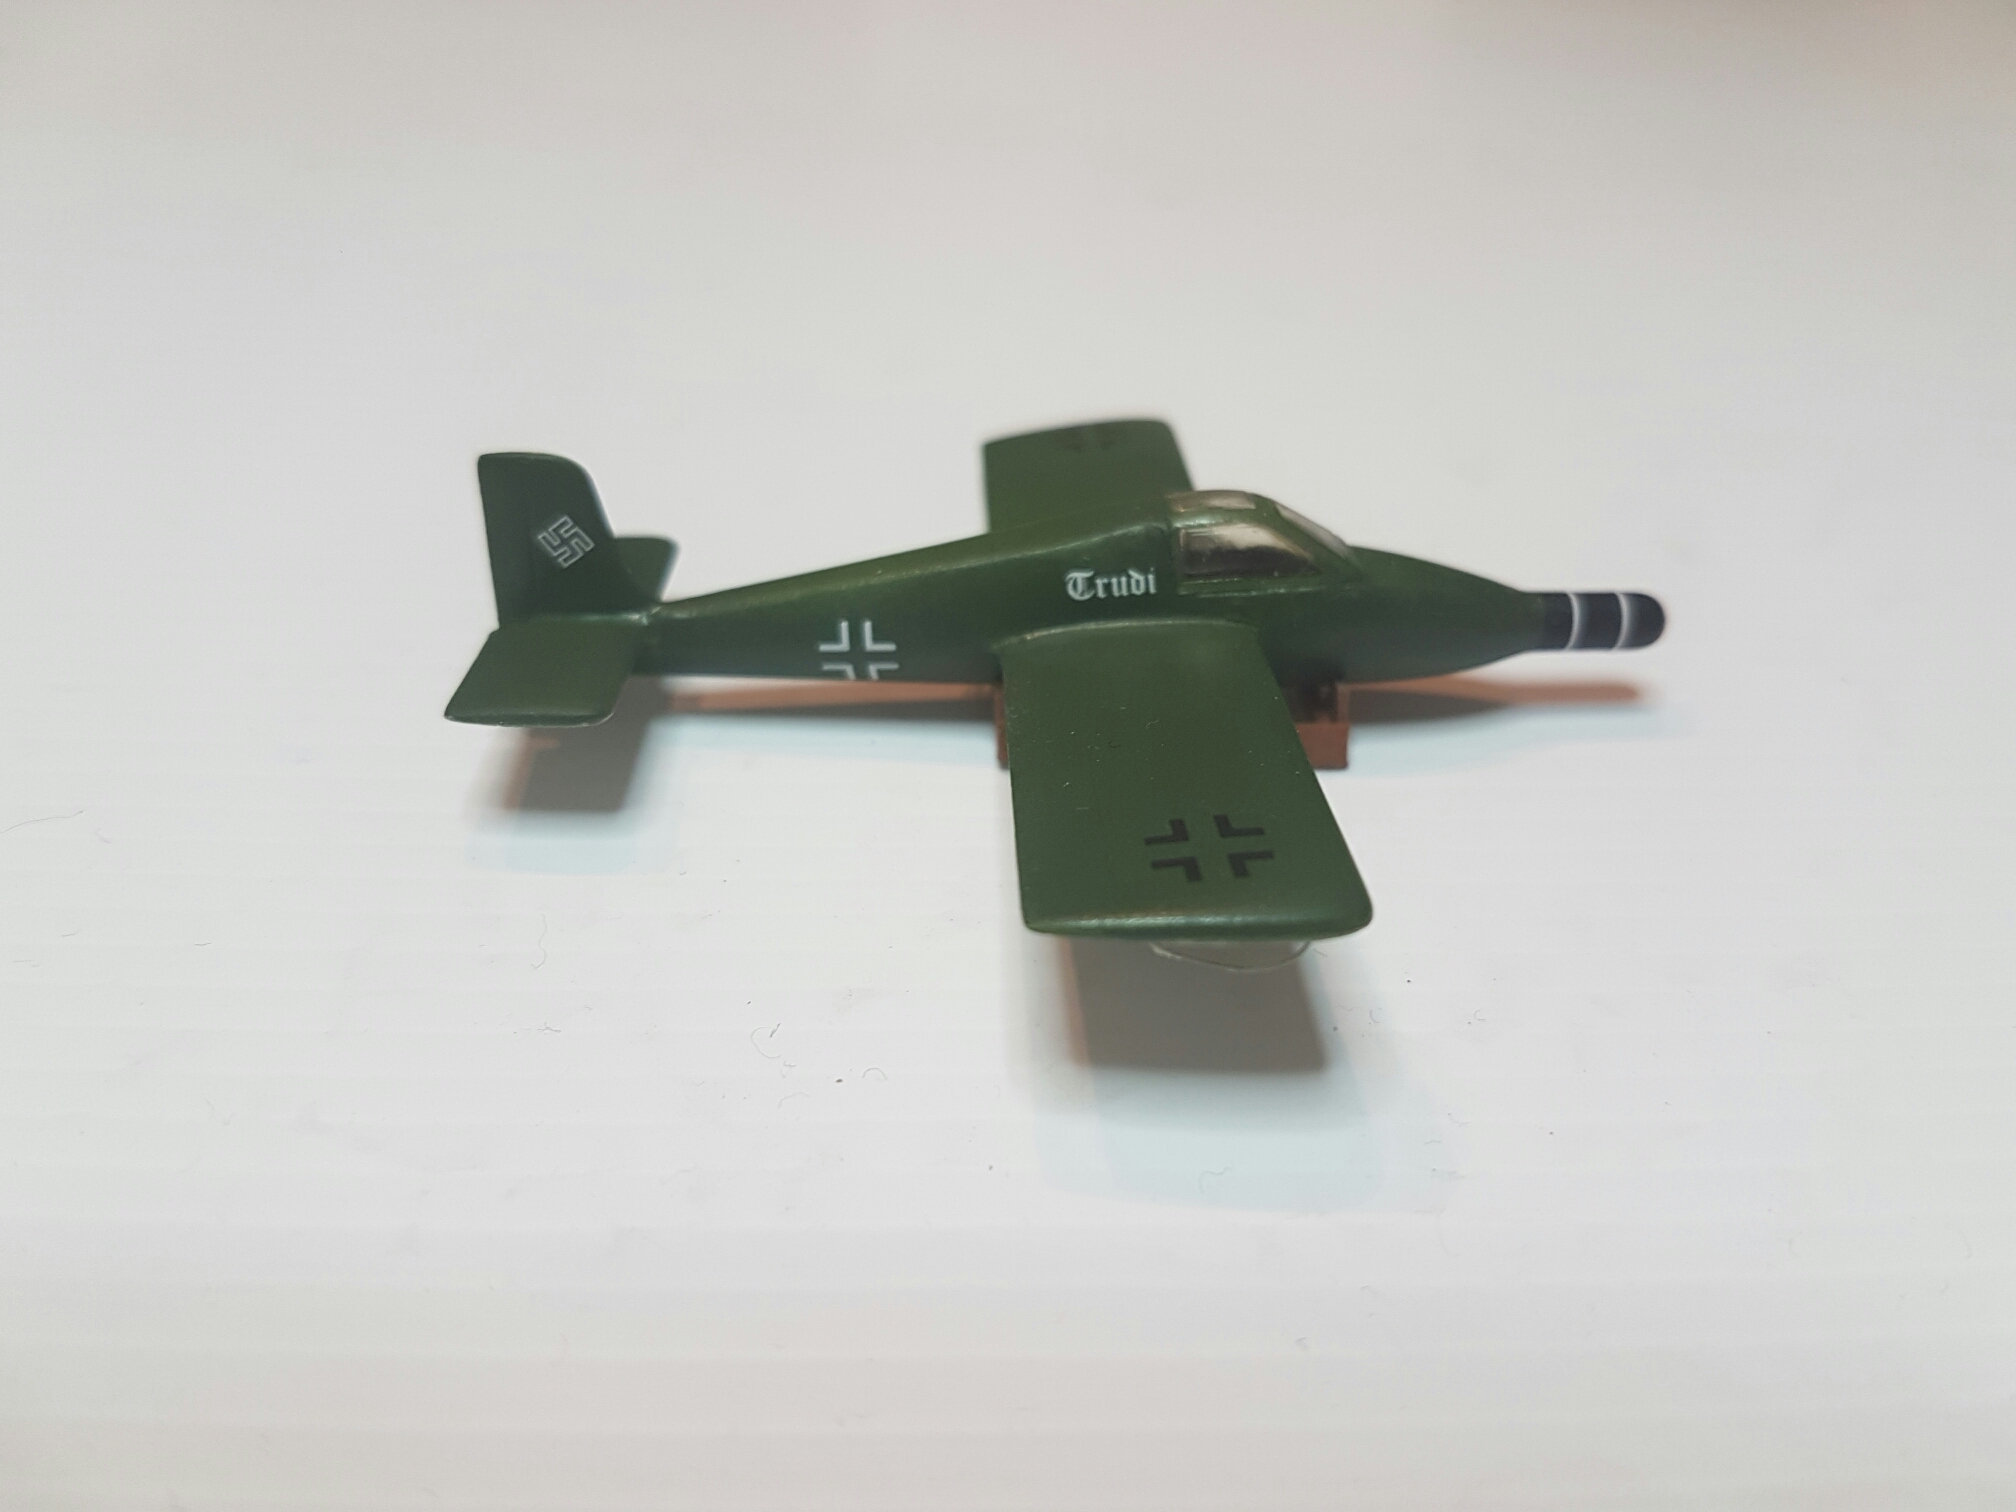
Heres the Rammer after finally being wrestled over the finish line. Ended up only using the underwing bumpers in etched brass as the rest was too fiddly

I also got decals on the Panther AA kits. I need to do a little green on the rear section to tie in with the top but after that it will be assembly and weathering only. Maybe I will get 4 kits done for the year.

Quick catch up

Leave a comment

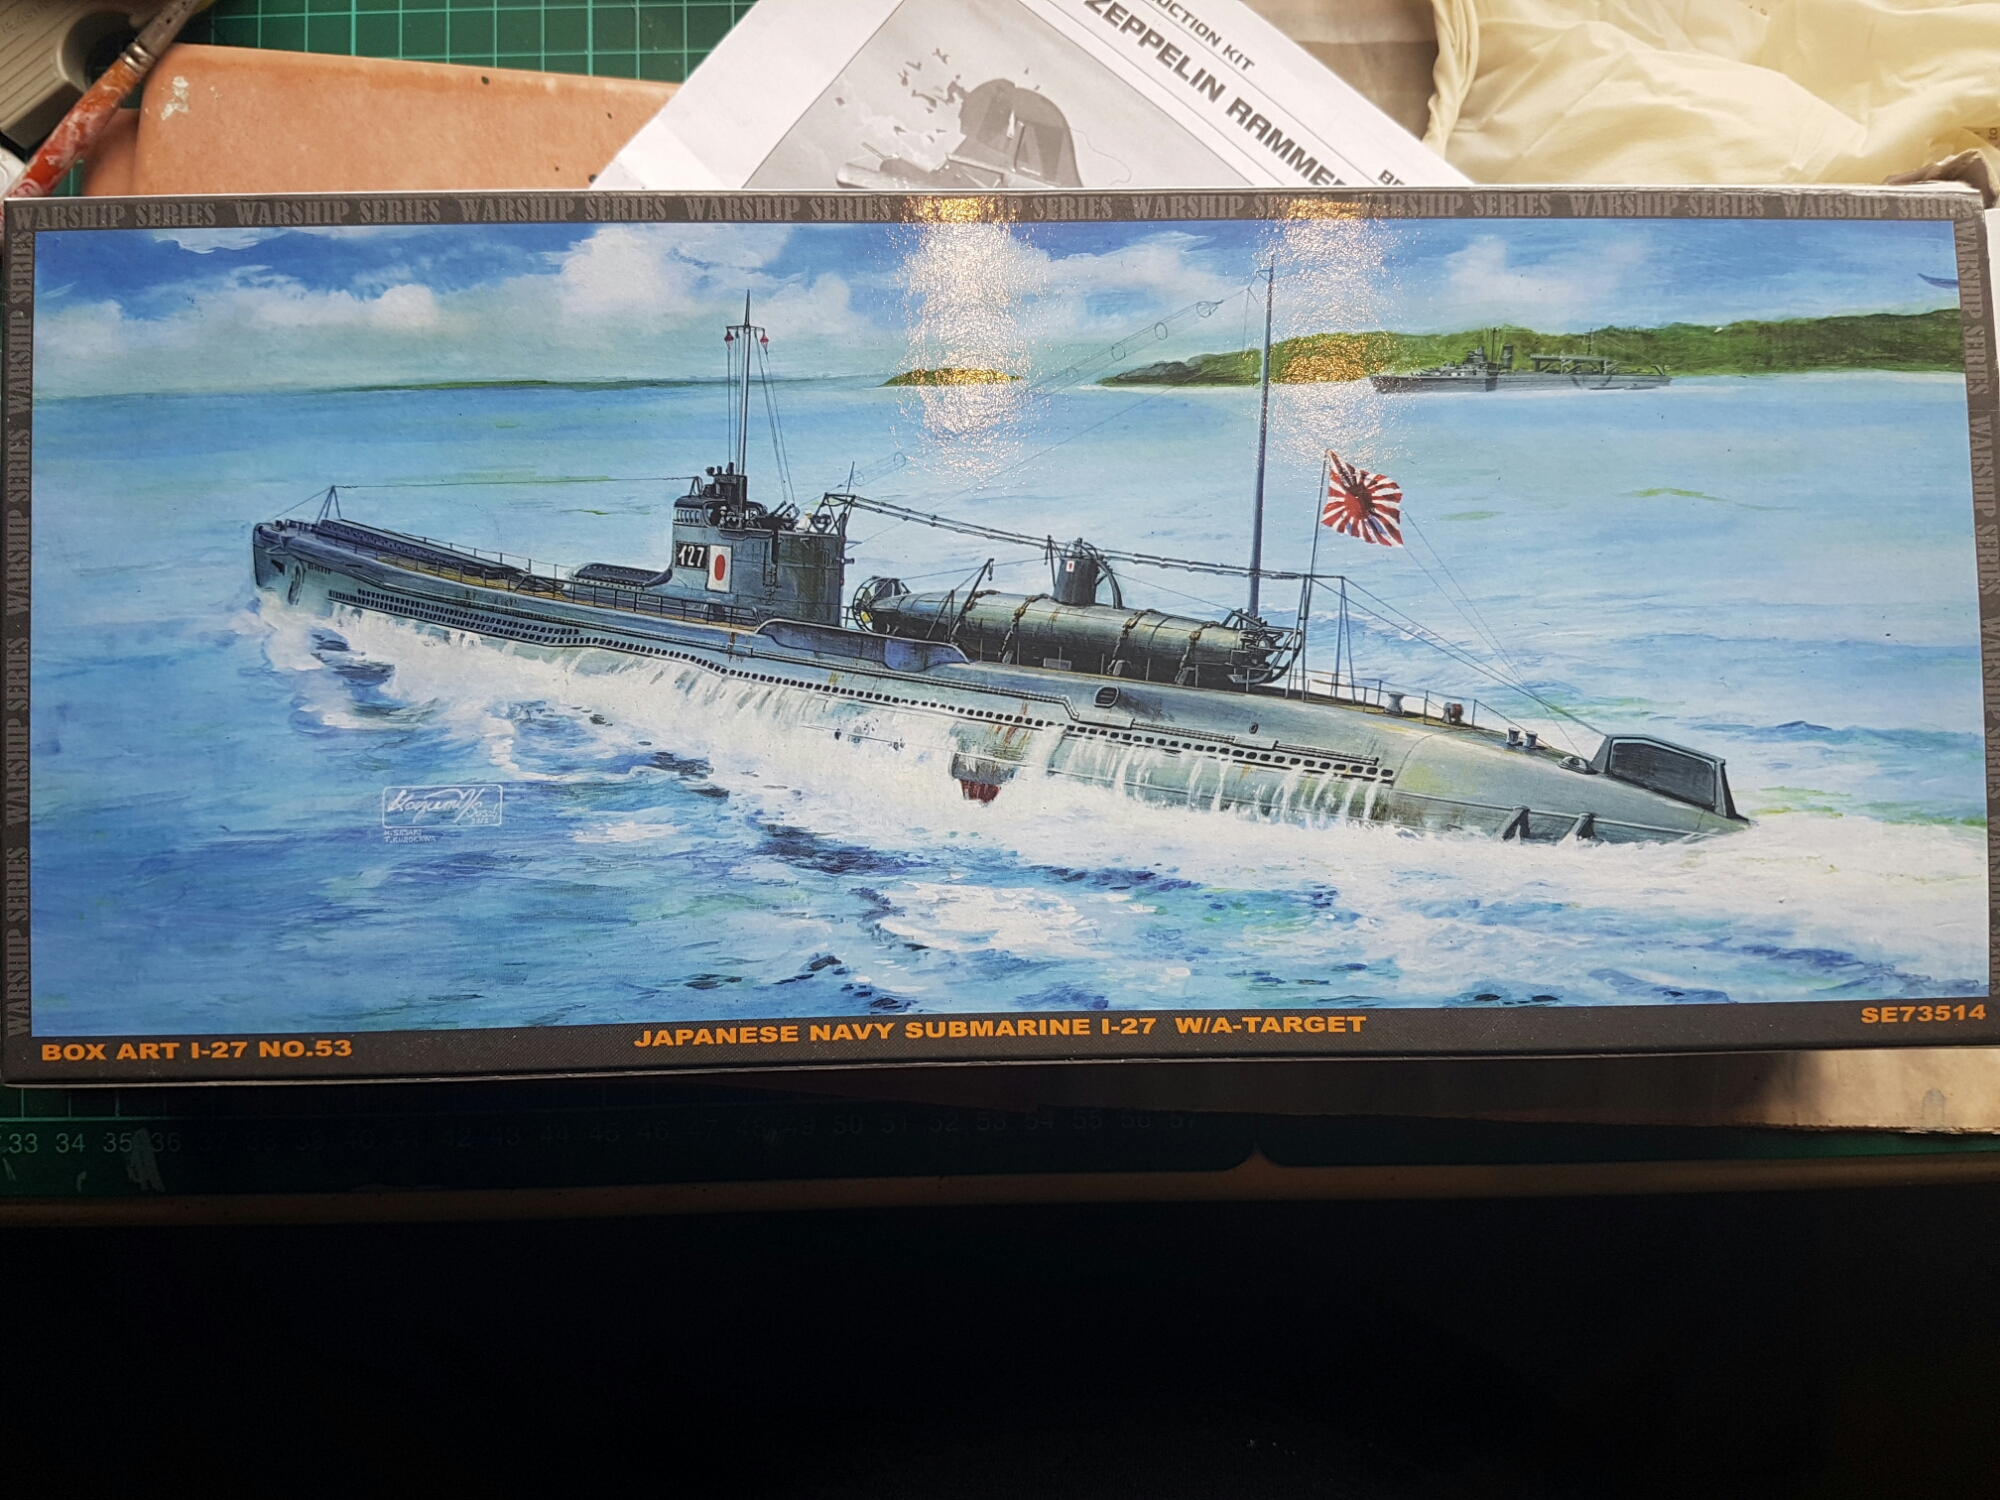
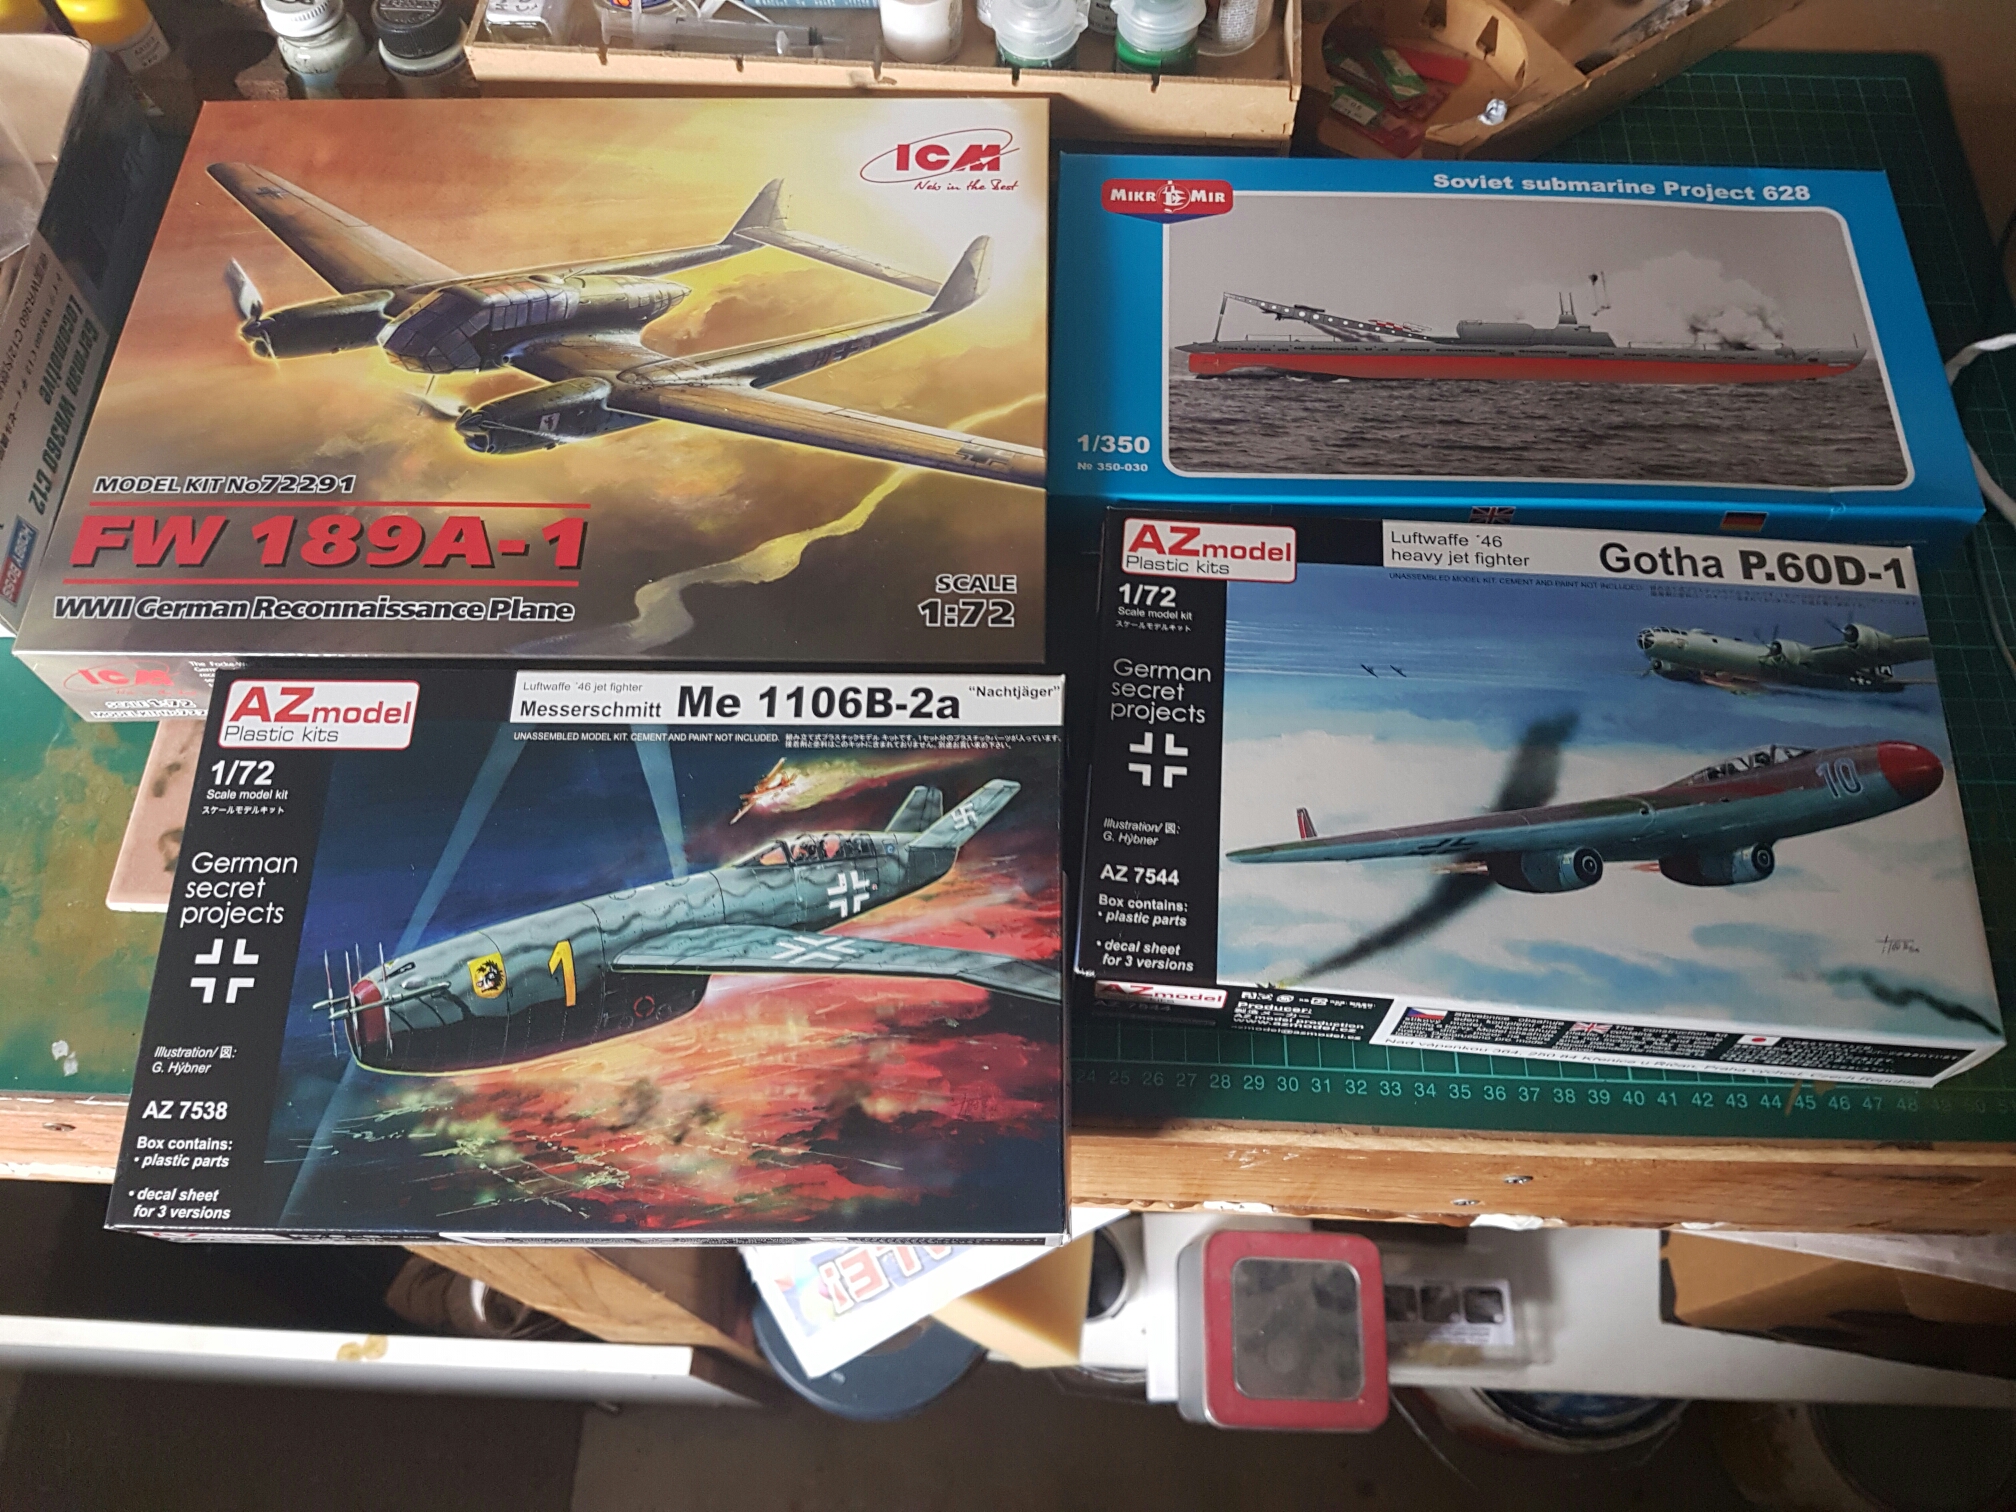
Just a few shots of my recent acquisitions. One of these is a large Academy 25th scale Panther from a friend who no longer models. 

and lastly some truth !

Making progress

Leave a comment

As the countdown to leaving for Telford approaches here is an update for the last few weeks.

First off is the Zeppelin rammer. This is one of those cursed kits. Anything that Murphy can think of has happened. This has included breaking one wing multiple times, decalling issues and airbrush issues. Unfortunately the last is entirely my fault. When reassembling an airbrush don’t forget to put all the parts back or you will have exploding paint all over the place.

Nice thin masking tape at least allowed my to mask off the nose section neatly. 

The Panther AA tank is above and from a bit of paint lifting is going well… except in removing some masking tape I broke a barrel off but as it is resin at the base it should not be too hard a fix.

But weight there’s more

Leave a comment

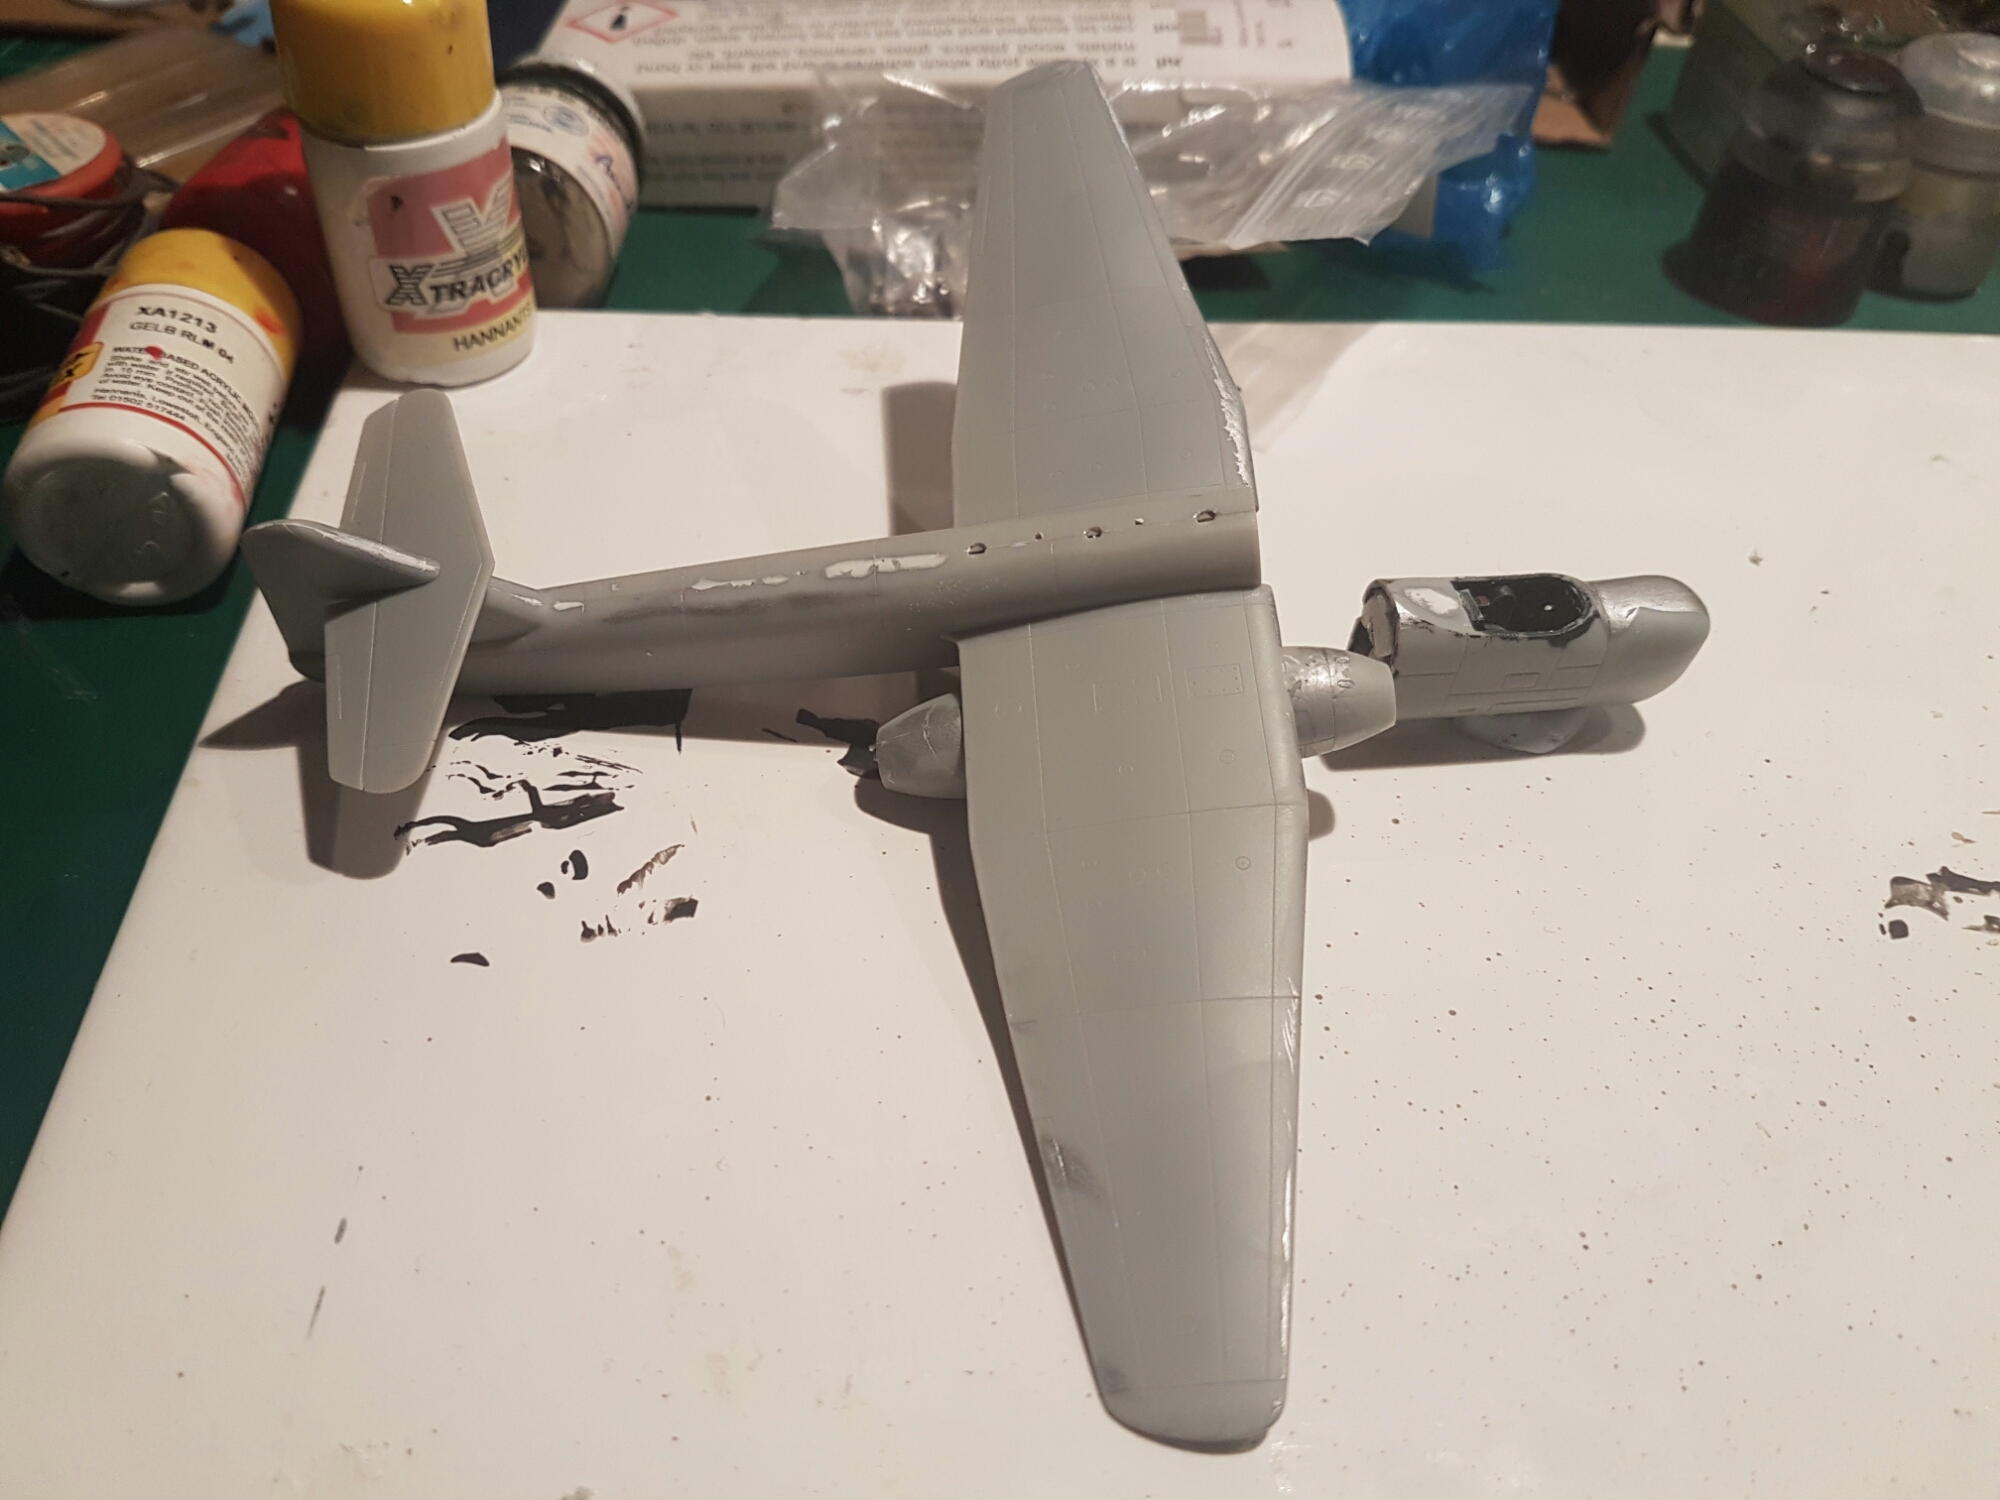
I have also been working on the BV P178 which is now almost all together. I have buttoned up the cockpit but forgot to show how much lead I used. This kit is well known for being a tail sitter but the the night fighter is the best of the lot as it has plenty of room in the big radome at the front. Fill it up well and you should be fine. I did add a bit in the front of the engine just in case. Small tip …. do this before closing up otherwise you will be getting out the Dremel to open up the top as I did. 

Firstly my next computer game …. from EB Expo in Sydney… actually no!

Disappointed in Vallejo

Leave a comment

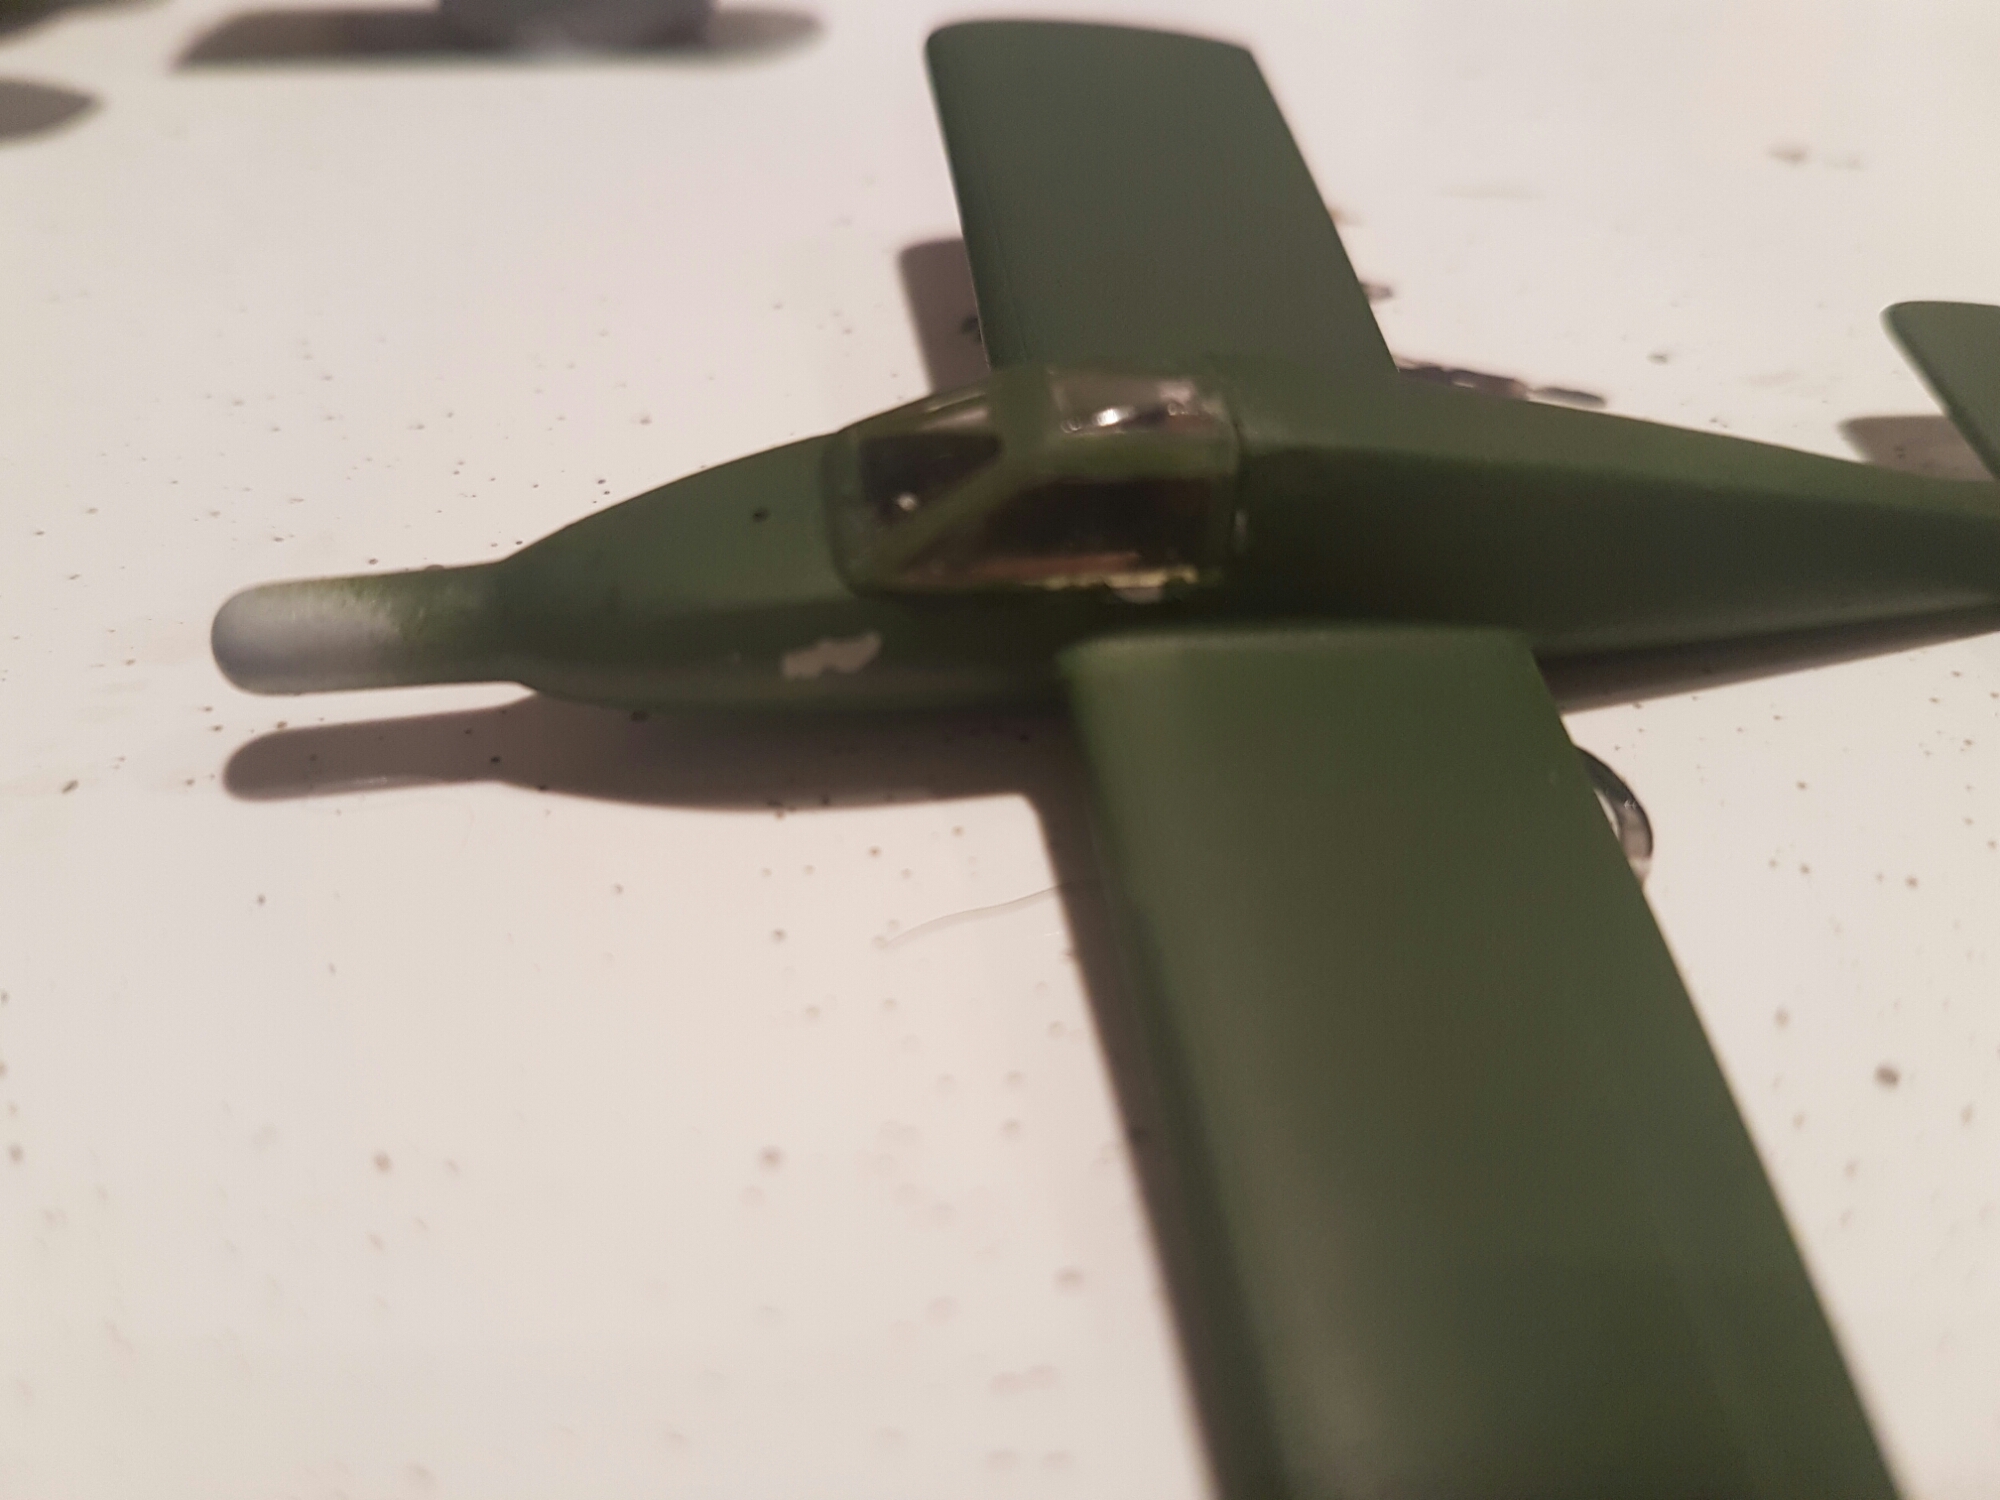
I’ve been trying out the Vallejo Air acrylics in my newish Iwata. This has been on my Rammer which I have managed to break the wing on one side 3 times. I was happy with my canopy masking but made a few mistakes on the rest. I put on a second coat tonight and then removed the Tamiya tape. still a couple of minor faults but I might just hand brush these. 

All looked well until taking off the canopy area masking ….. then the paint lifted in 3 places . So back to the airbrush tomorrow. I had heard it was fussy but this is disappointing.

5 minute modelling

Leave a comment

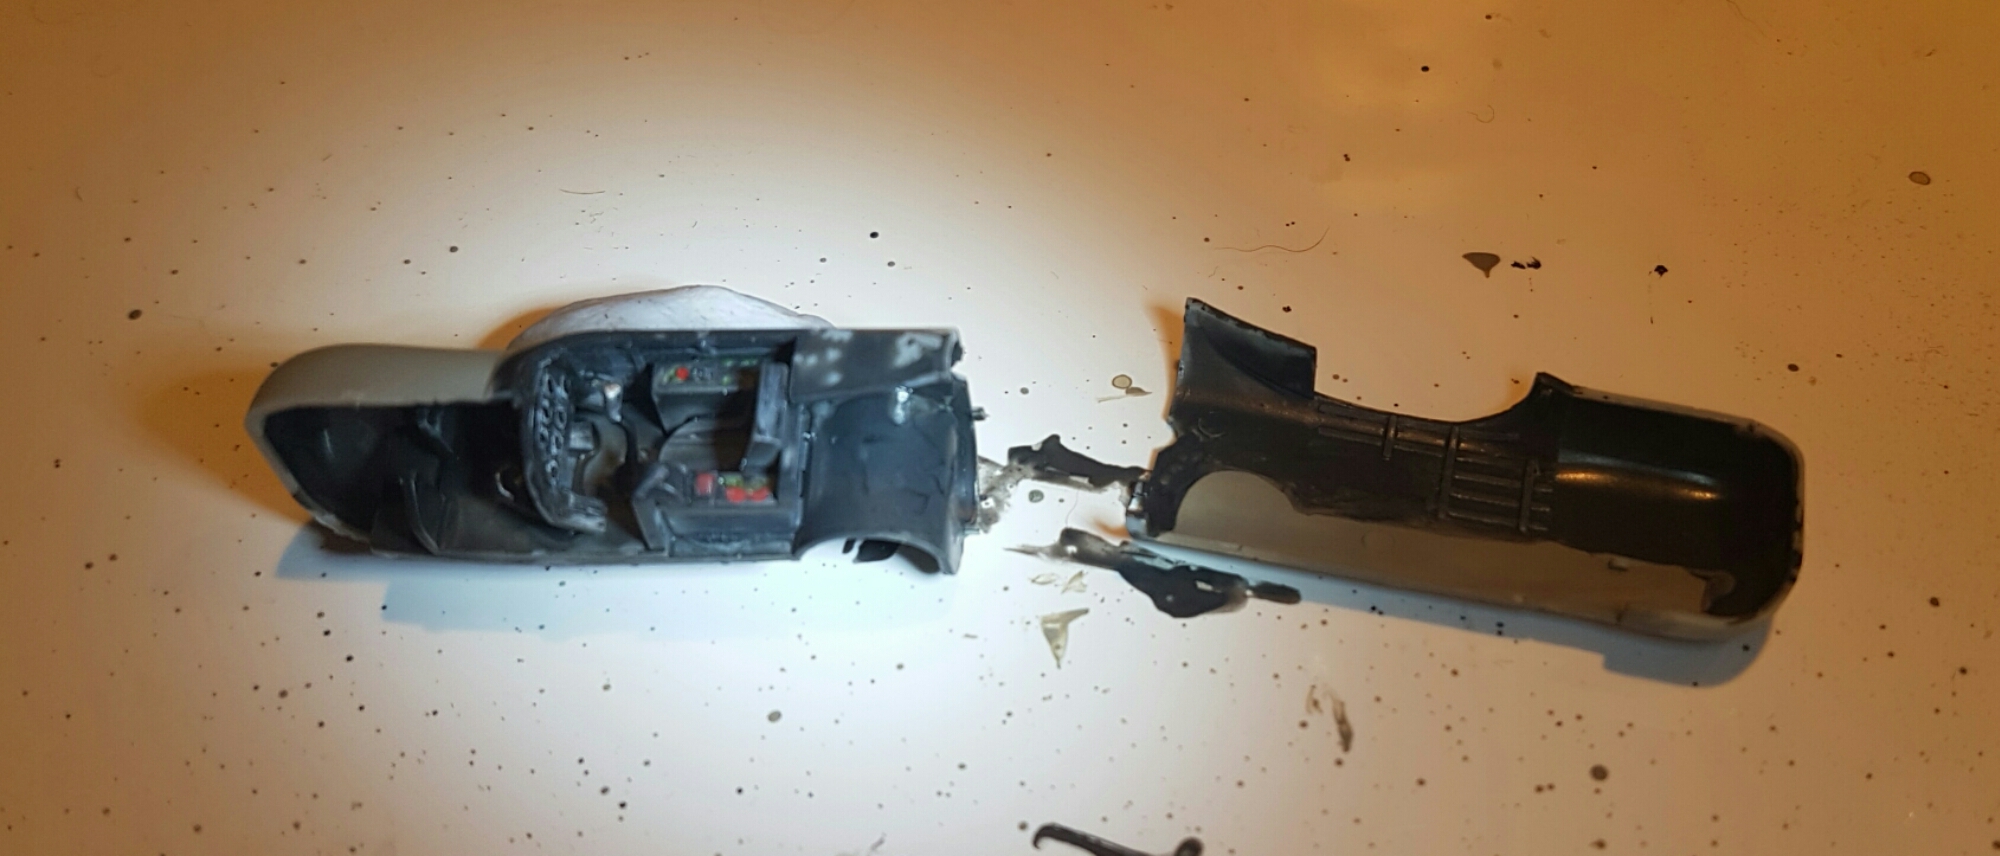
Below is my quick effort tonight. I finished painting and weathering the cockpit with RLM 66 from Xtracrylics which self levelled into light and dark areas for some reason. A quick touch up of the moulded in seat straps, some white and black for the instrument panel and some red and blue switches and all done as after all it is 1/72. 

Put all the cockpit area together and i have glued it onto one side and held this together with pegs as supplied by a friend. I will remove these tomorrow and properly add some lead and milliput to both sides and join it all up. This area has been very easy and fits quite well. 

Older Entries Newer Entries