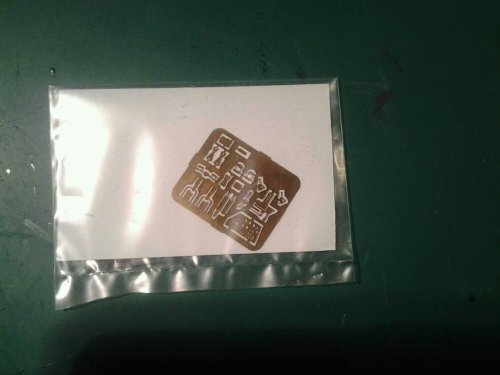
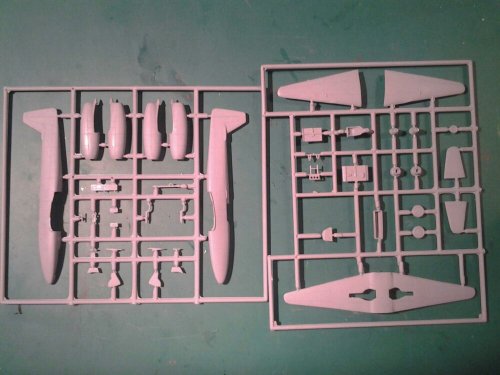
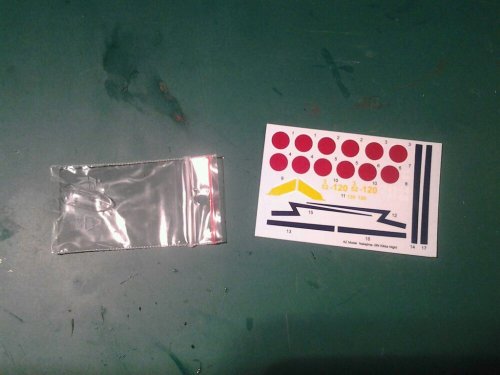
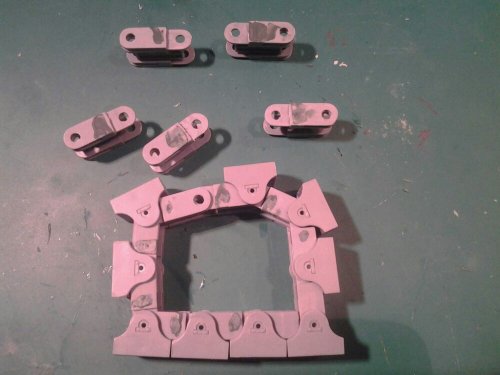
Latest haul from Hauler / Brengun

Leave a comment

Below is my latest purchase from their website, the 2 lots of tables and chairs are for Cafe Rene from Allo Allo, the chocks are for Munchen 48 dio, the skis in 1/35 are for an Aerosan dio,  tye saws are for cutting resin and the circle template is for doing Dalek bumps!, ie masking them for painting.

image

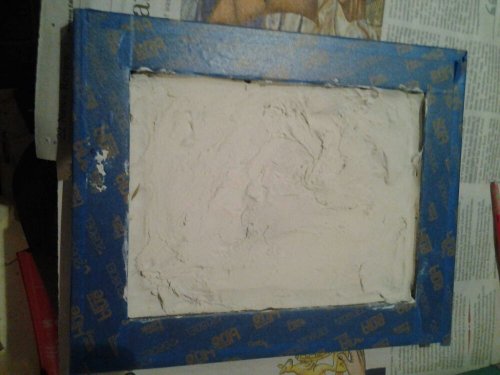
Base with first layer of polyfilla and masking tape

Leave a comment

image

Minenraumer base 3/8/12 Sat

Leave a comment

Just started on this in the traditional picture frame with Polyfilla Large Cracks for the concrete. The concrete has been painted a darker shade than the MInenraumer so will be using Tamiya AS18 spray can as I have some of that laying around but may paint a satin varnish over it possibly.
Done a basic plan of how the concrete is done in slabs to help when I do the polyfilla. First off is some varnish to seal the cheap mdf that you get as a base in these frames.

image

Minenraumer progress 280712

Leave a comment

Been a while since I last did an update but have been working on this in the meantime. All 3 tracks are done and now being painted, in hindsight painting some of this before assembly may have worked better. Losing the glacis plate for theturret somehow to the VERY hungry carpet monster did not help, though i was able to get the Zvezda kit for this part for $15.50 was expensive for one lost part. Any other dramas were of myown making. The book I have has helped a lot in making the final burst much more possible but painting the tracks is a slow process.

image

Kikka Kit Review Part 2

Leave a comment

Now Ive covered the basics lets get specific.

Instructions – these are both fine in the modern style and cover the basics well, the colour camo diagram on the back of the box does win it for AZ though.

Parts – Overall the AZ kit is much nicer, it has clear recessed panel lines in a darker grey plastic that is easier on the eye. The very light grey that MPM used has shallower lines. Of significance is that all control surfaces are represented as fabric covered in the MPM one whereas AZ shows them as metal. I’m not sure which is correct but in the AZ instructions the surfaces are shown as fabric covered to confuse the issue. The lack of flashfor AZ makes it a clear winner here.

For the cockpit area its a bit tied, MPM has more sidewall detail but otherwise AZ is better overall as the floor is detailed with a better seat.

Under carriage bays – AZ clearly wins here, the front bay is boxed in unlike MPMs and for the main bay these are cleverly boxed in by a combination of walls on the lower wing and cockpit floor providng a complete structure, it will be interesting to see whether this works in practice.

Engines – the main feature here is the inlet and outlet onions. Frankly neither are great, both kits have sink marks that will need to be filled with surprisngly the MPM being slightly better detailed. I’m tempted to replace these from other parts I may have left over from either the Hase or Revell 262’s as amended, spares boxes are wonderful.

Wheels,  again nothing between them as both have their faults and could do with replacement.

Canopy – the MPM is slightly better as the AZ one has some frosting on one side which will need polishing out.

Shape – a comparison shows the wings as similar, the MPM engines as slightly bigger, the AZ slightly shorter with a pointier nose and slightly different tail shape. The difference is not much but will mean a slightly different look, really not sure which is more correct.

Overall the AZ is the better kit certainly in terms of quality especially around the undercarriage and the mould quality overall but is let down in some areas like the canopy and the engine area, not quite the quantum leap I was hoping for but I strongly suspect it is the best modellers can hope for in the near future.
The MPM kit was quite ropy to build in tems of fit so it will be interesting to start the AZ kit in the future.

Now back to the Minenraumer tomorrow!

Kikka kit comparison PART 1

Leave a comment

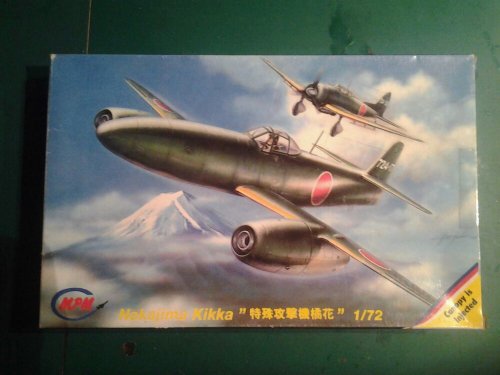
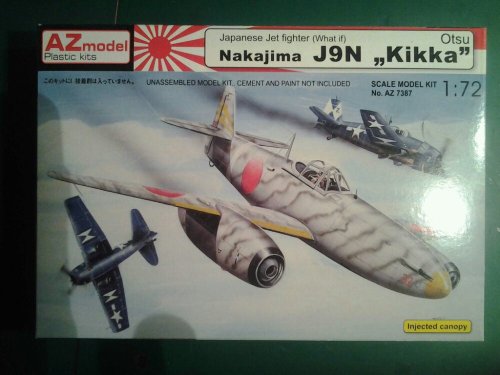
This is a quick review comparing the MPM Kikka from the late nineties to the current AZ Models one. Both are limited run injection moulded kits but there are a fair few differences in the two kits. Initially I was worried that the AZ kit would simply be a repop of the MPM one but this is definitely not the case. Lets start with the boxes.

image

image

I personally prefer the MPM artwork but there the good news ends for MPM. AZ have obviuosly been listening to the crticism of end opening boxes that collapse and have created a slide out drawer type box for the inside. This provides great rigidity to the box and by adding a little shelf inside further protection is added for the sprues. MPM has not done this and long term storage causes the box to bow inwards.

The contents……

image

image

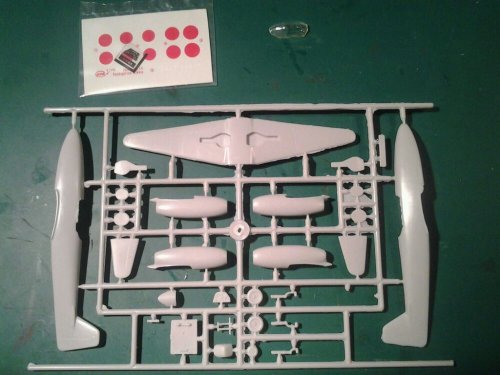
The MPM kit comes as one sprue that has a fair amount of flash. In addition there is an injection moulded canopy of average quality and a decal sheet with 10 Hinomarus and 2 serial numbers. The red in the Hinomarus is a pale pinky red, not sure how realistic this is. behind the decal sheet is a brass fret that contains contains 17 parts to detail the cockpit including the instrument panel and the undercarriage. This all comes in a plastic bag. from building this kit in the past I know that a reasonable amount of fettling will be required including the cockpit floor being too wide. The flash will require a bit of cleanup also

image

image

The AZ kit comes on two sprues with much the same sort of parts breakup but with less flash and no etched brass. There are 2 extra Hinomarus with the colour being more brown(brick) red with markings for three different planes. Lets compare and contrast these kits in depth now in Part 2.

Psr heaven

Leave a comment

Bit stuck on the psr cycle, not bothered tonight but should finish most of it tomorrow night.

image

Gods

Leave a comment

Personally I agree with Harlan Ellisons notion that now we have stopped believing in our old gods that new gods will come into existence, Terry Pratchett to some extent has appropriated this in his books also. I often pray to the parking gods for a spot though they are ever very capricious.

I think modellers worship various modelling gods. There is of course the well known carpet monster that swallows model parts on a regular basis in every modellers area. There is also the god of random physics that operates around my desk, the dropped parts that seem to travel to random parts of the room in spite of all laws of physics. I always start looking for parts a good 3 foot away from where they could possibly be and often find them there.

Then of course there is the god of Kit Releases. Often times the best way to get your long sought kit of the Sopwinkel Hippotamus is to buy the vacform kit if it is available so that the god realises you have made a sacrifice in buying a horrible kit. You may then be rewarded. Ive bought the Airfix and HiPM Bv 141 in this belief, but am yet to be blessed with the long rumoured Special Hobby one 😦

More on modelling gods another day.

Track one done 1/7/12 – only 2 to go!

Leave a comment

image

Minenraumer Pads

Leave a comment

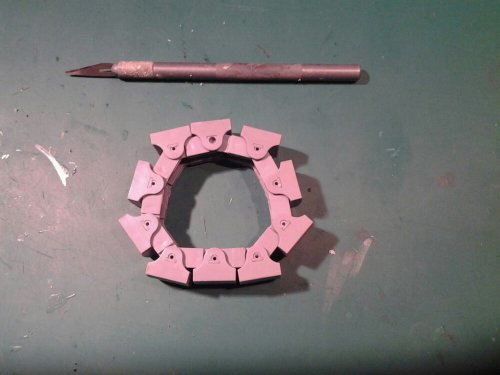
With 20 of these to construct for the 2 rear wheels this was always going to be a little tedious. This is also the only dissapointment on the kit. Each of the links that the pads attach to has a mould seam running through it, not terribly visible but it makes the fit too tight so they have to be removed, this fault is common to all copies of these kits as googling has shown.
See the photo below. Having said that the tracks on all tanks are tedious and usually require a fair bit of cleanup.

image

Older Entries Newer Entries