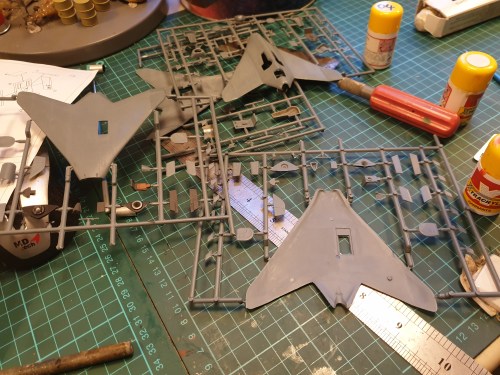
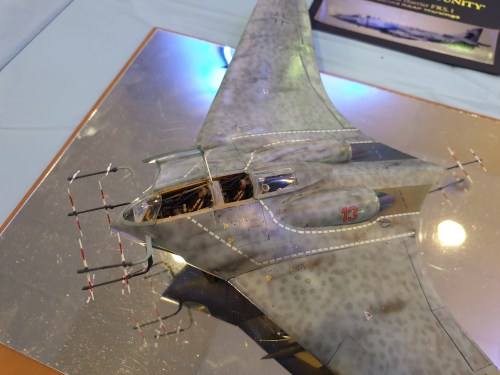
By this stage I am convinced the Ae607 kit from RS Models is definitely limited run. Why …well a number of things. The cockpit assembles adequately until you get to the seat. This is overly large and when fitted will not fit under the canopy. I replaced this with a Eduard German seat and Airwaves seatbelts.The real shocker is the exhaust. This is just plain too big. I’m still fettling it and there is more to come. For the second one I think I will use some plastic tube and the engine rear only. The mounting plate it is on is useless.On the DBF front it now has primer on which isn’t too bad considering not a lot of modelling was done.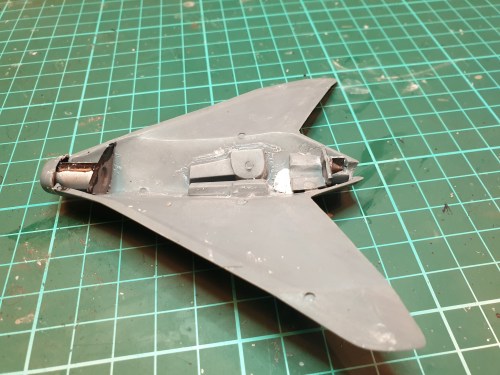


Definitely Limited Run
November 17, 2019
Progress report or the PSR report
November 12, 2019
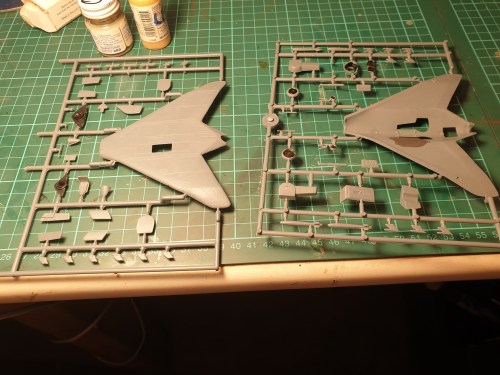
Some photos of all kits under construction. The DBF is nearly ready to prime except I snapped off a tailplane during the PSR cycle so it will be Milliputed tonight when the garage finally cools down from the peak of around 37C.
The 607 NF is also up to its next PSR stage but I want to fit the exhaust and then putty. The area around the cockpit coaming with Milliput on it is a self inflicted error with overdoing the Tamiya glue causing the plastic to be eaten away, should have used superglue instead?
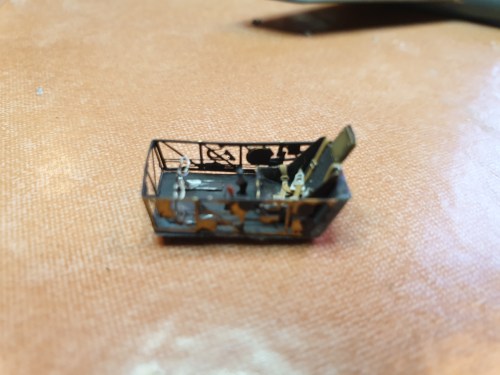
The 607 day fighter has the etched brass cockpit done and is ready for more work.


Etched brass
November 12, 2019
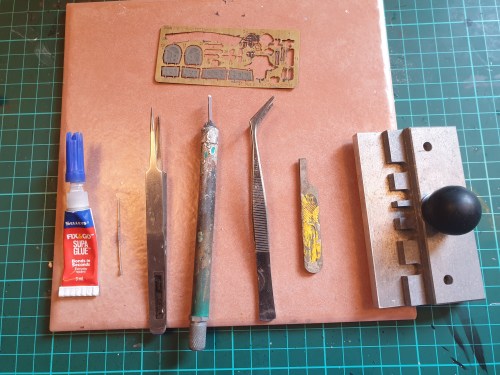
Pictured below is my tool kit for etched brass work.
The tools are arranged left to right with the ones on the right being most useful and those on the left being least used and useful. The tile is also essential to cut out the brass on with an ordinary blade.
I forgot to add in a thin steel ruler which would fall around the middle. I know those folding tools on the left were a big craze a few years back but I’ve found them tricky to use precisely myself.
Your mileage or kilometrage may vary. It’s funny but as an Australian the metric system was introduced when I was 11 and I still use both systems in everyday life
BV Ae607 RS Models
November 2, 2019
This is one many of us have been waiting forever for. RS did a resin version back in the 90s which was well liked but of course was not bought in huge numbers being resin.
The plastic version was long promised and I had just about given up on seeing it ever given how long it was in their catalogue as coming.
The kit is typical short run and comes in both a day and night fighter version so I bought one of each. The day fighter version will have a detailed cockpit etc from NH and be on its u/c and the night fighter version will be basic detail with 2 added Schrage Musik guns and no X-4’s and in flight mode.
The decals are mostly out of register but otherwise it looks ok.
Preliminary work can be done via lots of painting of interior details. The main body needs a quick sand as the surface is slightly pebbly in feel.
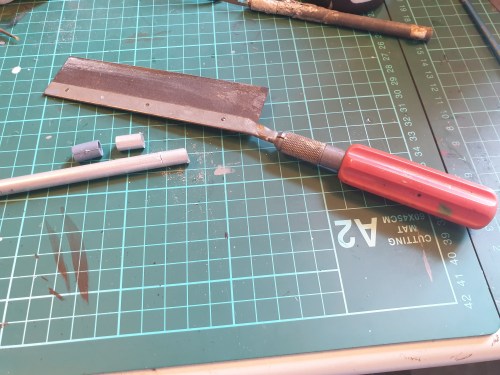
I also replaced the two part engine intake with a small length of brass tube to avoid having to sand the job.
I bought a few paintbrushes as they were 50% off.


Back to basics
November 2, 2019
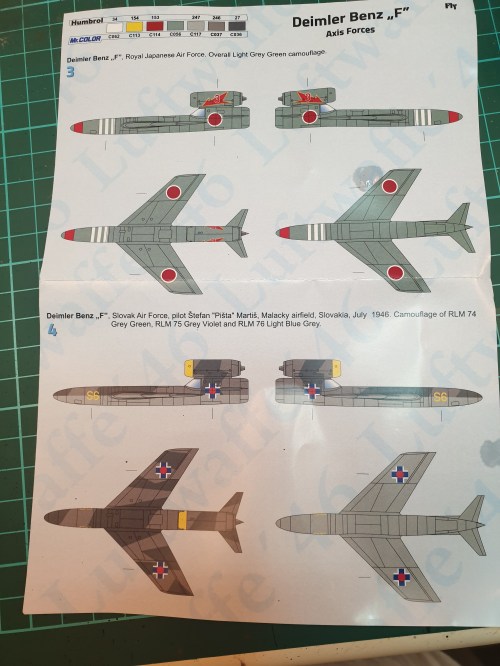
After a bit of an average year for not finishing kits I’ve picked up the FLY 1.144 Daimler Benz Project F.
This is a small simple kit with the instructions on the back of the box and a nice sheet with some suggested colour schemes for Germany, Hungary and Japan.
Assembly is easy but you may need a little filler on various joints if you are like me. The simple canopy is small but will require some fettling to get it to fit.


Kugelblitzed
September 22, 2019
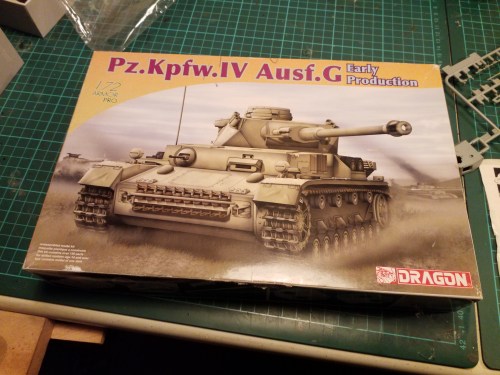
Ok small pun but now back on track. Seems at the moment I can’t get my head around doing any aircraft so on to another tank, more accurately a flak tank.
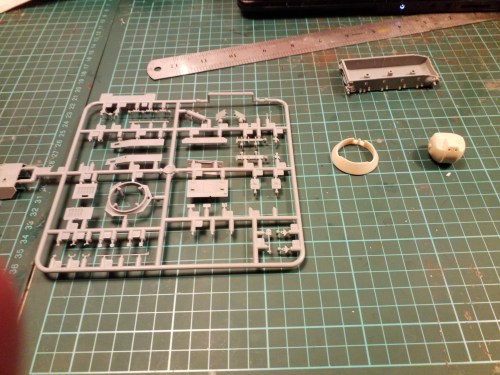
This is the Planet resin kit but I have only kept the turret portion. For the rest I am using a Dragon plastic kit which is much more detailed than the resin one and much easier to assemble being plastic.
Cutting out the resin pieces involved my Dremel and lots of dust which was carefully disposed of.
Anyway below is progress so far.


Mojo missing
September 16, 2019
It’s been 2 months since the last post and whilst I have been modelling nothing really useful has happened. Whilst a number of kits have graced the work bench none have been completed including a rail wagon, rail tanker and a JCB as well as a V1 2 engine from Brengun.These and others are now all safely back in the cupboard.Seems funny after last year with 6 KV2’s finished to follow it with one KV2 diorama but the interest has waned for the moment.This will be temporary so another update will follow sometime.
Below are some shots from Expo back in June
BTW Hylands bookshop is no more , heaven knows I used to spend too much there but in the last few years in the new black hole premises very little, still got over 50 of their books to read one day.
Hobbyco who used to be very expensive are now as good as BNA for many things and I don’t pay postage. They have recently renovated but whilst the area for tanks and plane kits are the same the wider aisles mean less to look at. Trains have been cut a little to accommodate an aisle of jigsaws which are the new hobby of appeal.


It’s done – KV2 3 storey
July 21, 2019
Yes finally finished it. After lots of backwards and forwards, including having to reglue the tank on in a better position it is now complete. Whilst I wanted to put the pistol port chains on these were just too tiny in 1.72Otherwise I am very happy with it though nearly ran out of one weathering dust colour and that caused some worries. I’ll probably have a bit of a break and clean up before resuming the railway stuff.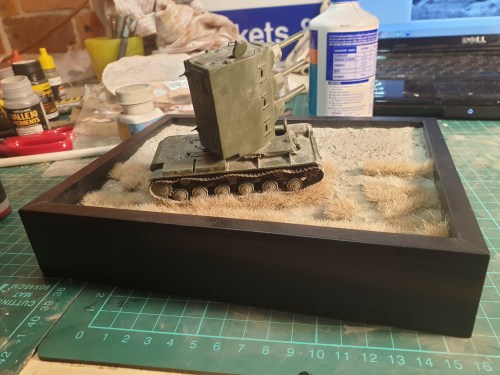

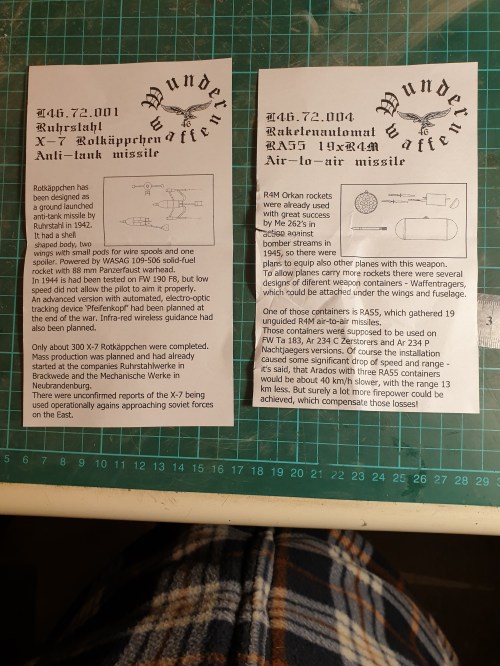
Wunderwaffen
July 20, 2019
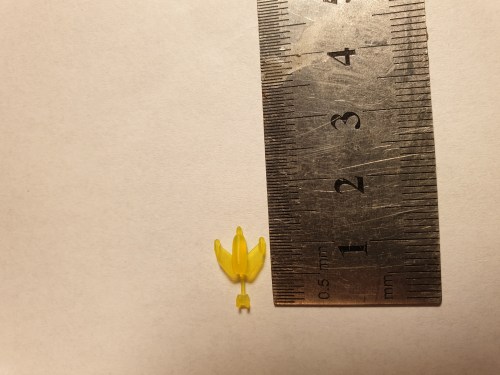
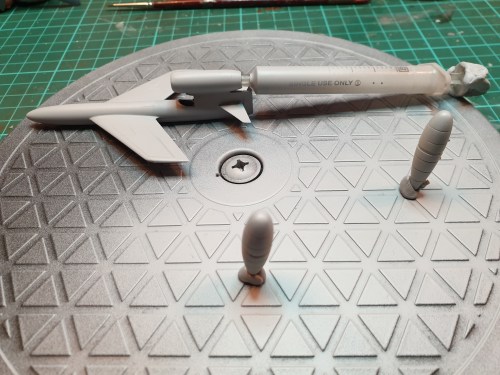
I got these in the mail yesterday from Poland. 5 different weapons I had ordered to go on some Luft46 planes.
All are 3D printed. The printing is better than past examples I have seen but you can still see the lines a bit so you must choose whether to sand these off. Given the size of some of these I’m sure this will be difficult. Complicating that decision is that some of them have quite amazing level of detail.
The R1000 rockets and the Hs293 derivative have extras like the arming screws and a tiny propeller on the Hs293.
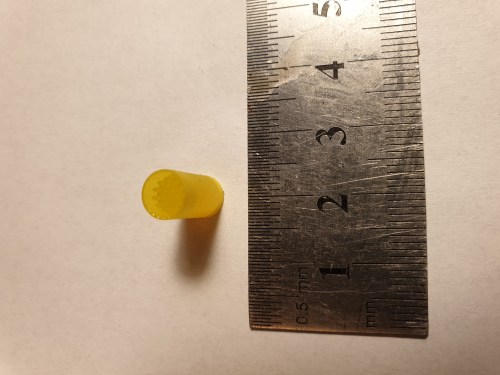
The Rottkapchen is very small and after reading the instructions included I am now more inclined to use it in a armour setting maybe on top of a tank with a rail.
Other points are that a quick wash with detergent is advised as they are a bit greasy.
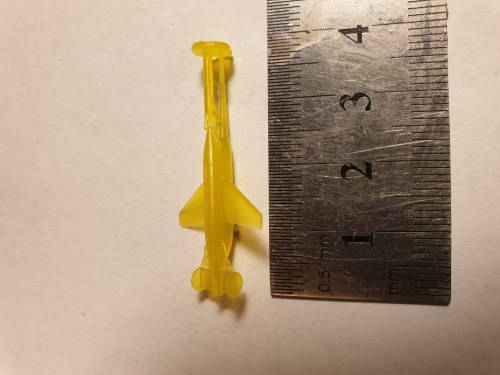
The R4M rocket container is a true joy. Instead of taking the easy way out and moulding it as one piece – e.g. Brengun with their Natter nose this has 4 parts…. a nose and rear cap , pylon and a main body. The pylon is keyed to the main body to get it’s position right.
The main body has the rockets and exhaust tubes moulded as one piece but each rocket front sticks out part of the way so painting each nose in white is possible. The photos do not do this justice.
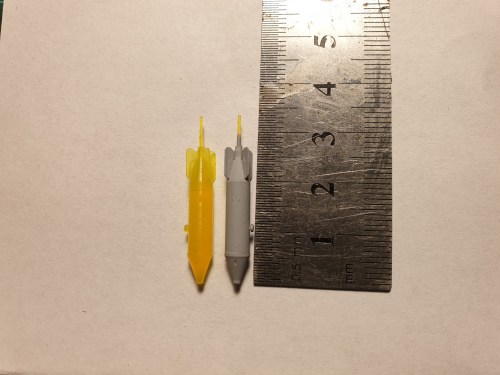
I think this is as good as it will get for L46 weapons until 3D printing can be done completely smoothly. A bit of Tamiya primer does help.