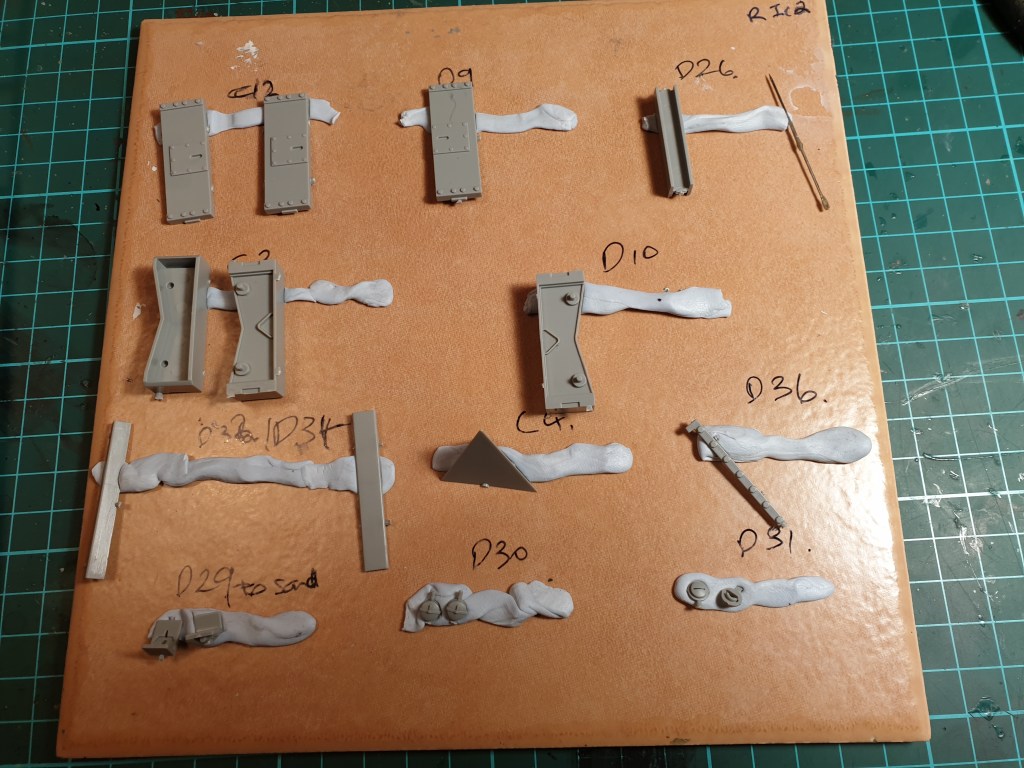
I’ve started on the cleanup process. As of tonight 20 down and 52 to go. Yes that it is 2 rows of 10 on the top. And yes very OCD of me!

A mostly Luft 46 Modellers occasional blog
April 16, 2020
I’ve started on the cleanup process. As of tonight 20 down and 52 to go. Yes that it is 2 rows of 10 on the top. And yes very OCD of me!
April 13, 2020
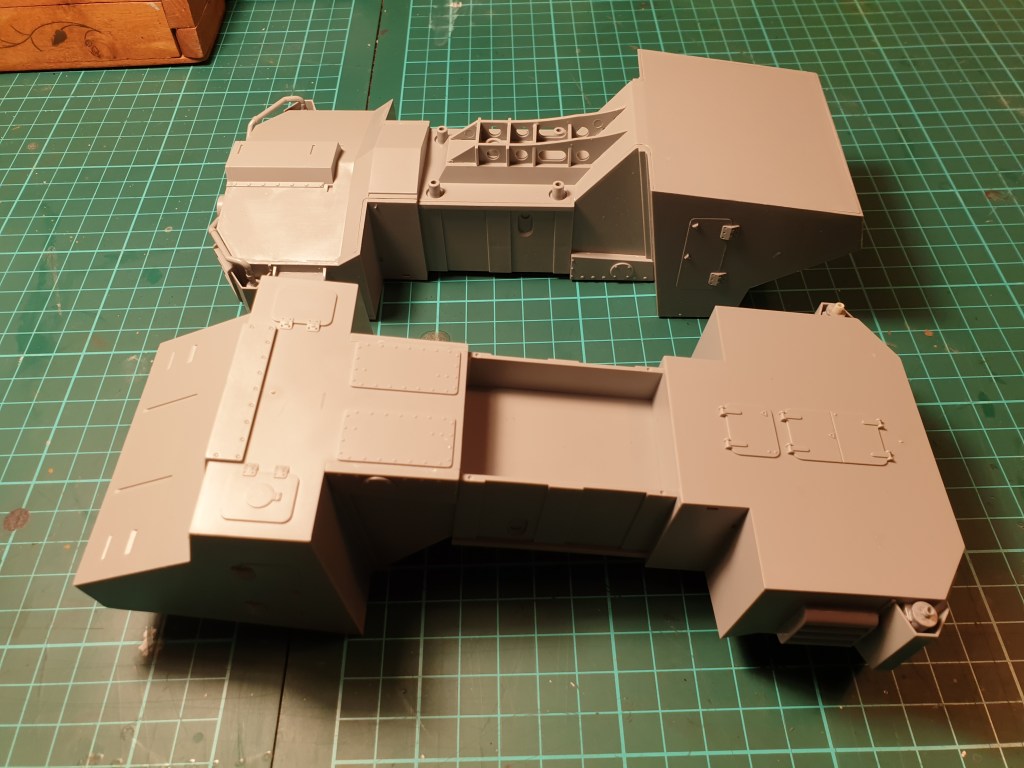
More work today and so mainly the pads left to clean up.
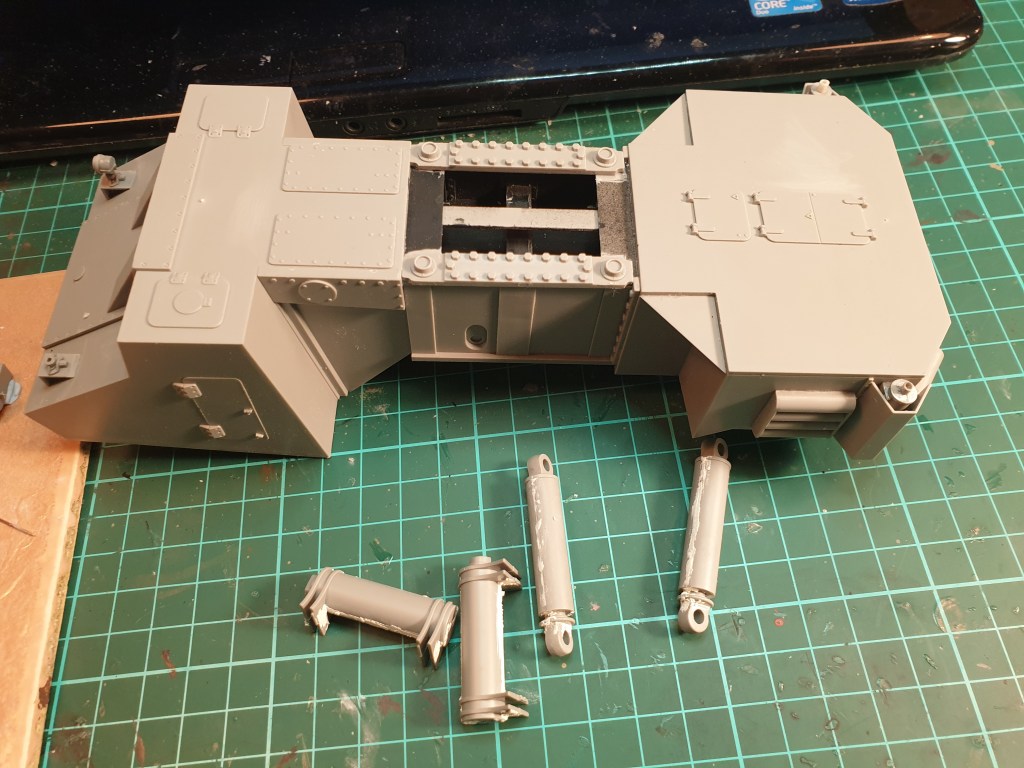
The underside steering mechanism is finished.


April 10, 2020
Well the 4 day holiday part at least. Apart from a good long walk have spent a fair bit of time on the Raumer. After a bit of sanding and dry fitting I got the second box in and am now firmly in Stage 7. More parts cleanup to go but nearly up to the last page.
Mind you there are 72 pads with 3 attachment points each to clean up as the last bit before completion so I may need a nice long movie for that stage!


April 7, 2020
More images from my work last night. Up to Stage 6 of 9 already although one bit is fighting me a little.

April 3, 2020
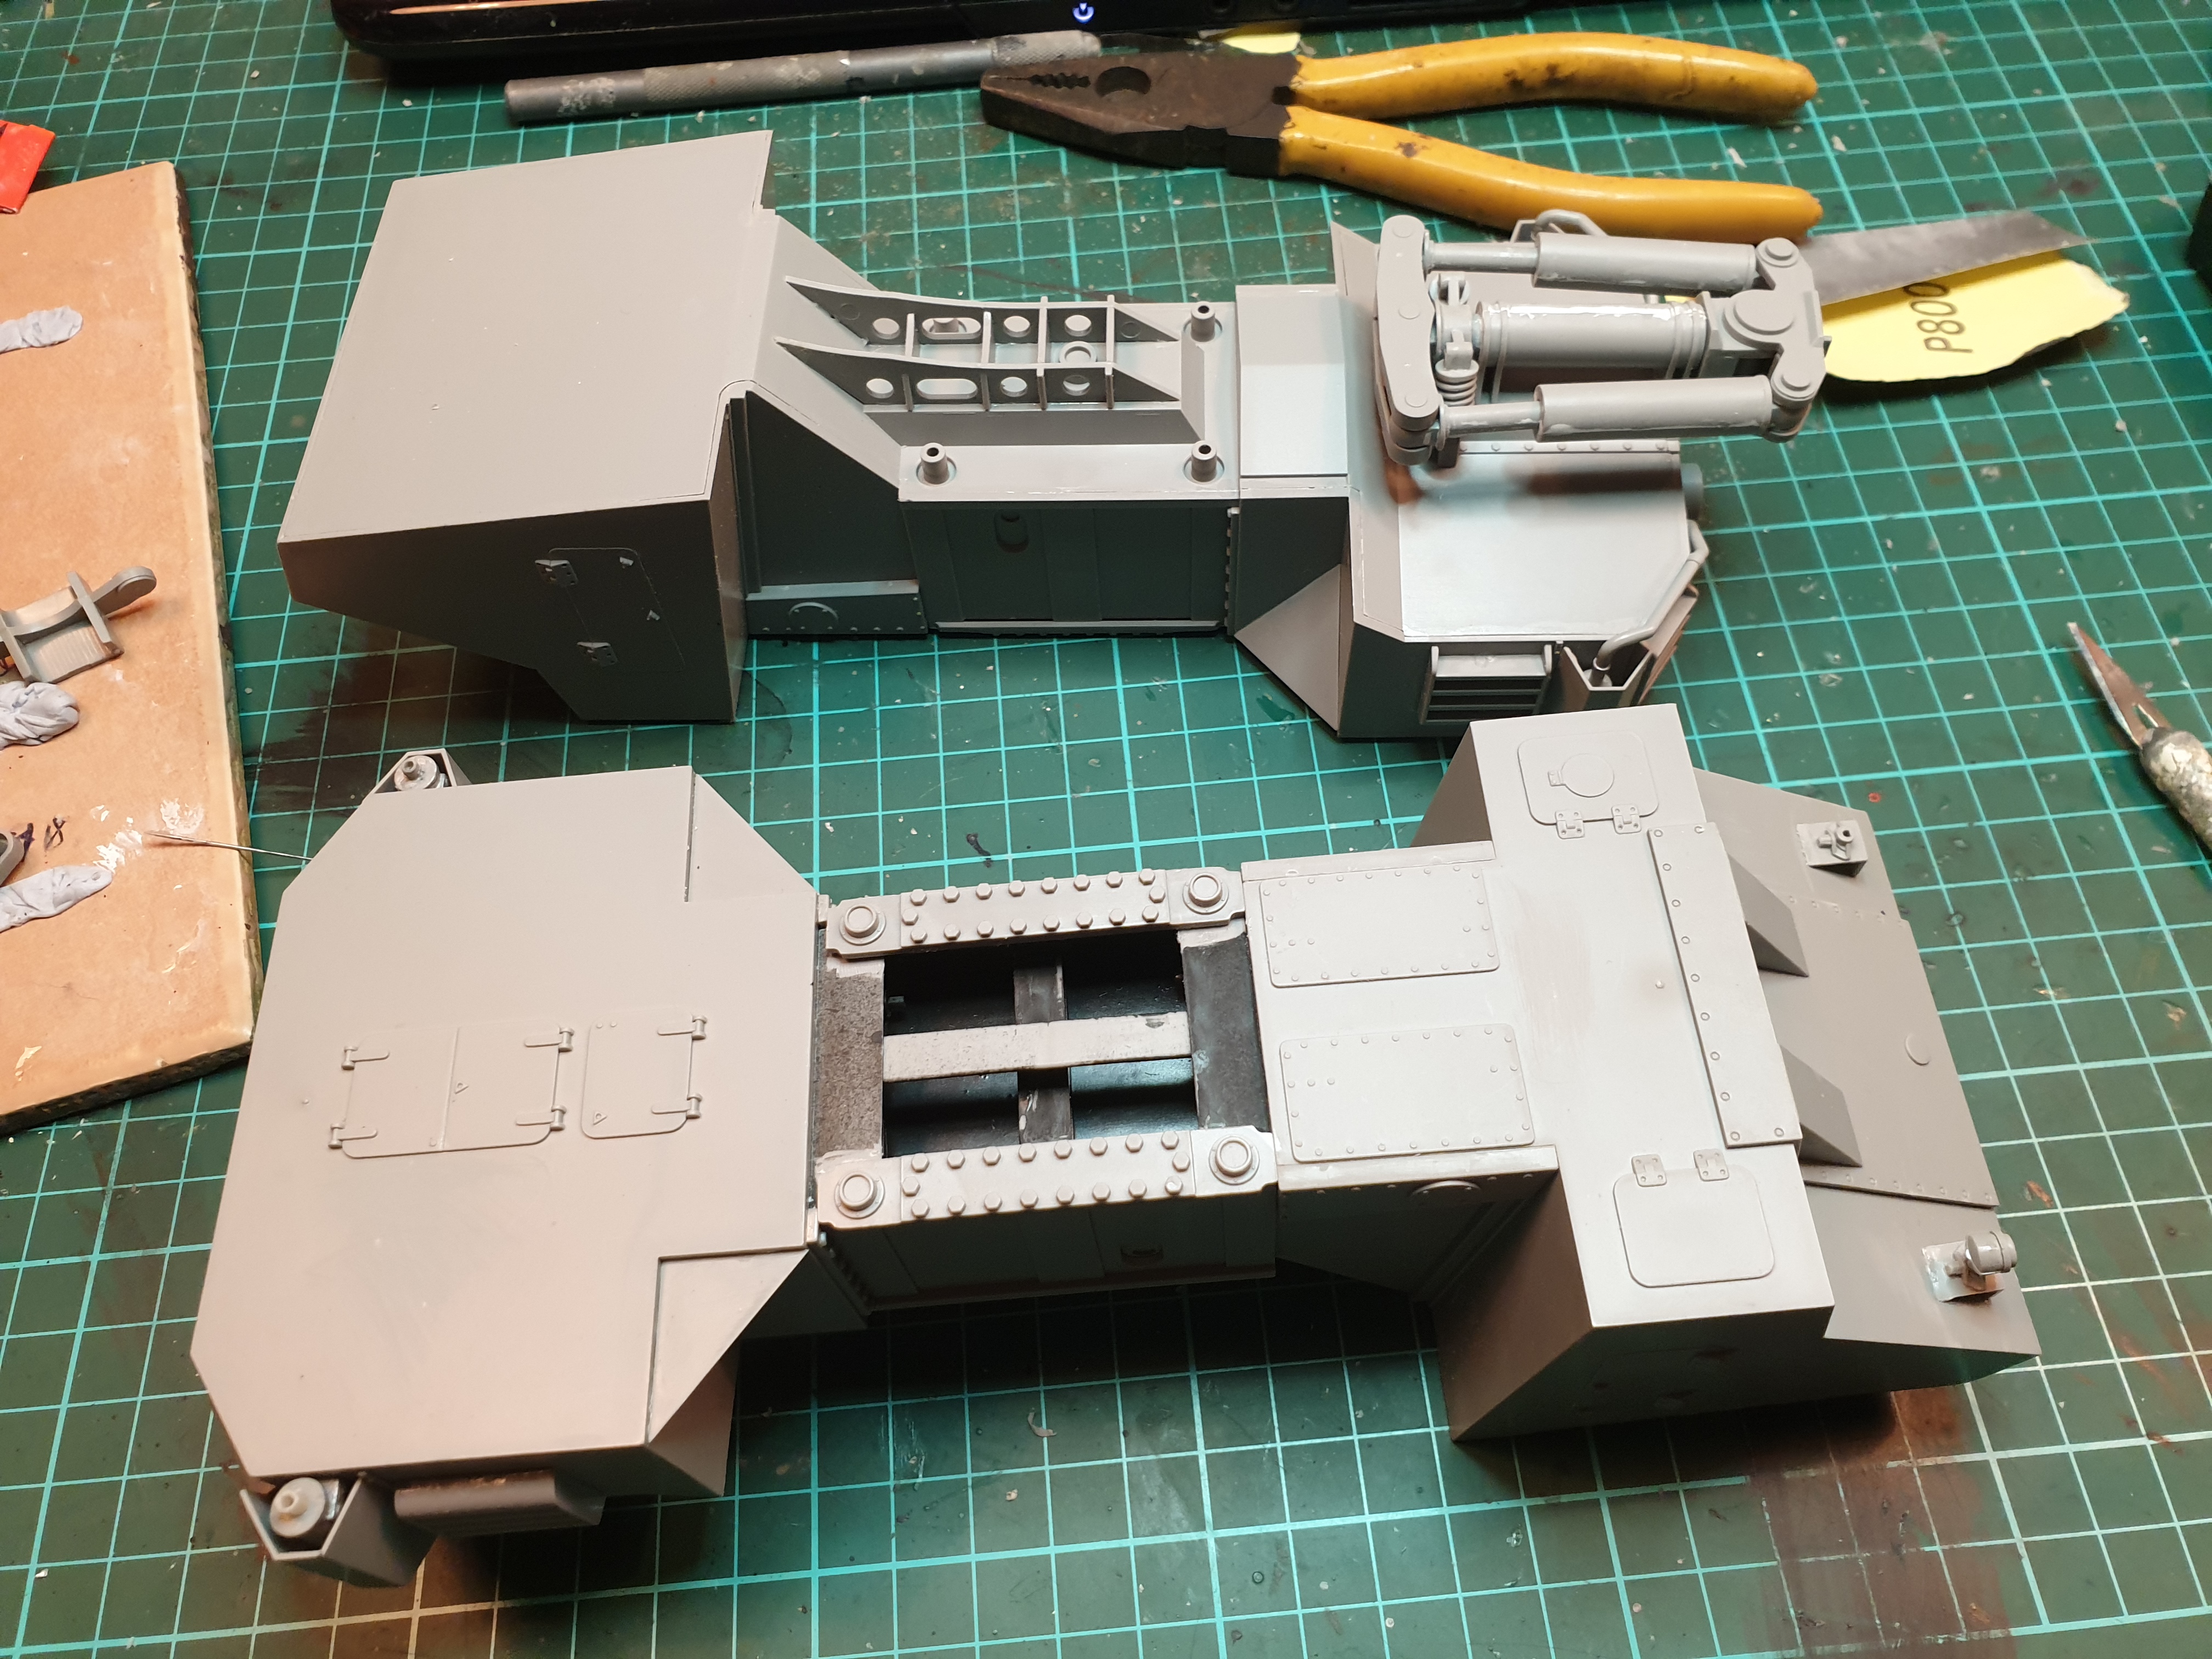
The Raumer is proceeding nicely. I’ve started production lining the assembly of this kit which is something that armour lends itself to. It’s certainly not something that you can do with aircraft.
With the long two minute commute downstairs to my garage there has certainly been more modelling going on despite carrying the same workload as before.
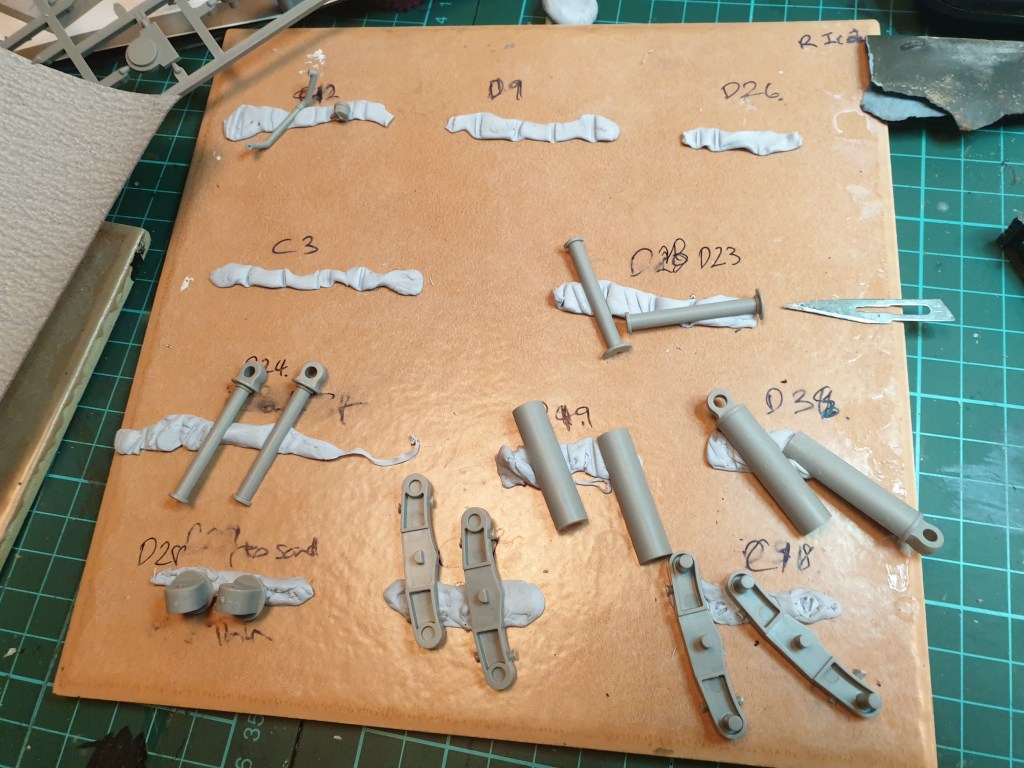
I managed to sneak in a little two hour session tonight. All of the pieces on the tile were cleaned up tonight ready for some assembly tomorrow.
March 30, 2020
Ok enough about the obvious. Moving right along !
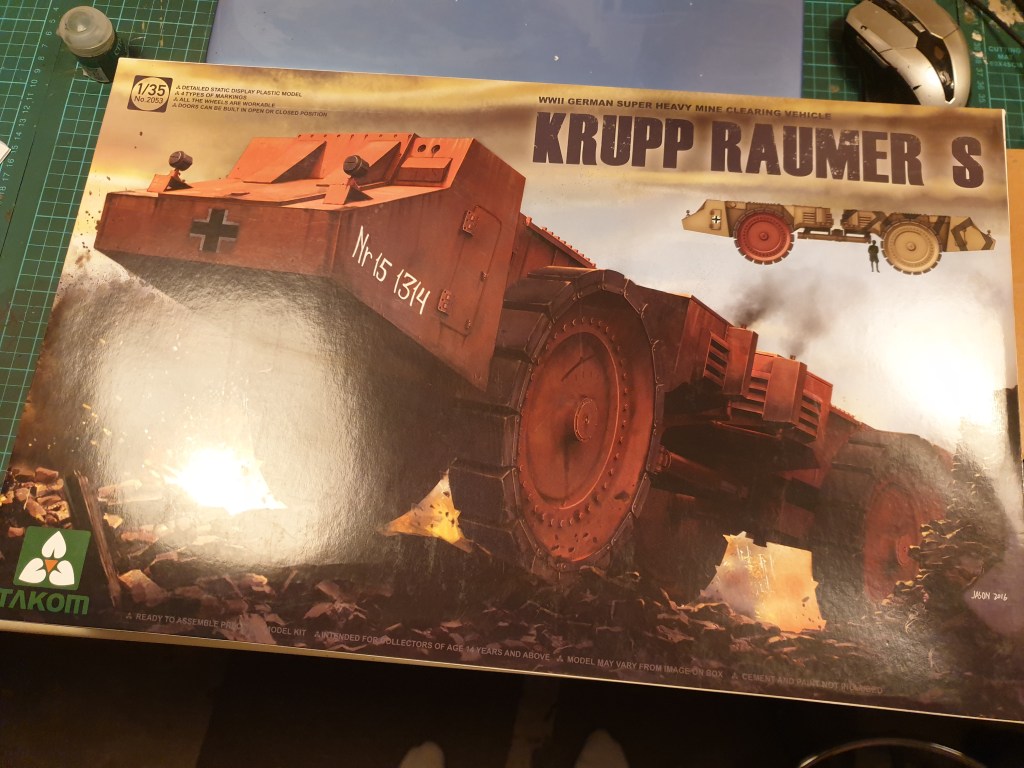
Have been working on the Takom Krupp Raumer S in 1.35 kit. I remarked recently to my other half that I was having trouble finishing anything lately as a perusal of this blog will show.
So I let her choose my next kit. This was the result. Hardly surprising as it is a big box with nice box art.
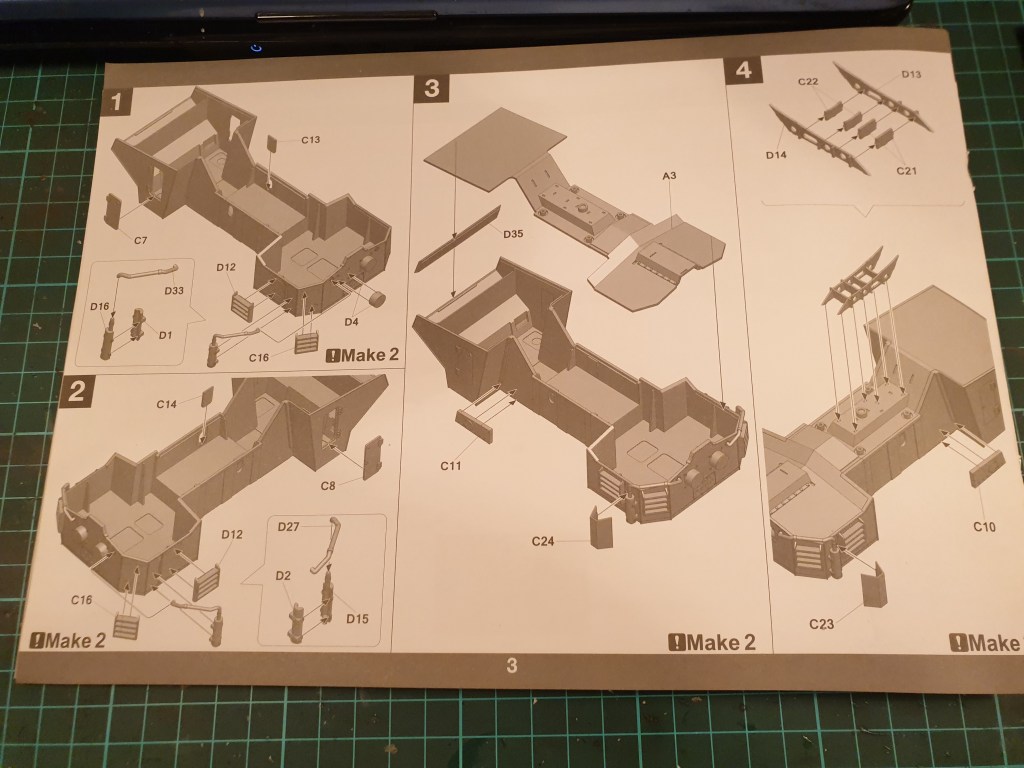
It’s a nice big kit with no obvious vices so far. I’ve been using the themodellingnews.com review to help a little. I haven’t gone as OCD as he’s gone so that I can actually finish it.
I will comment that step 4 is much easier if you glue D14 direct to the kit body using superglue, allow to set.Then use white glue to add parts C21 and C22. Whilst this is setting gently add D13 and get all the little tabs in the C21 and C22s to click into place. Once it all looks square use some Tamiya thin glue to cement it all together after double checking your fit. The tall end of the D parts may need some extra superglue on the inside at the top and a little pressure to help the fit.
I’m currently up to Stage 5 of 9. The photos below are from an earlier point.


February 22, 2020
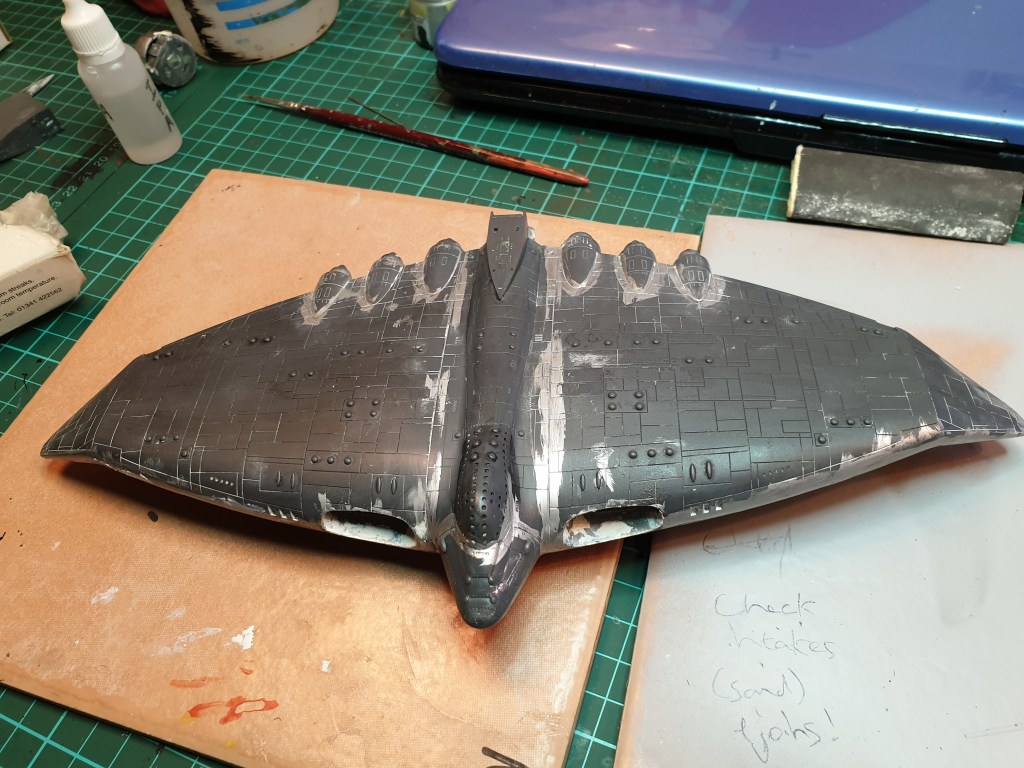
More in sorrow than anger the Dragon He162 has been binned. I looked at it today after doing more work on it and realised just about no one component either fitted properly or didn’t require some work to get it up to standard. I’m not even going to discuss the mess that is the u/c. I’d rather be doing something that is at least not frustrating.

Onto some railway modelling and as I want to change one small component to reduce cleanup I am concentrating on parts clean up today.
The 12 brake lines that connects the right and left hand side are a simple thin piece of straight plastic that has four sprue attachment points so I’m going to replace this with some plastic rod. Unfortunately what I have is not in the Goldilocks zone so off to Hobbyco on Tuesday day 🙂

February 16, 2020
One of those weeks where barely any motivation exists. Will be trying to fight the Dragon He 162 again today.
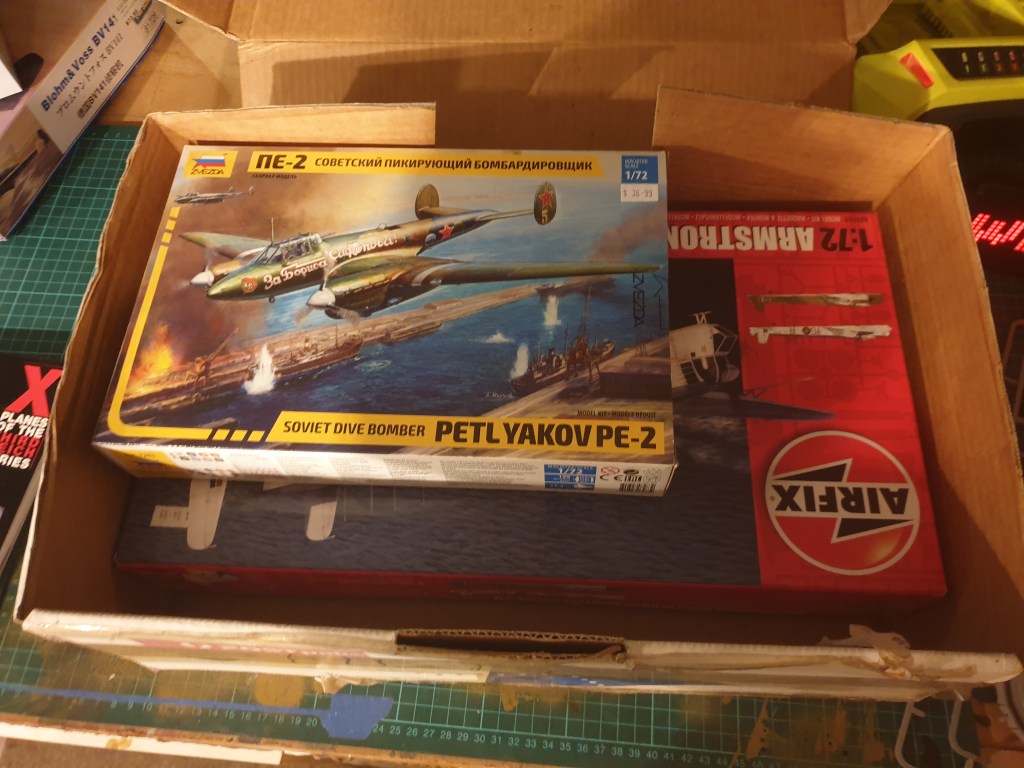
Hobbyco must have got someone with some vague knowledge of marketing. This week they had a few old Hase kits with 50% off as well as the same on Ammo by Mig paints and weathering stuff. This was actually a genuine 50% off so I bought a few. See below.
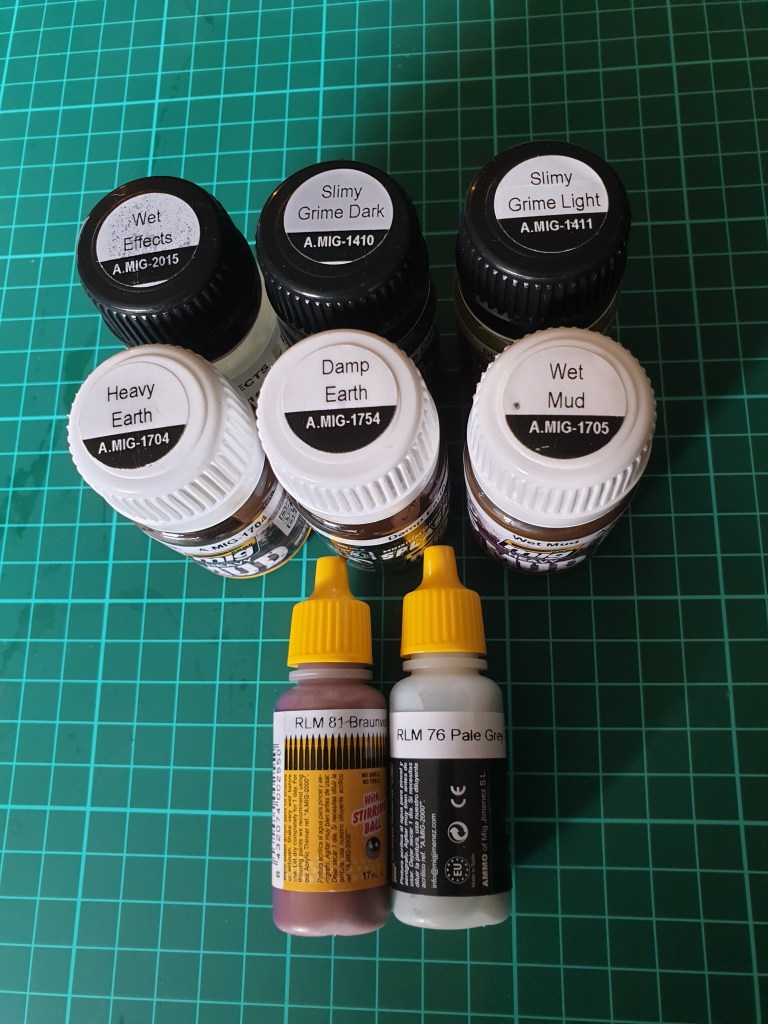
Also below is a comparison between Vallejos and Migs Light Slimy Grime colours. Even to my eye they look very different. The Mig jar is on the left in both photos.


February 13, 2020
Ok so WP has found a new way to mess me up. I hate when they improve ” my experience “.
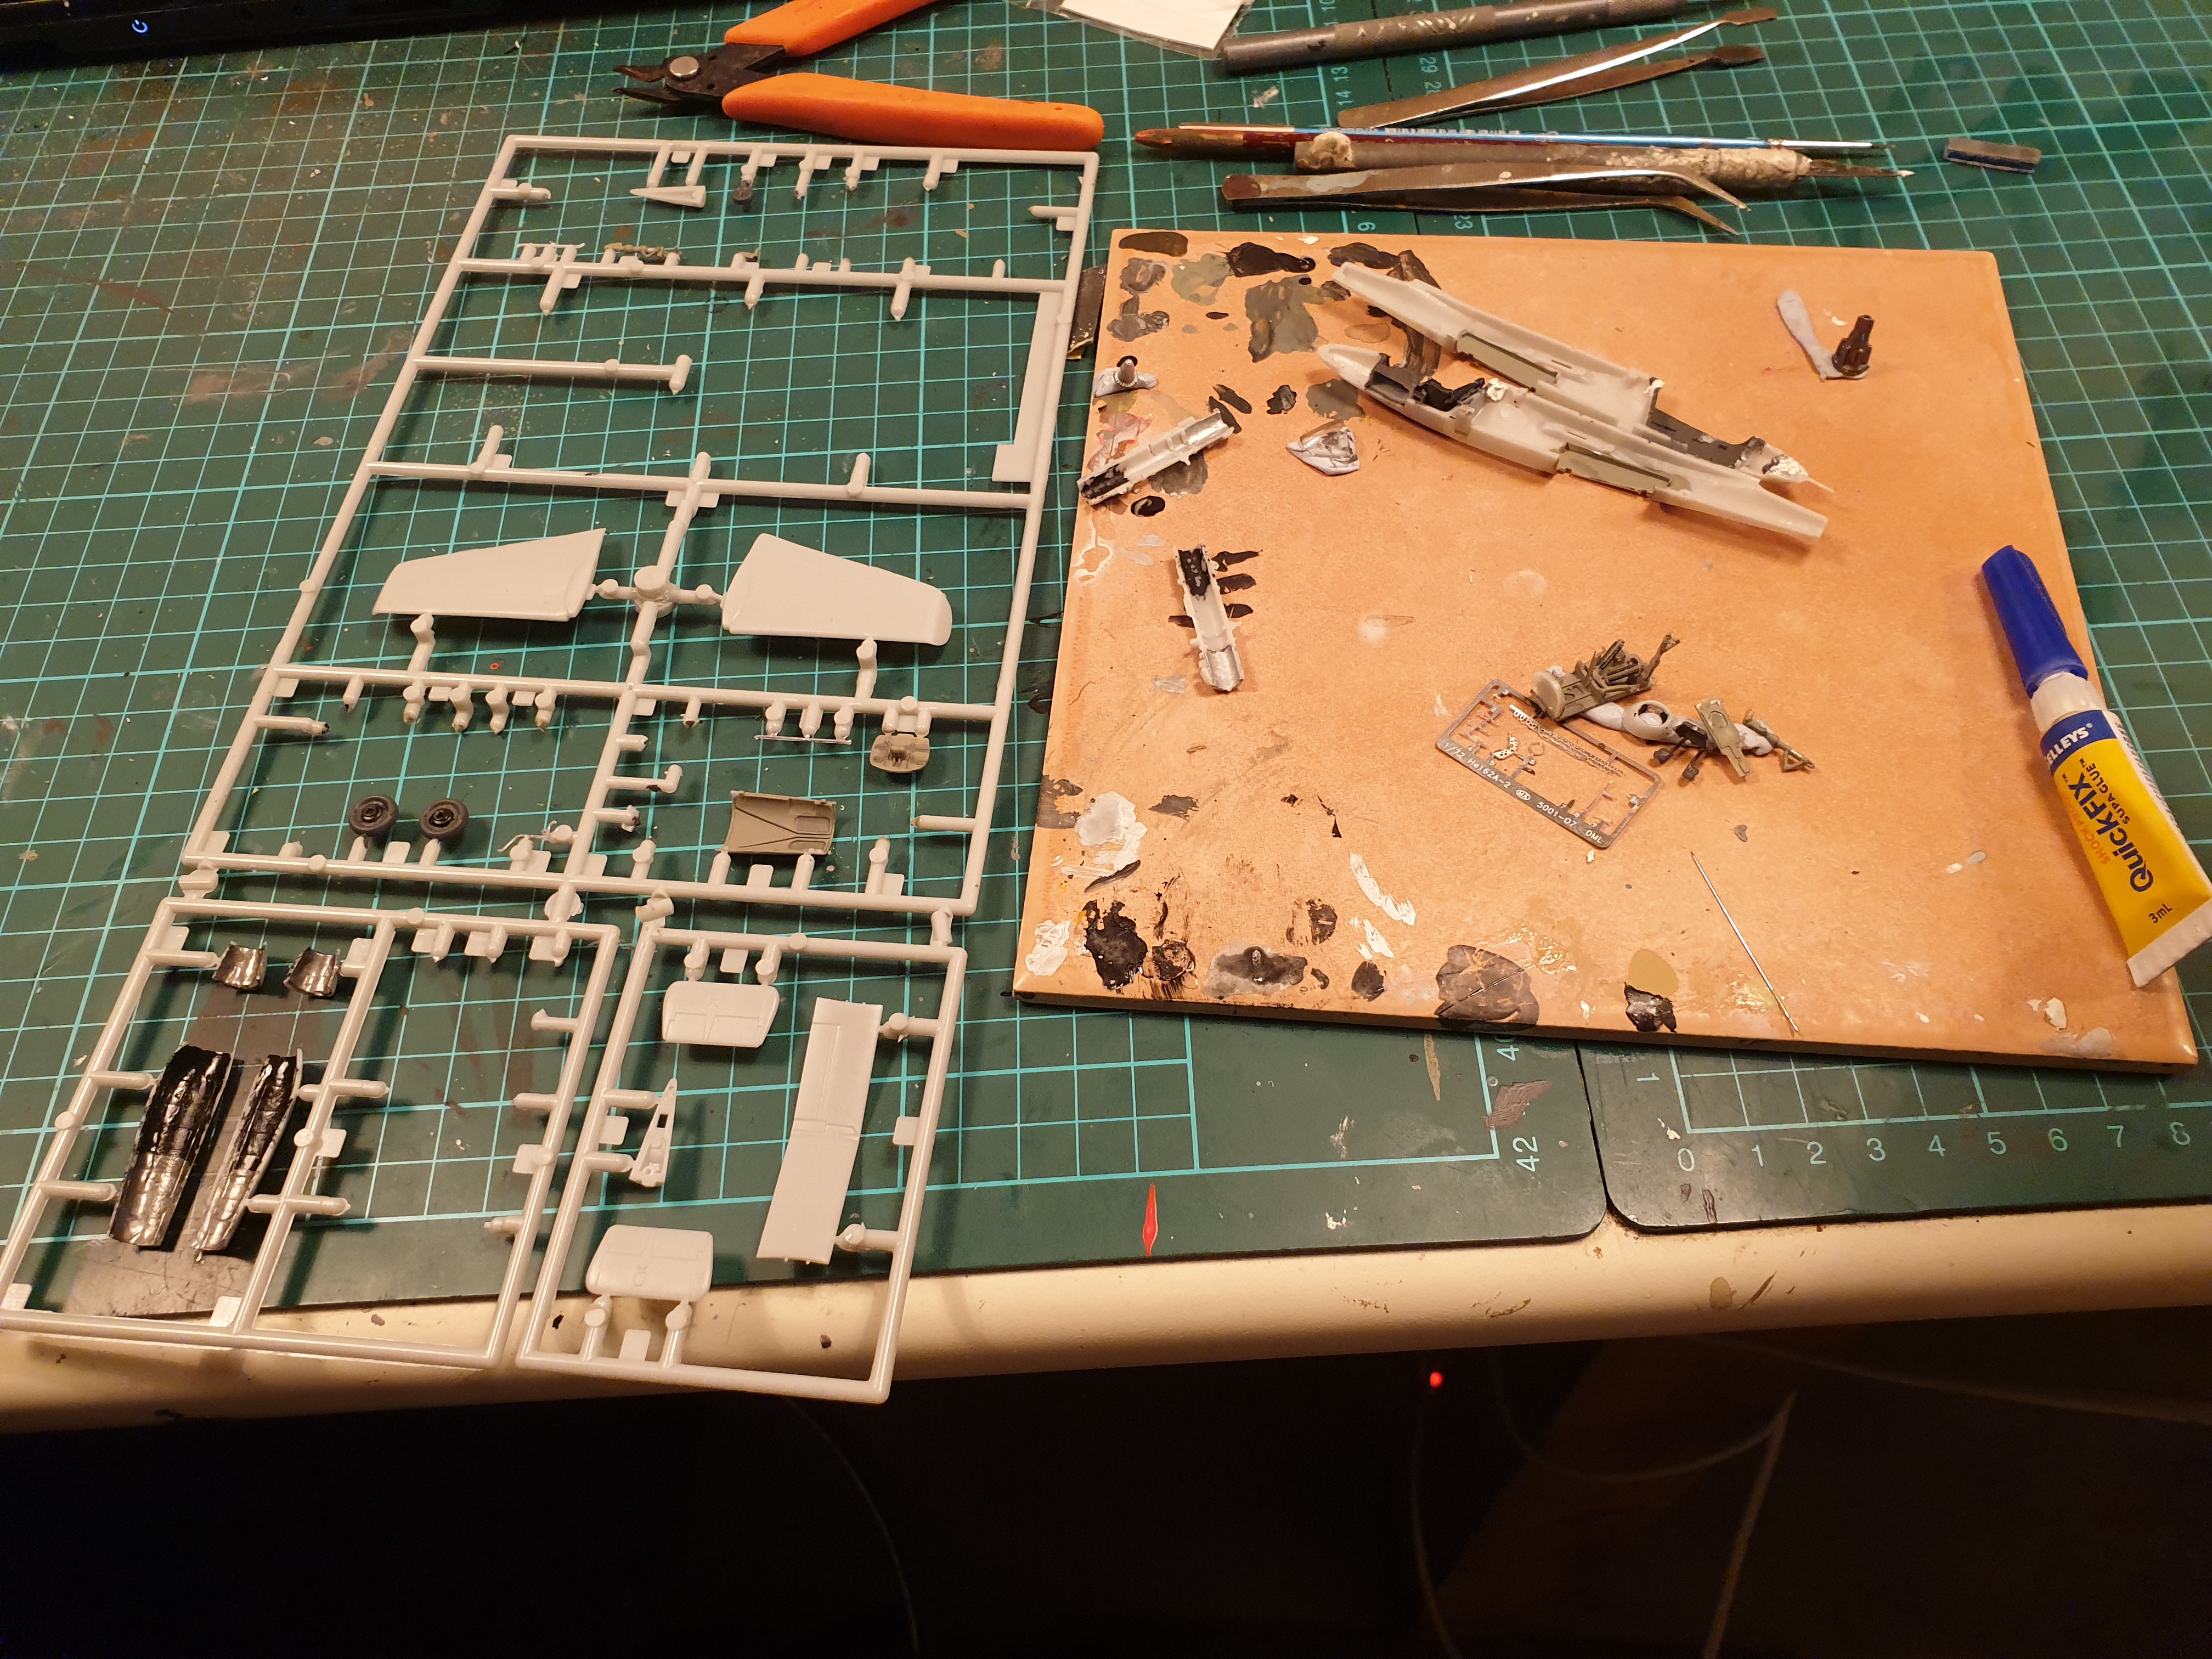
Lots of rain on the weekend so with high humidity it was useless to airbrush. Dug out this Dragon kit and typically it looks nice but assembly is a pig.
The undercarriage is an octopuses delight .Only the right hand side was completed before frustration at the fiddly assembly set in.
The major problem with the kit is the green tinted canopy. Well in 1947 the Italians in North Africa were flying the He 162 after the Luftwaffe generously handed them over. Trying to get some relief from the sun they tried tinting the windscreen.
So there. A justification for Dragons stuff up. Colour scheme will be a simple green over grey underside.
Below is progress so far. Not much as it was nicer inside finishing off the Panzer Wrecks in Berlin book.
January 17, 2020
Ok back a week now. I’ve done a little modelling on this anime kit. It was stopped part way through the PSR cycle but I’ve dragged it out of the cupboard in the hopes of finishing it. It’s destined for a He111 paint scheme when I get to that stage.