Surfacing into my model cabinet

Leave a comment

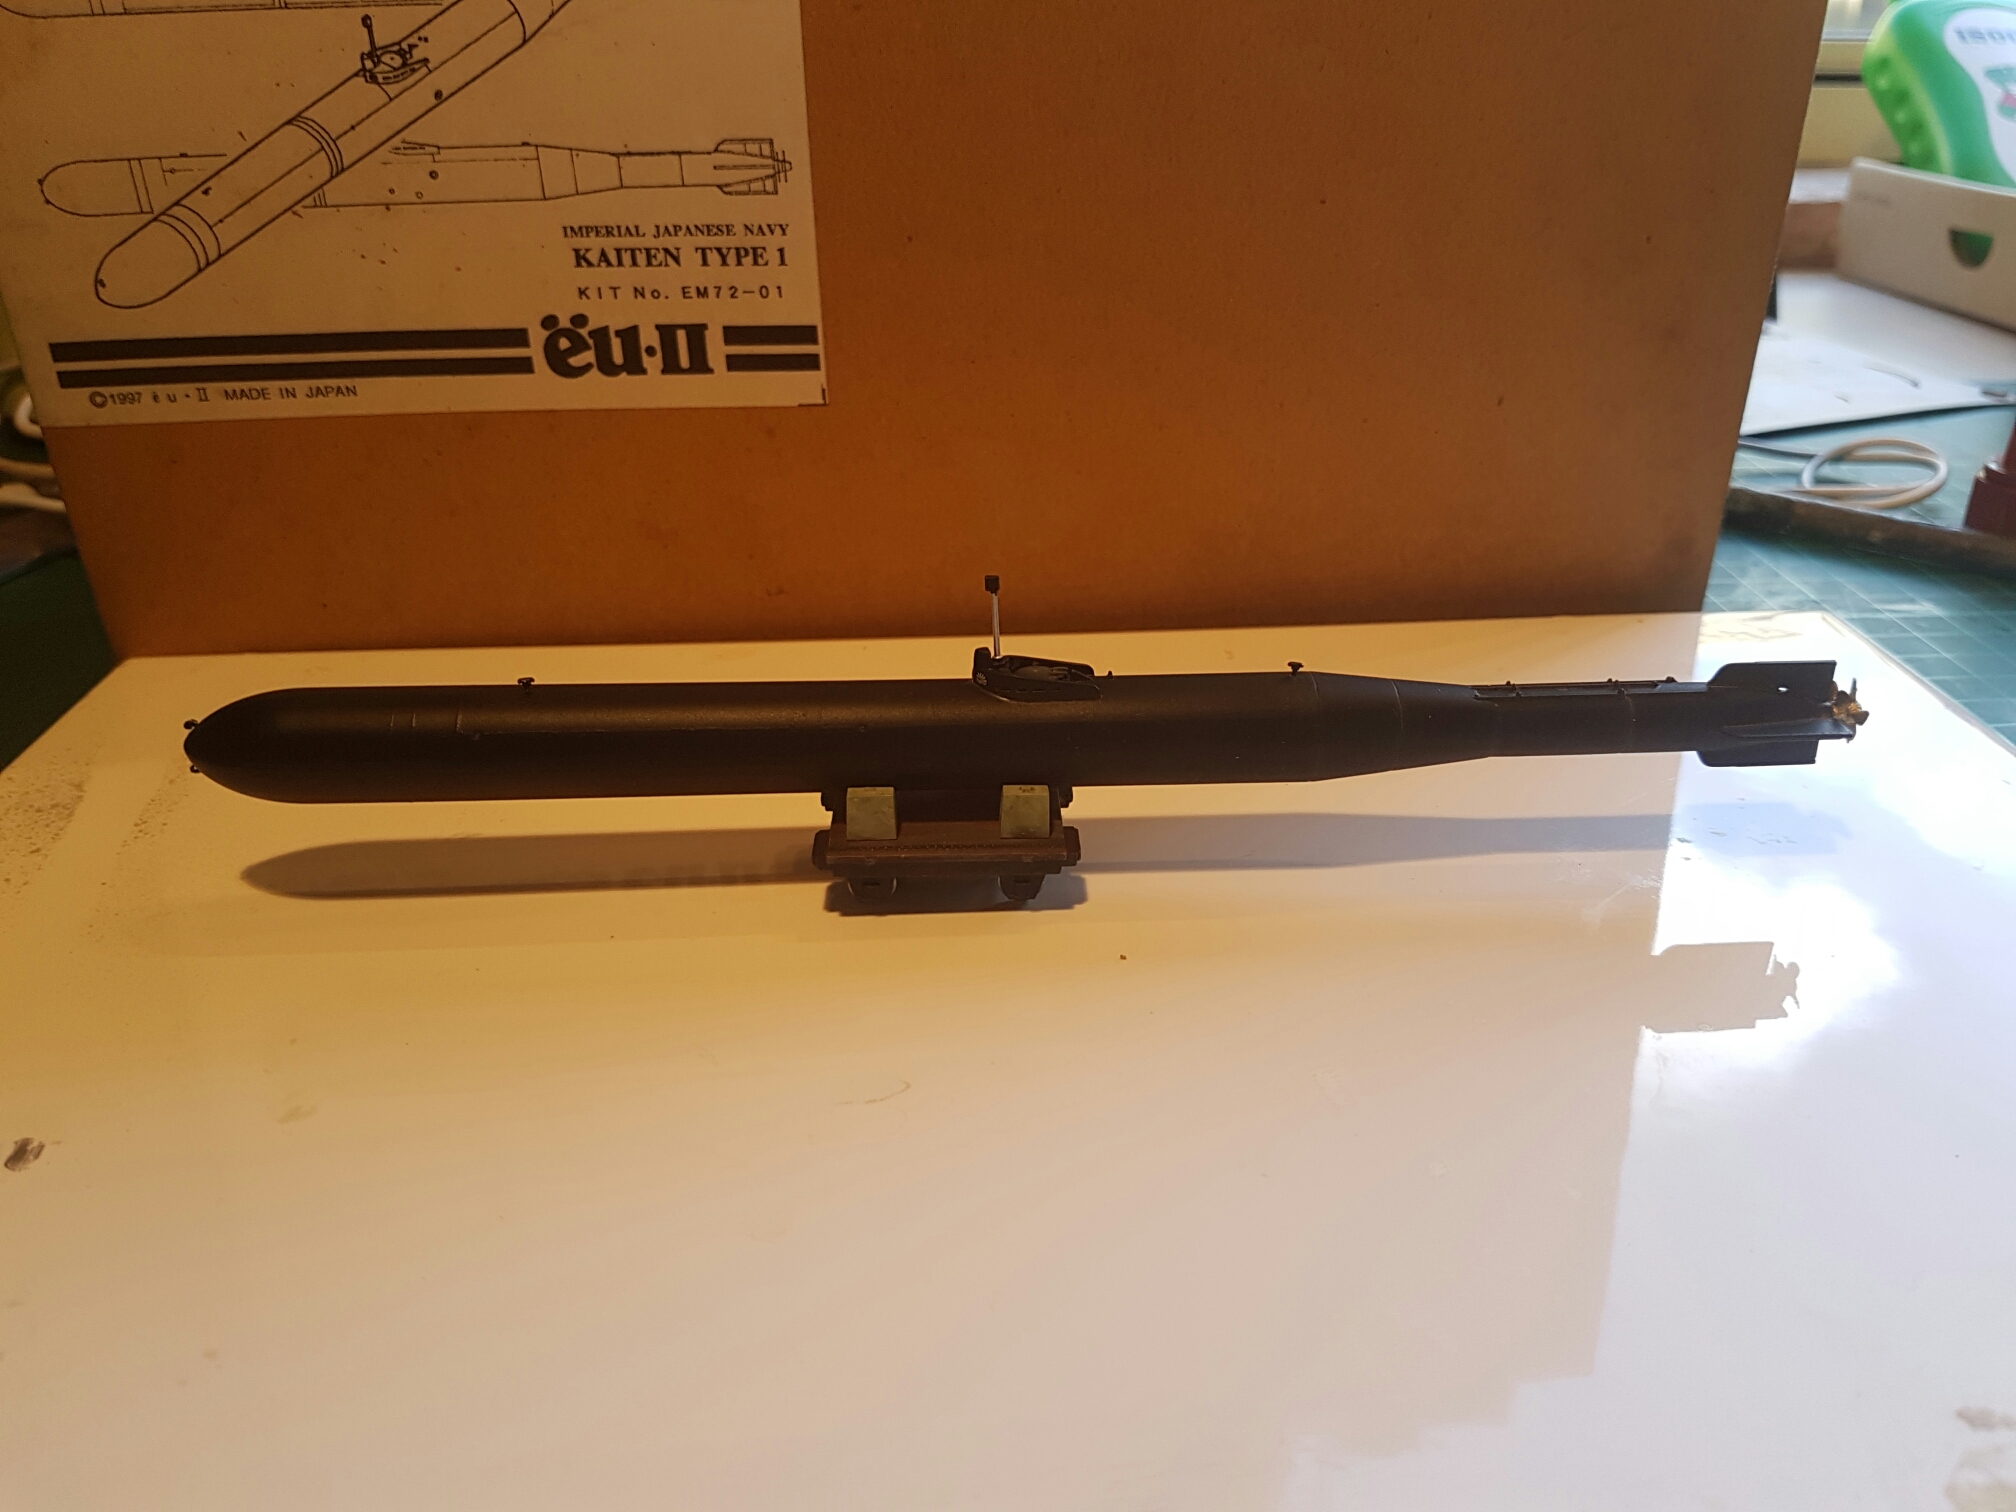
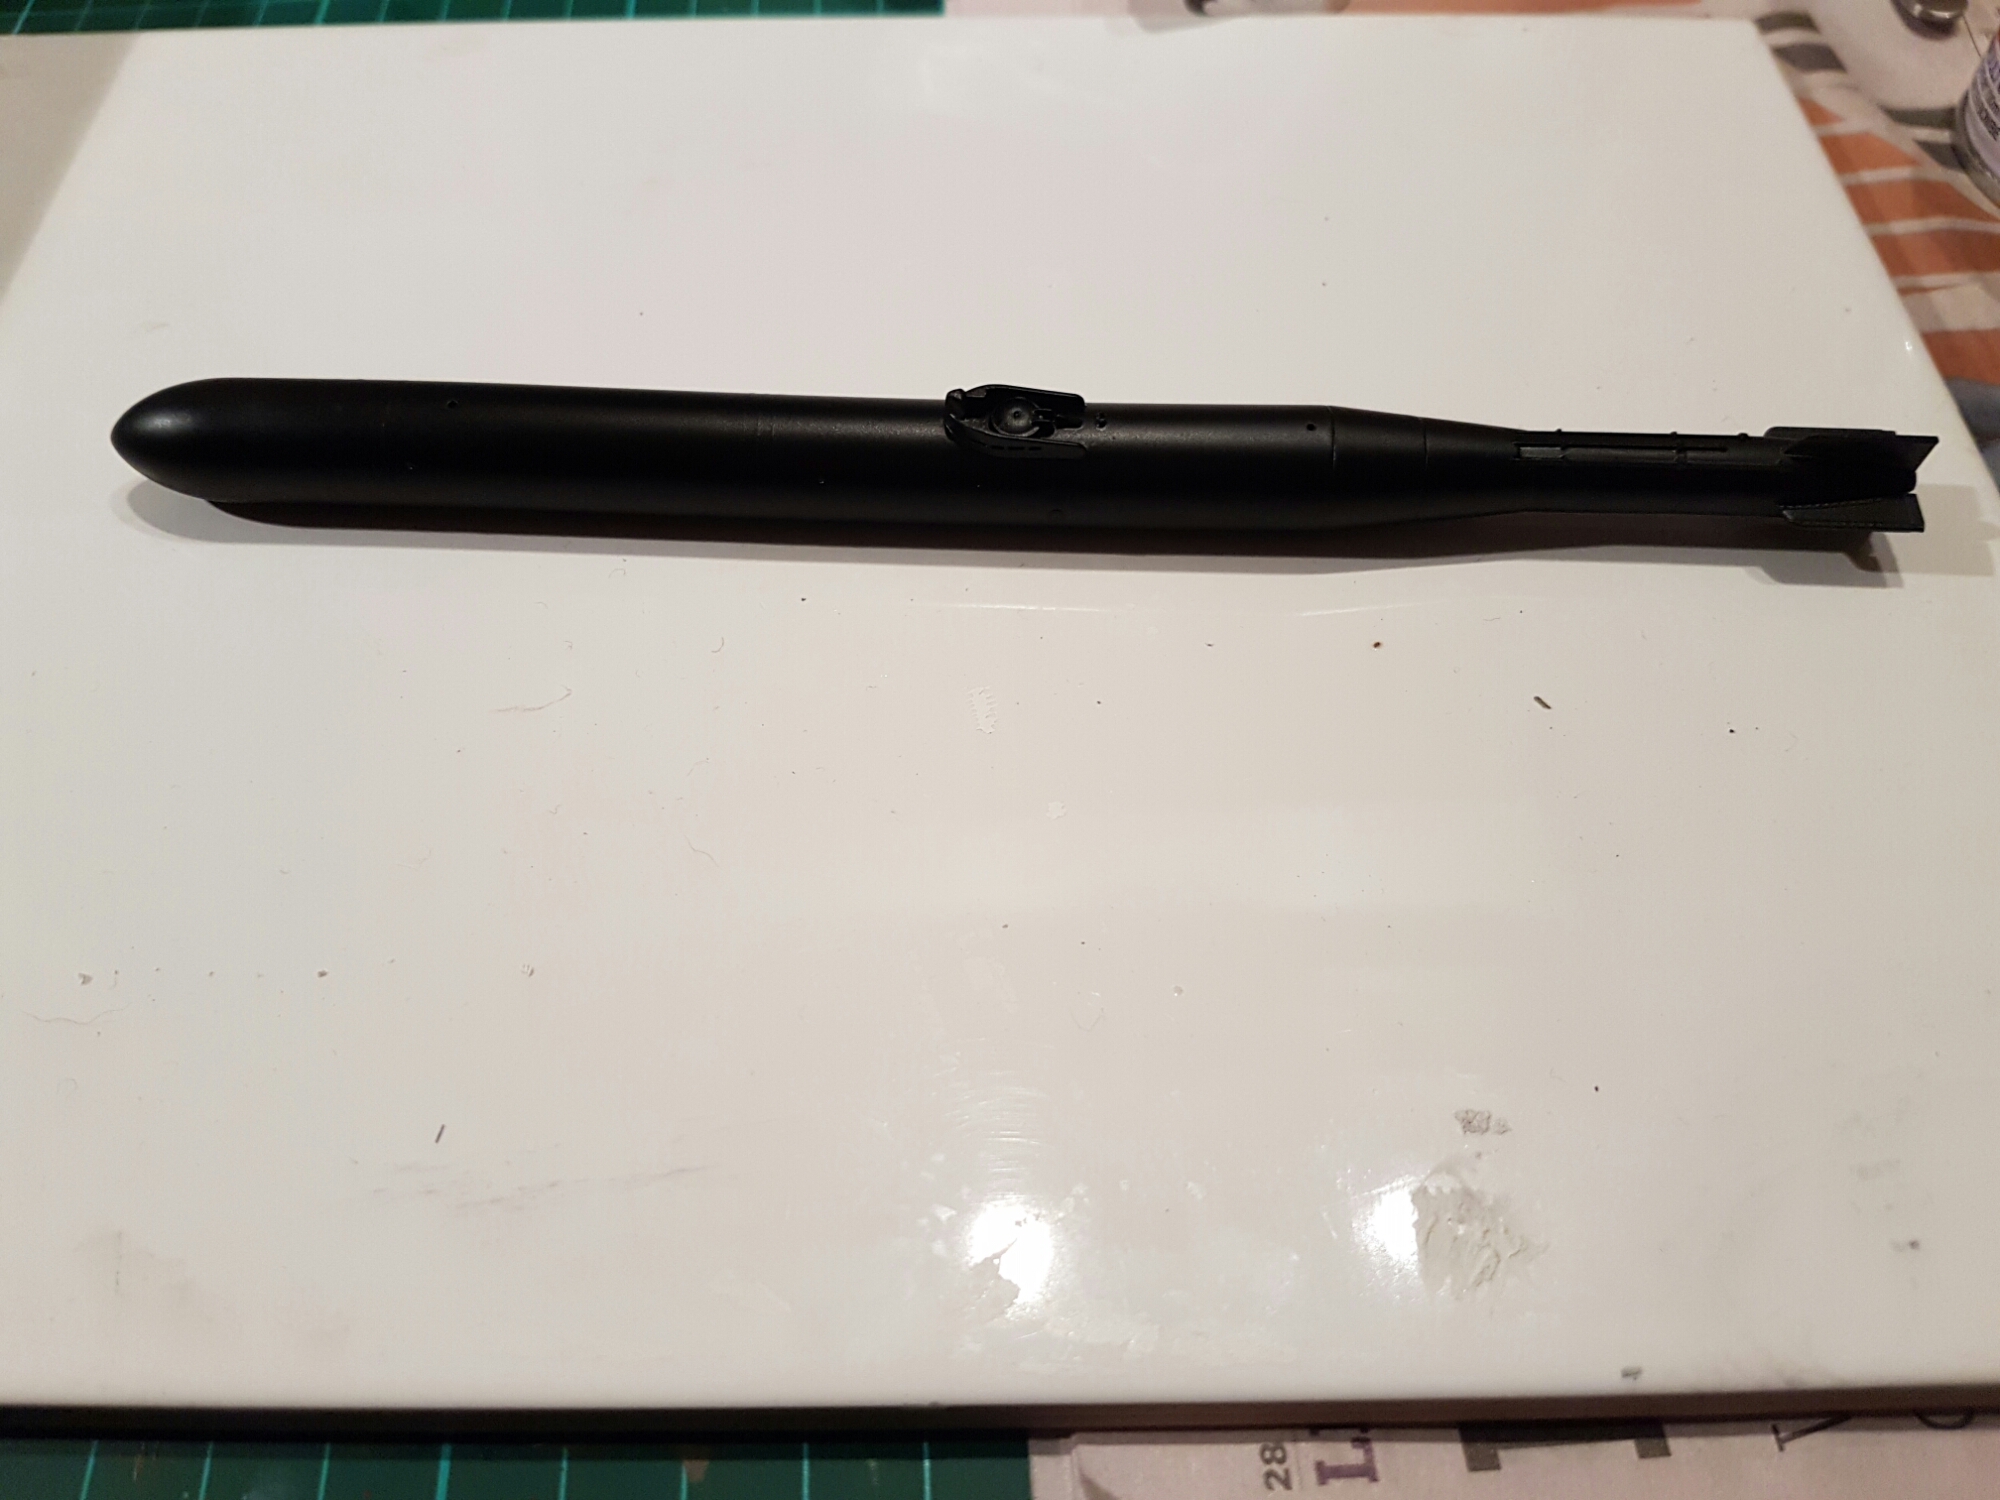
Believe it or not another model has been completed. That is 2 kits for the year so far. I am aiming for 3 at least this year by concentrating on kits that are nearly finished. The paint is Tamiya rattle can matt black with some rust coloured Tamiya chalk and finished with Windsor and Newton matt varnish. The trolley is also weathered with chalks. 

Lovely kit.

It’s black

Leave a comment

Hard to see but this is a Fine Molds 1.72 Kaiten submarine. Pretty small. This was a fairly suicidal weapon. It goes together easily except for some small issues needing filler. The kit includes a trolley which is pretty simple and I have already finished all the work on that.

It obviously needs some weathering after I have applied multiple coats of Tamiya rattle can matt black.

Frustration

Leave a comment

I was somewhat cranky last week wrestling with a retailers website and uttered the following phrase that amused my wife – ” Why is it so hard to order a zombie and a shopping trolley? ”

I succeeded eventually and the result arrived today.

ok so loading the 2 images below was simple in Facebook but WordPress keeps asking me to try again. This is why there’s no coverage of the Melbourne model show because after 5 wasted attempts I have given up.

Clean desk messy ping pong table

Leave a comment

So having finally finished a kit I cleaned my desk up, now I just have to repack it all back from the poor ping pong table 🙂

Finished

1 Comment

Finally after 18 months I have finished something. Not my best work but at least I accomplished it without breaking it in frustration. 

The interweb is killing porn (shops)

Leave a comment

Below are shots of 2 shops in Melbourne. The first has by the look of  it been long gone with its shuttered  up look now serving as a

image

Poster billboard  and the second was downstairs and is now  a tattoo parlour.

image

I did  see  a third  one yesterday but I  didn’t  realise this was a theme.

Lastly is a few friends i spotted crossing  the  street  and  asked  to  get a photo of.  Evidently  I  was their first request:)

image

Latest Update

Leave a comment

image

image

A couple  of  photos  of  my latest work.

The Ar 234 is up to  PSR cycle  3 and there is  really not too much  to  do before  another  round of assembly. As expected from previous  experience the join  between the body and  the  cockpit  section is problematic.

The Natter is proceeding smoothly with the decals going well and tonight a second  coat  of  Kleer going on. Not sure  whether  it will get done before  I  go to  Melbourne  next Friday for the Aussie Model  Expo and assorted other purchases.
I  must admit I use Microscale’s Micro Set and  Micro Sol.
I have  solved the problem  of remembering which  to use first with  the following  expedient 🙂

image

Parcel and update

Leave a comment

Well there has been some progress recently. The Ar 234 has been through another PSR cycle and it looks like another small bit of work will at least show the main sub components are fixed. I will be throwing some more silver paint on shortly to check progress. I have also managed to resurrect my Natter kit and will be painting the etched brass exhaust components tonight in Model Master Exhaust. Tomorrow I hope to finish the windscreen area.
Also in the mail was an order from the UK. I got some slide fit metal tube from Albion Alloys as recommended by Nigel at Britmodeller on his Arado E555 build. These are quite amazing being tubes as small as 0.3mm that can fit inside a 0.5mm tube and going up to a 0.7 tube. This should make great gun cannons and pitot tubes. They are very fine and I look forward to trying them out soon. Also in this was 2 Dapol kits. The first is some people in OO/HO that may make it onto my Munchen48 diorama. Second is a OO/HO rail petrol tanker. This was bought as a just for fun model to practice a little weathering on, maybe some grafitti from that German firm whose name escapes me now, Utti Roschen or similar.

image

Revell Ar 234C-2

Leave a comment

As a break from serious kits I have started this old clunker rescued from the crap pile at the Wollongong show last year. I passed on attending this year as it was somewhat lacklustre. Hopefully I will get there next year and it will be back to its usual variety.
I built this kit way back in my youth around 12 to 16 years old so in honour of that I am going mostly old school. I am not going to do much cleanup and finessing as it would be more like lipstick on a pig. I will probably airbrush and I’m using Milliput but tarting up will be kept to a minimum. I remember using the old technique of glue plus sprue as a filler then , back then this was a new technique, though I do recall it smelled and sometimes worked too well.
Attached below are some quick progress shots ending with where I am up to now, sanding off the first layer of Milliput. As it is all raised panel lines many of these will disappear but I am not going to try and fix this. The wheels are painted matt black tyres and gloss black inners as I did back in the day. I will be mostly following the instructions even down to colour choice. It is a pity I can’t use some of the horrendous Duck Egg blue shades from Airfix from those days but i switched from enamels years ago. I expect that my splinter camo won’t be quite authentic as in those days of brush painting the demarcation lines would be quite raised as the paint came up against the lovely thick masking tape I would have used.

image

image

image

image

image

Enuff said

Leave a comment

image

Older Entries Newer Entries