He 162 Dragon 1.72

Leave a comment

Ok so WP has found a new way to mess me up. I hate when they improve ” my experience “.

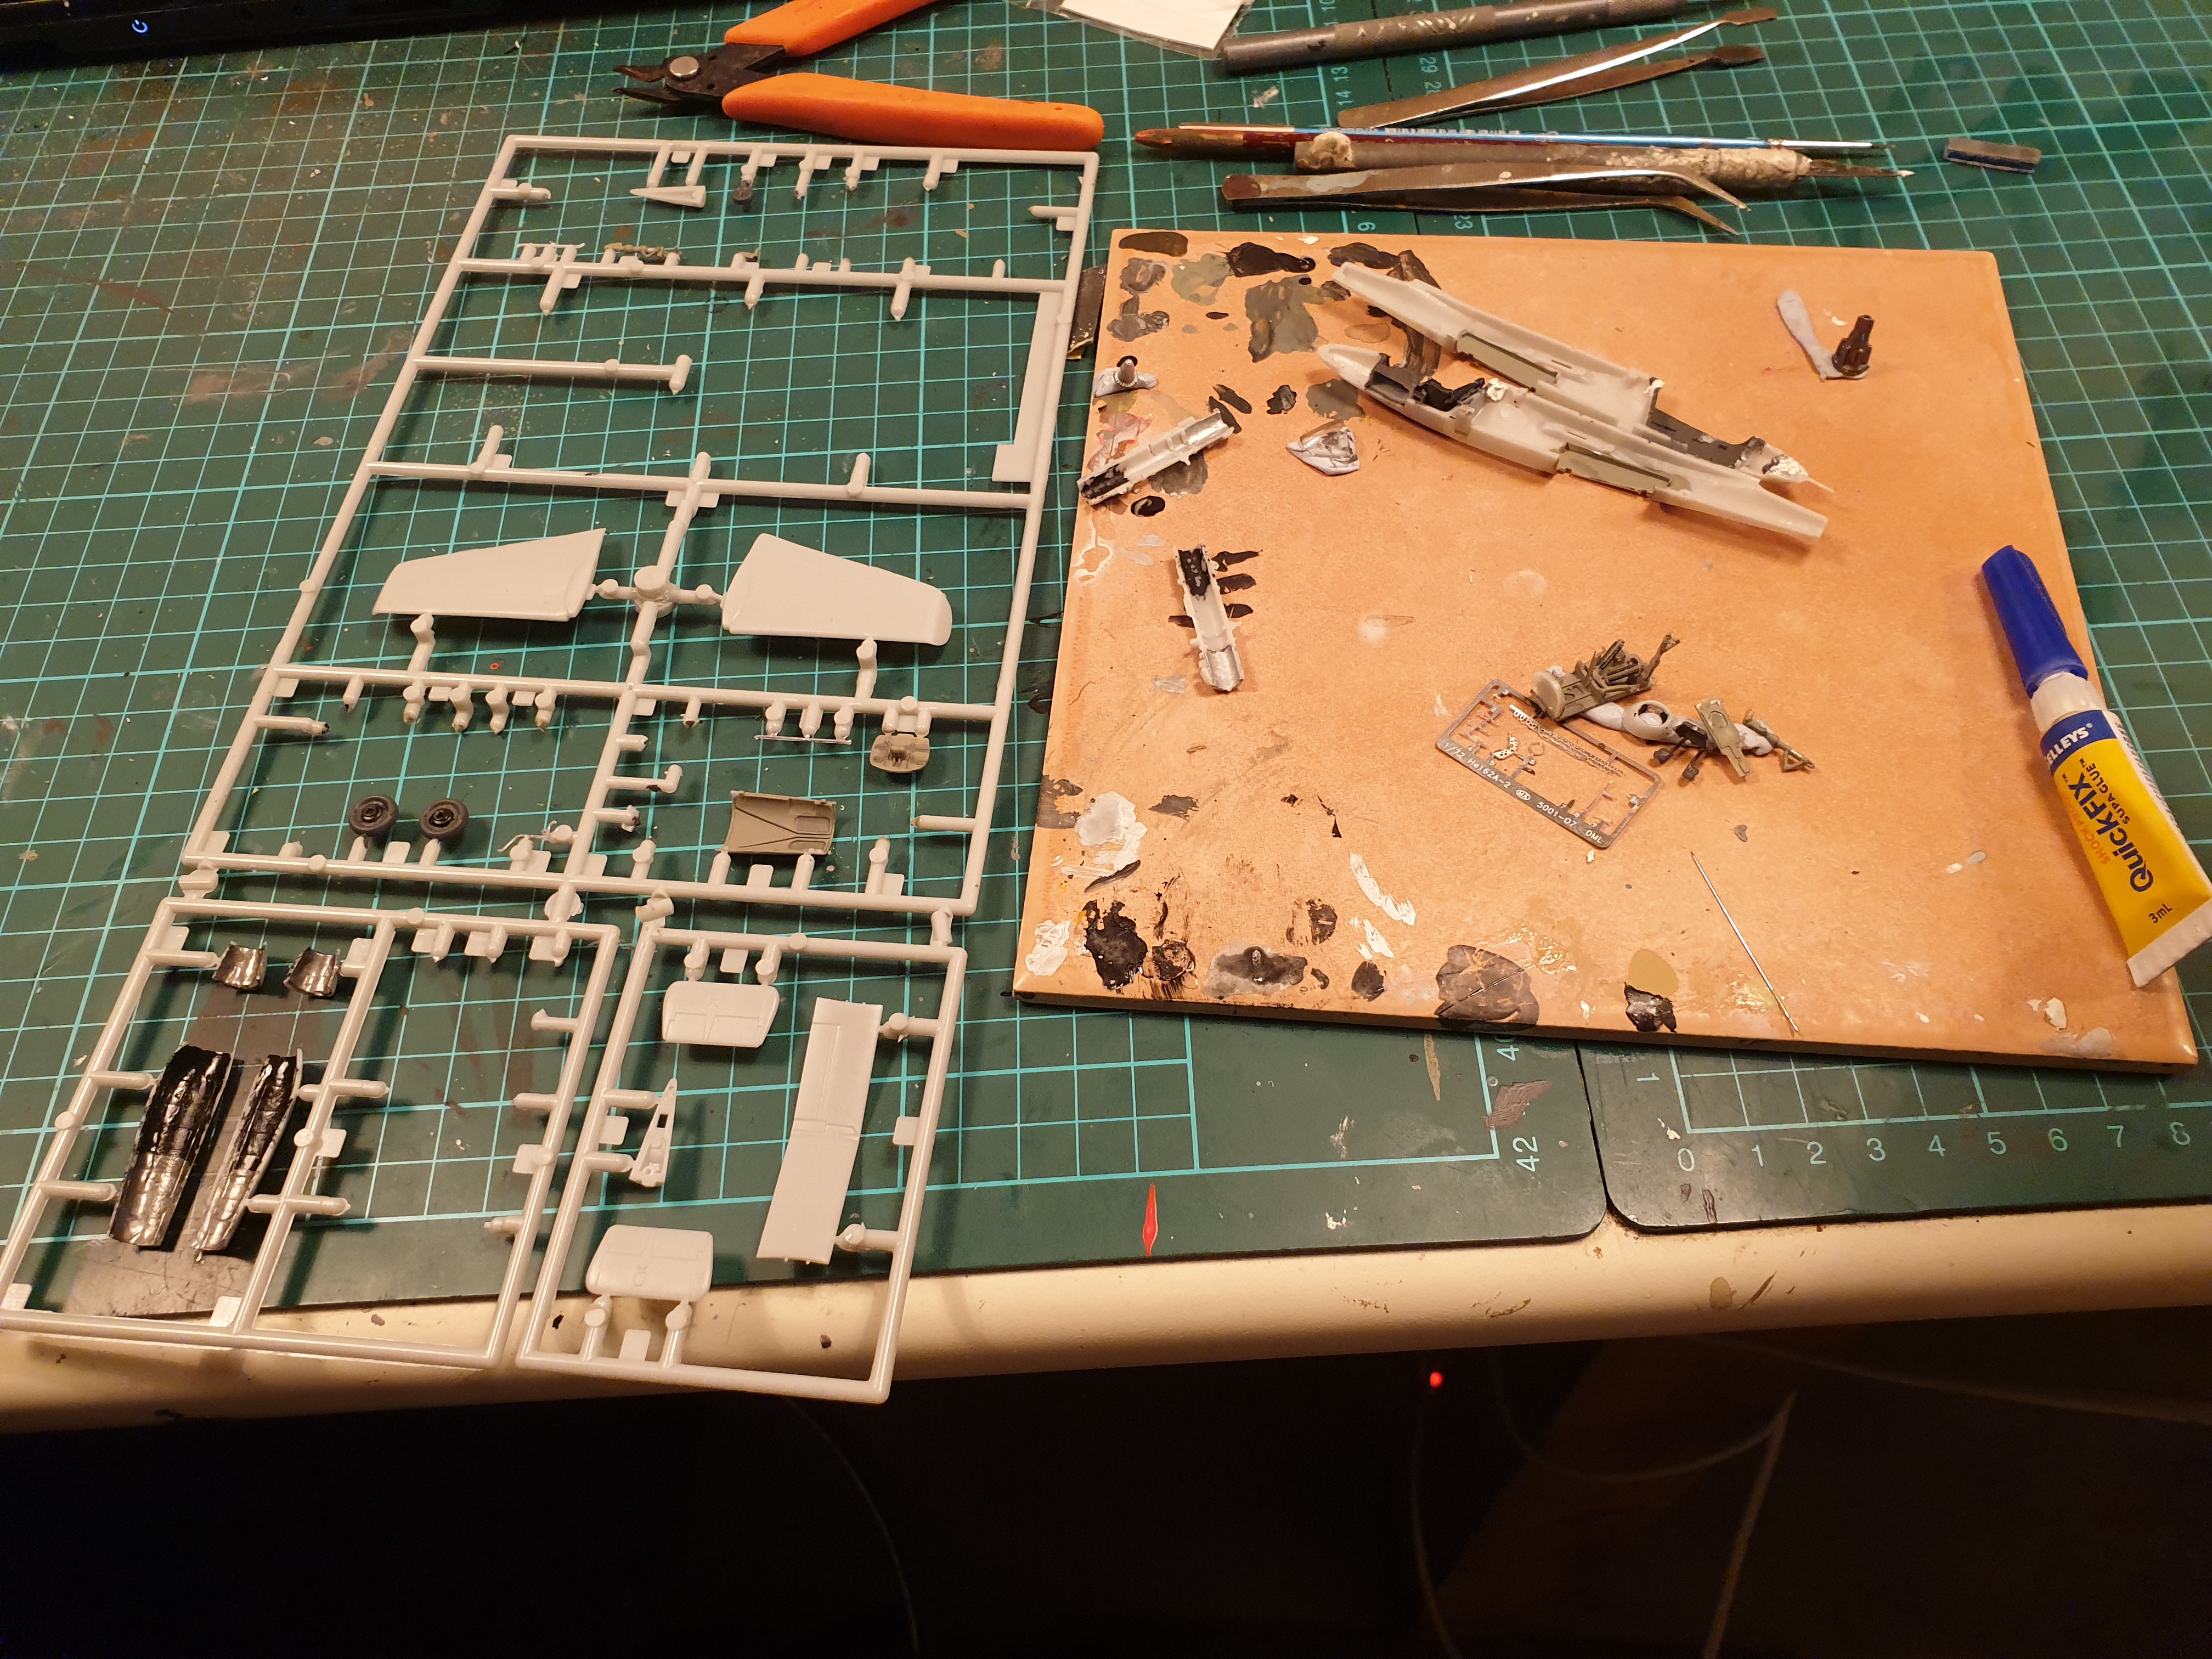
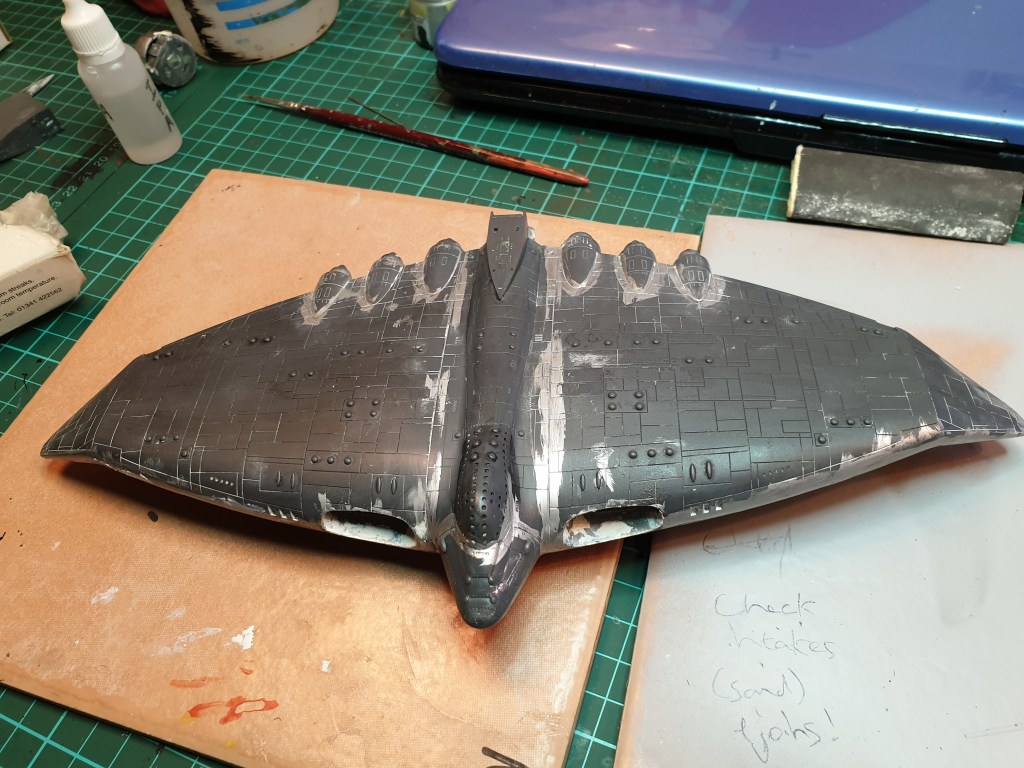
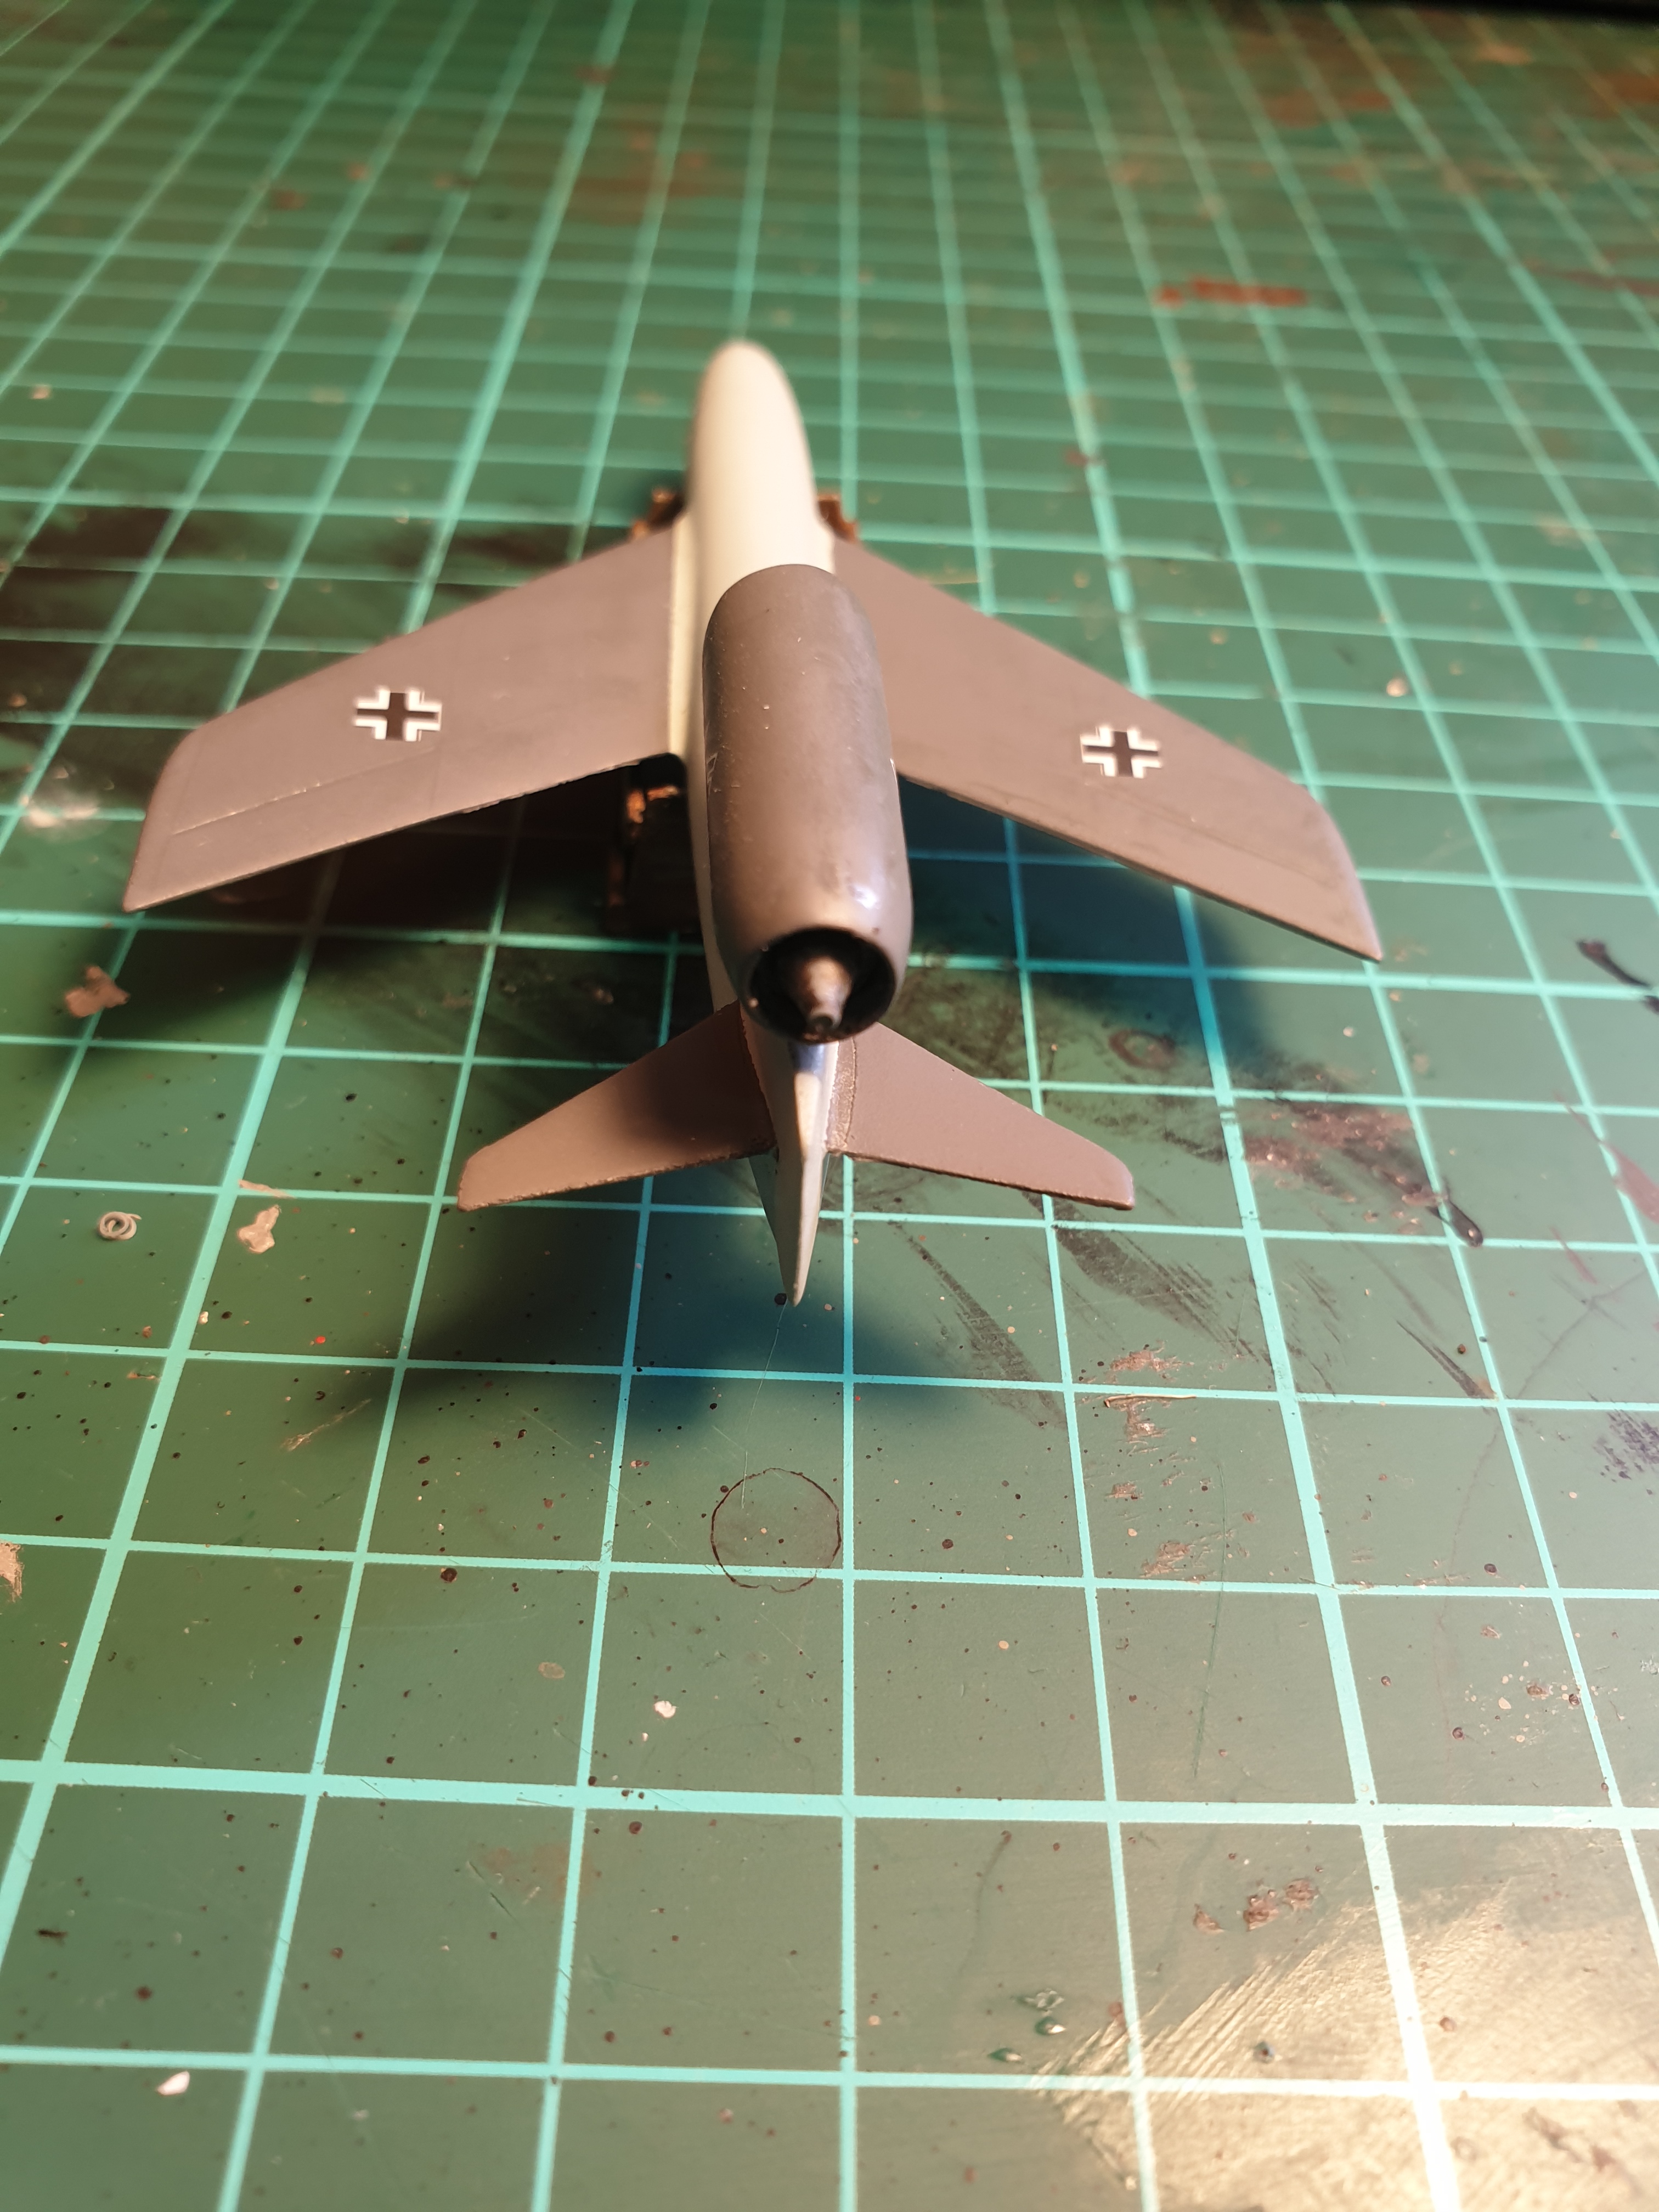
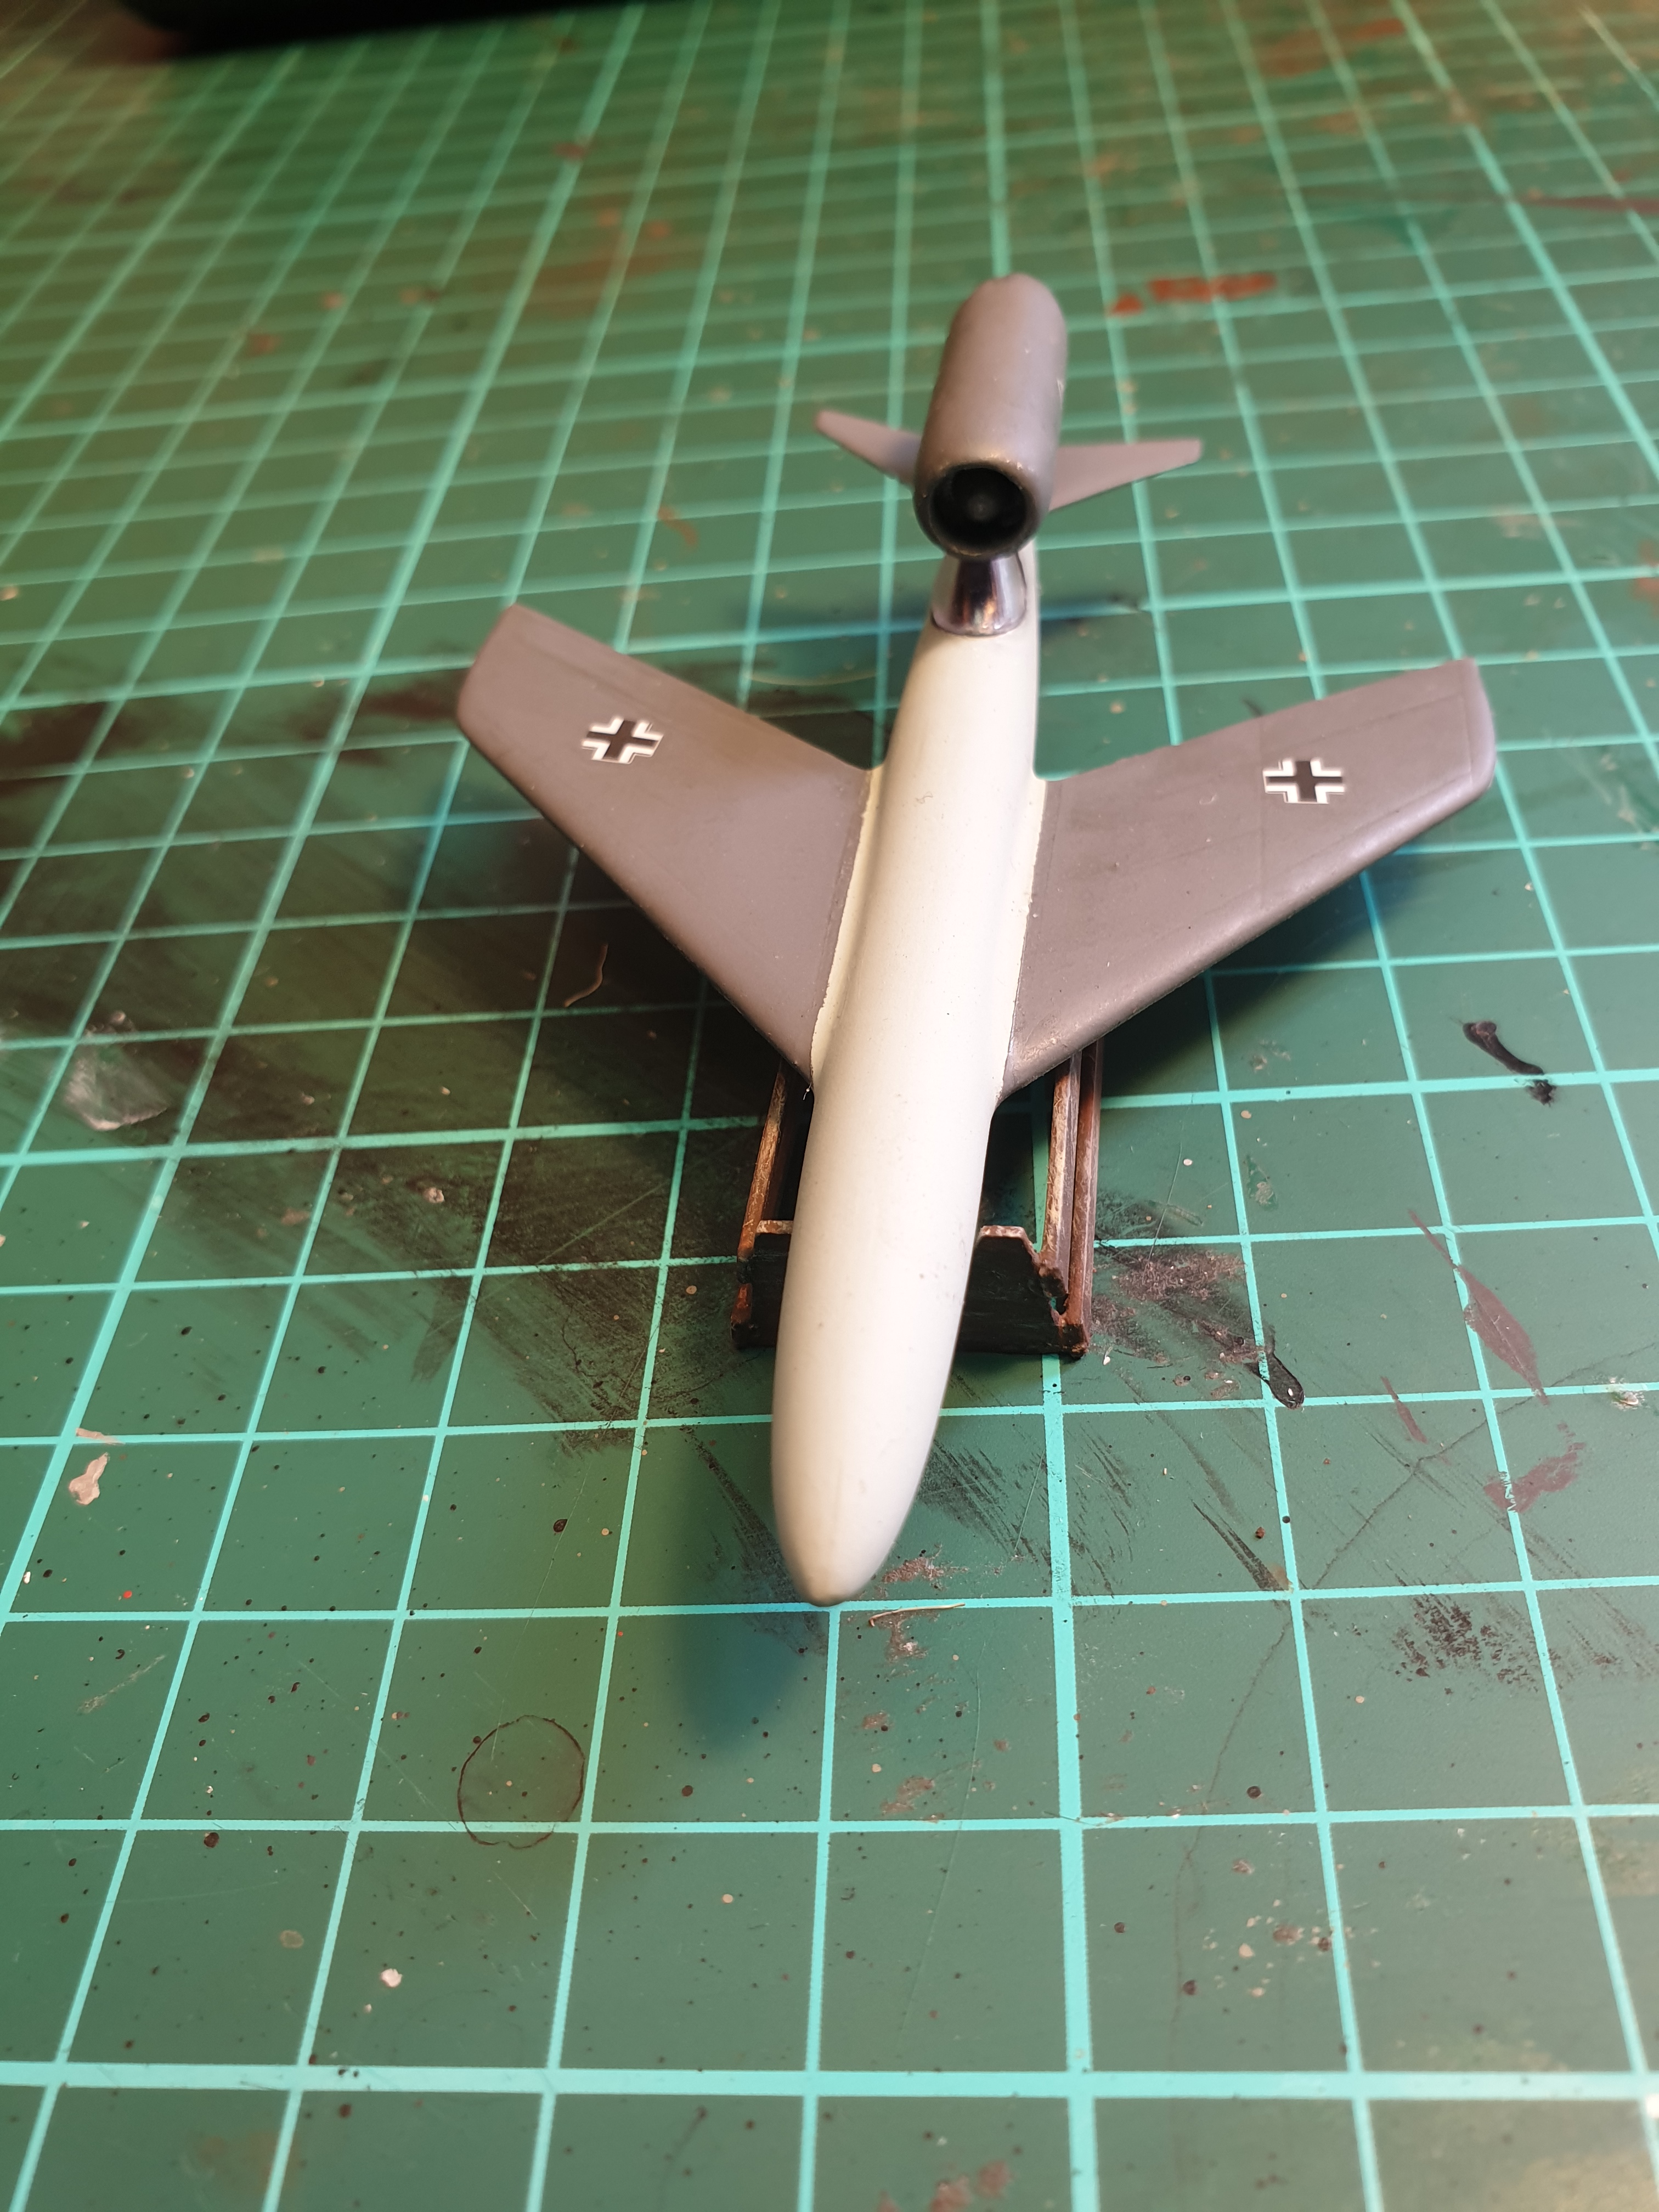
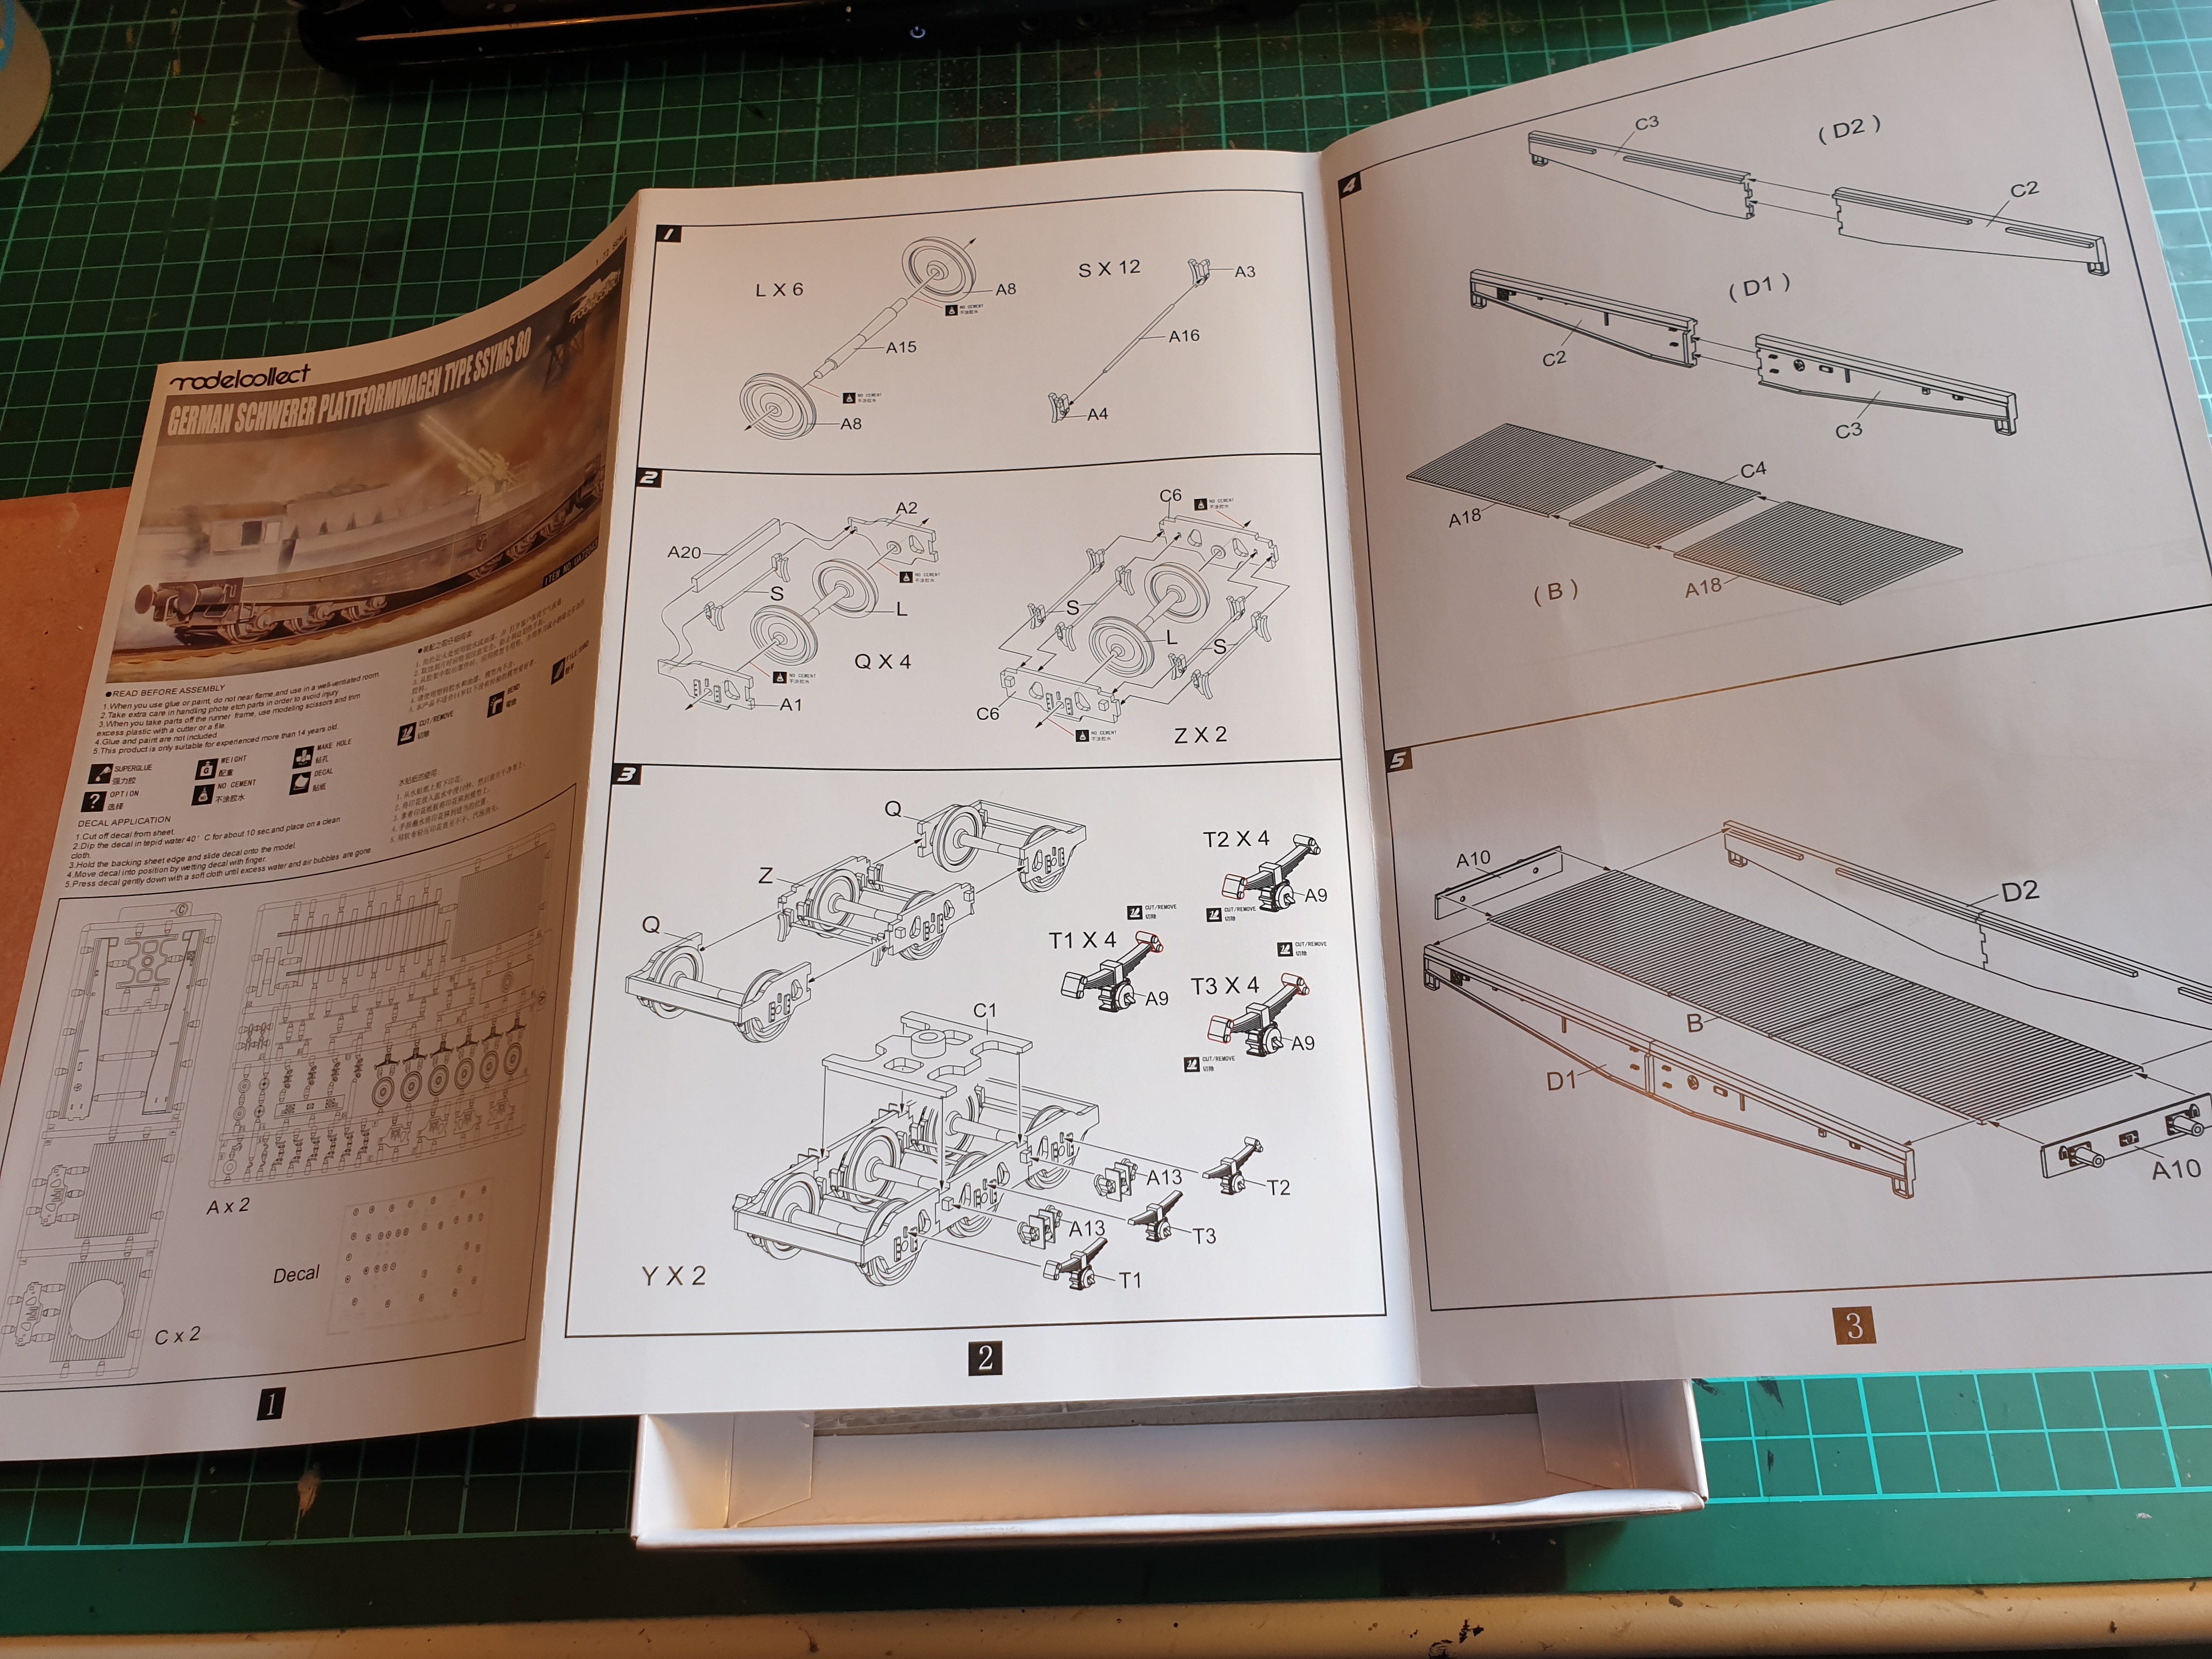
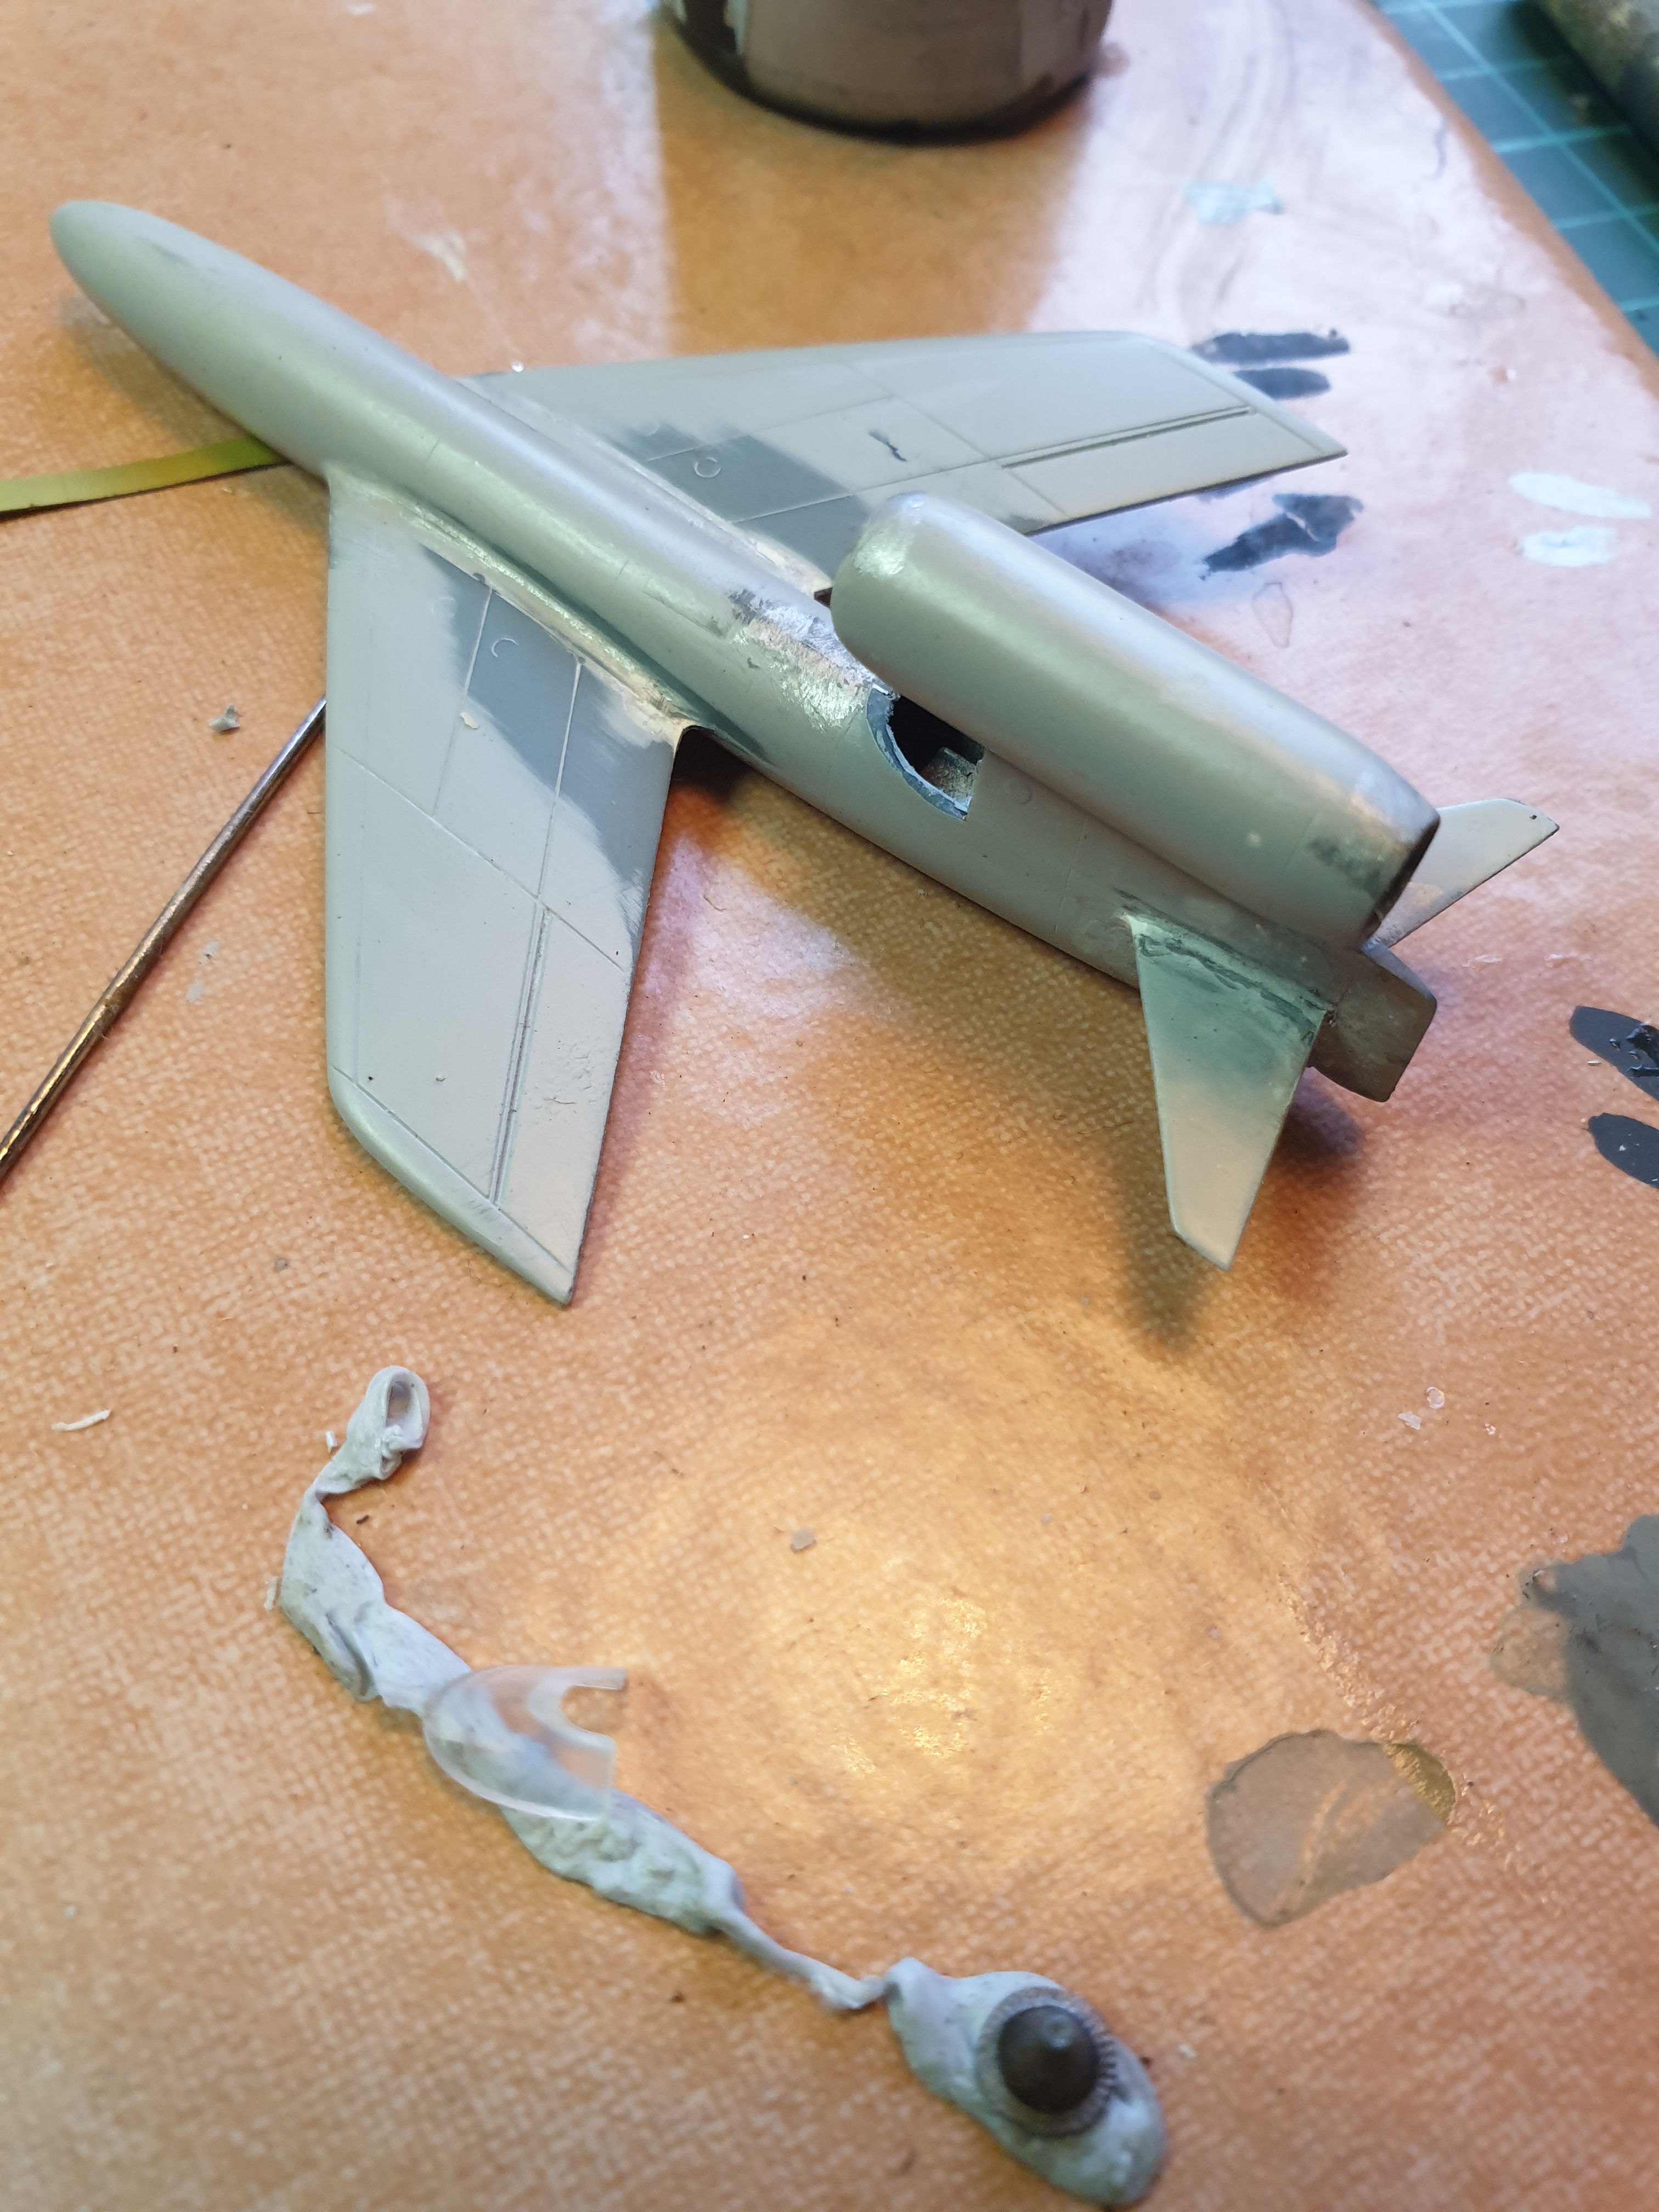
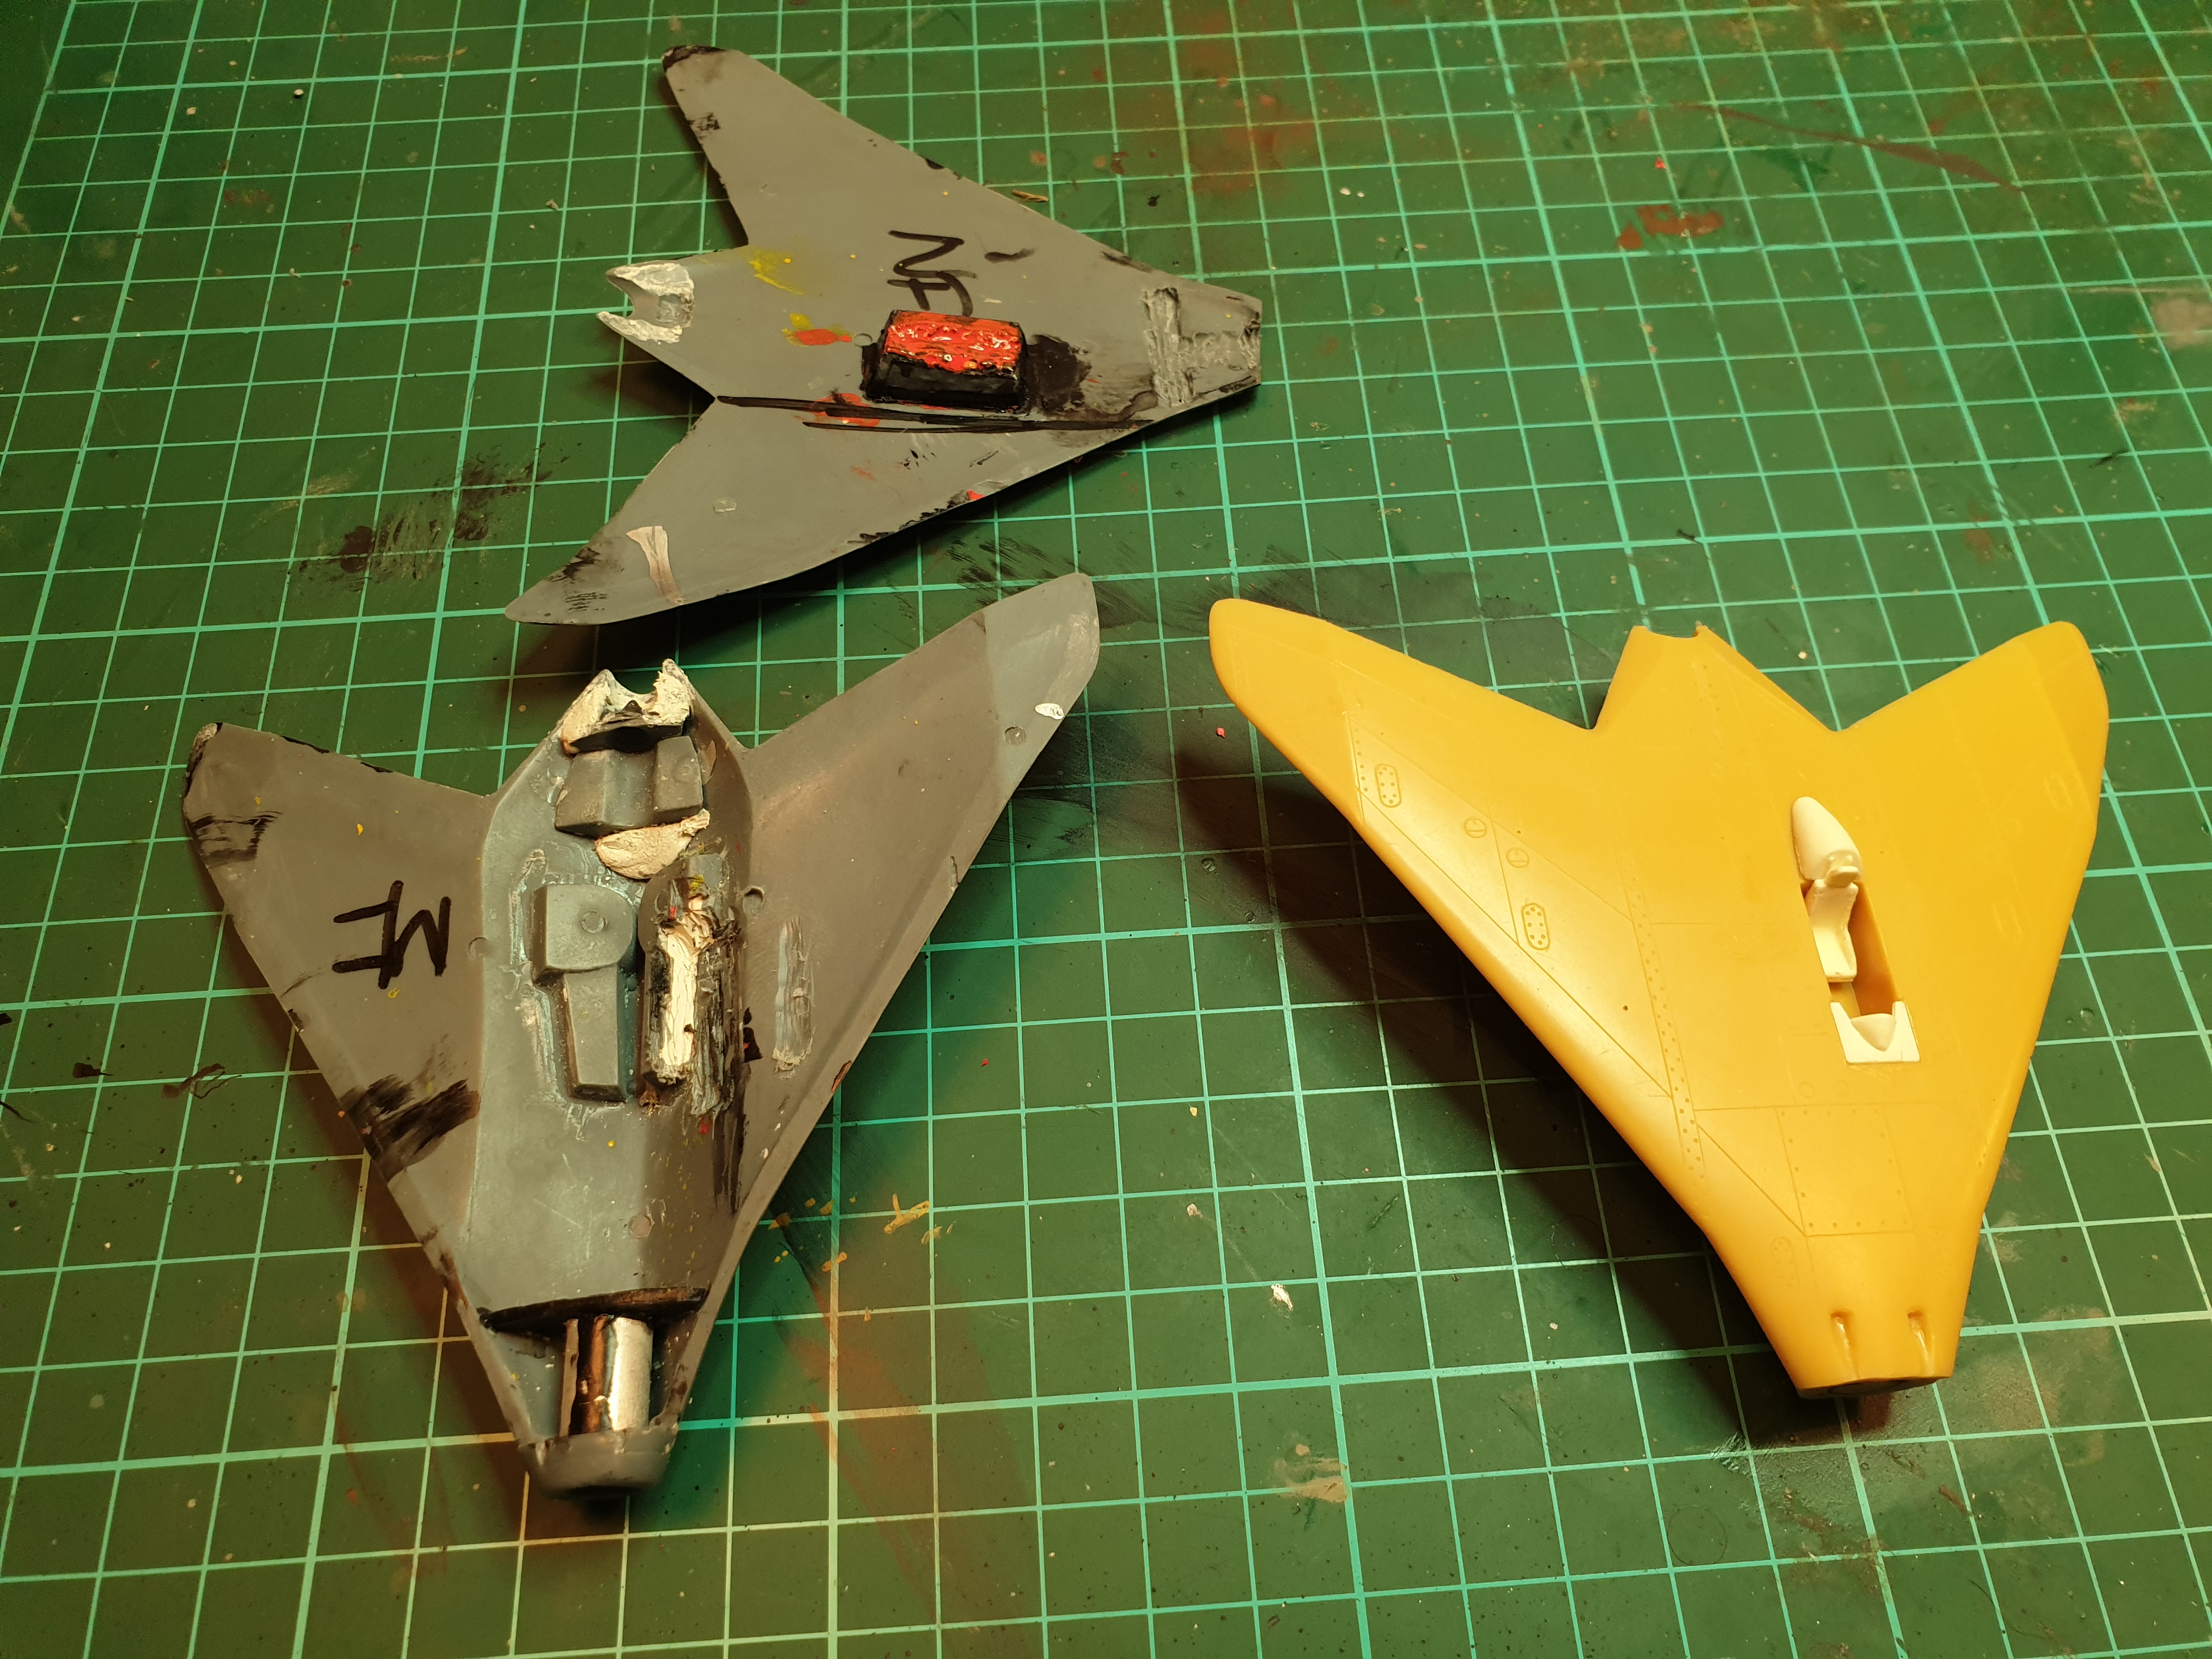
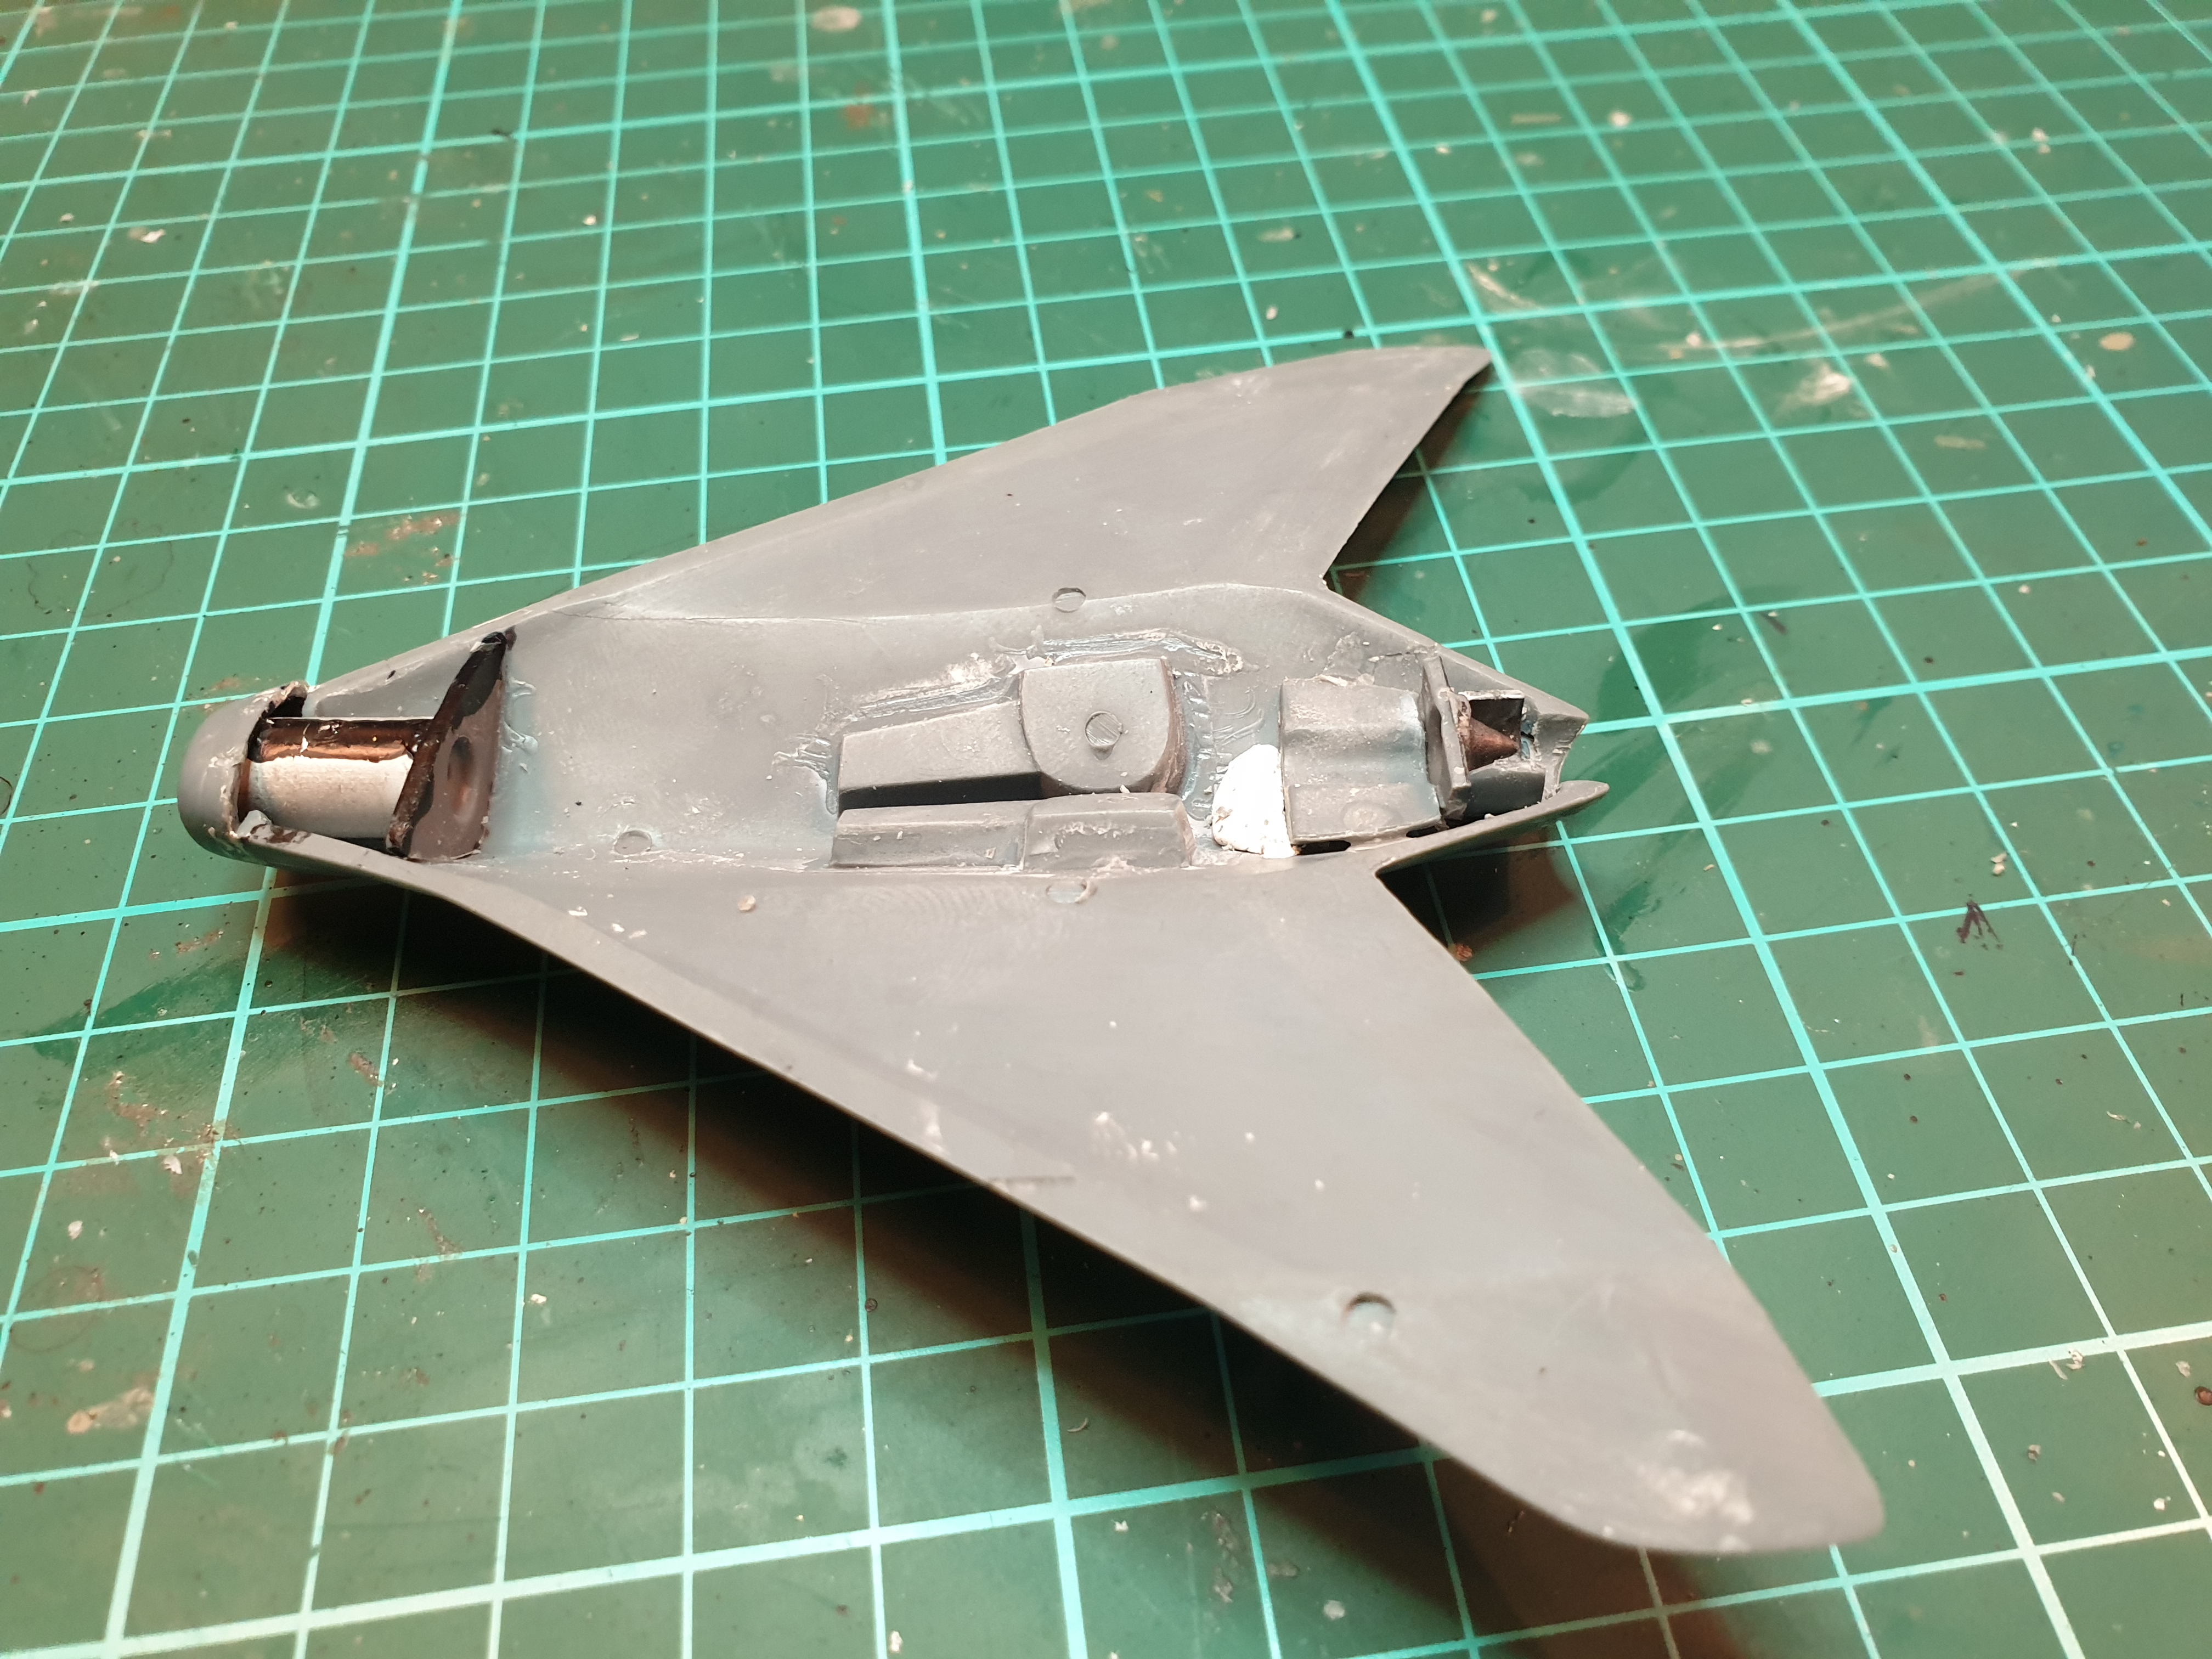
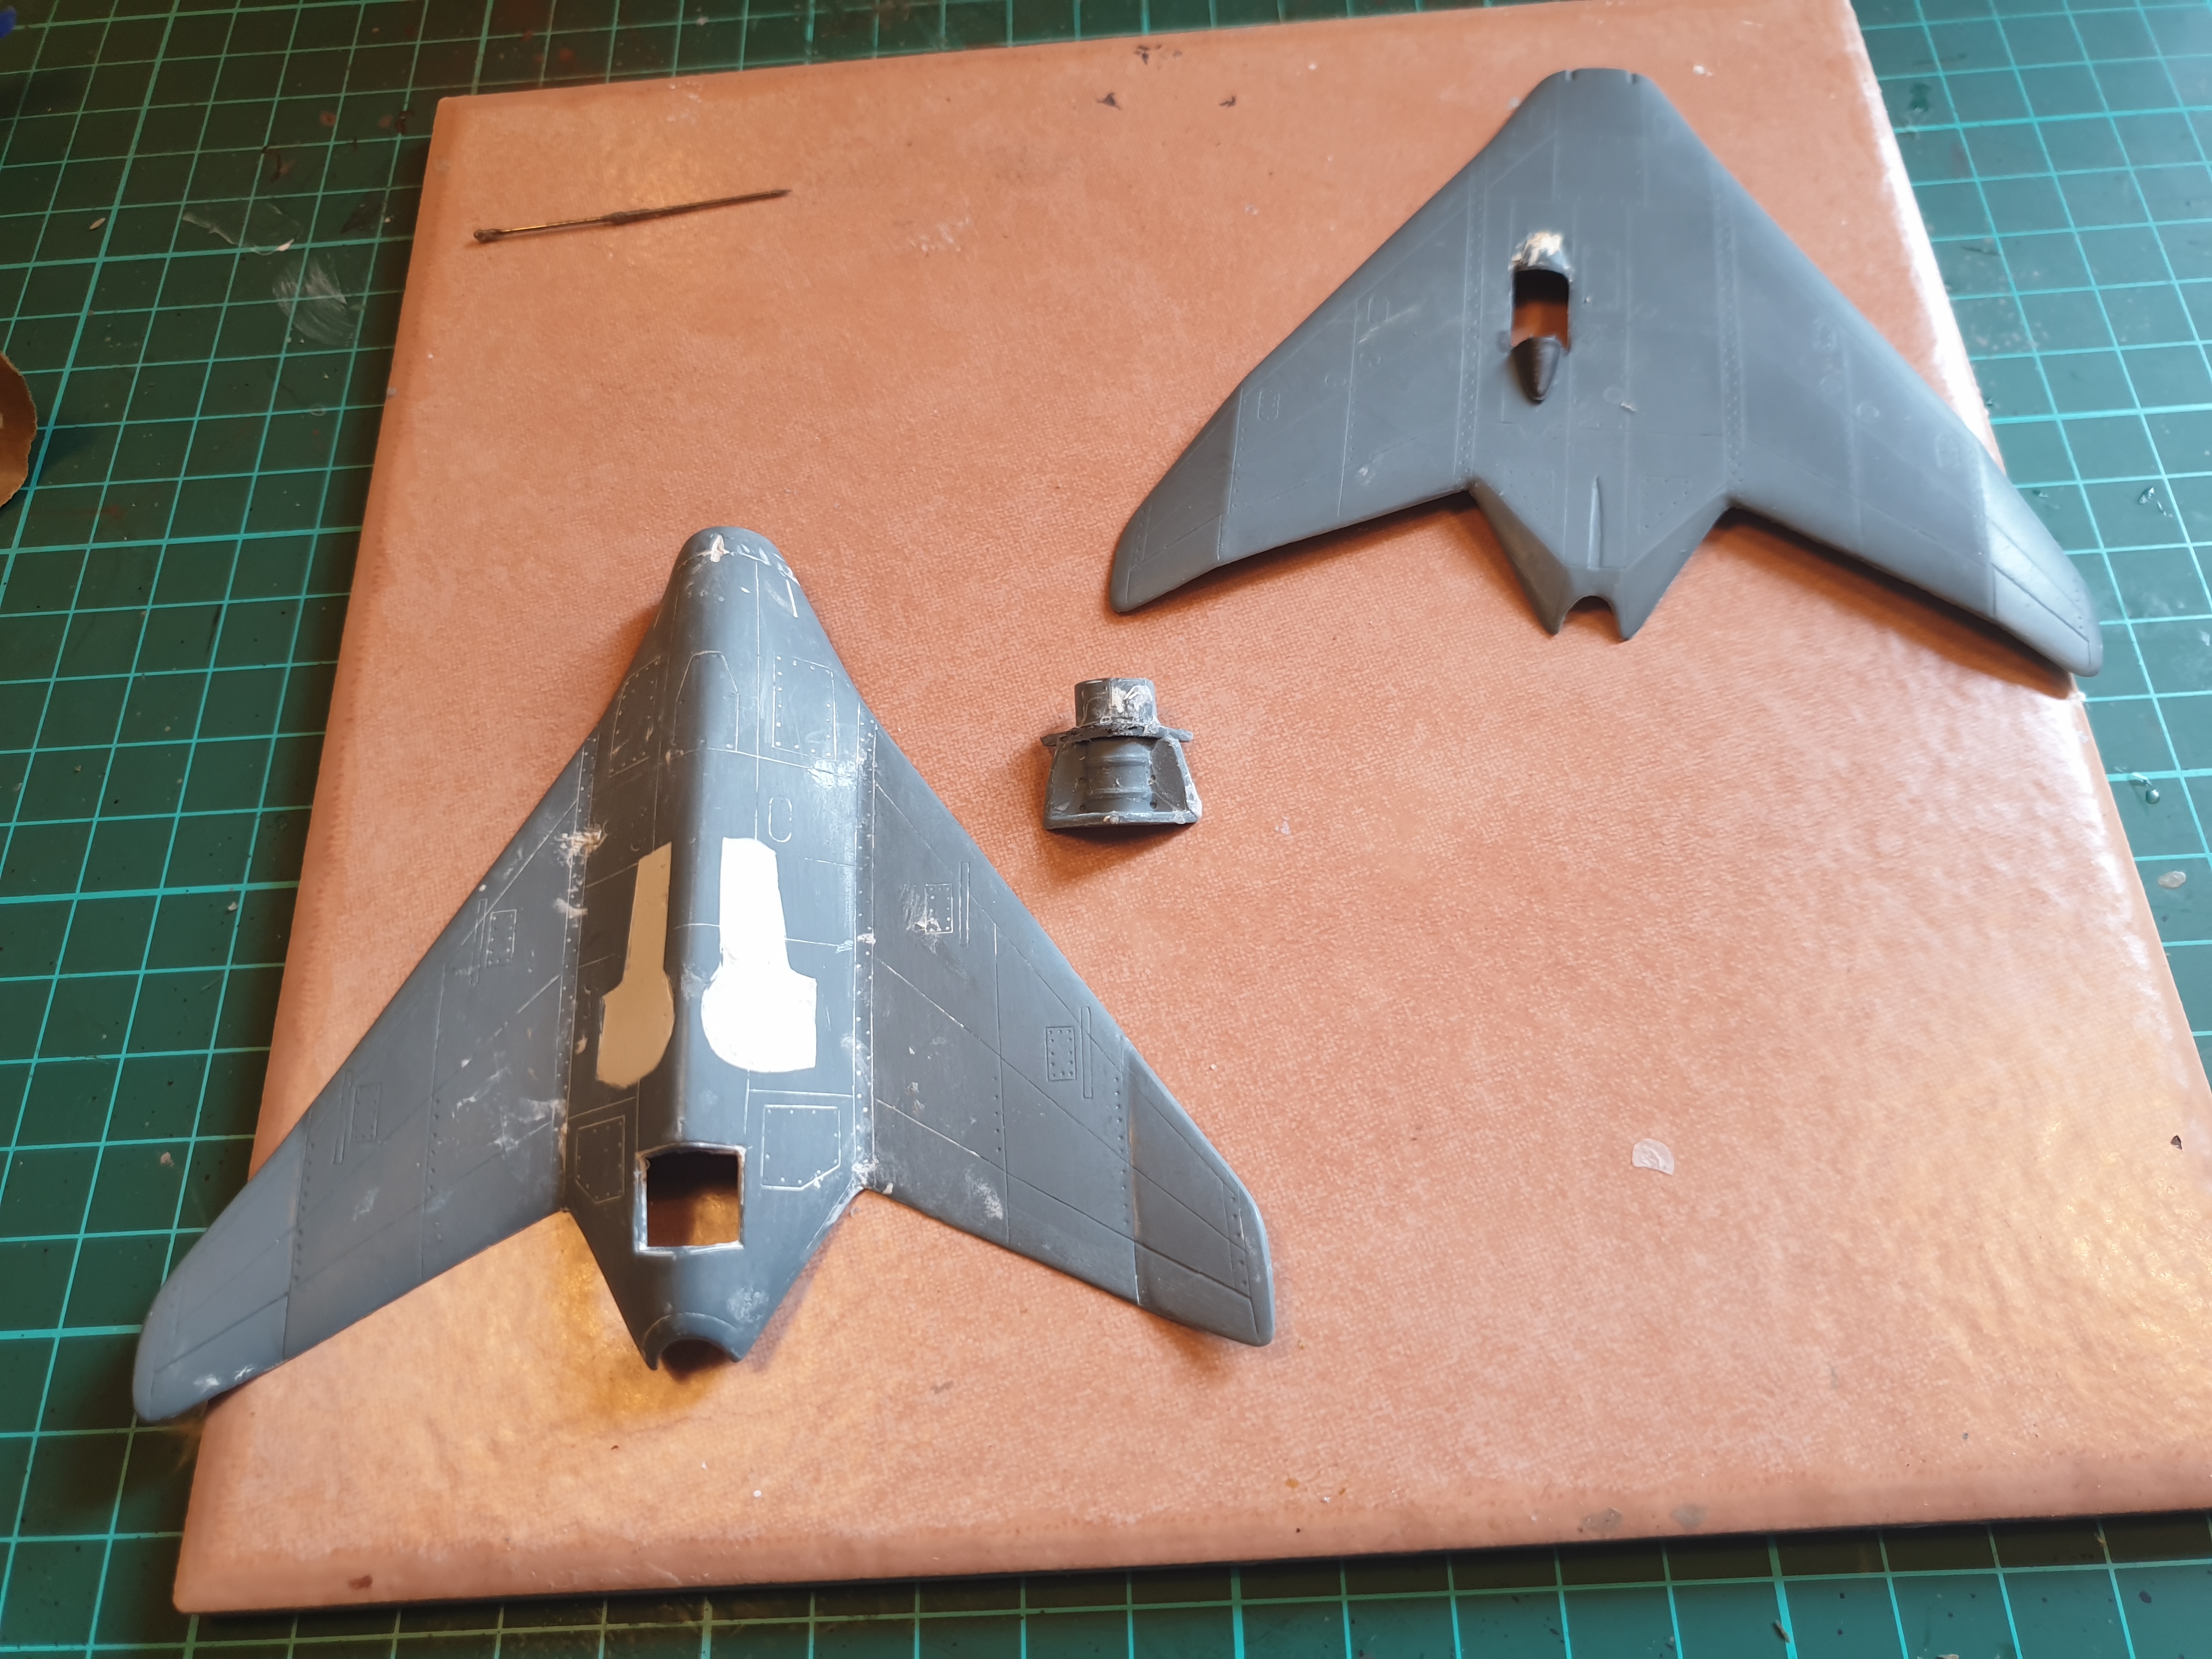
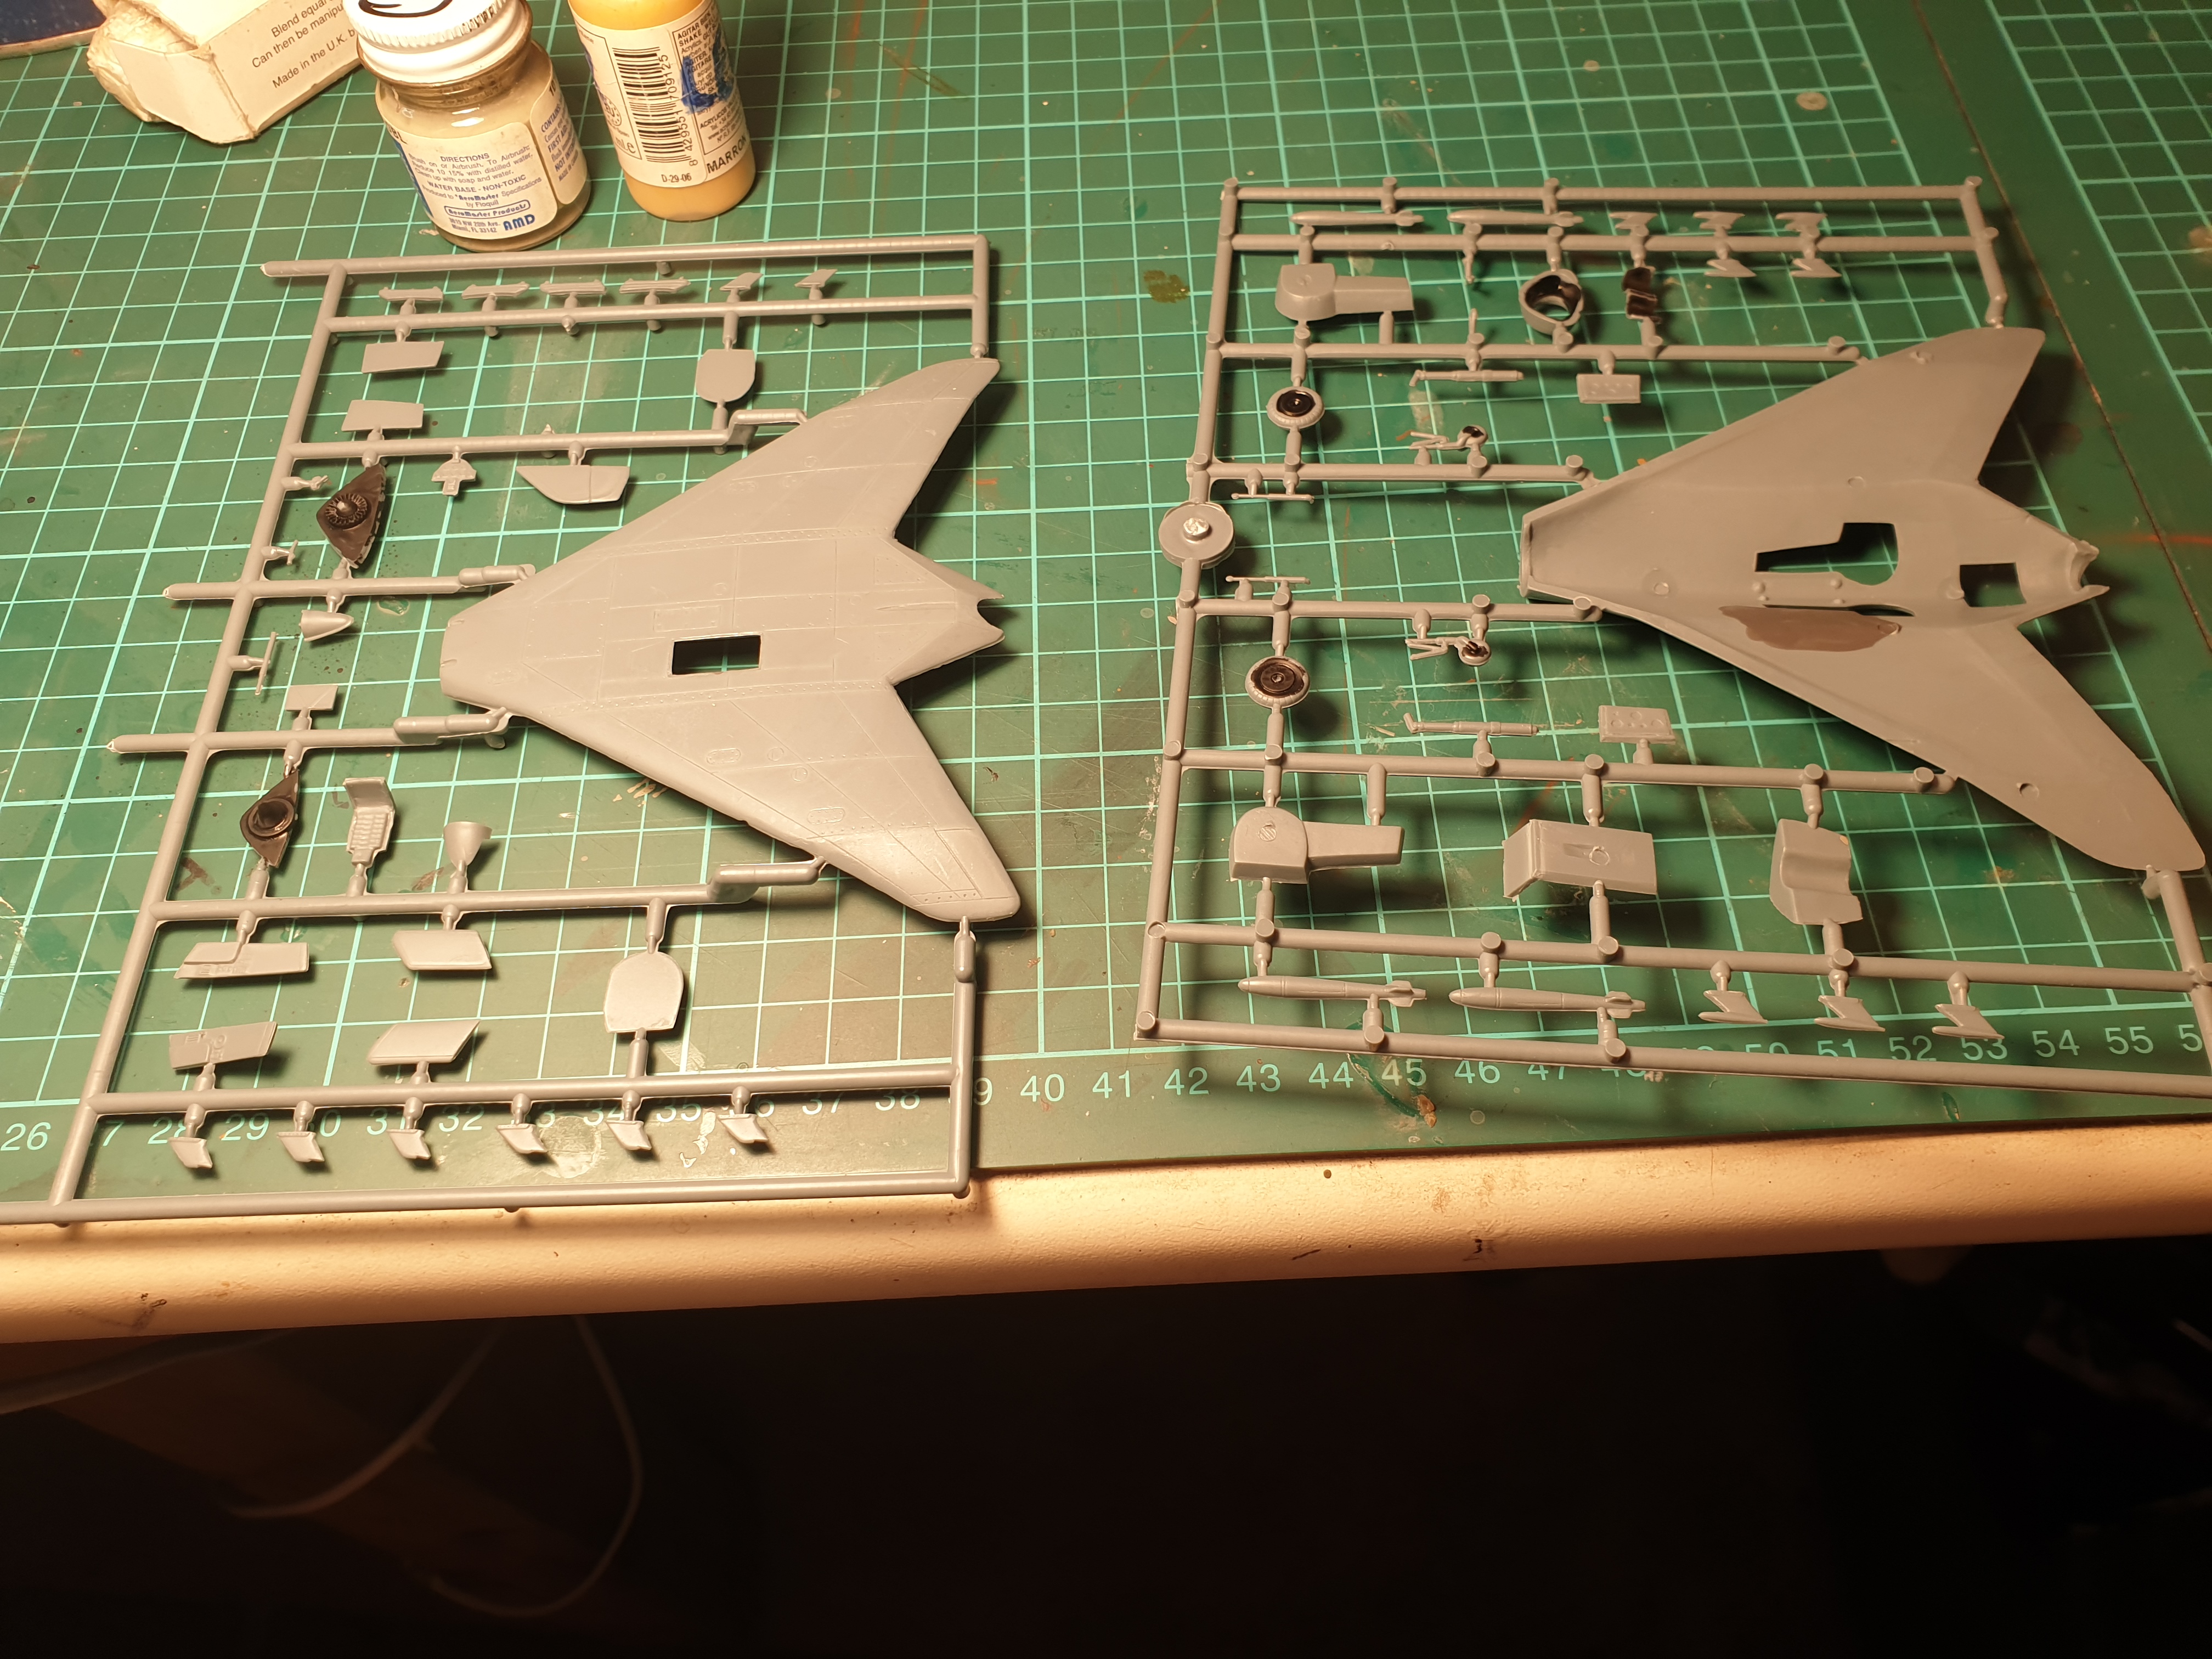
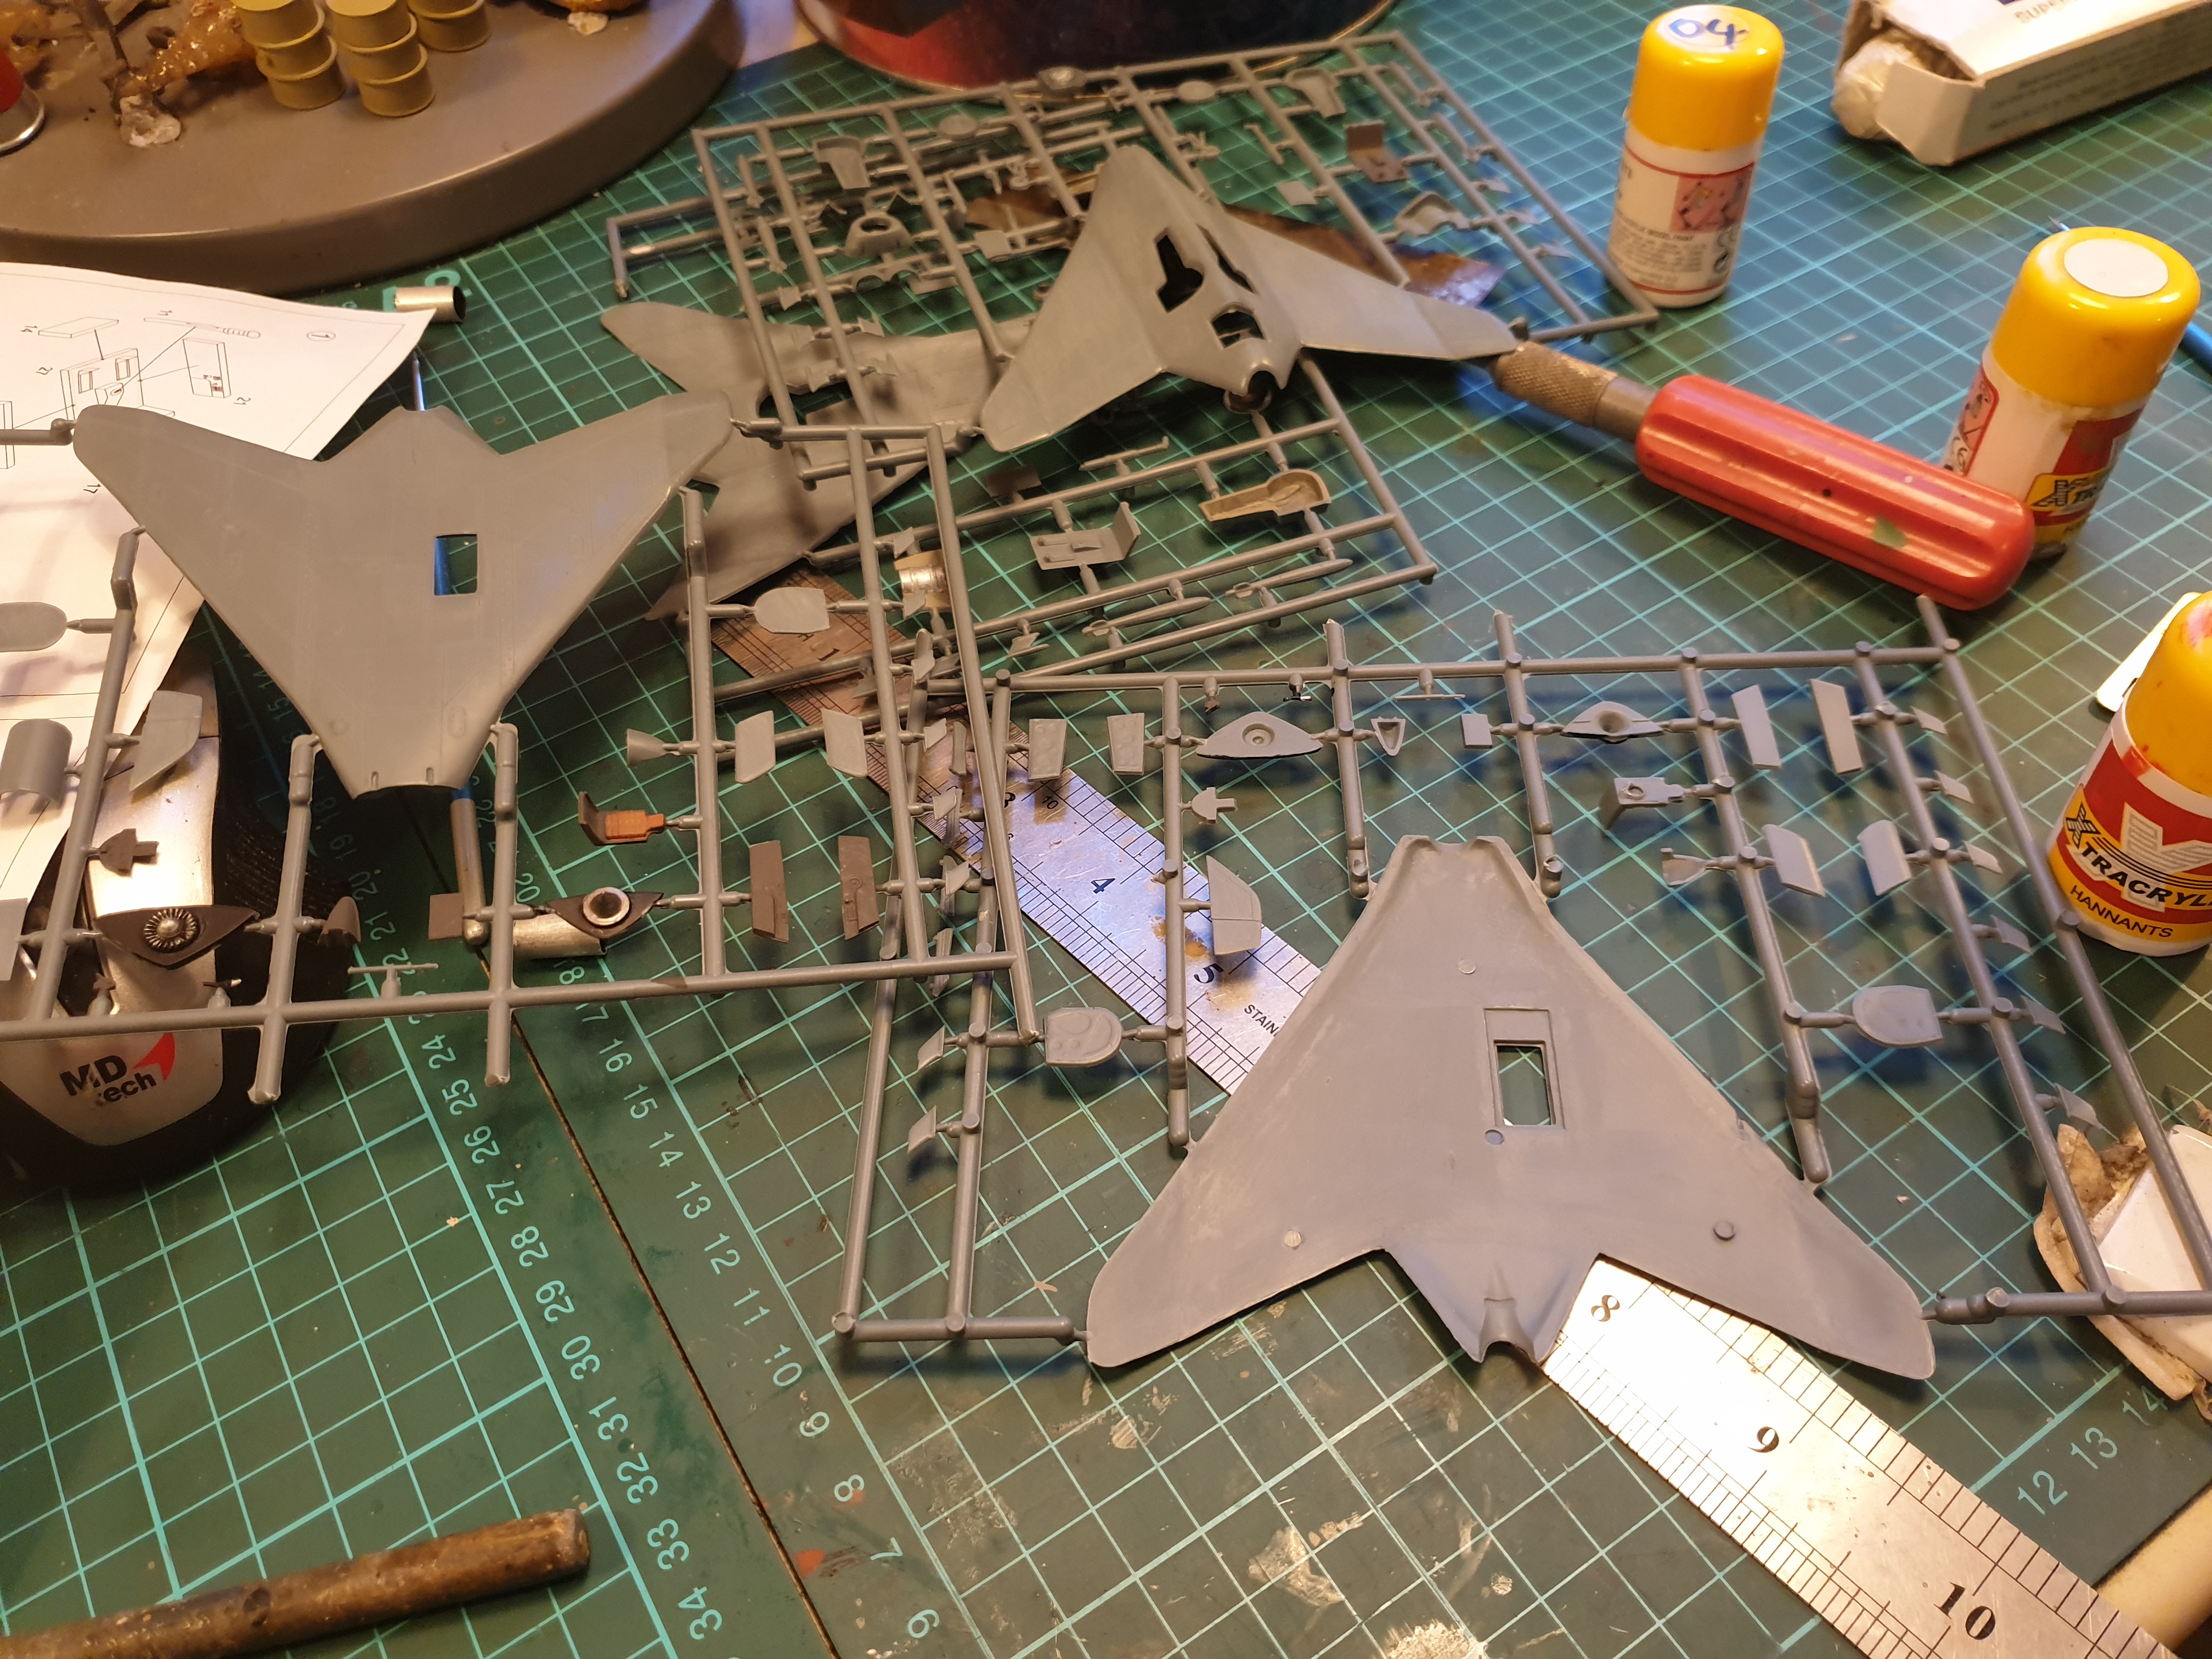
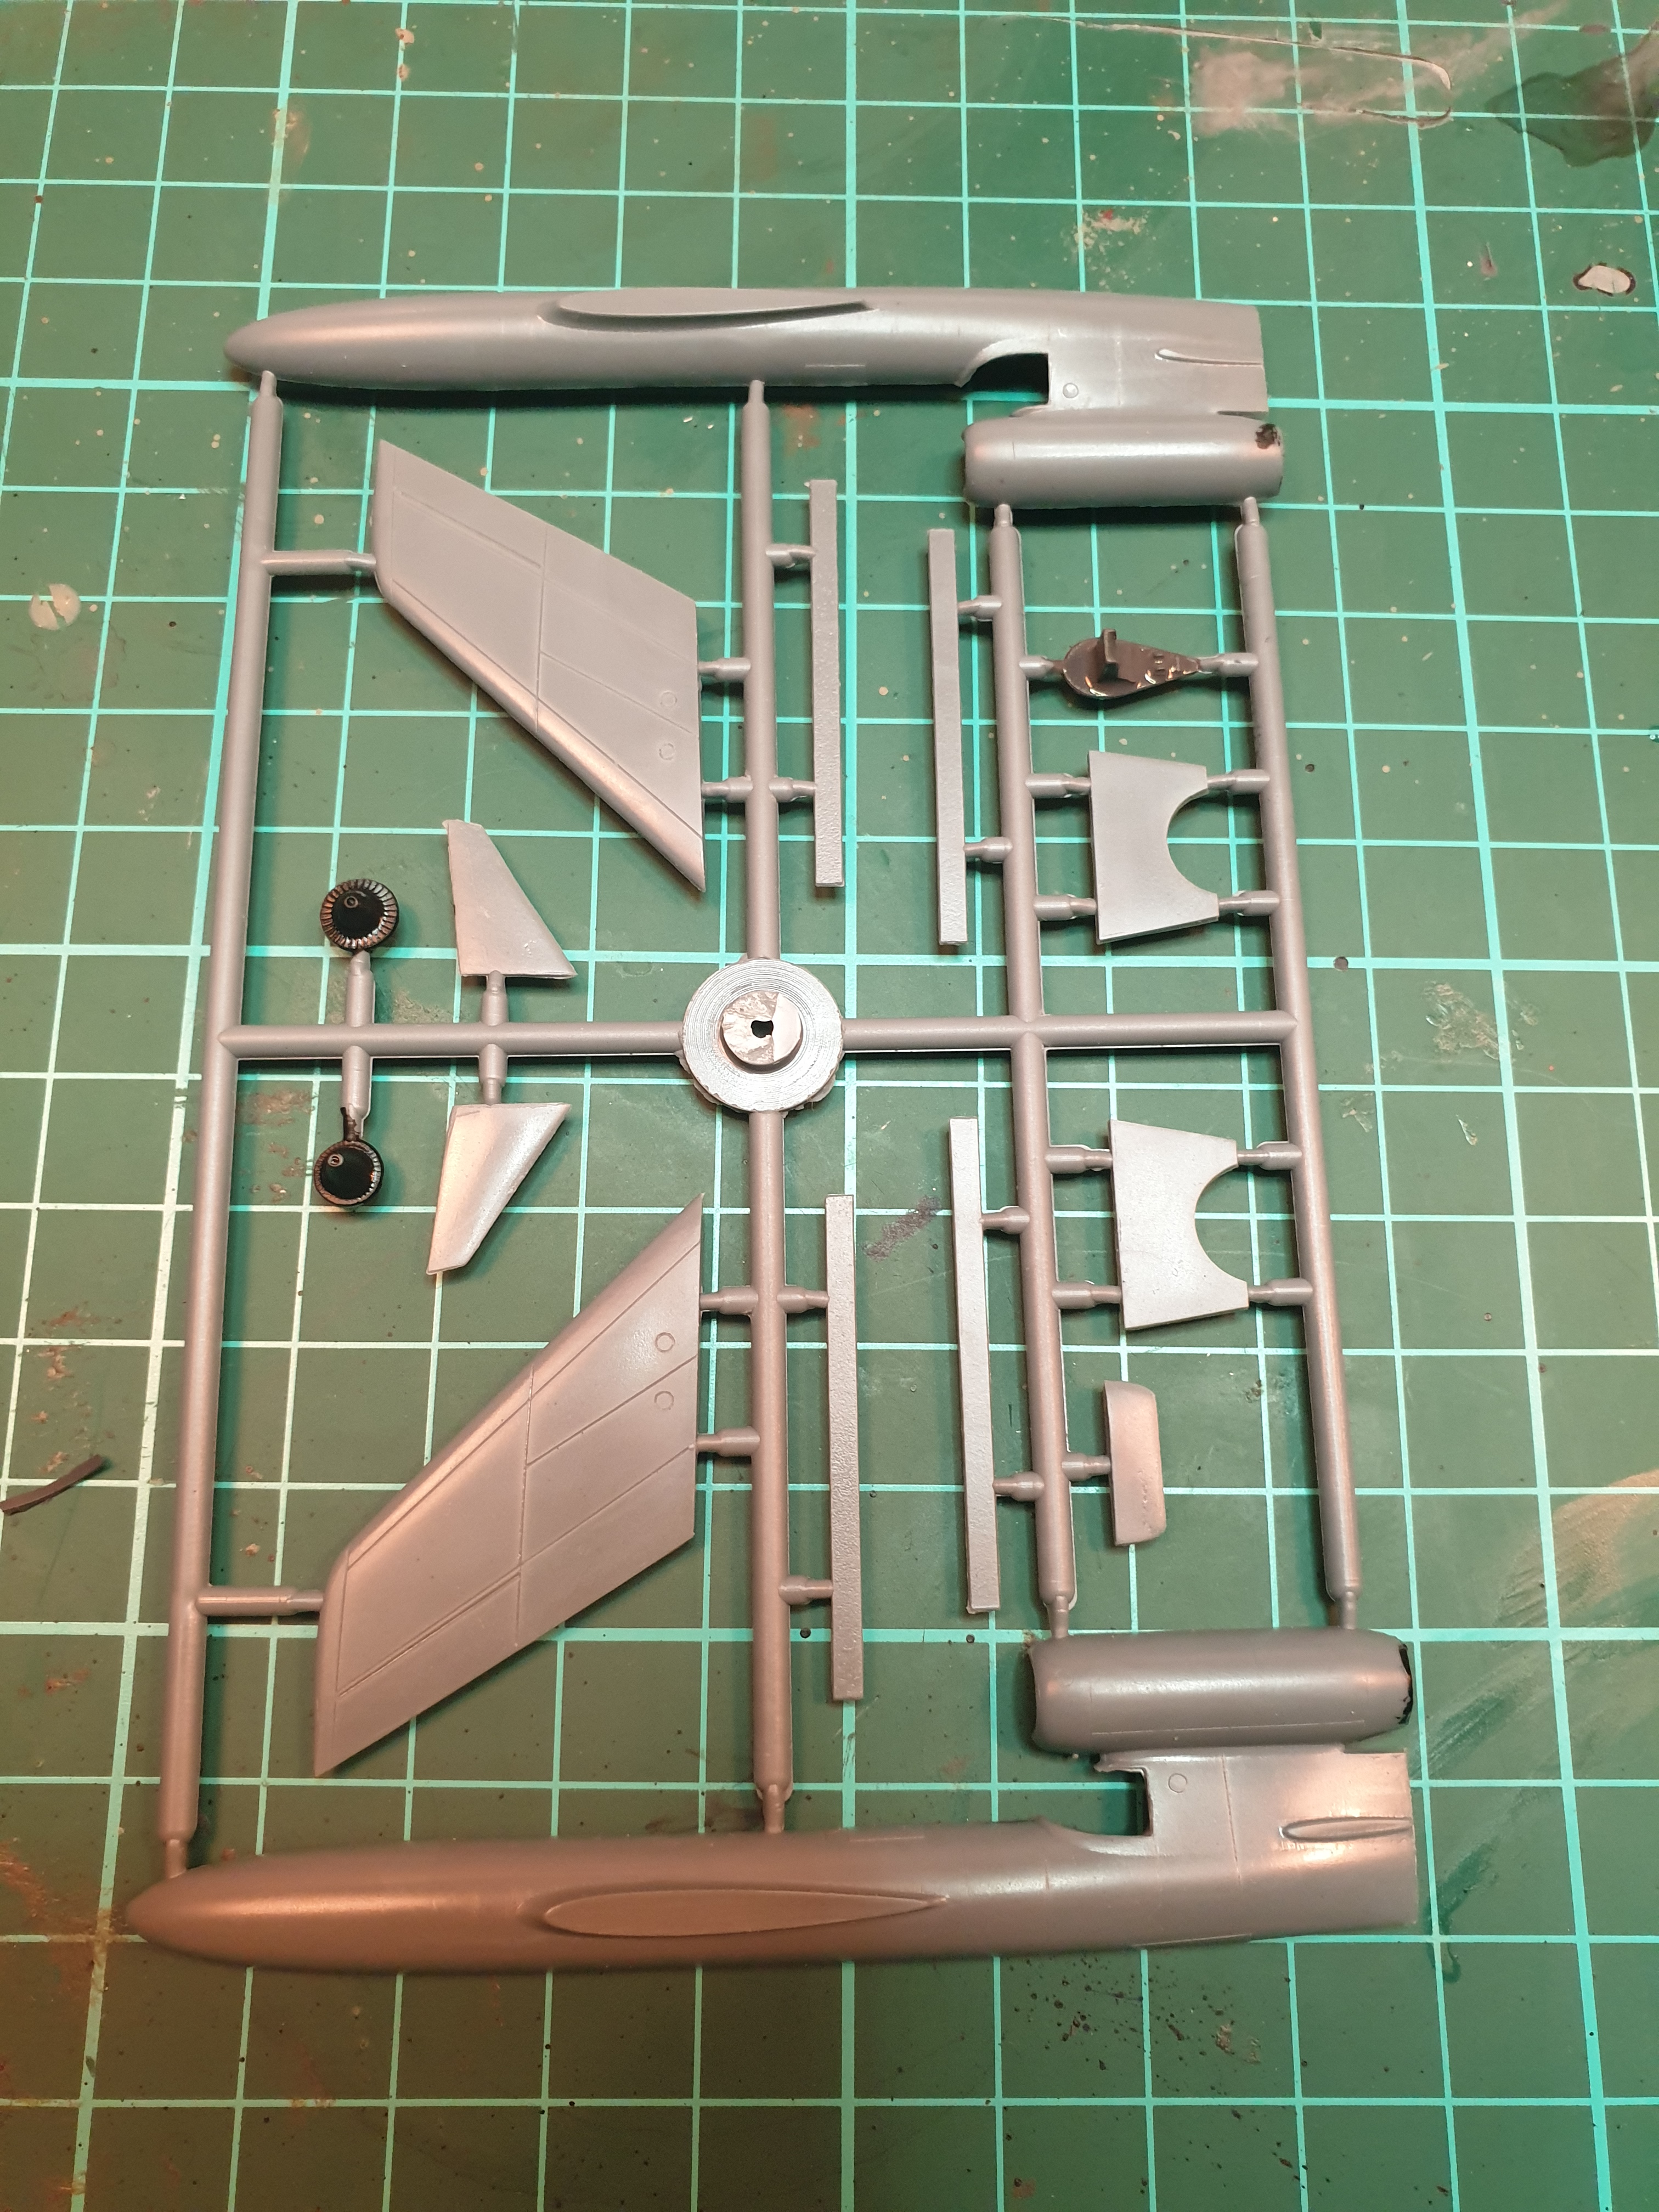
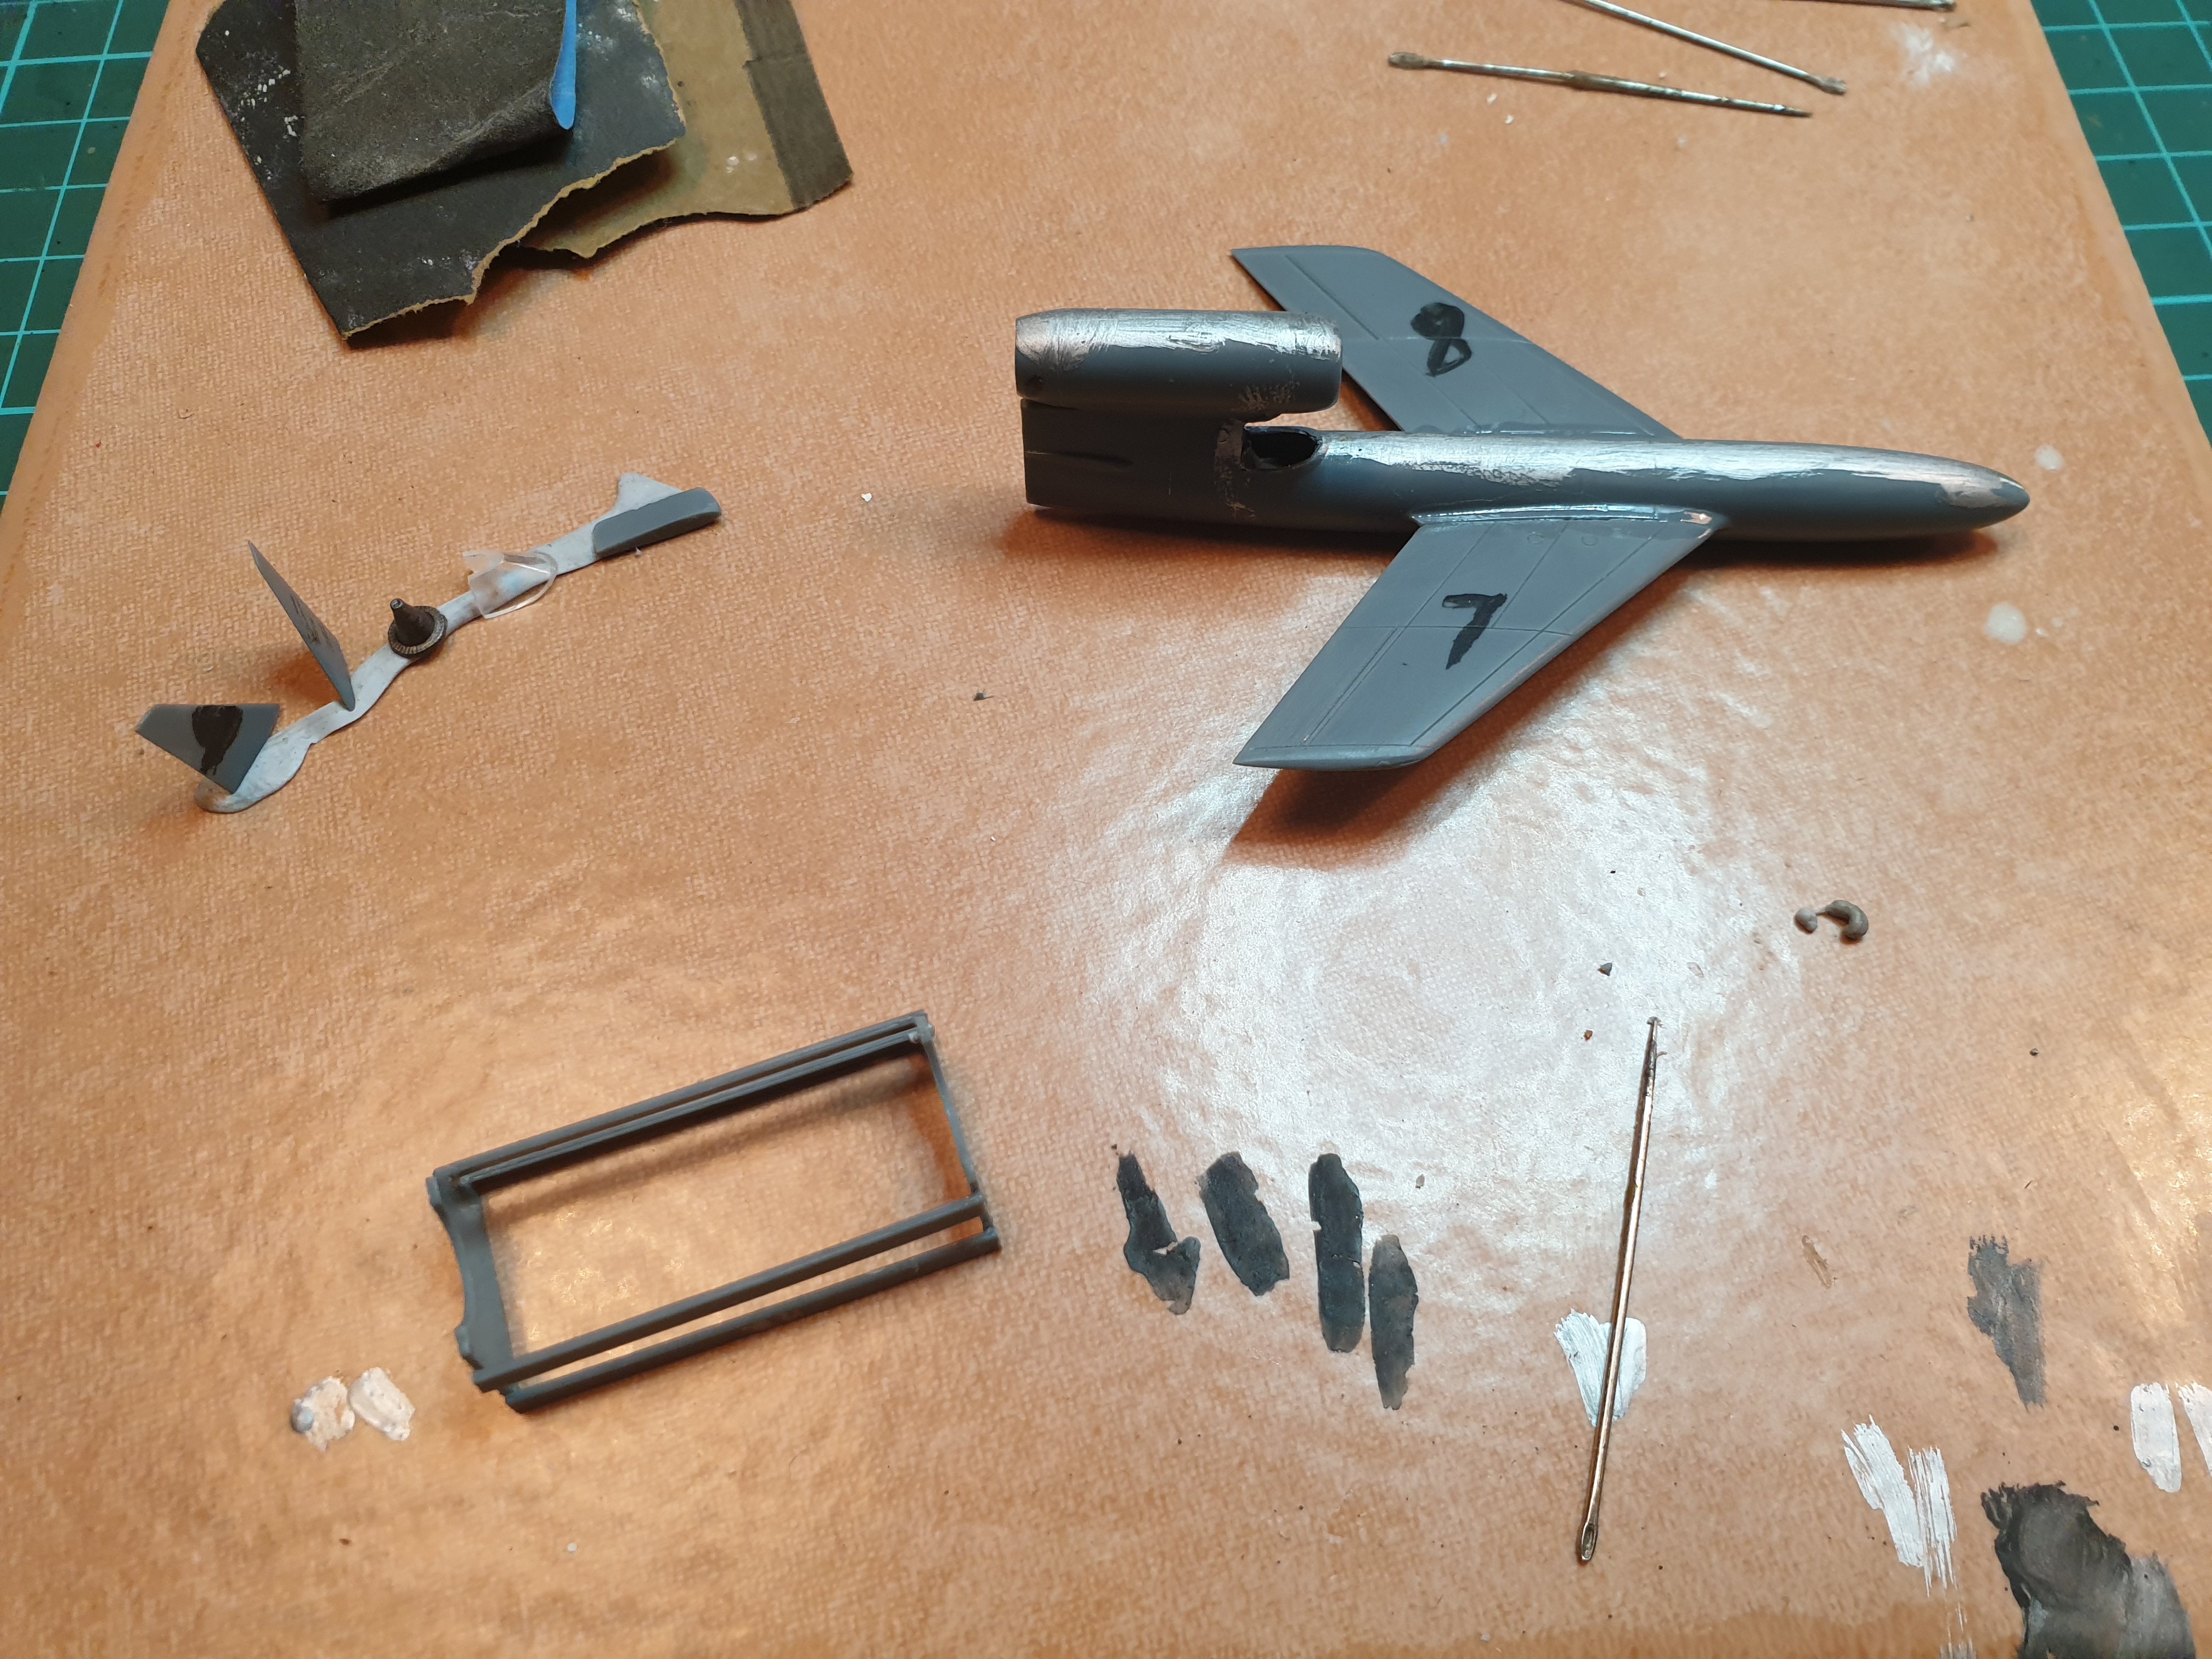
Lots of rain on the weekend so with high humidity it was useless to airbrush. Dug out this Dragon kit and typically it looks nice but assembly is a pig.

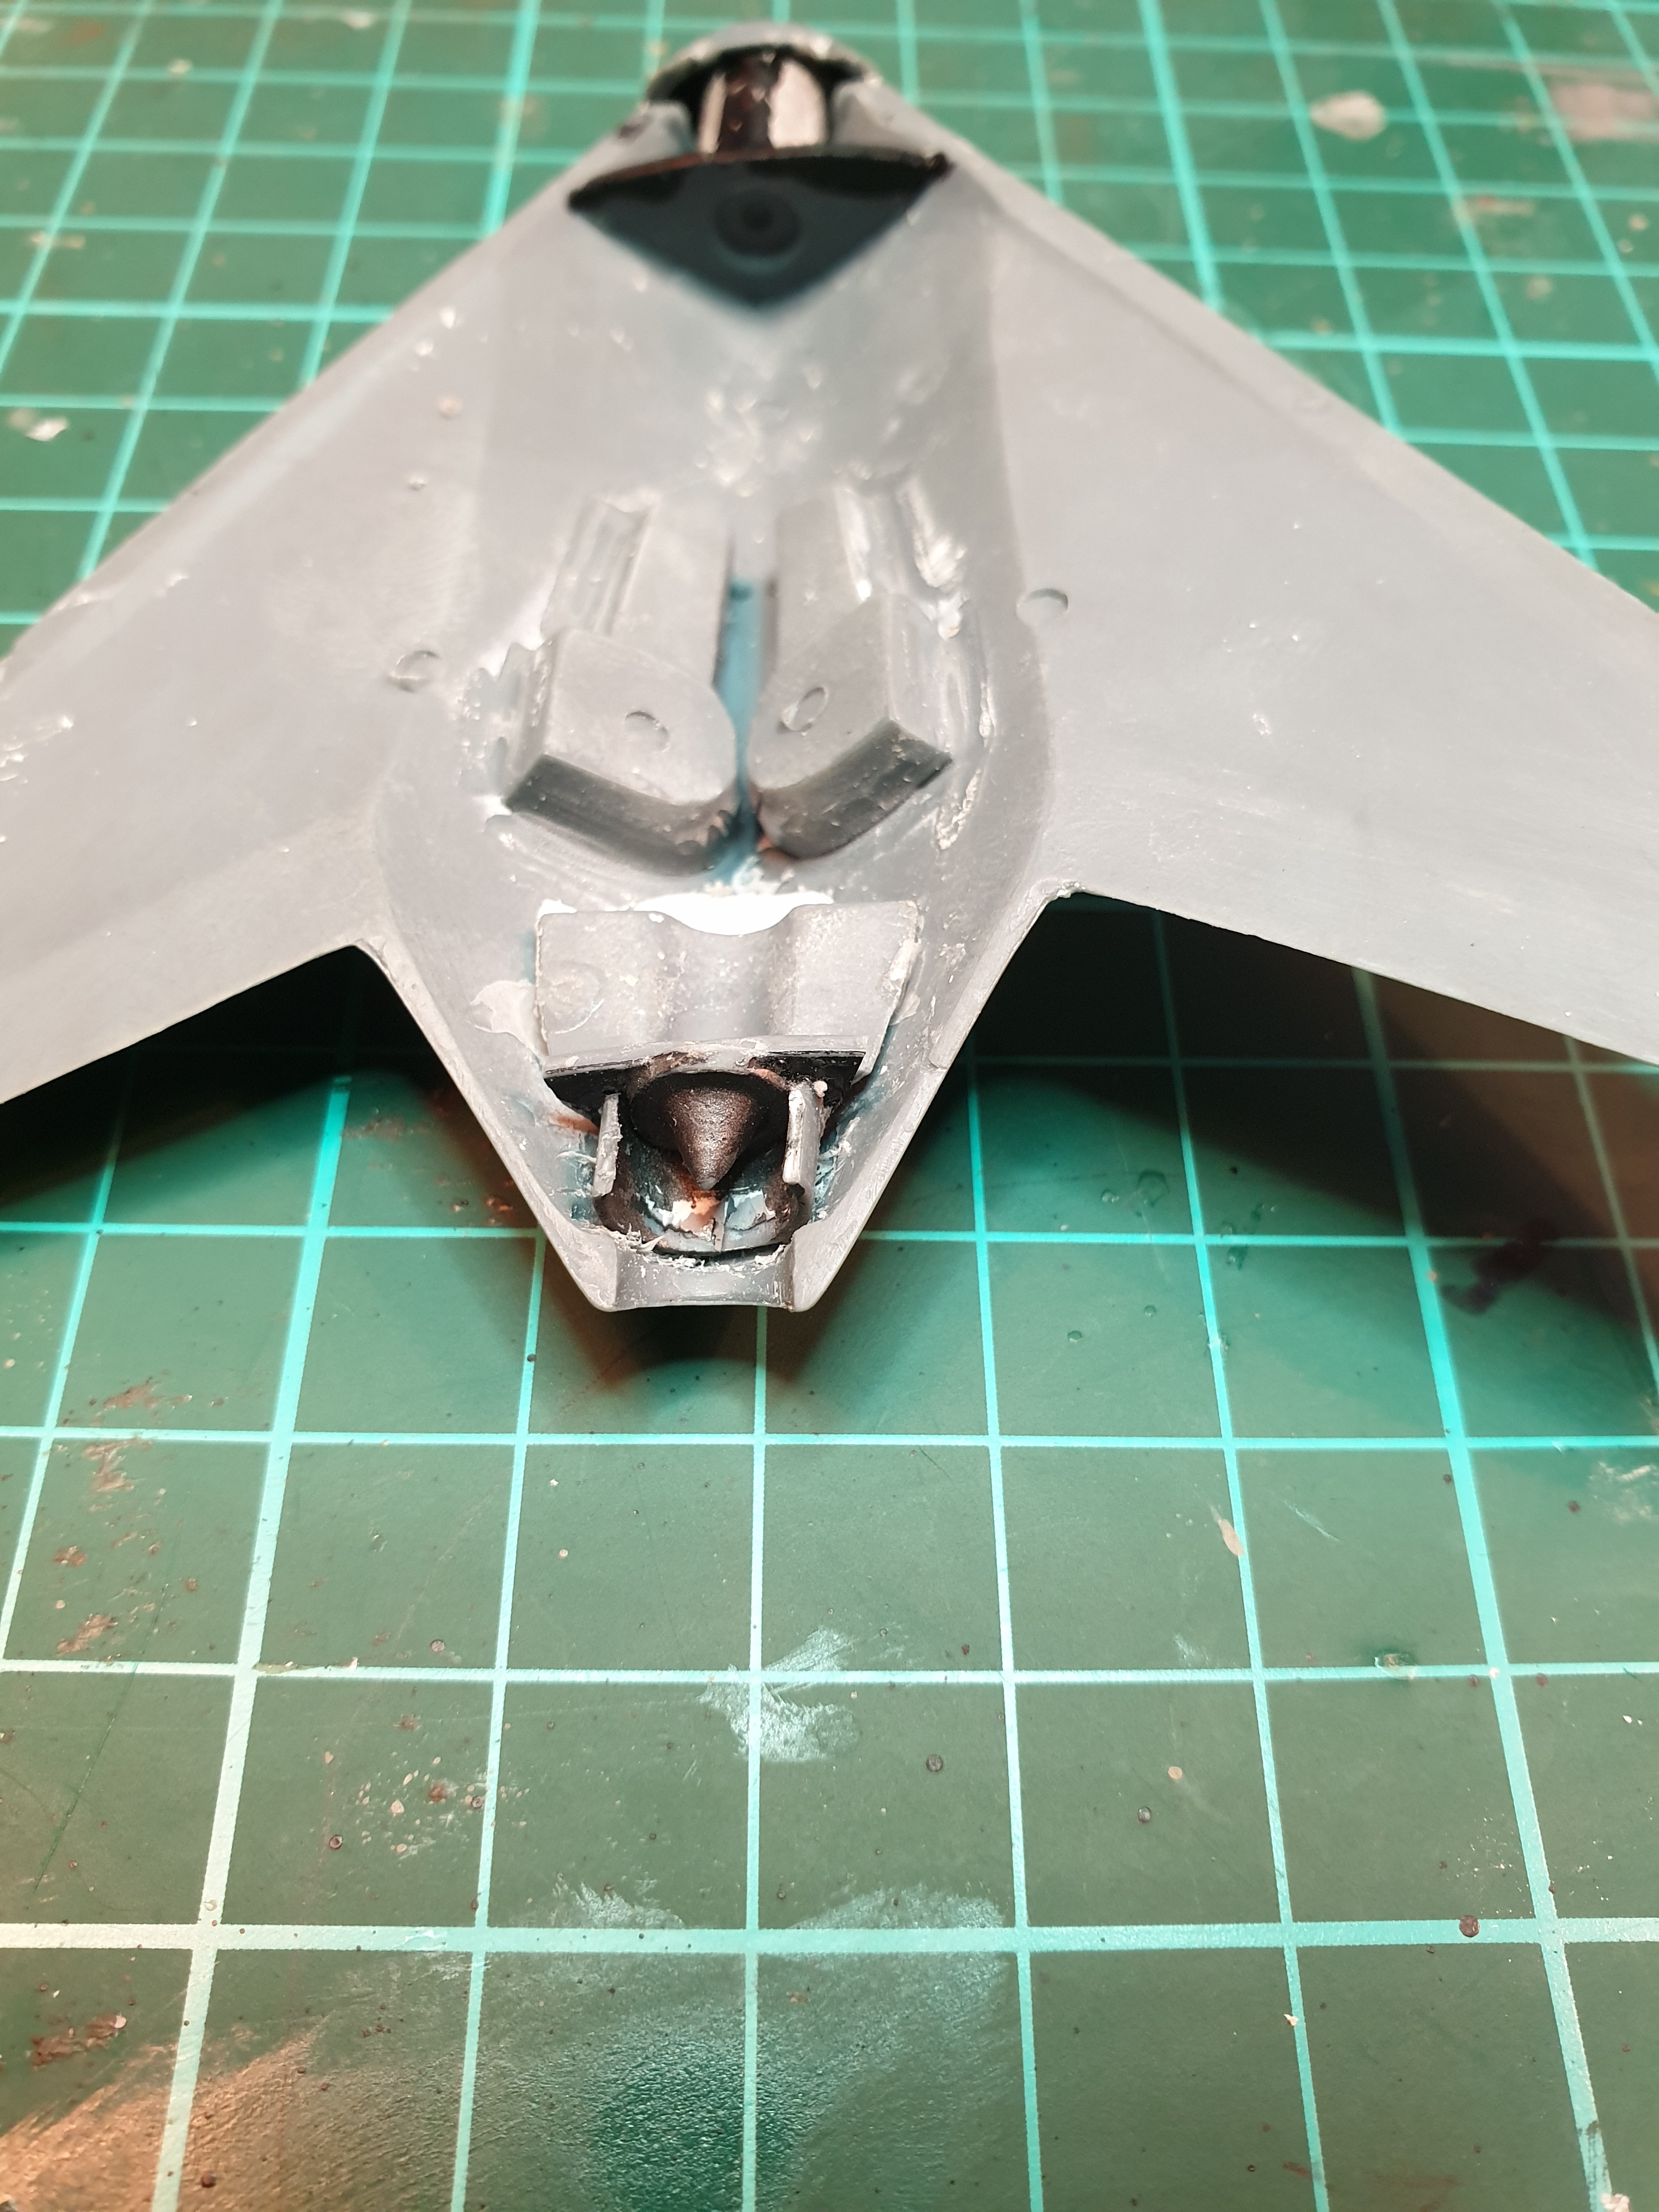
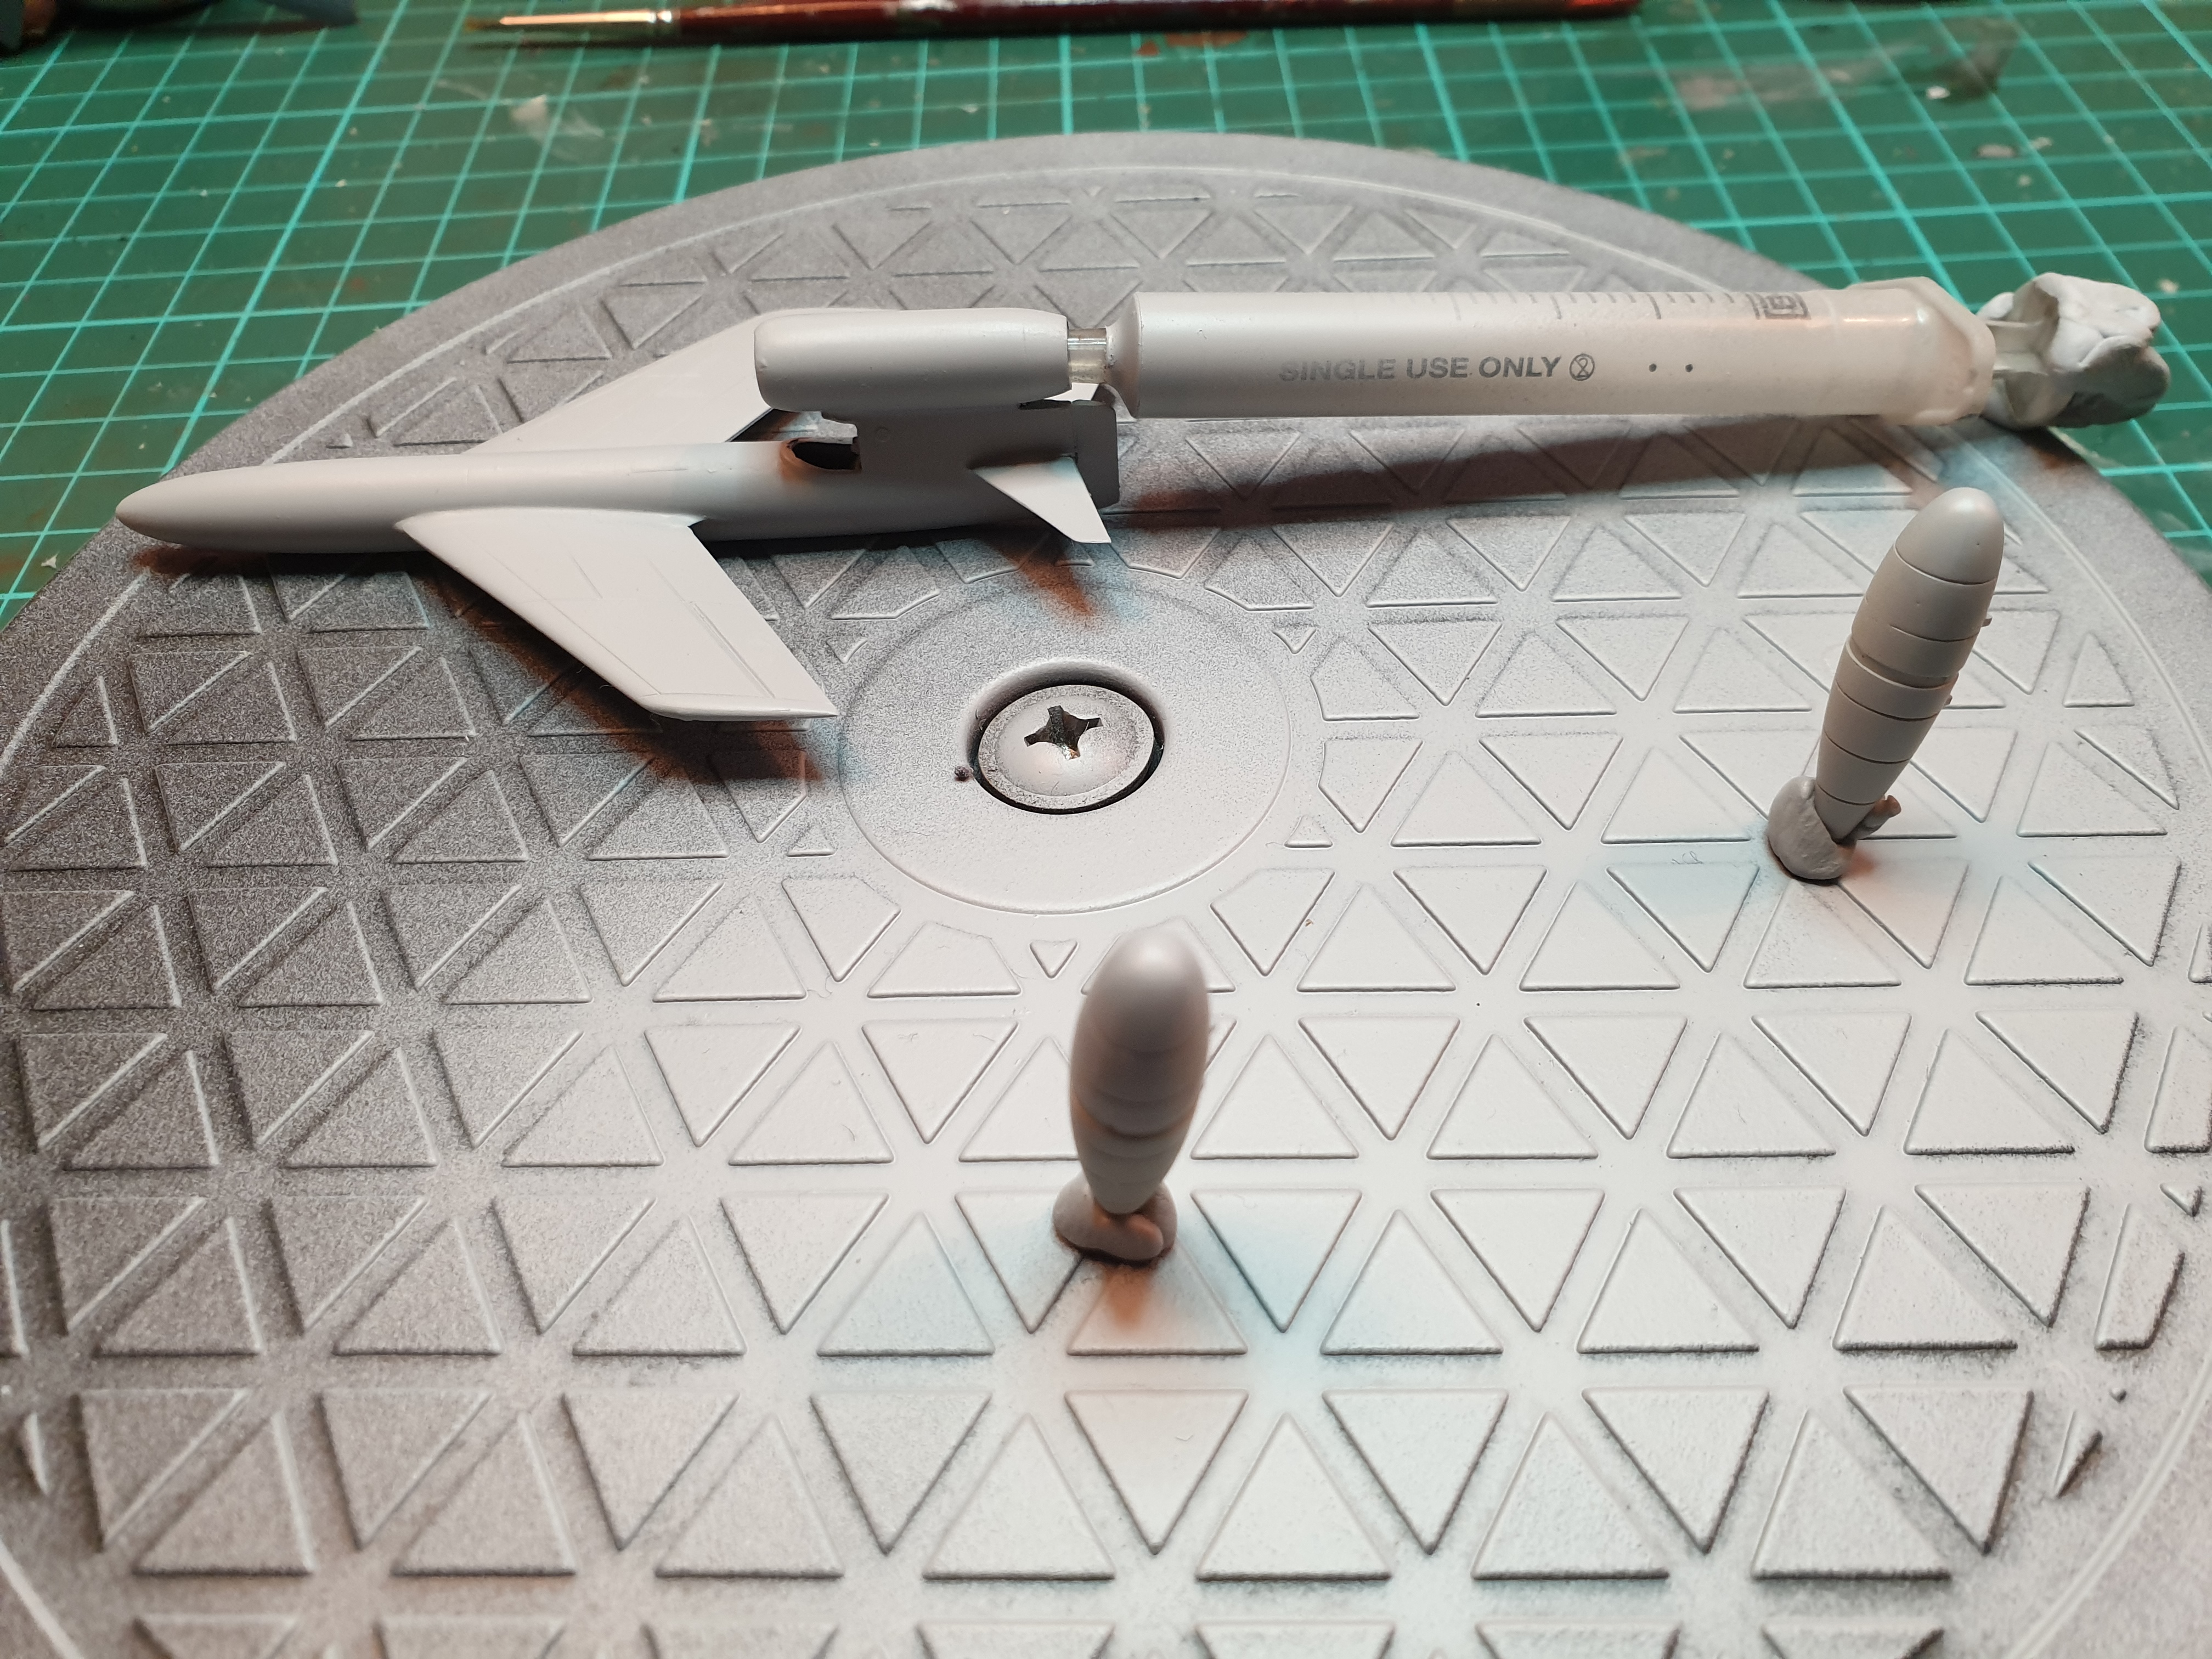
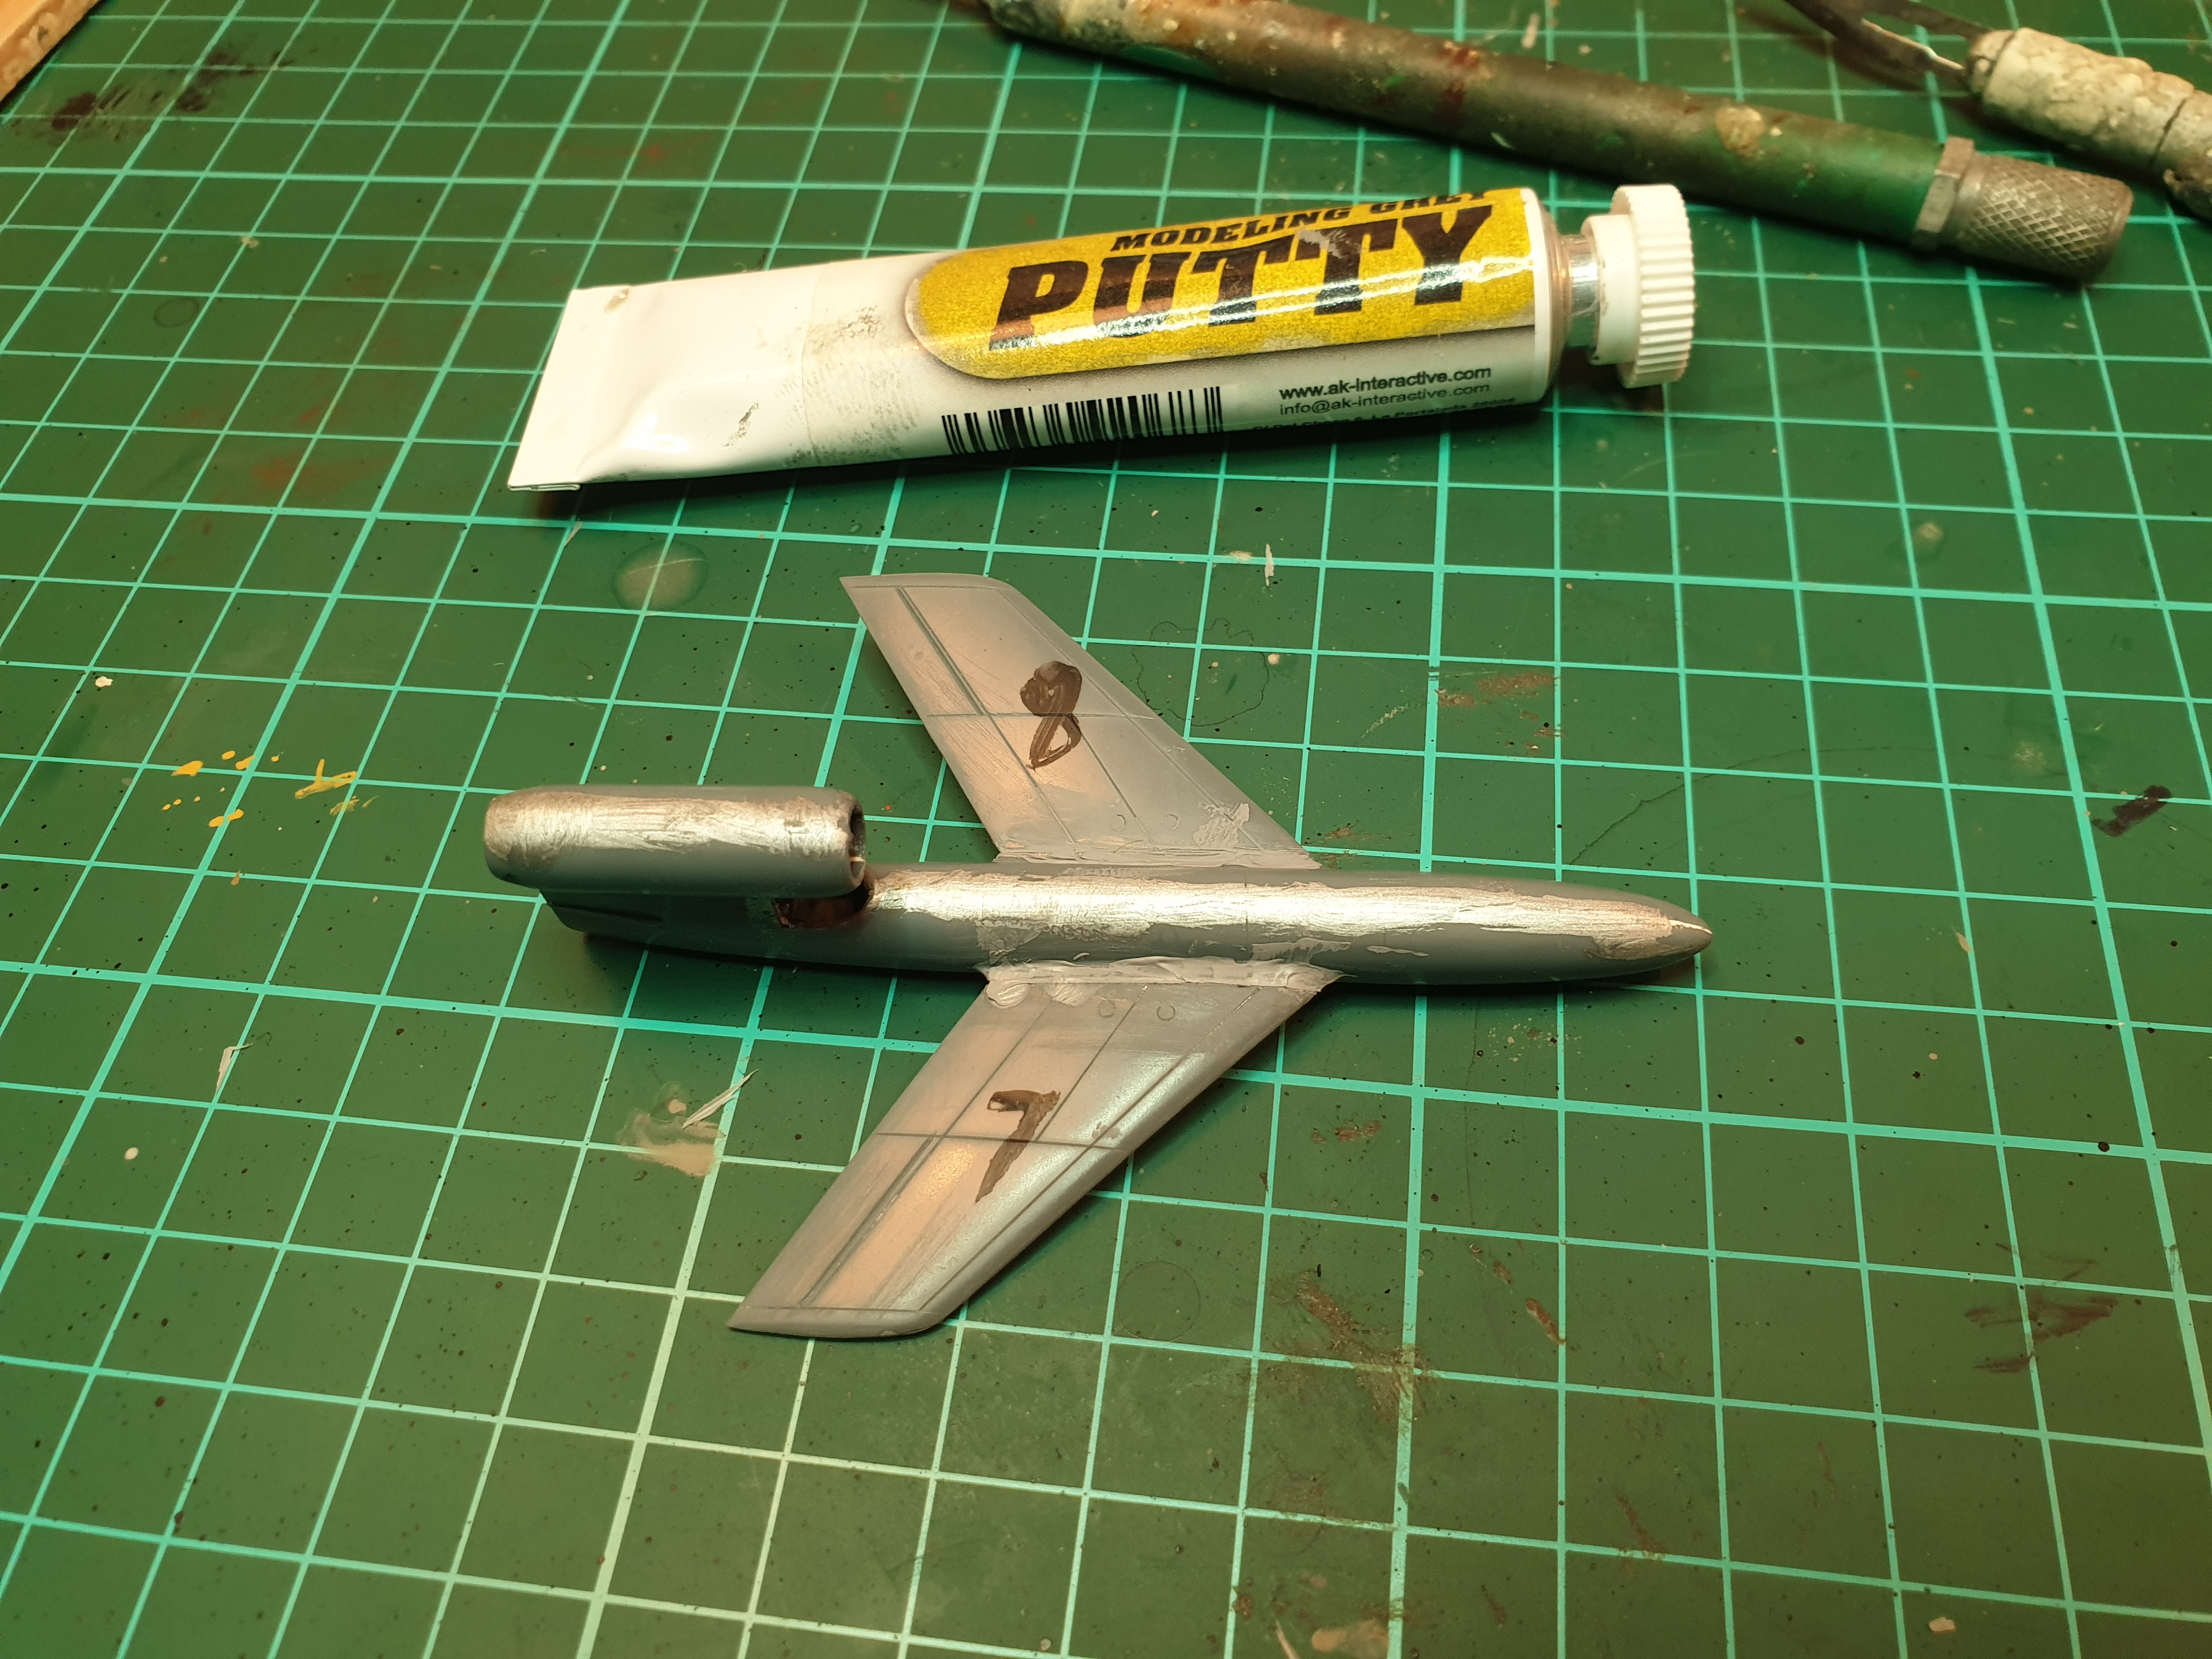
The undercarriage is an octopuses delight .Only  the right hand side was completed before frustration at the fiddly assembly set in.

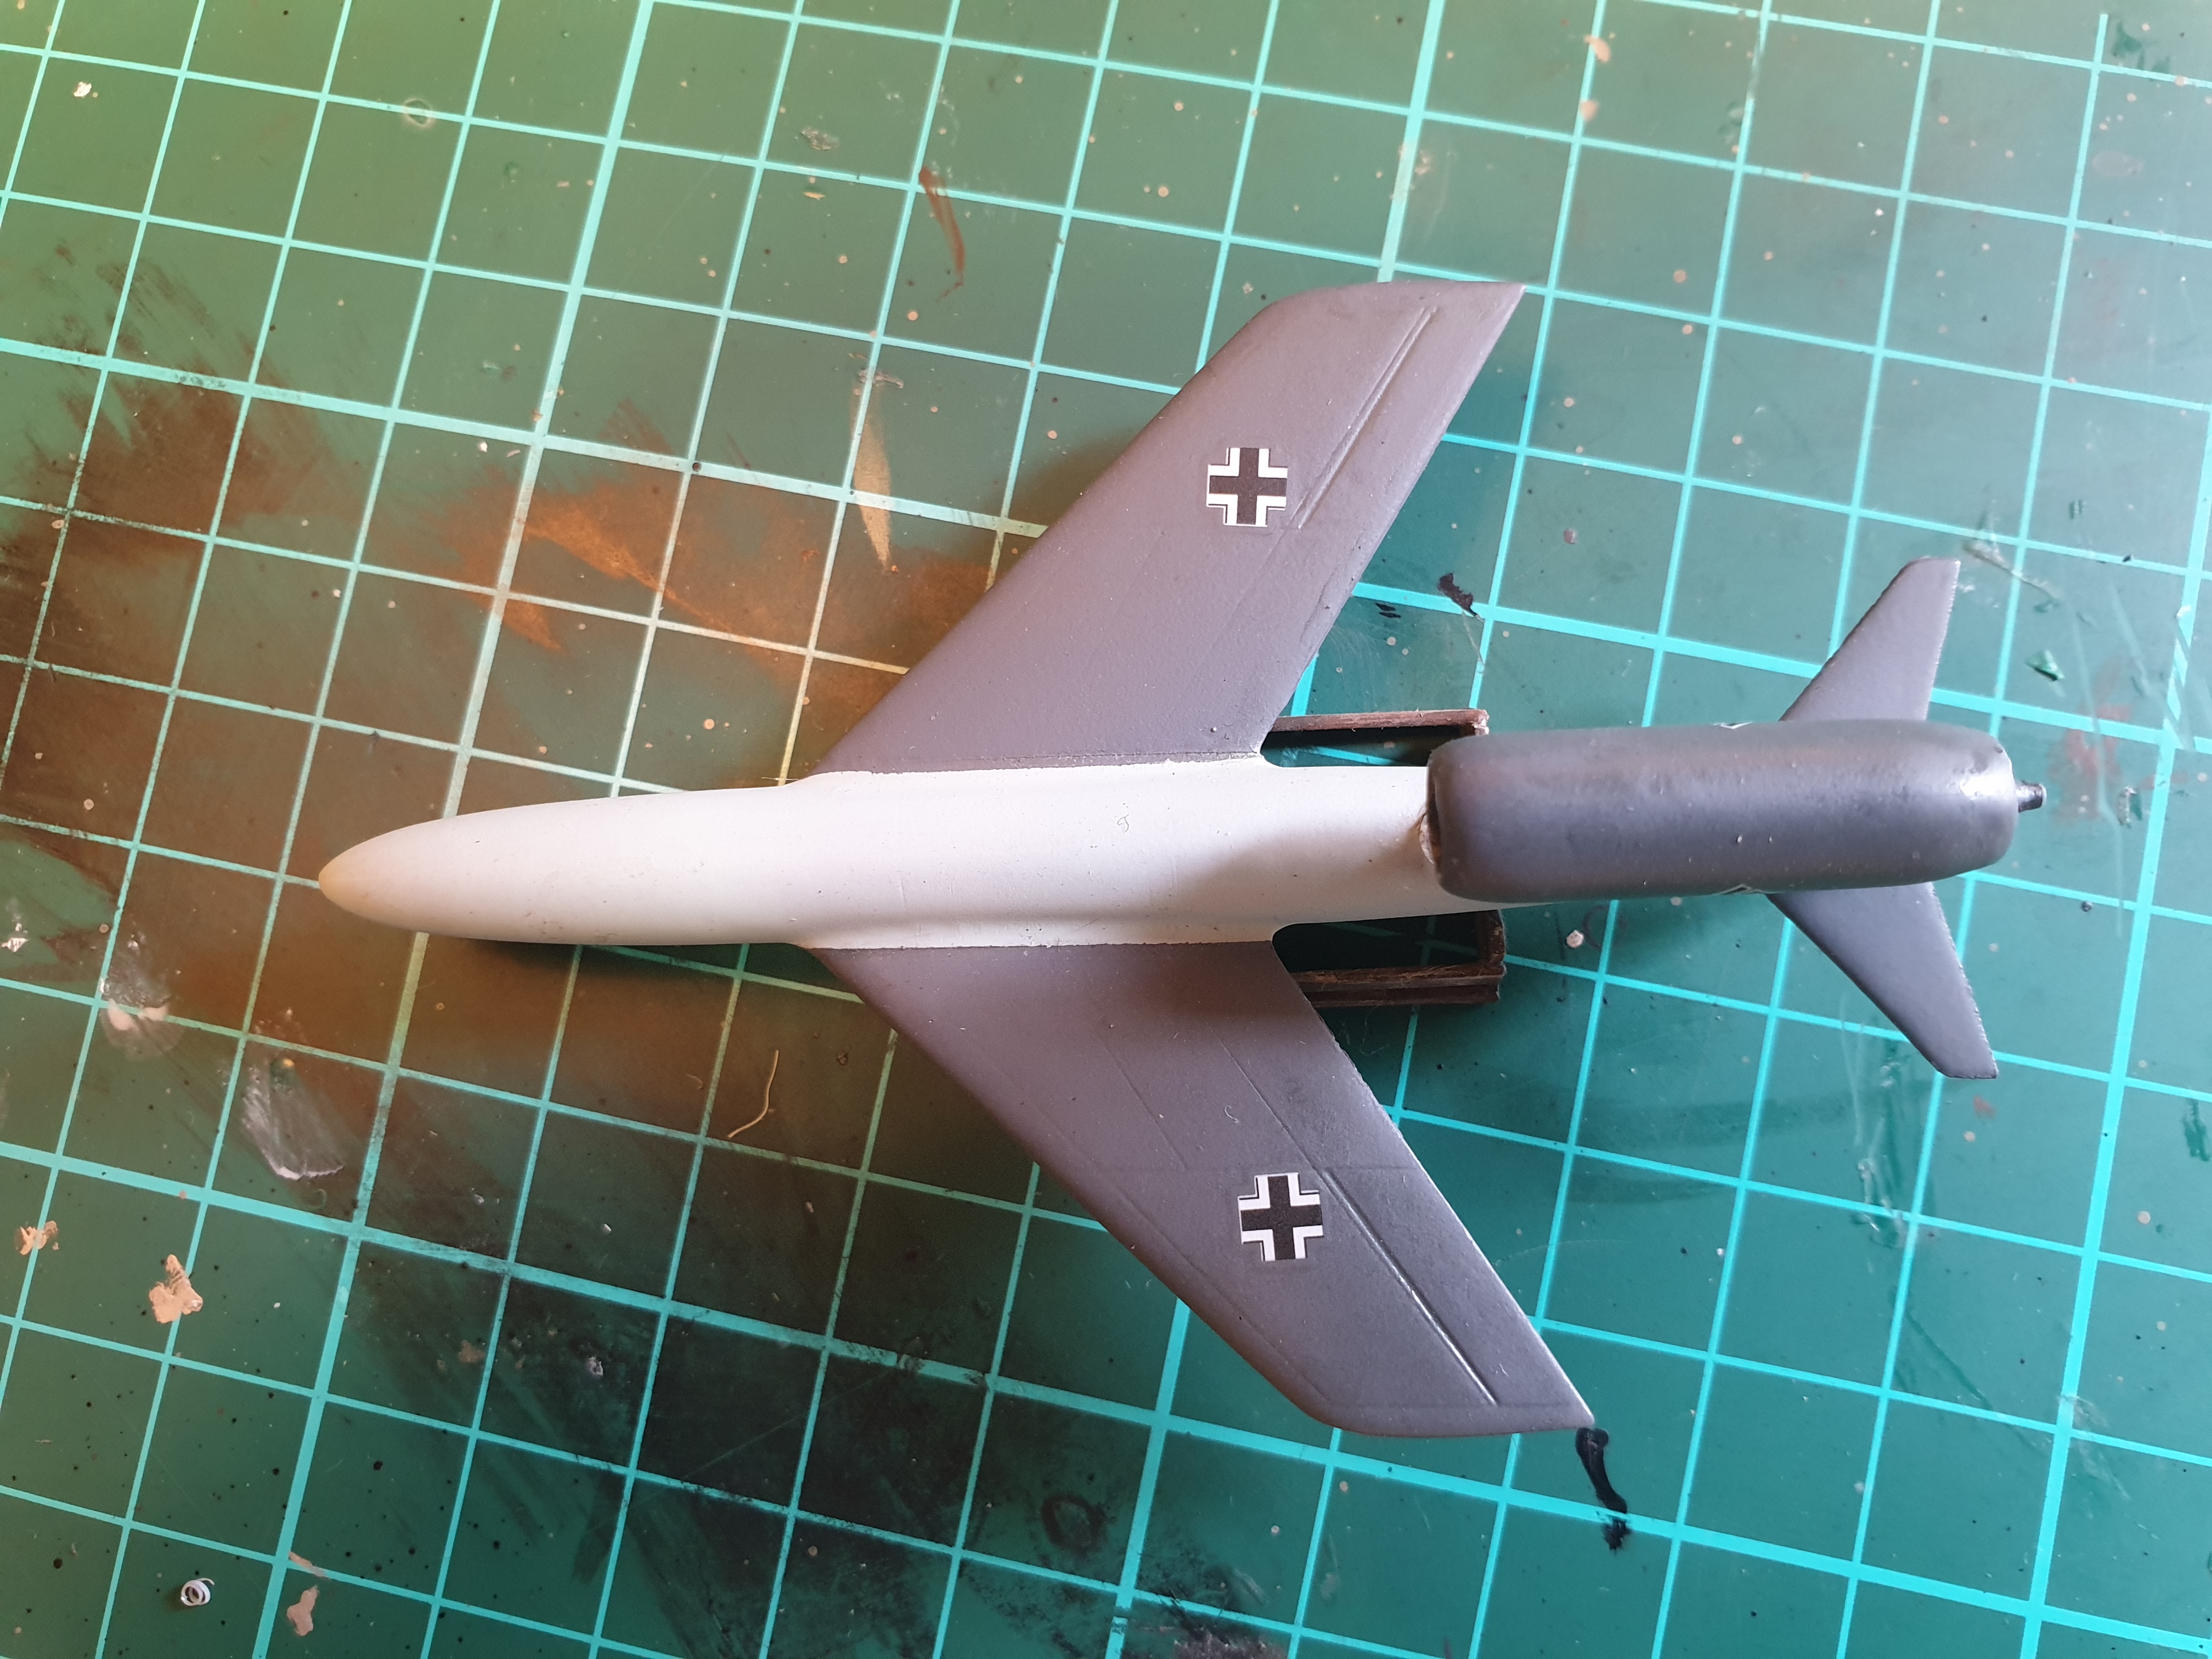
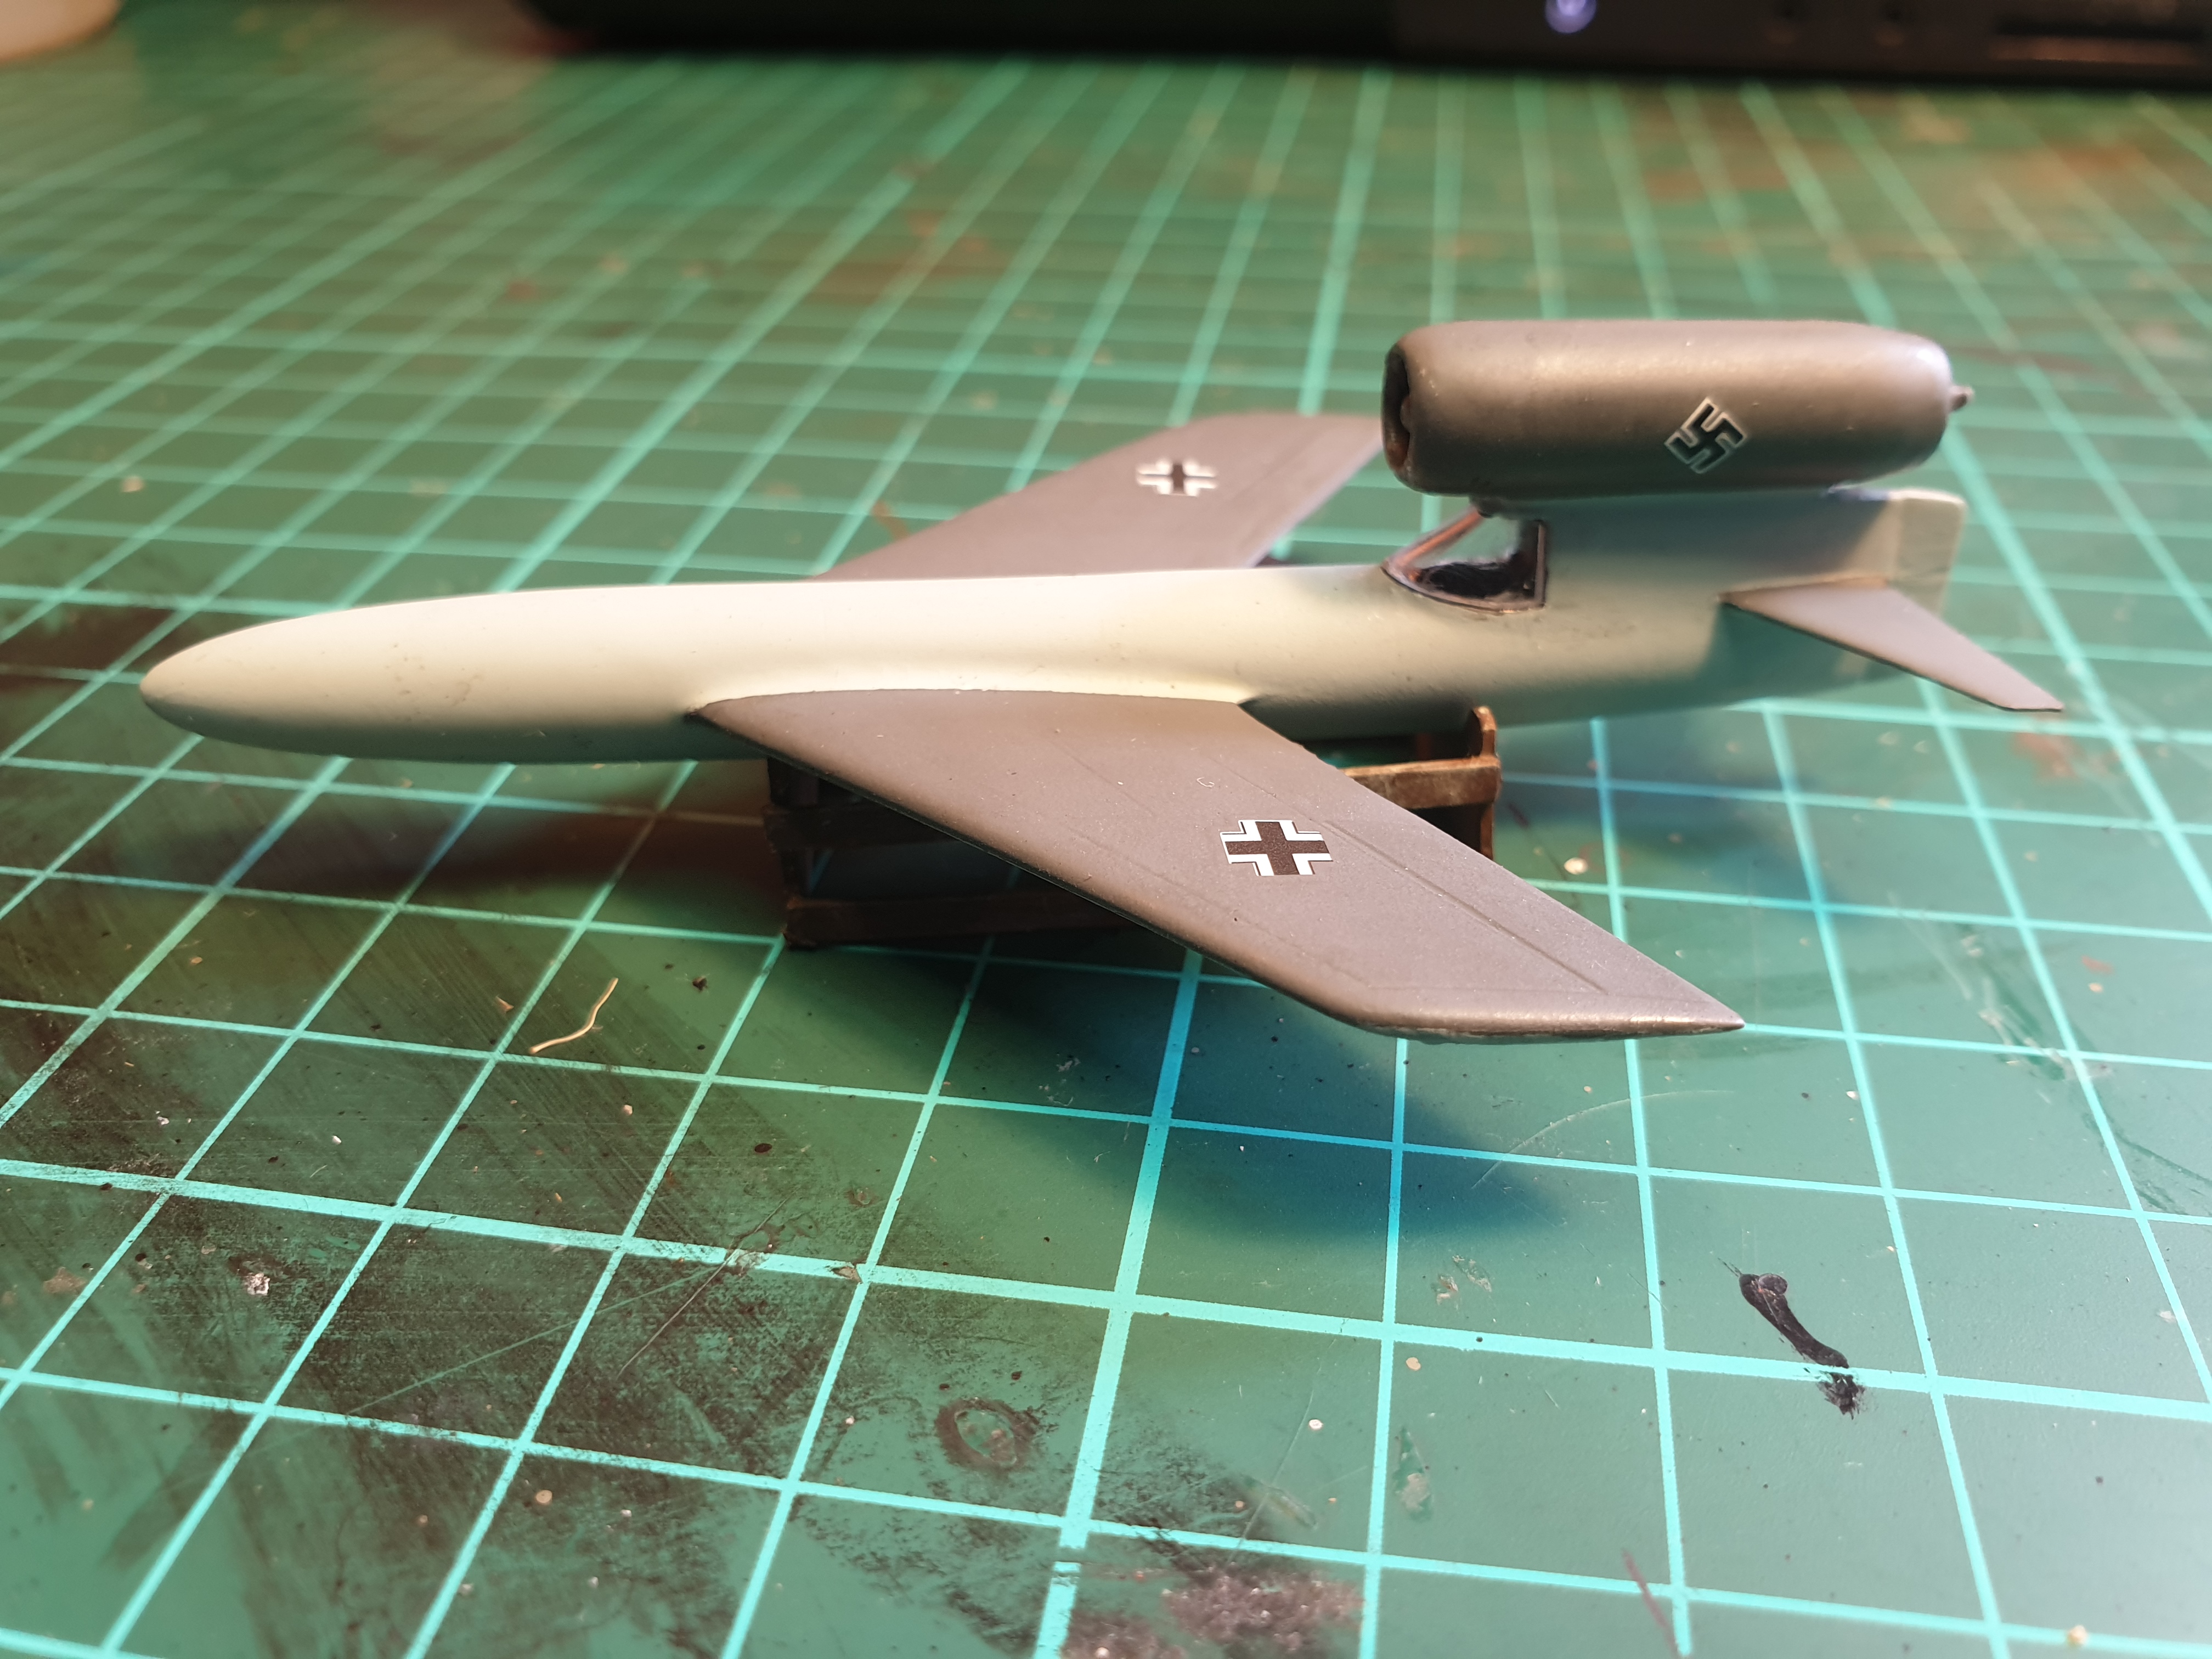
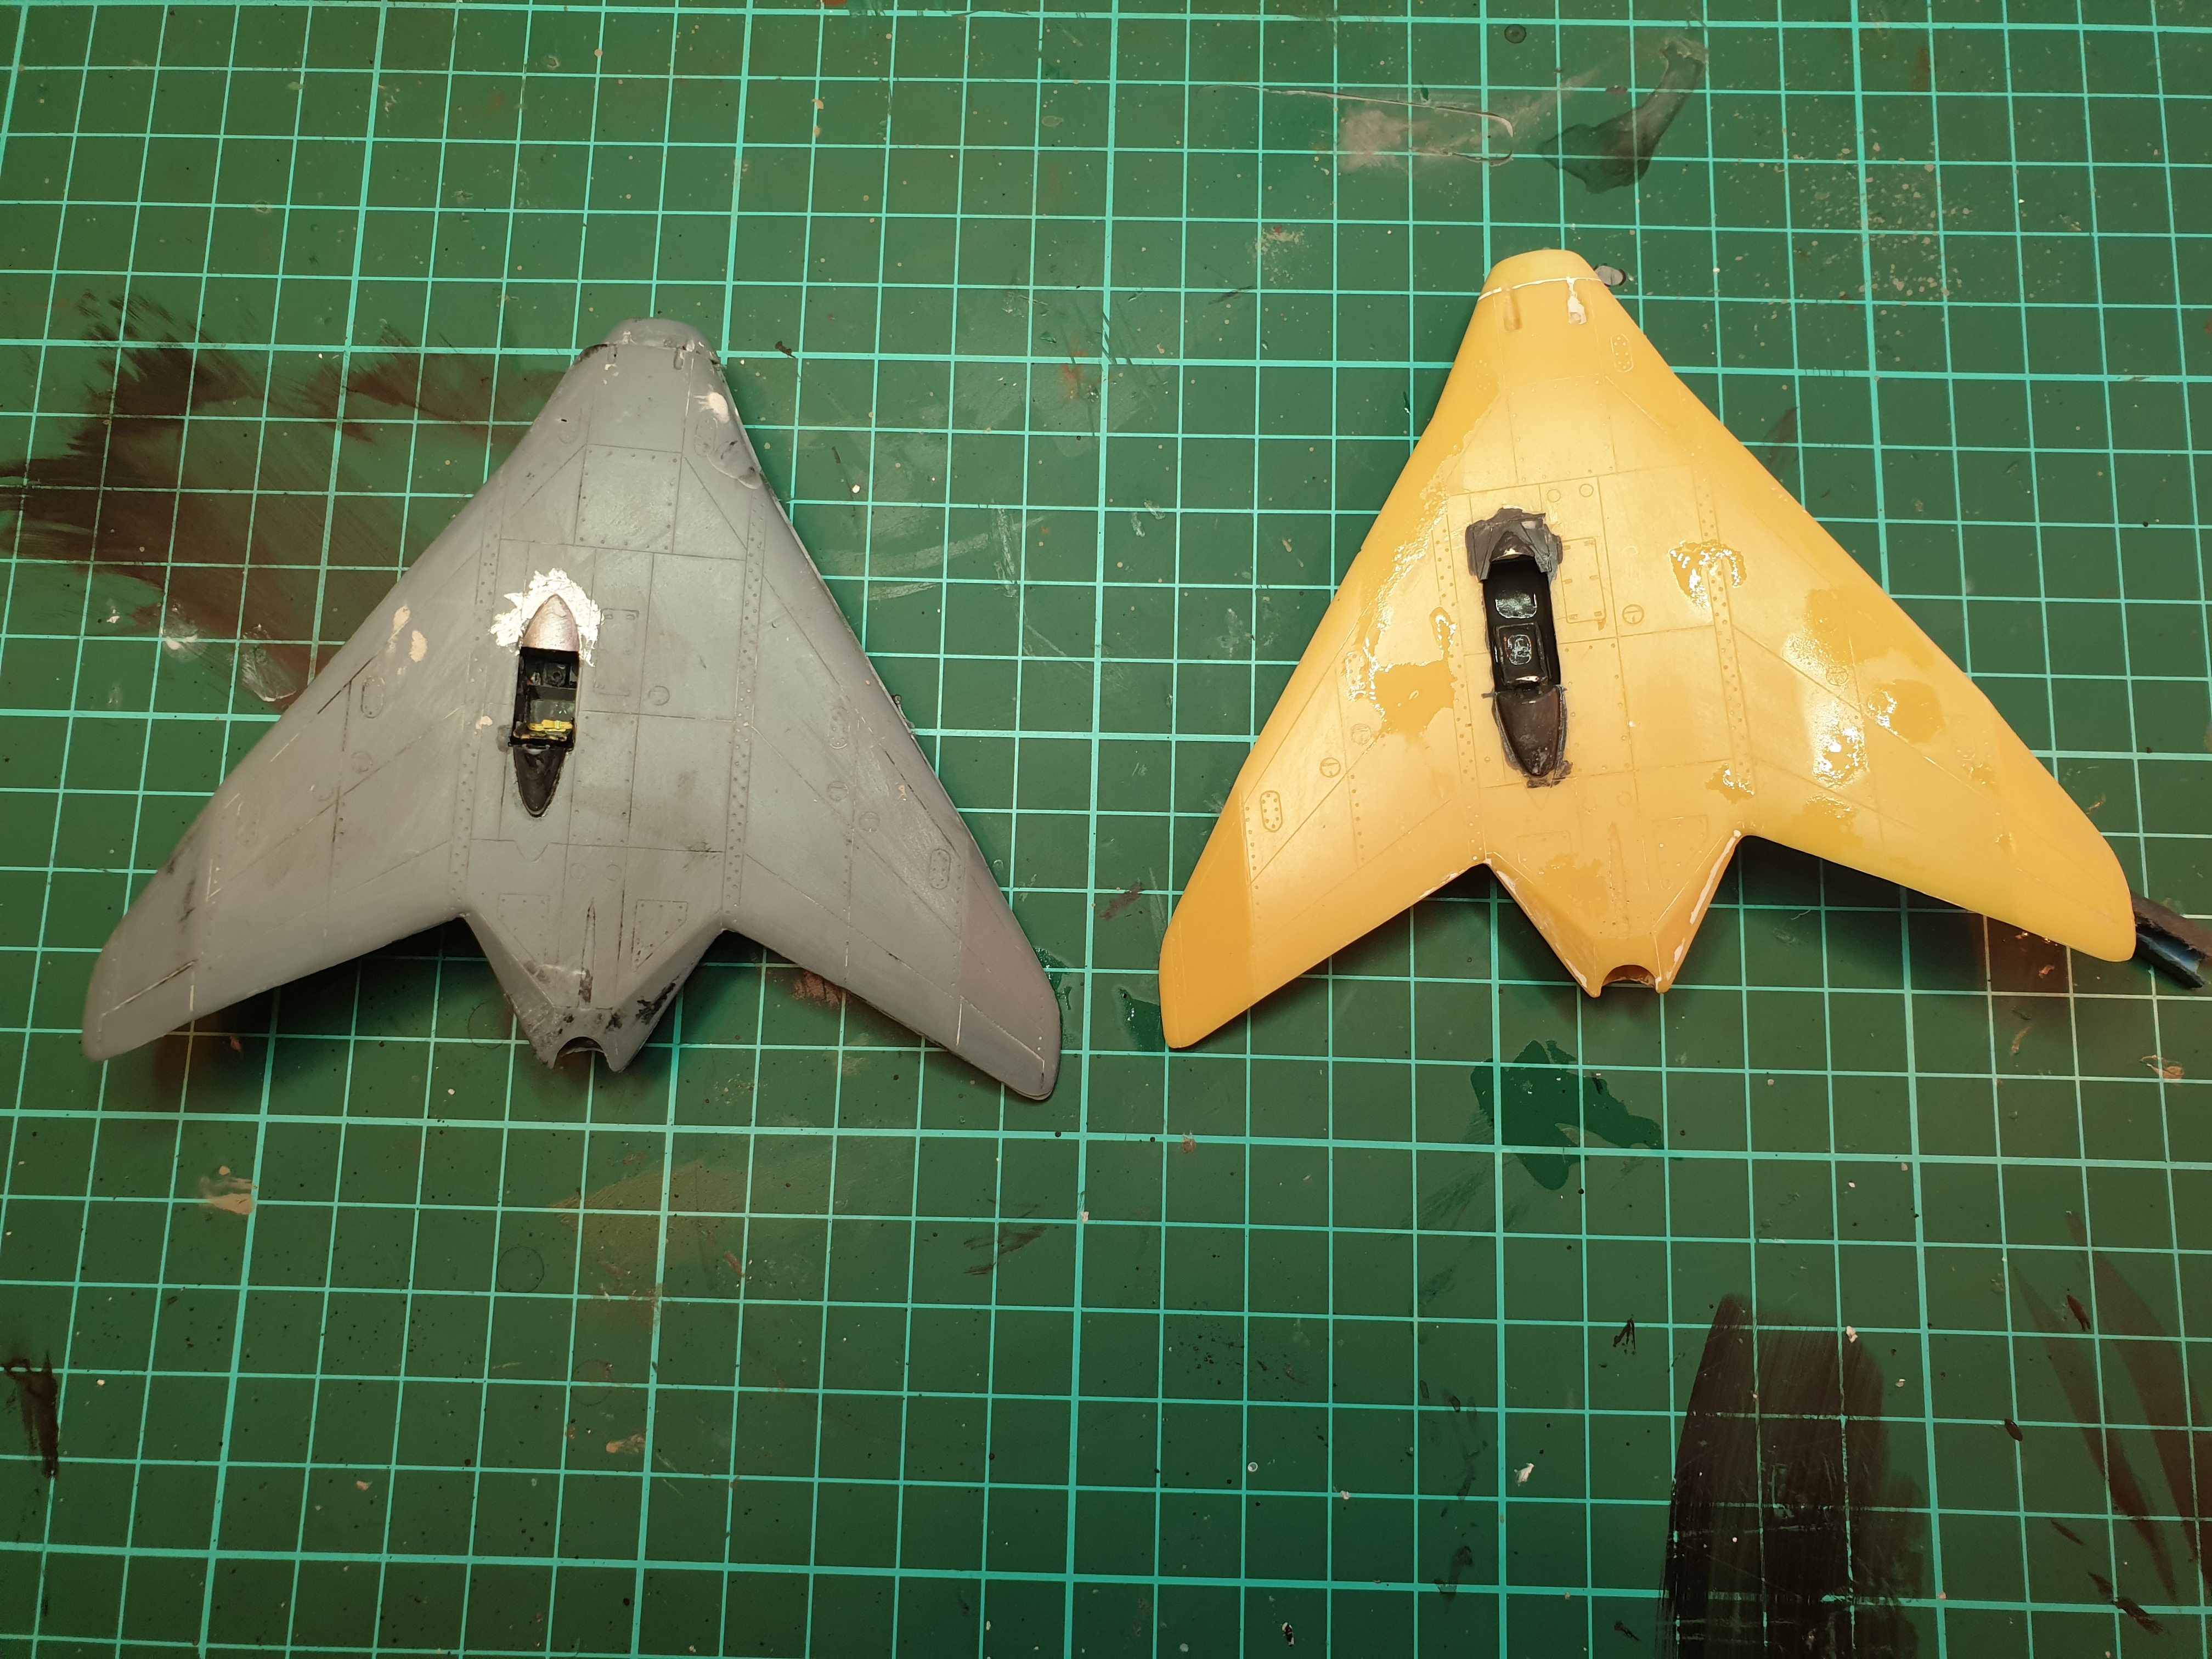
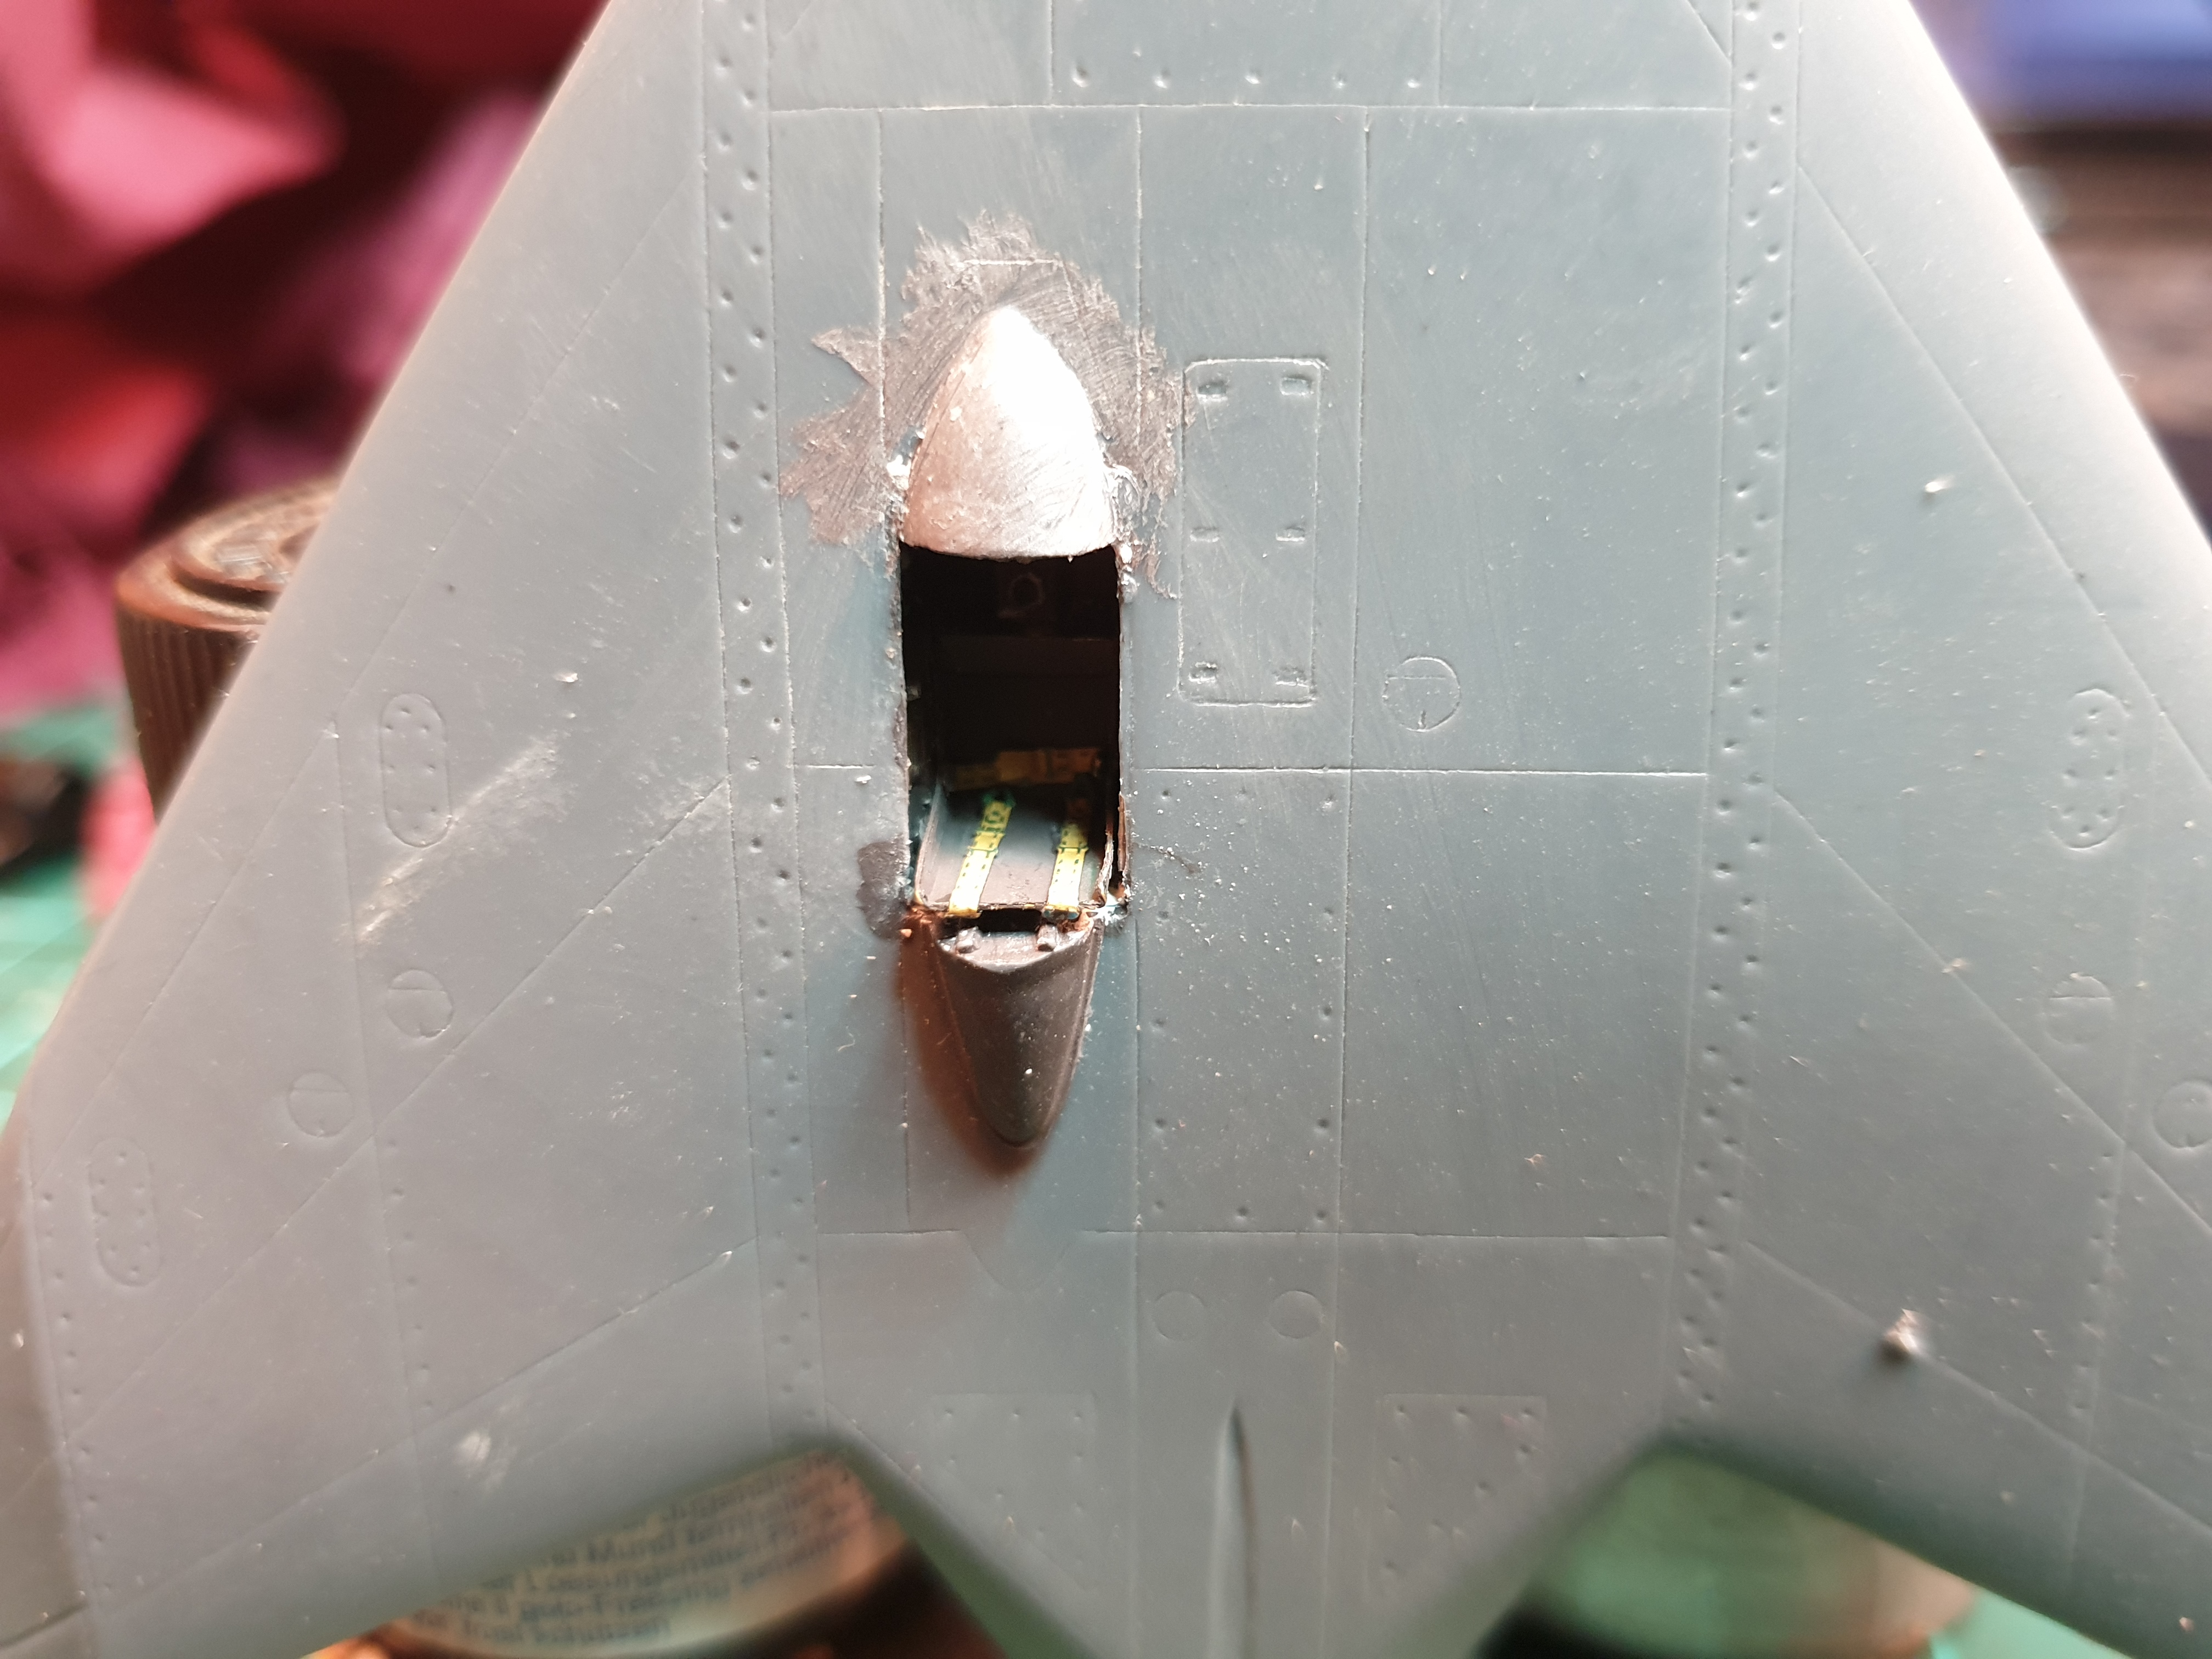
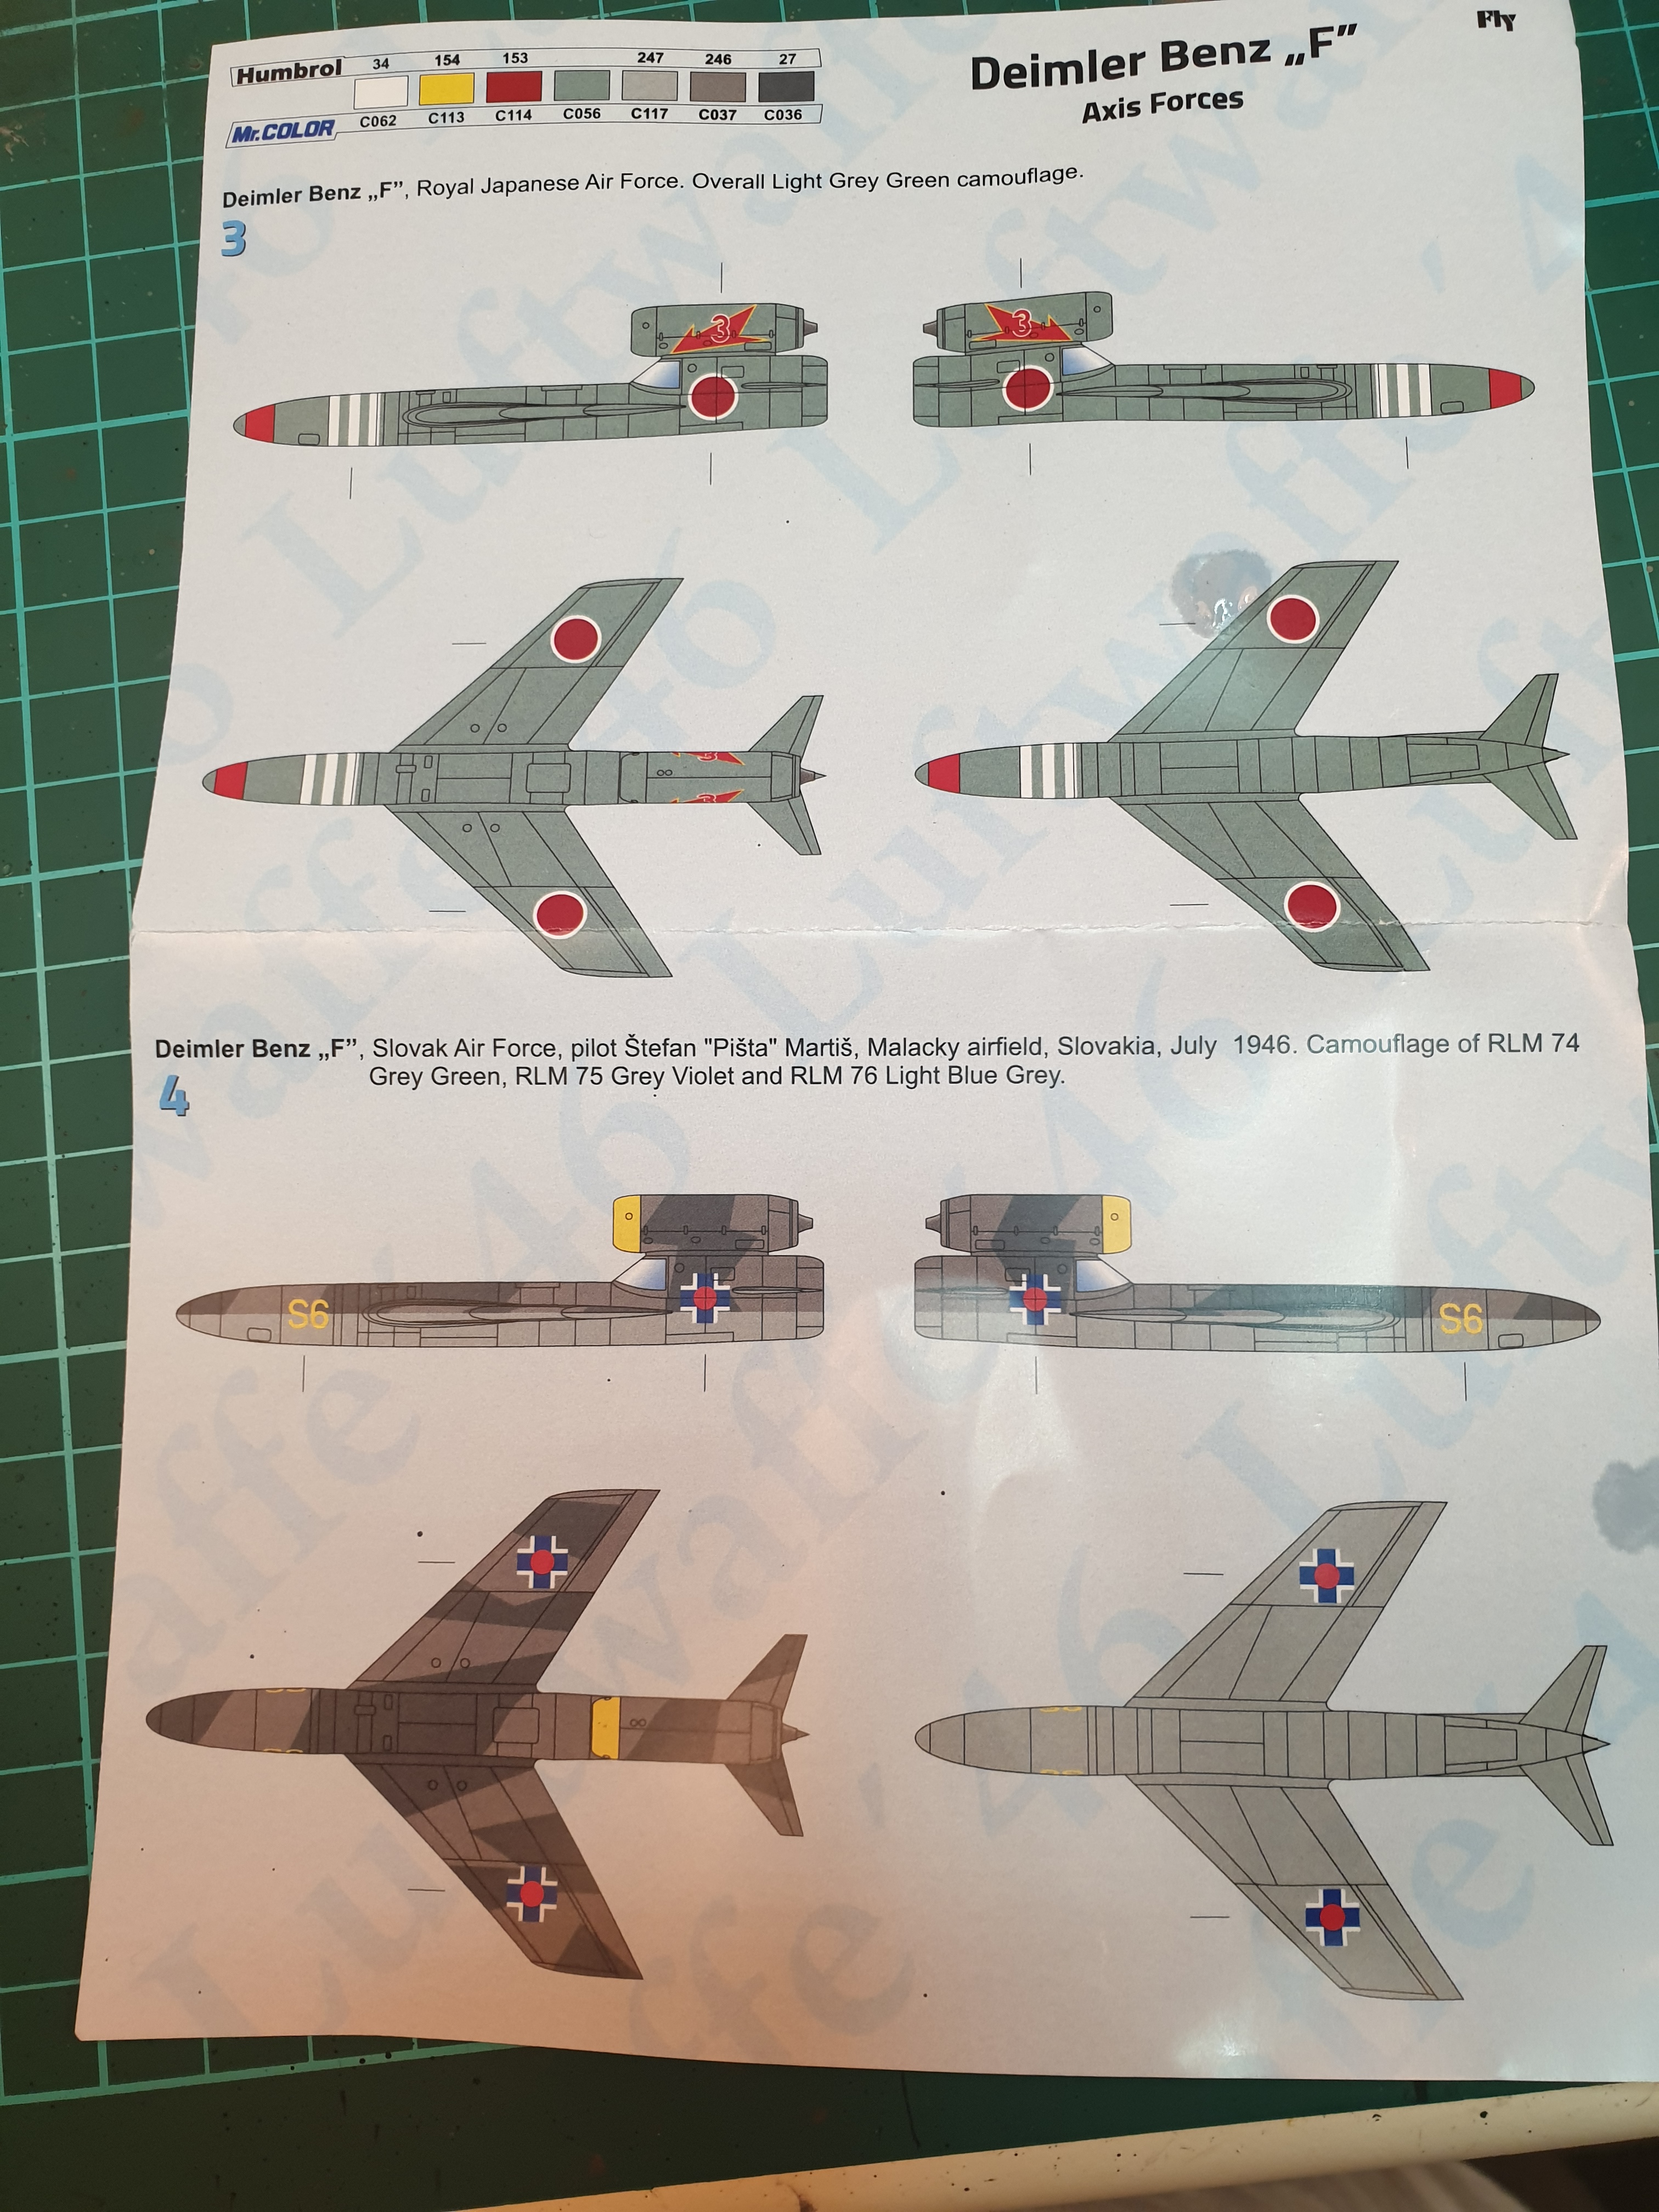
The major problem with the kit is the green tinted canopy. Well in 1947 the Italians in North Africa were flying the He 162 after the Luftwaffe generously handed them over. Trying to get some relief from the sun they tried tinting the windscreen.

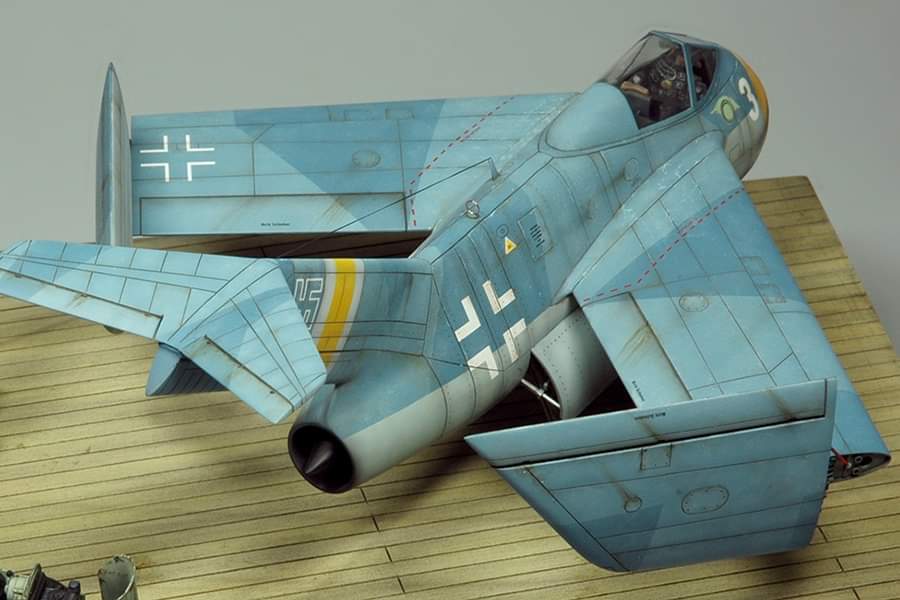
So there. A justification for Dragons stuff up. Colour scheme will be a simple green over grey underside.

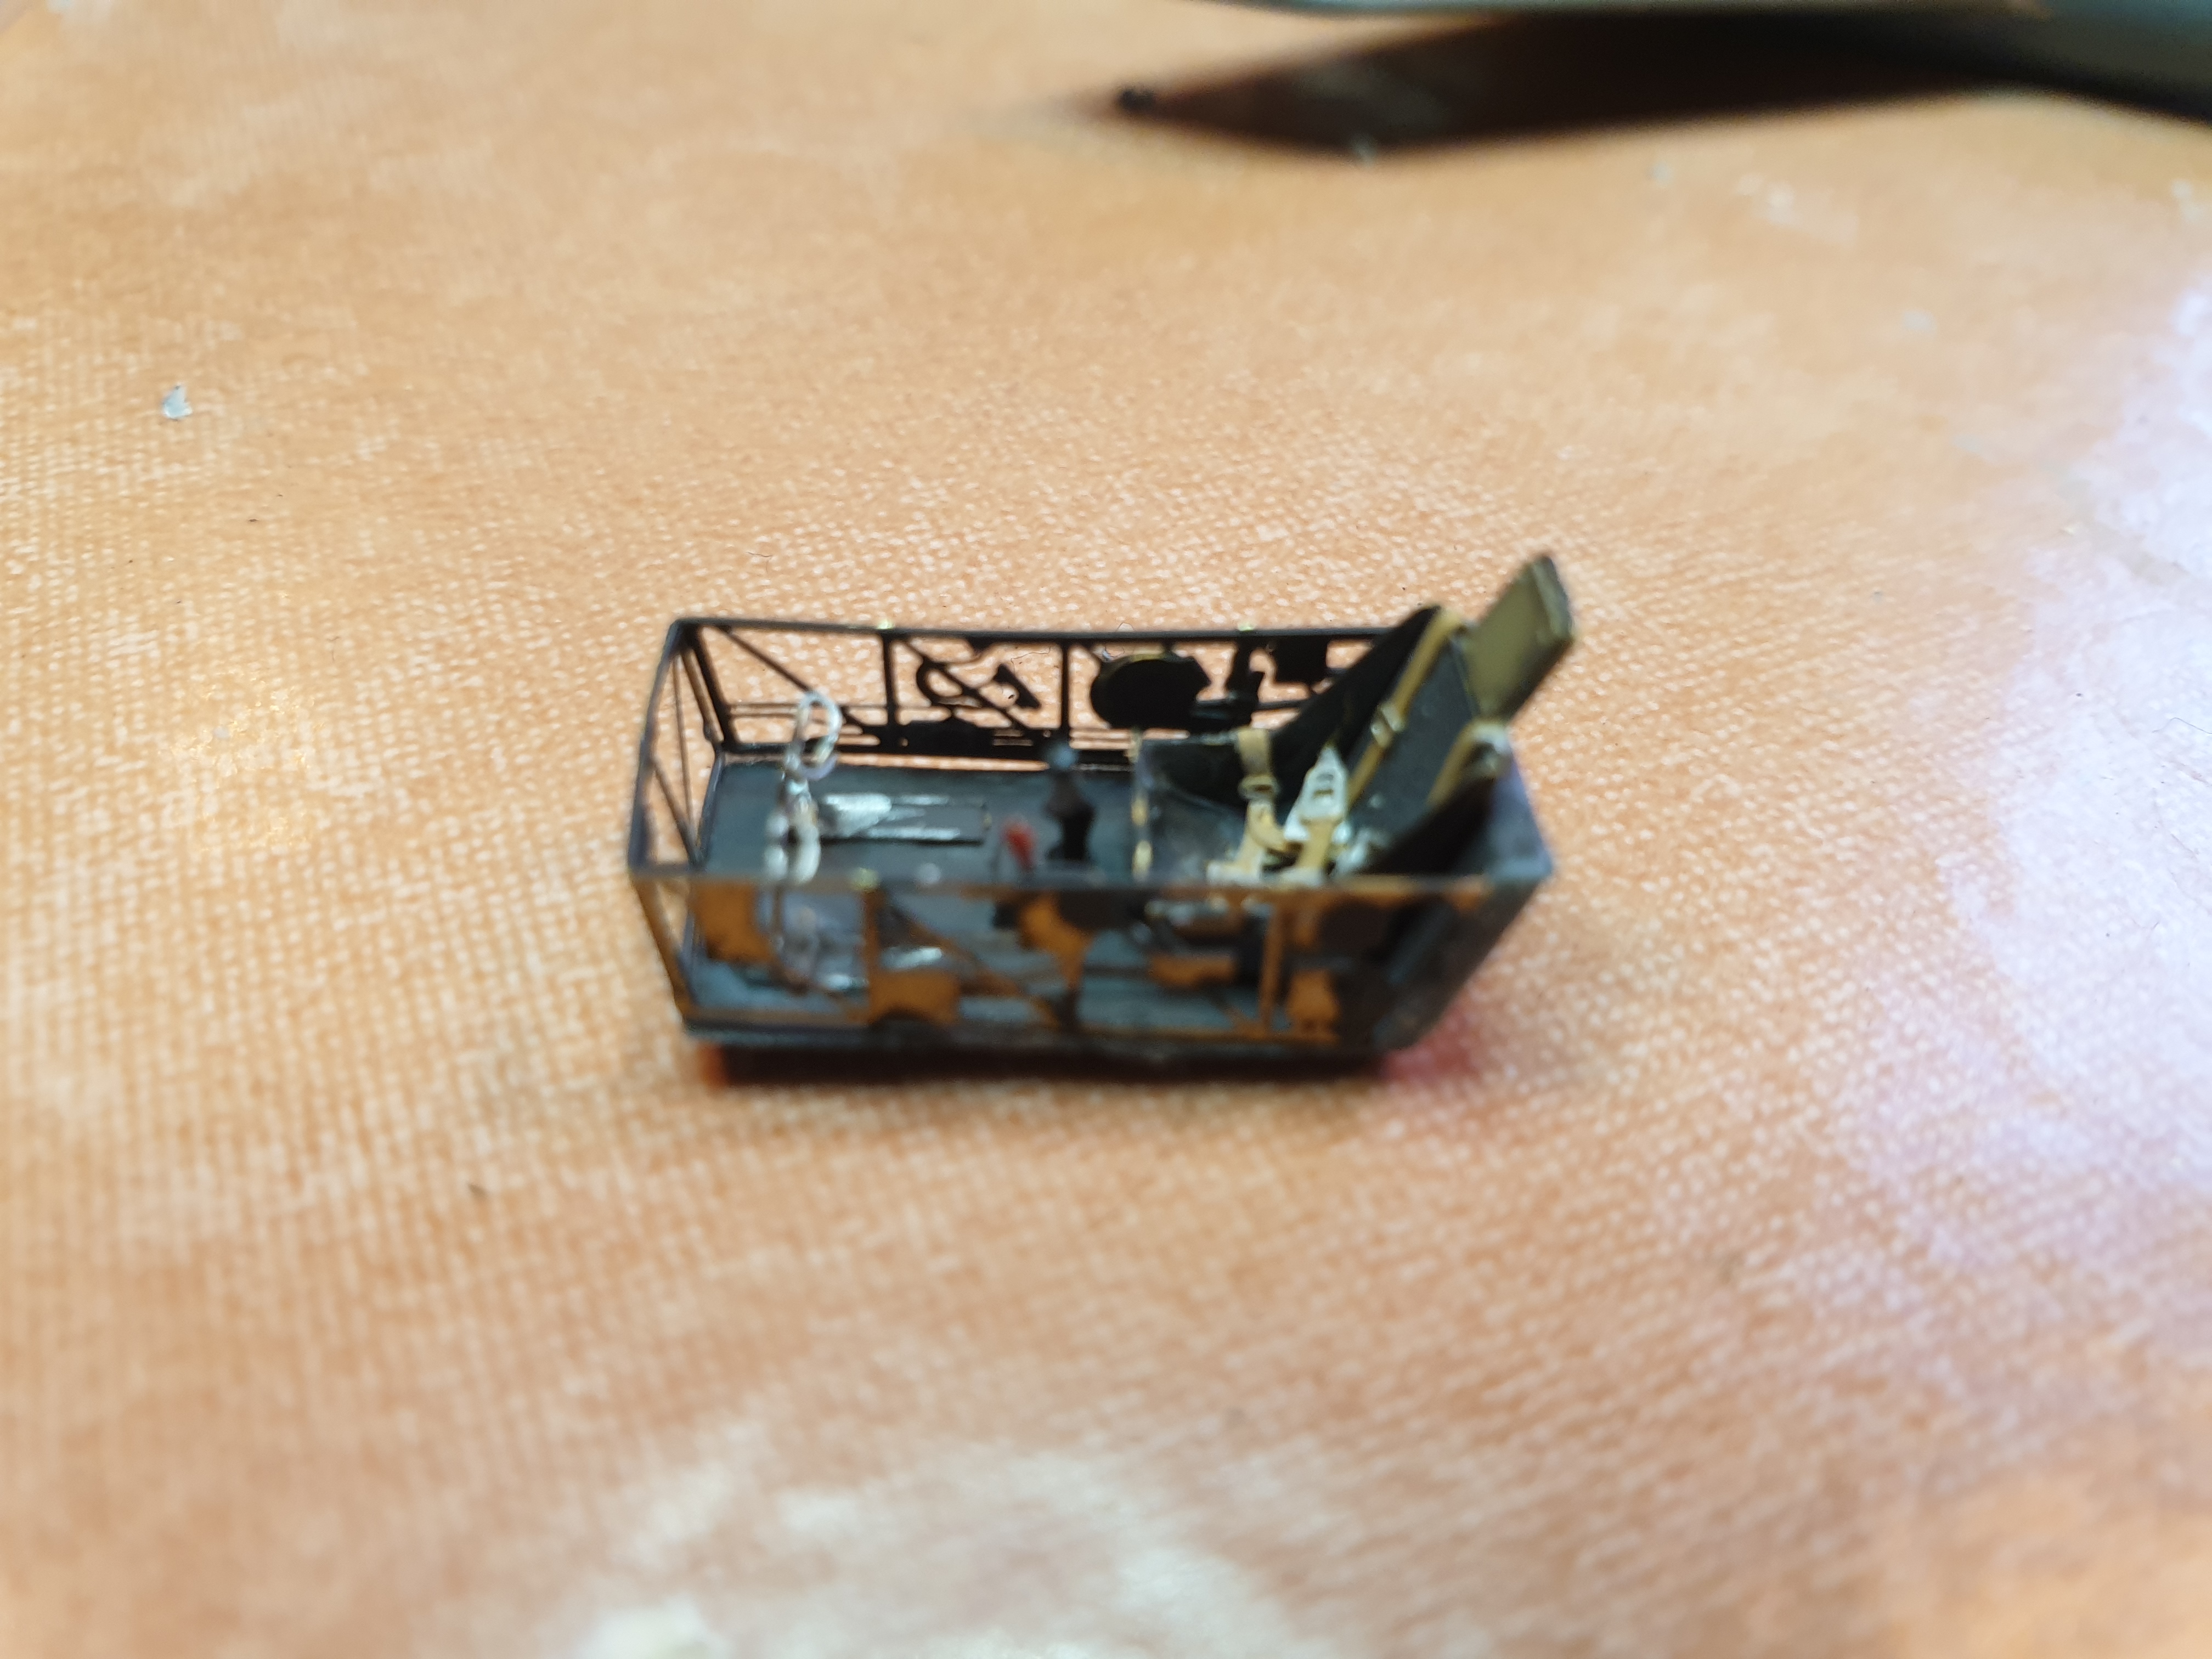
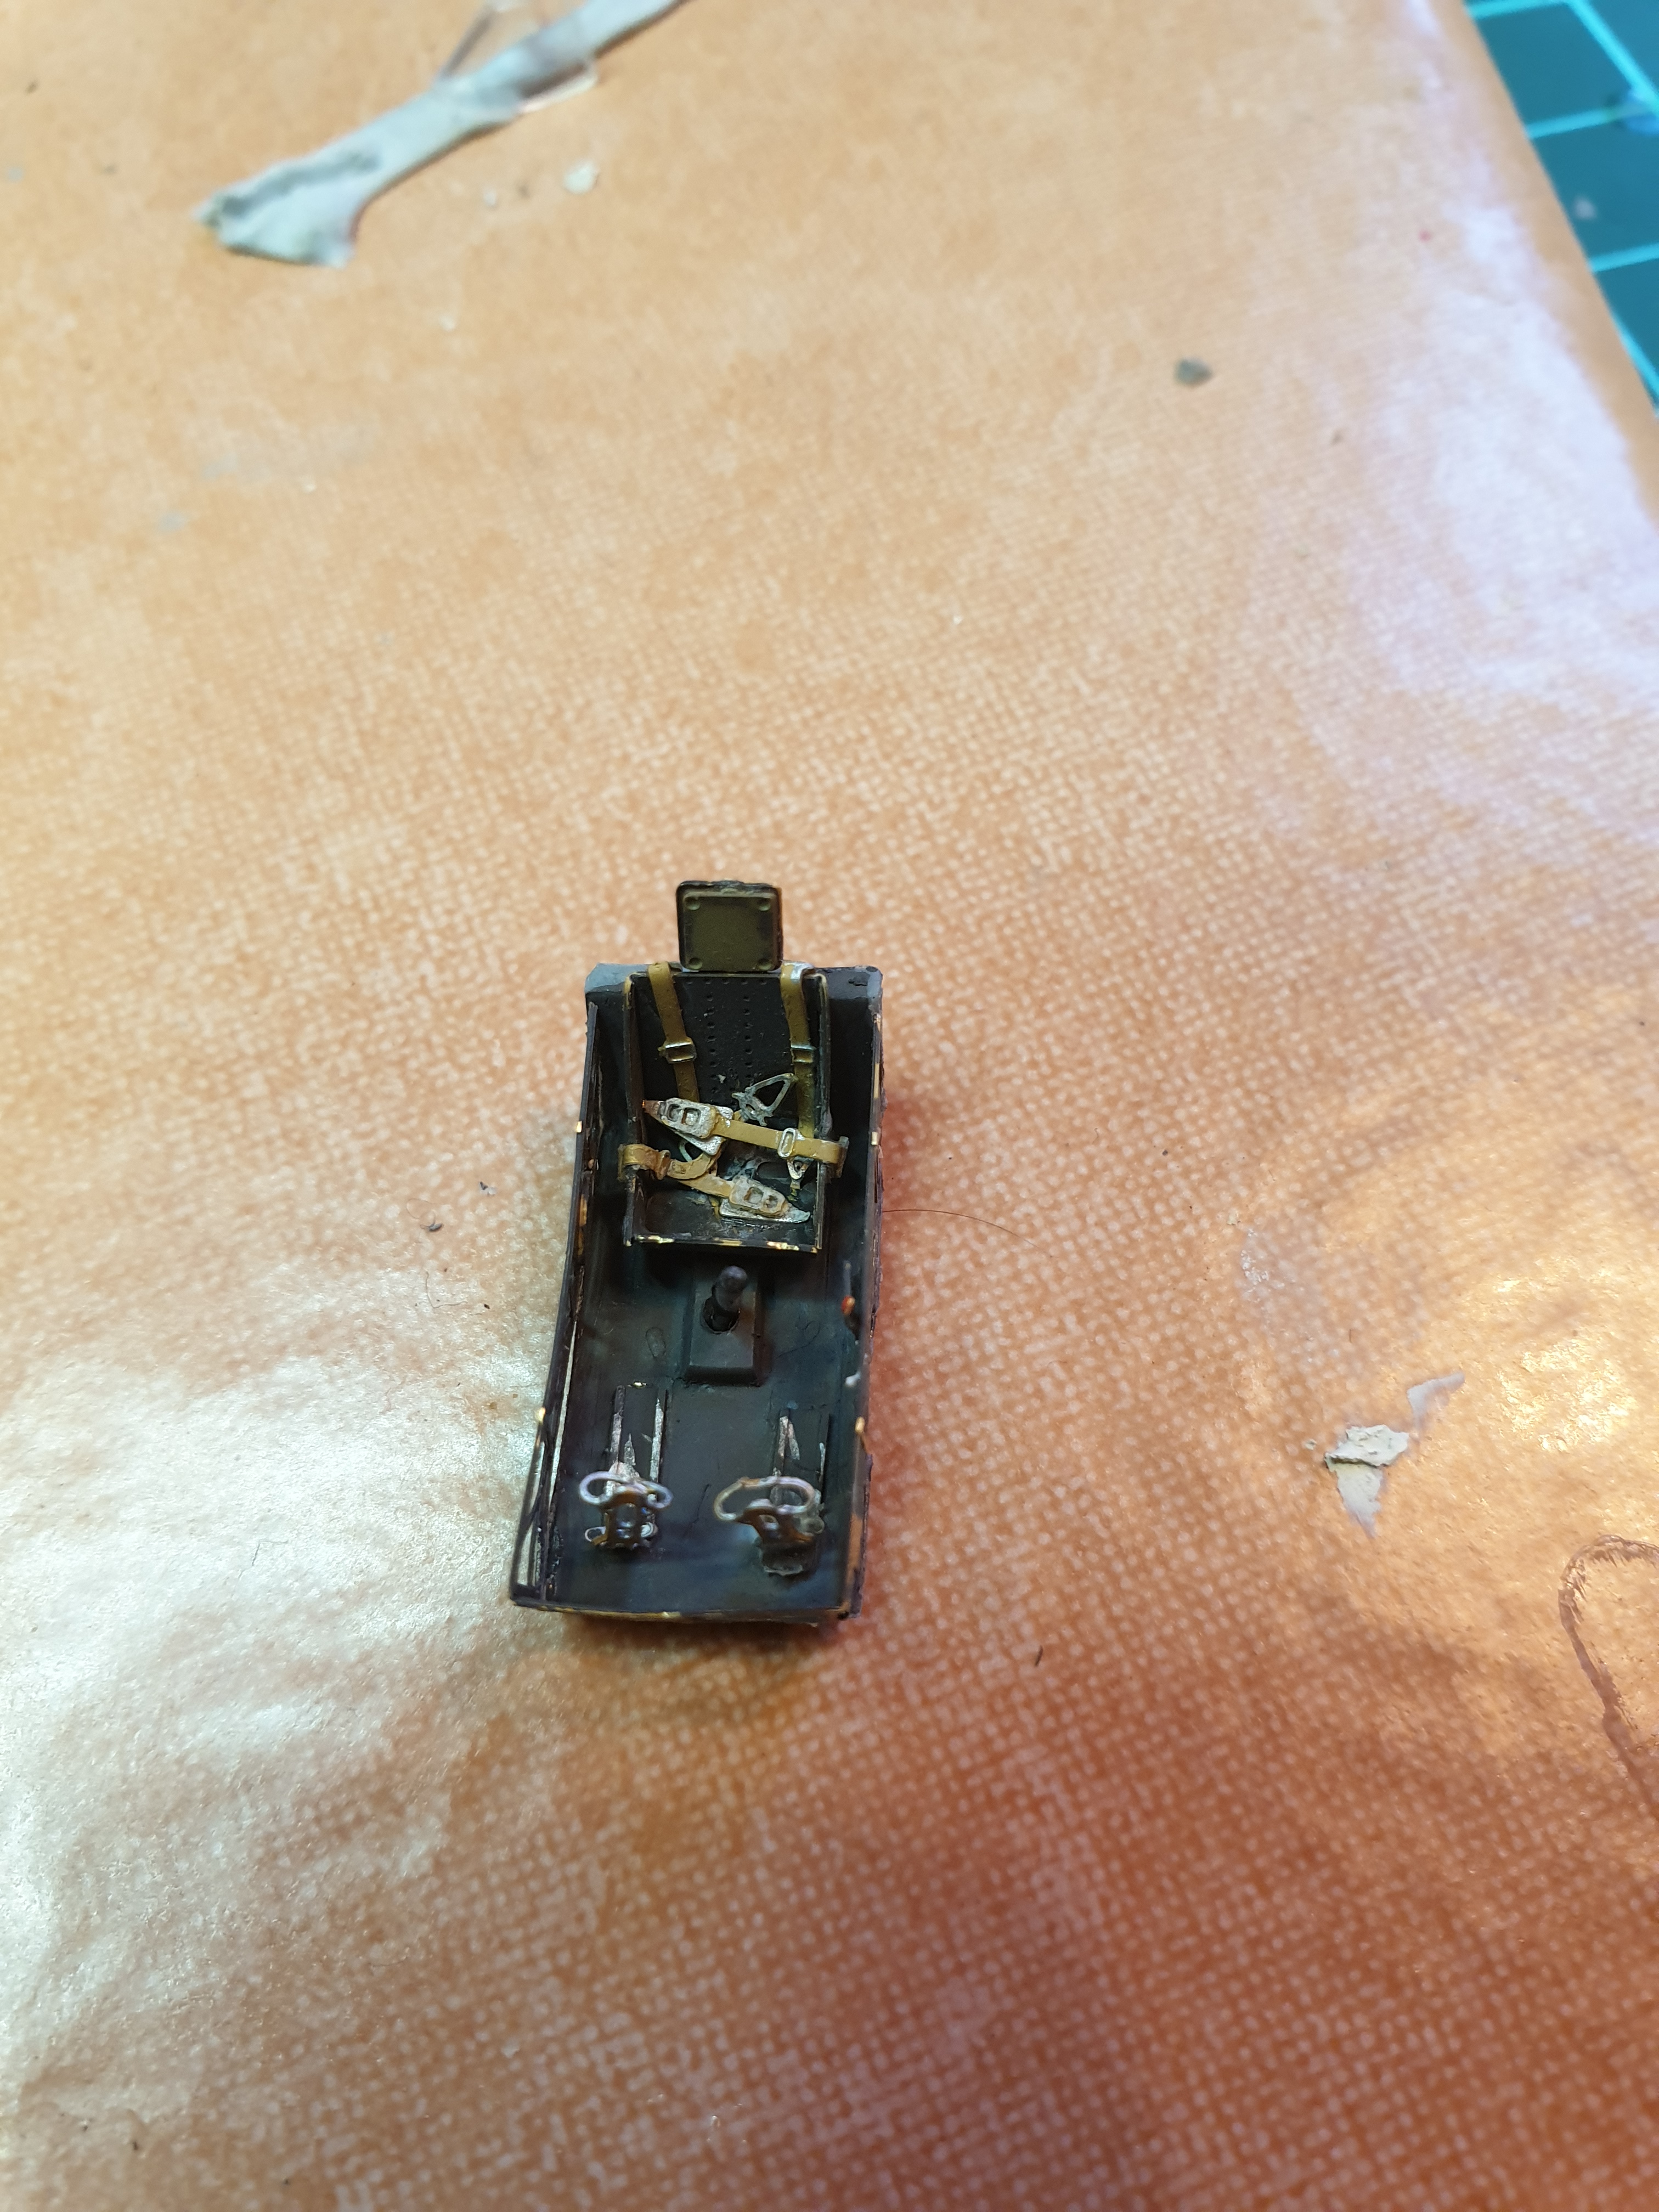
Below is progress so far. Not much as it was nicer inside finishing off the Panzer Wrecks in Berlin book.

FFS even that took 4 attempts to load the photo

I’m back

Leave a comment

Ok back a week now. I’ve done a little modelling on this anime kit. It was stopped part way through the PSR cycle but I’ve dragged it out of the cupboard in the hopes of finishing it. It’s destined for a He111 paint scheme when I get to that stage.

If I get the time I intend to wrestle with my air compressor this weekend as well as a Kora E10 kit.

End of Year Wrap ups

Leave a comment

This year only 2 things completed but still happy as one was the KV2 3 storey diorama. I actually did a little extra on it yesterday to glue down a few grass tufts that didn’t look right. I’m still very happy with this one.

The other kit is the Fly 1.144 Daimler Benz Project F. This is done but not my best work. I made quite a few mistakes on this one so it’s turned out only fair. Photos below. Fitting the canopy due to itse weathering position is a pain.

Also below is the Modellcollect Railway wagon. It looks like a simple build and will be good to practice some weathering skills on. If my idiot brother in law hadn’t turned up 2 hours early for our party it would have been well under way for being assembled. GRRRR!

Anyway it will be something simple to start the new year.

Last up is a welcome visitor unlike the BIL. I’ve long thought I had a second species of frog at our place and this guy proved it. He’s very different to the other more common sort I have. Critical differences include padded feet vs clawed feet which points to being a type of tree frog possibly.

Anyway happy end of year.

In a few hours I fly out and the next post is likely to be from Bovington Tank Museum in the UK.

Some progress

Leave a comment

Ok all three kits are progressing now. Finally fitted the small canopy to the DBF. I’ve rejected the decals from Fly so it will be Luftwaffe.

Minor progress on the two BV Ae607s. There will be one more post till Christmas then I’ll be quiet as I’m on holidays.

That moment….

Leave a comment

when you have spent hours trying to get the cockpit and exhaust to fit properly on a plastic kit and decide you can’t face doing it a second time.

You then dig out the resin kit done years before by the same manufacturer and realise that they have straight out copied from their earlier resin kit but worse the cockpit and exhaust areas were handled better in the original. So now for the day fighter version I will be doing the resin version and where appropriate I may use some of the plastic kit parts.

Definitely Limited Run

Leave a comment

By this stage I am convinced the Ae607 kit from RS Models is definitely limited run. Why …well a number of things. The cockpit assembles adequately until you get to the seat. This is overly large and when fitted will not fit under the canopy. I replaced this with a Eduard German seat and Airwaves seatbelts.The real shocker is the exhaust. This is just plain too big. I’m still fettling it and there is more to come. For the second one I think I will use some plastic tube and the engine rear only. The mounting plate it is on is useless.On the DBF front it now has primer on which isn’t too bad considering not a lot of modelling was done.

Progress report or the PSR report

2 Comments

Some photos of all kits under construction. The DBF is nearly ready to prime except I snapped off a tailplane during the PSR cycle so it will be Milliputed tonight when the garage finally cools down from the peak of around 37C.

The 607 NF is also up to its next PSR stage but I want to fit the exhaust and then putty. The area around the cockpit coaming with Milliput on it is a self inflicted error with overdoing the Tamiya glue causing the plastic to be eaten away, should have used superglue instead?

The 607 day fighter has the etched brass cockpit done and is ready for more work.

Etched brass

1 Comment

Pictured below is my tool kit for etched brass work.

The tools are arranged left to right with the ones on the right being most useful and those on the left being least used and useful. The tile is also essential to cut out the brass on with an ordinary blade.

I forgot to add in a thin steel ruler which would fall around the middle. I know those folding tools on the left were a big craze a few years back but I’ve found them tricky to use precisely myself.

Your mileage or kilometrage may vary. It’s funny but as an Australian the metric system was introduced when I was 11 and I still use both systems in everyday life

BV Ae607 RS Models

Leave a comment

This is one many of us have been waiting forever for. RS did a resin version back in the 90s which was well liked but of course was not bought in huge numbers being resin.

The plastic version was long promised and I had just about given up on seeing it ever given how long it was in their catalogue as coming.

The kit is typical short run and comes in both a day and night fighter version so I bought one of each. The day fighter version will have a detailed cockpit etc from NH and be on its u/c and the night fighter version will be basic detail with 2 added Schrage Musik guns and no X-4’s and in flight mode.

The decals are mostly out of register but otherwise it looks ok.

Preliminary work can be done via lots of painting of interior details. The main body needs a quick sand as the surface is slightly pebbly in feel.

I also replaced the two part engine intake with a small length of brass tube to avoid having to sand the job.

I bought a few paintbrushes as they were 50% off.

Back to basics

Leave a comment

After a bit of an average year for not finishing kits I’ve picked up the FLY 1.144 Daimler Benz Project F.

This is a small simple kit with the instructions on the back of the box and a nice sheet with some suggested colour schemes for Germany, Hungary and Japan.

Assembly is easy but you may need a little filler on various joints if you are like me. The simple canopy is small but will require some fettling to get it to fit.

Older Entries Newer Entries