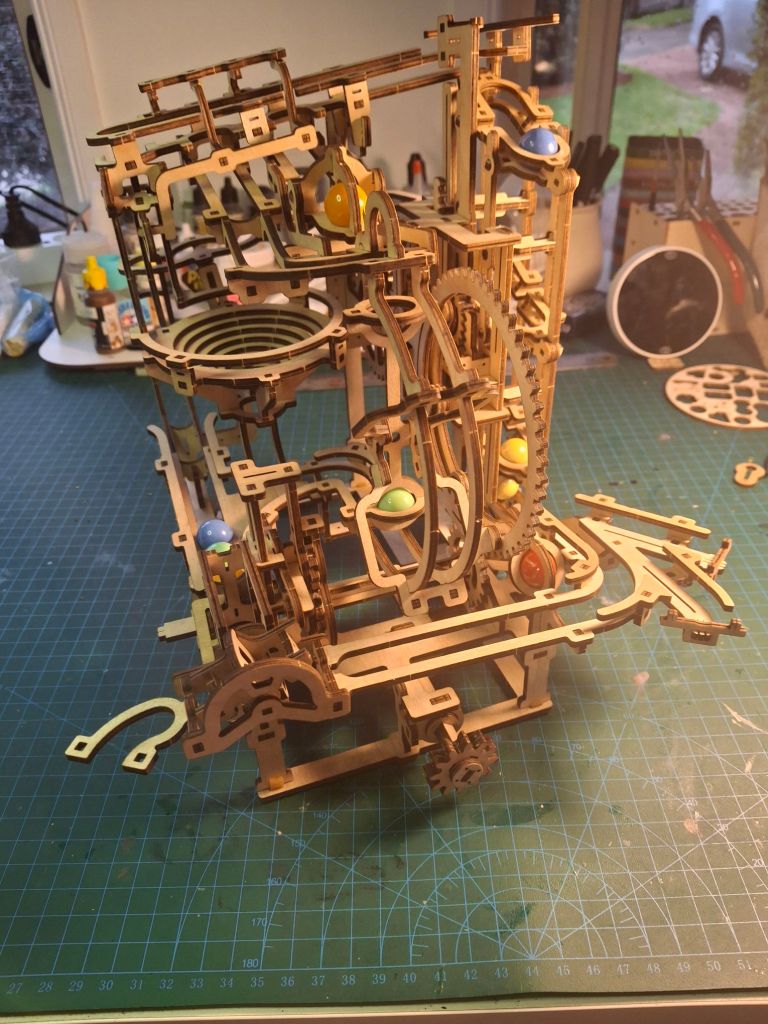
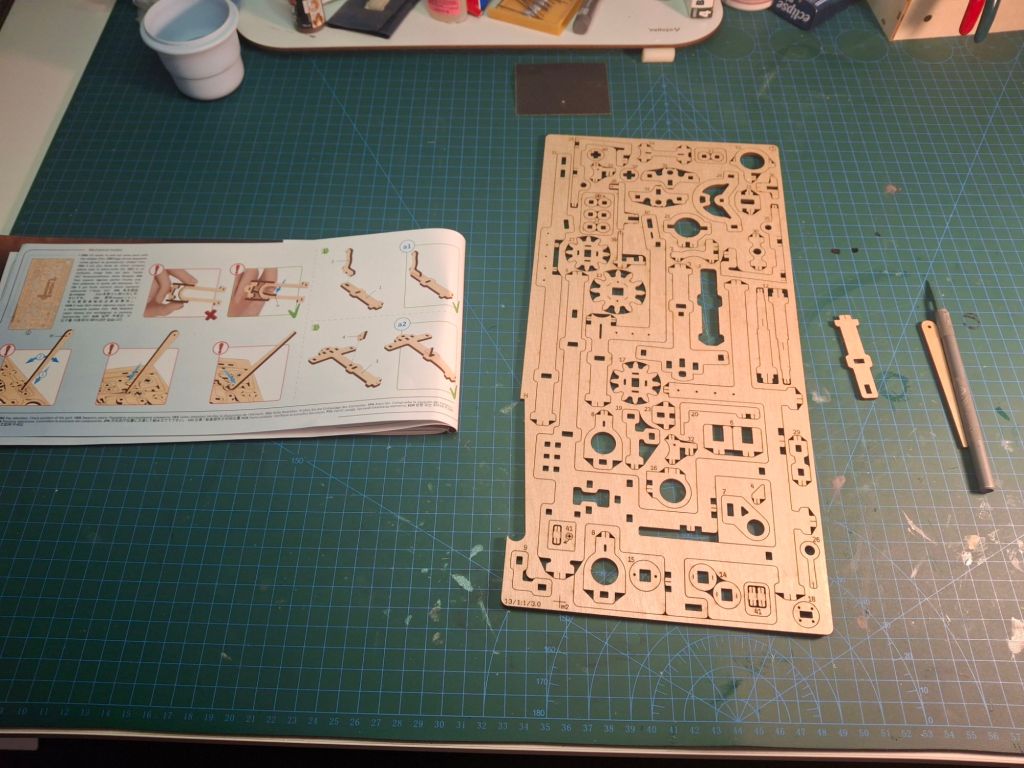
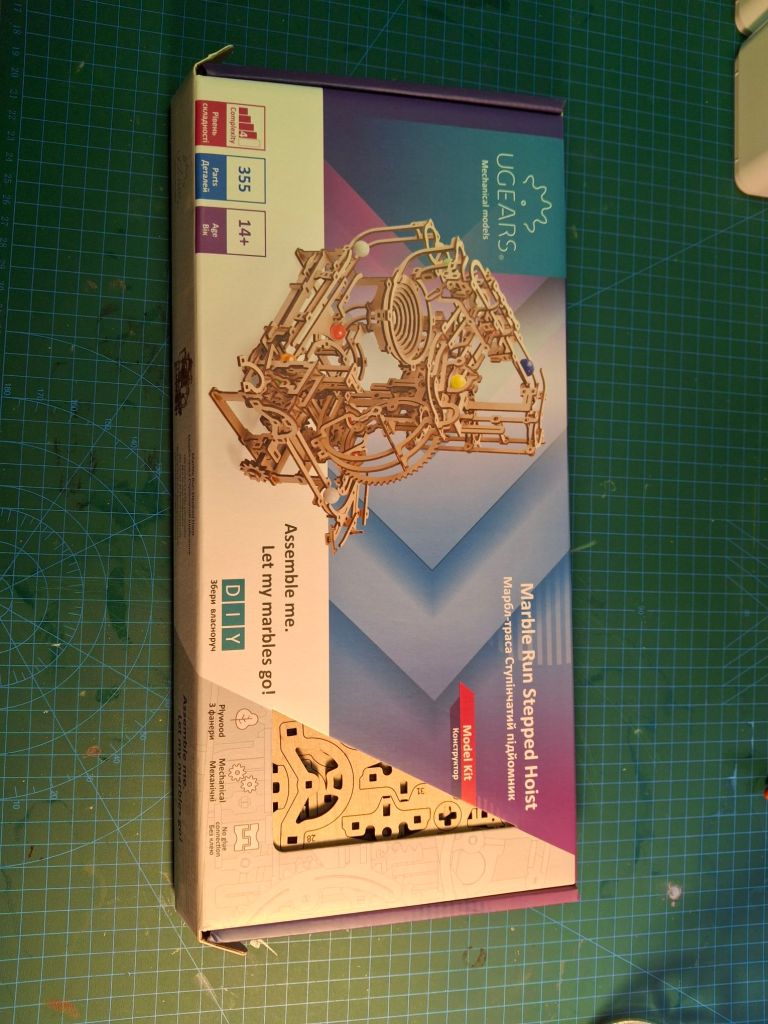
A few days ago I finished my first kit for the year. Now this is not my usual fare. It’s laser cut wood with over 300 parts over eight frets. This has been overall a fun kit with some fit issues. I made one mistake that I repaired with Milliput so that’s a very typical kit for me.
The kit is a marble run that works by cranking a handle and runs through a few cycles to add2 interest. It’s fun cranking the handle and watching people’s faces as it cycles through.
Not my usual fare but good fun as a pallette cleanser and now I’ve finished my first kit for the year. I’m still yet to start practicing my airbrushing but I need cooler weather as it is in my garage.
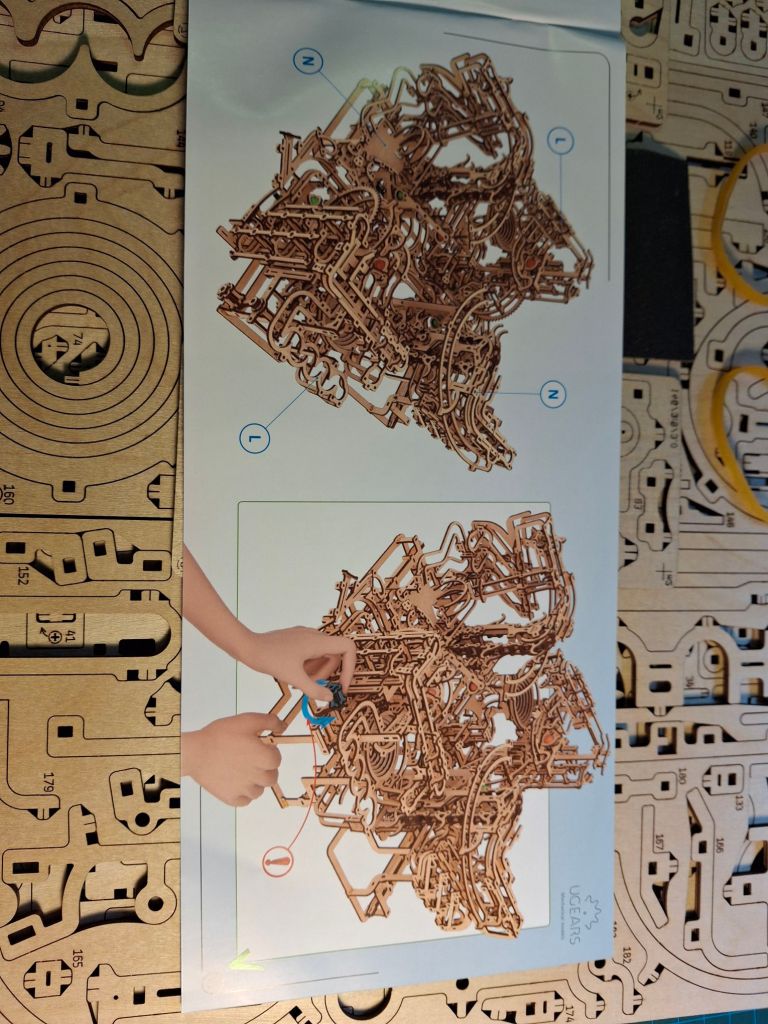
Nearly finished at this point but a different view.
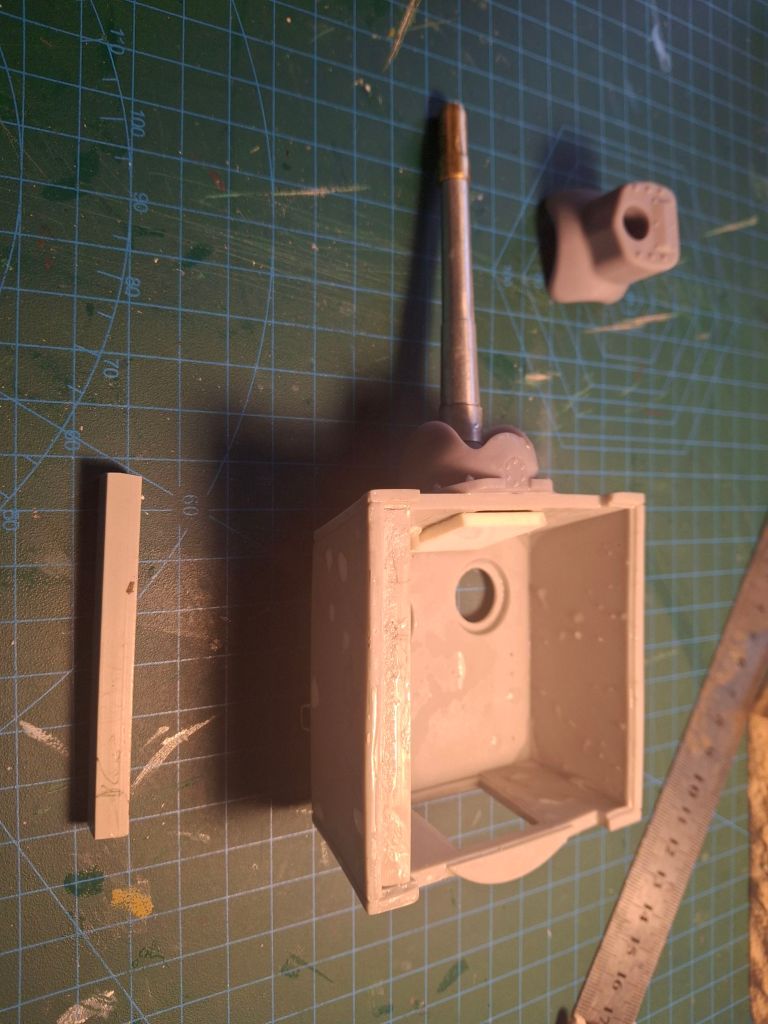
I’ve wrapped up work on both the KV related turrets I was working on. At least for the pre painting part.
Both being resin had issues around straightness and required hot water, some brute force and a bracing piece of Plastruct to move against. Some serious sanding with a 320 grit sanding stick was also required for the second one.
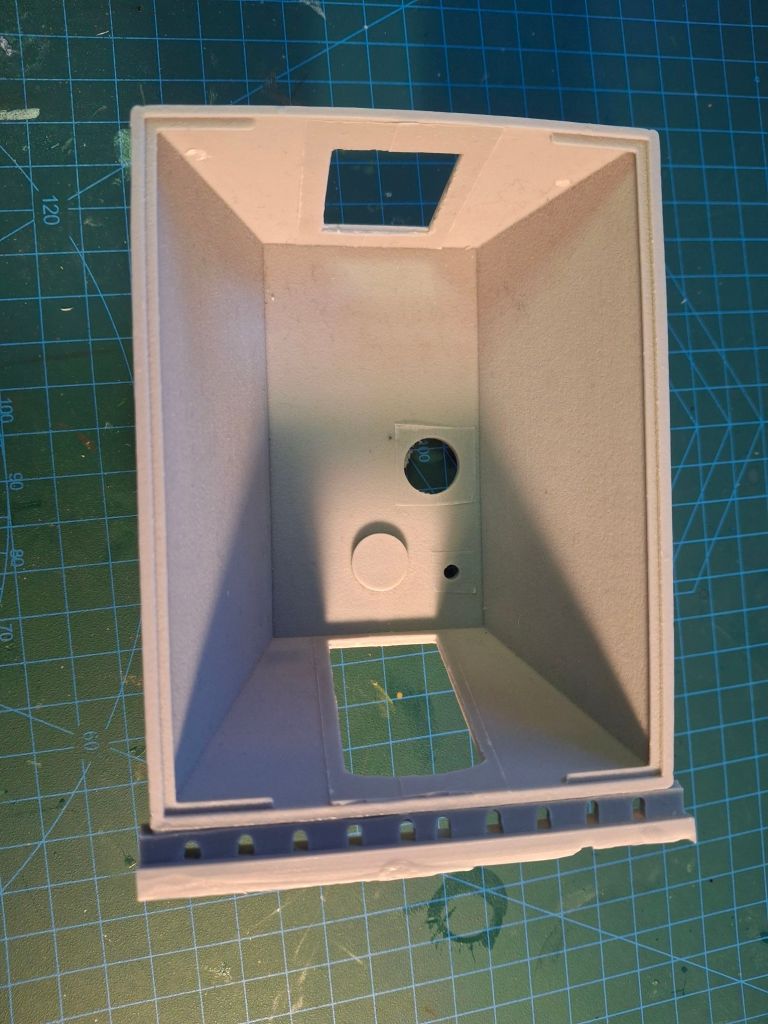
The first one is also now finished . It actually required two attempts as I needed to remove the bottom centre section which was fouling the plastic strips on the underside of the turret. Some PVA was applied to ensure the underside gaps were filled.
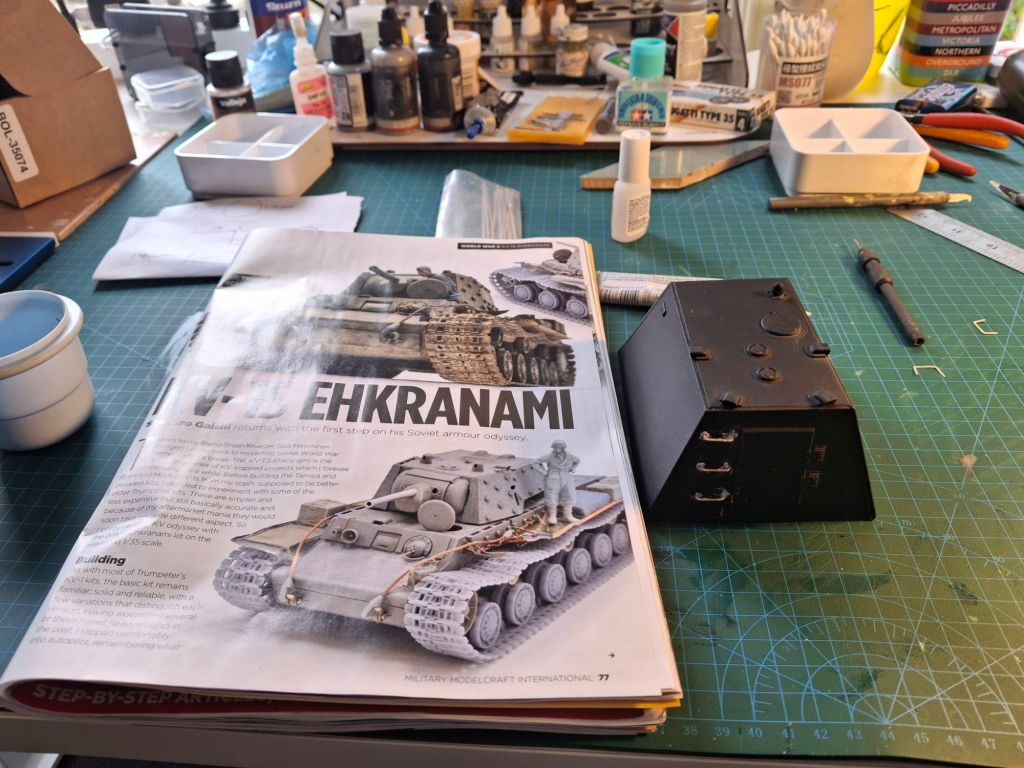
I’m now getting stuck into wood construction kit I got as a Xmas present whilst I watch some airbrush YouTube videos to get ready for painting the big turret KV1 next week.
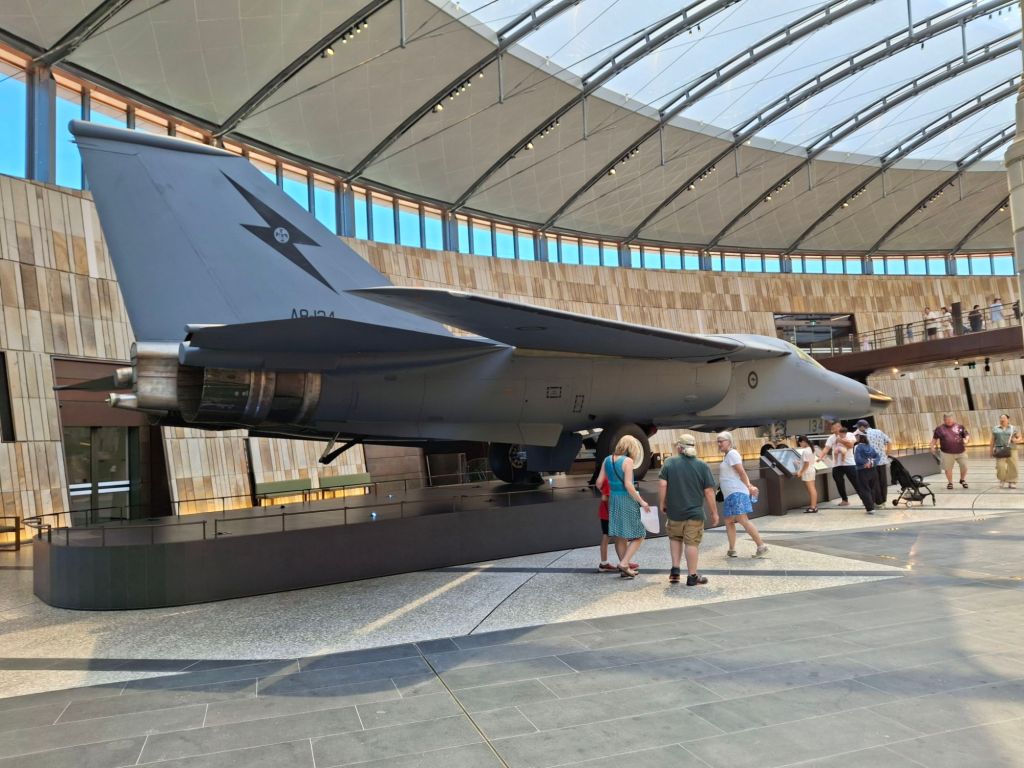
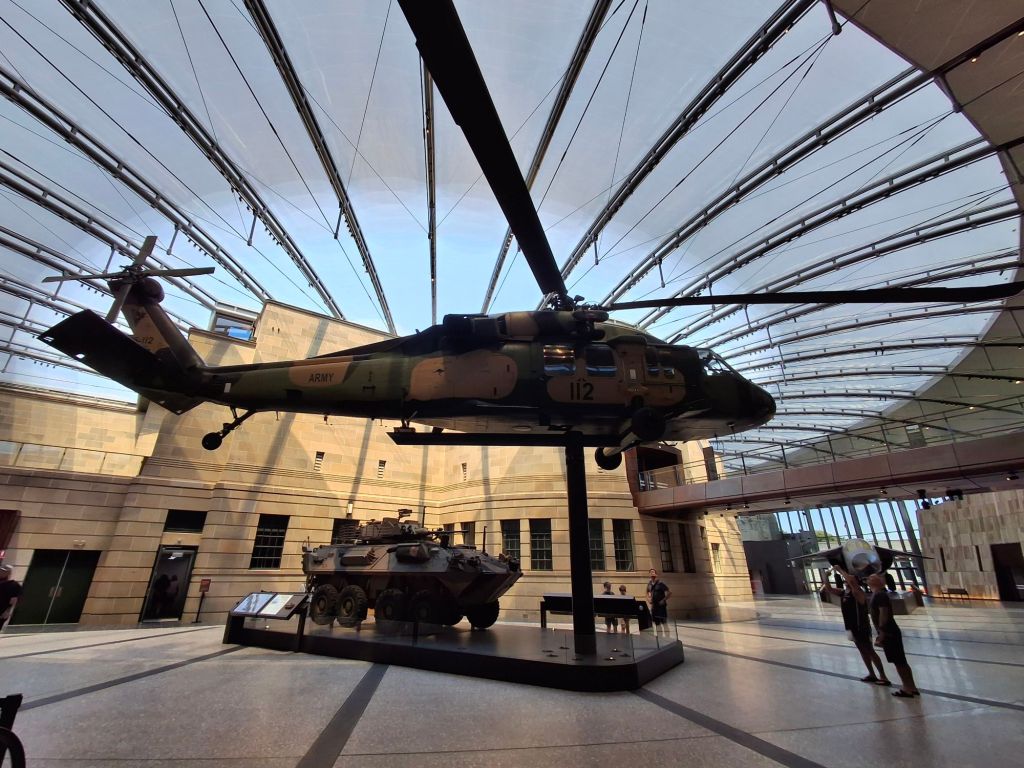
And lastly a couple of shots from the Australian War Museum in Canberra. When the renos are finished next year all the aircraft should be back especially the Me163 and 109 but the F111 and Blackhawk are nice in the meantime.
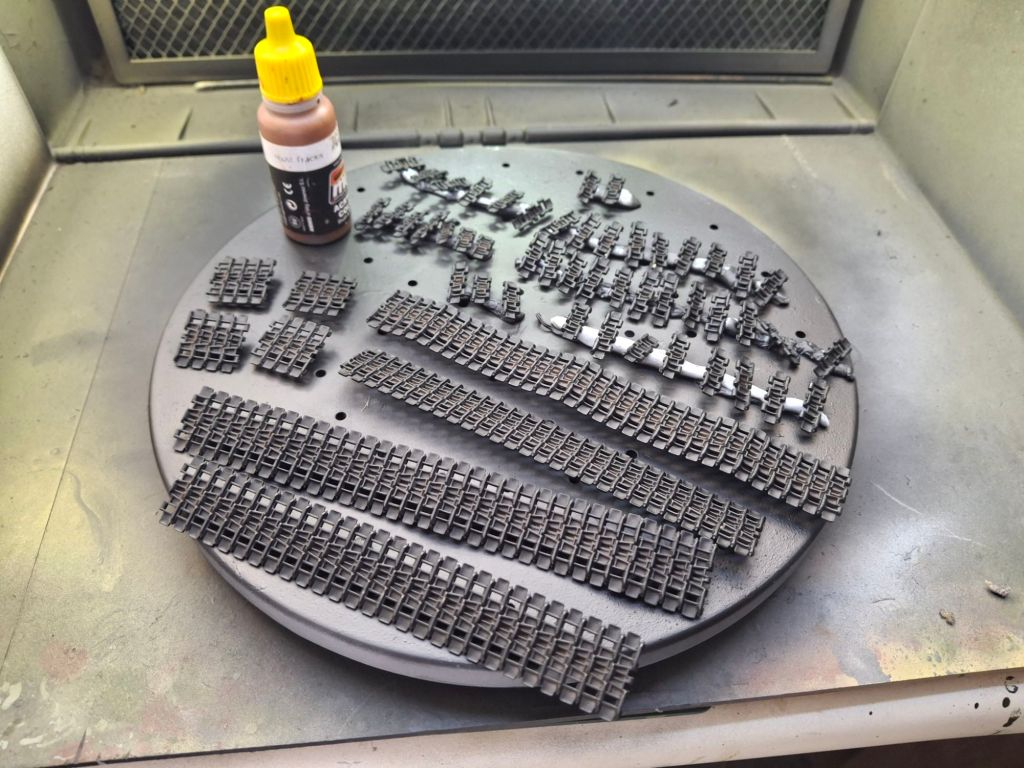
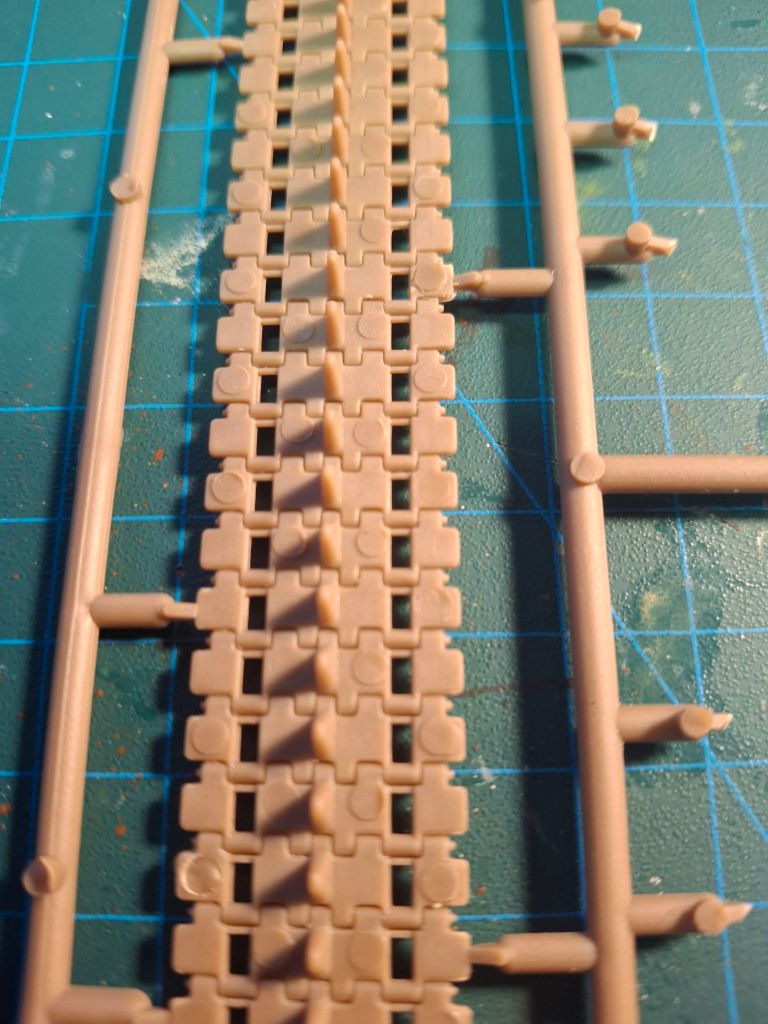
I’ve sprayed one side of the tracks so far and if not for being so moist today I would have done the other side.
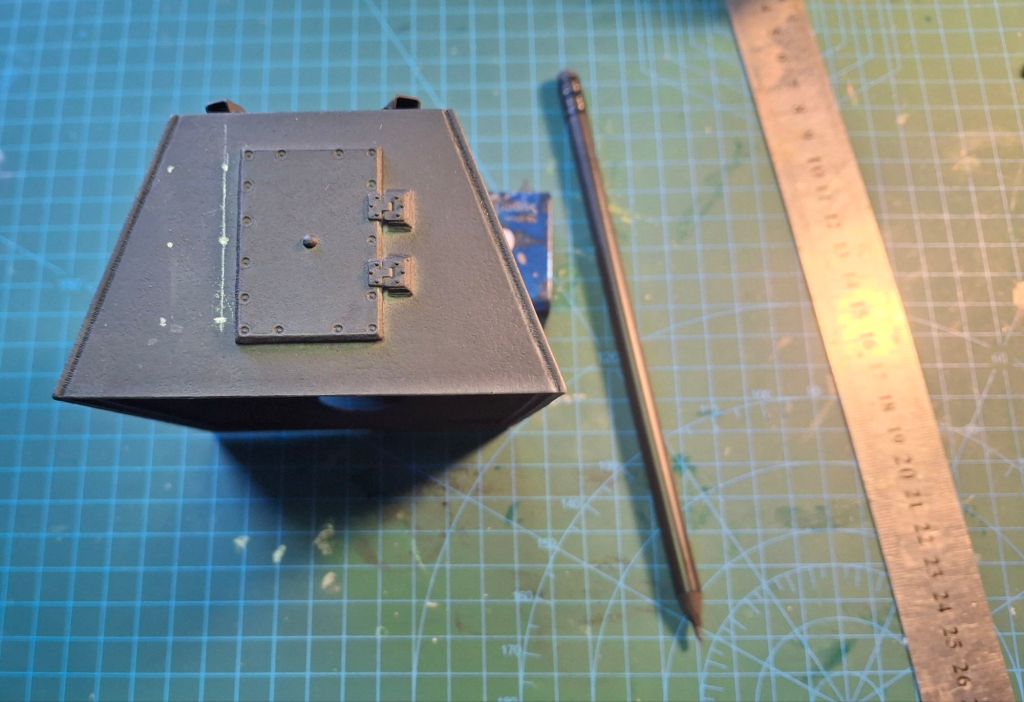
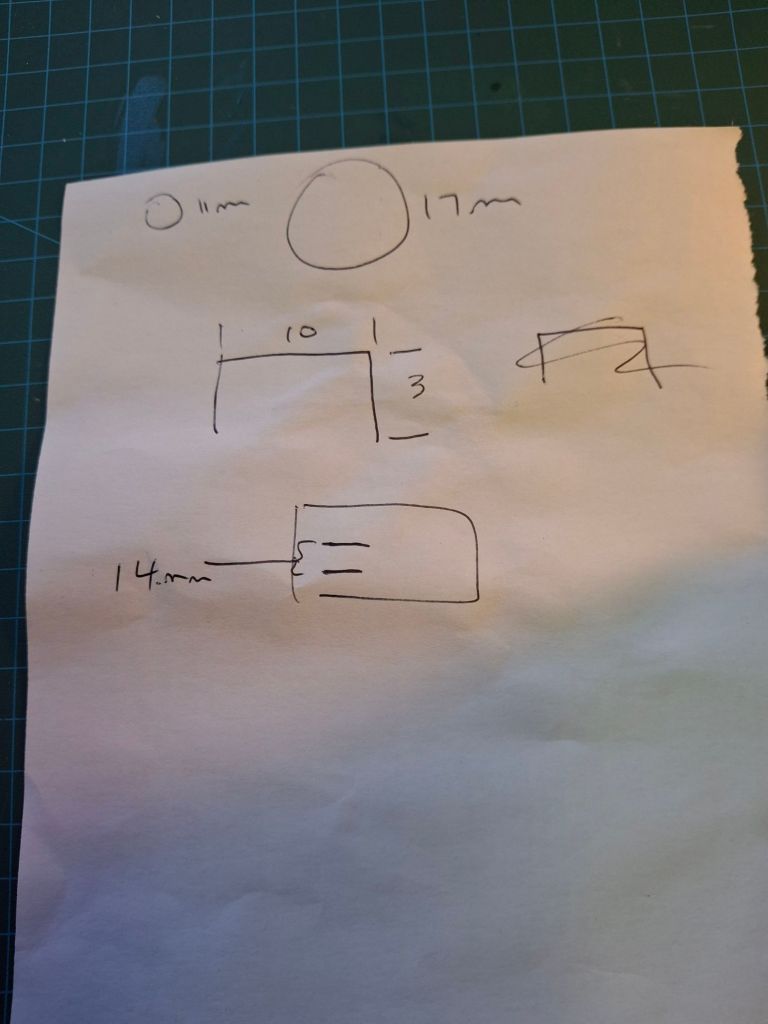
The turret rear has been pulled into line agaist that bar and a new top step done.
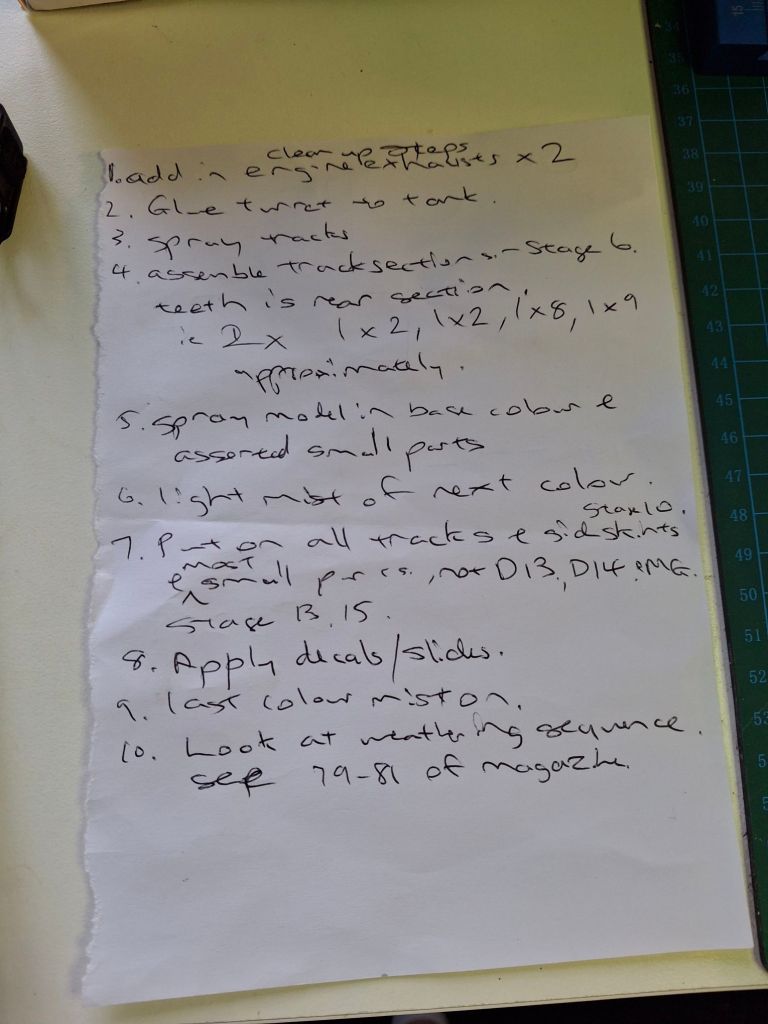
A set of steps for construction and painting has now been mapped out so that this can be completed.
I’m in Canberra for a few days so not much progress until next weekend. I hope to see the War Memorial and take a few photos.
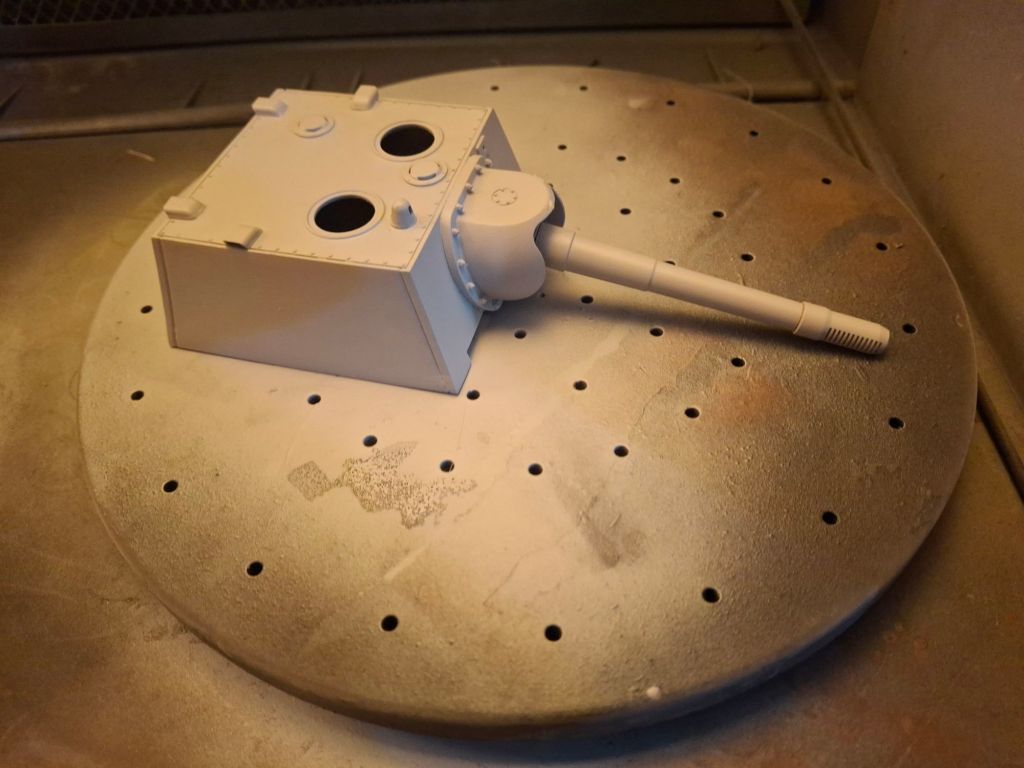
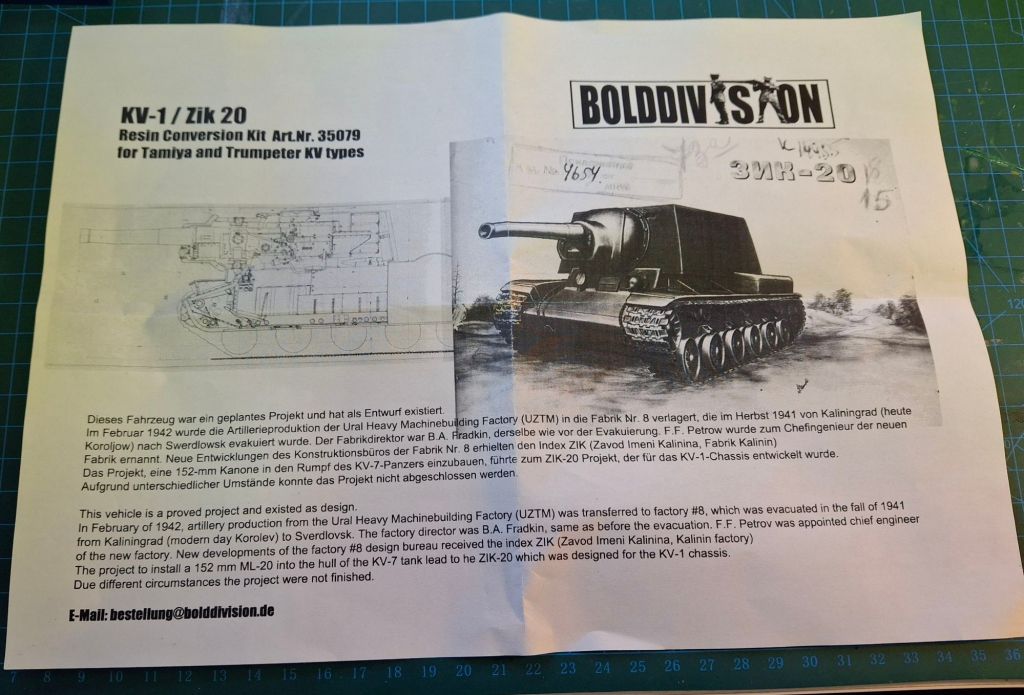
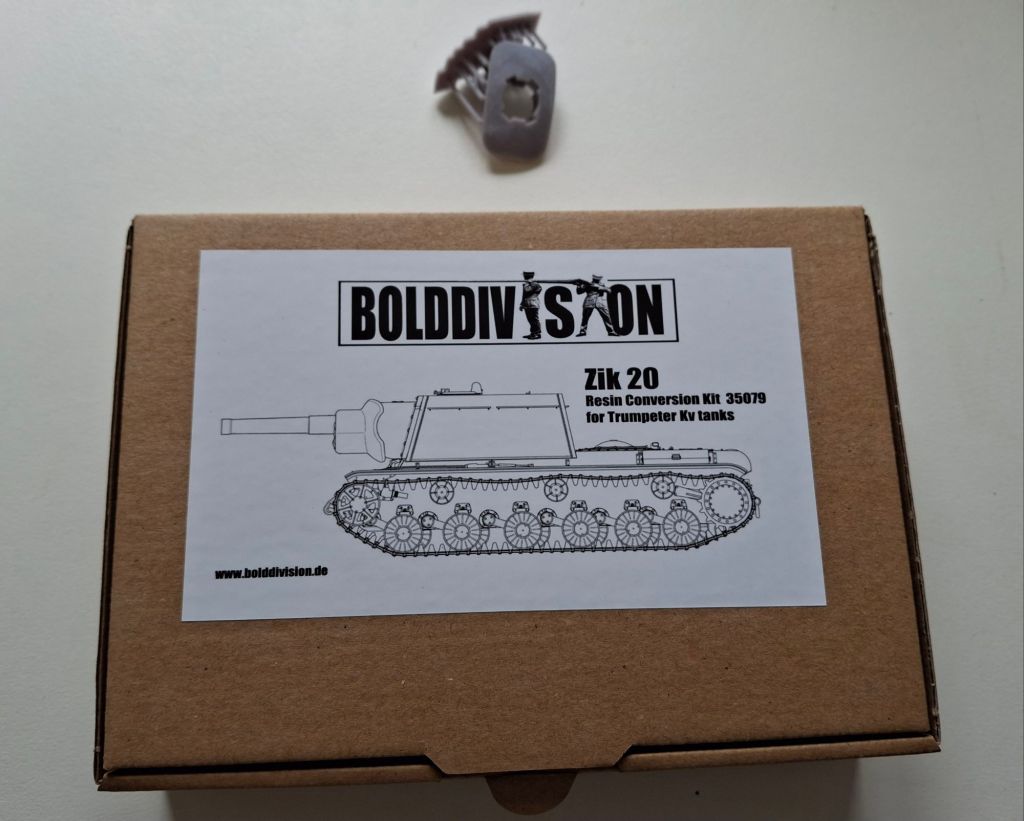
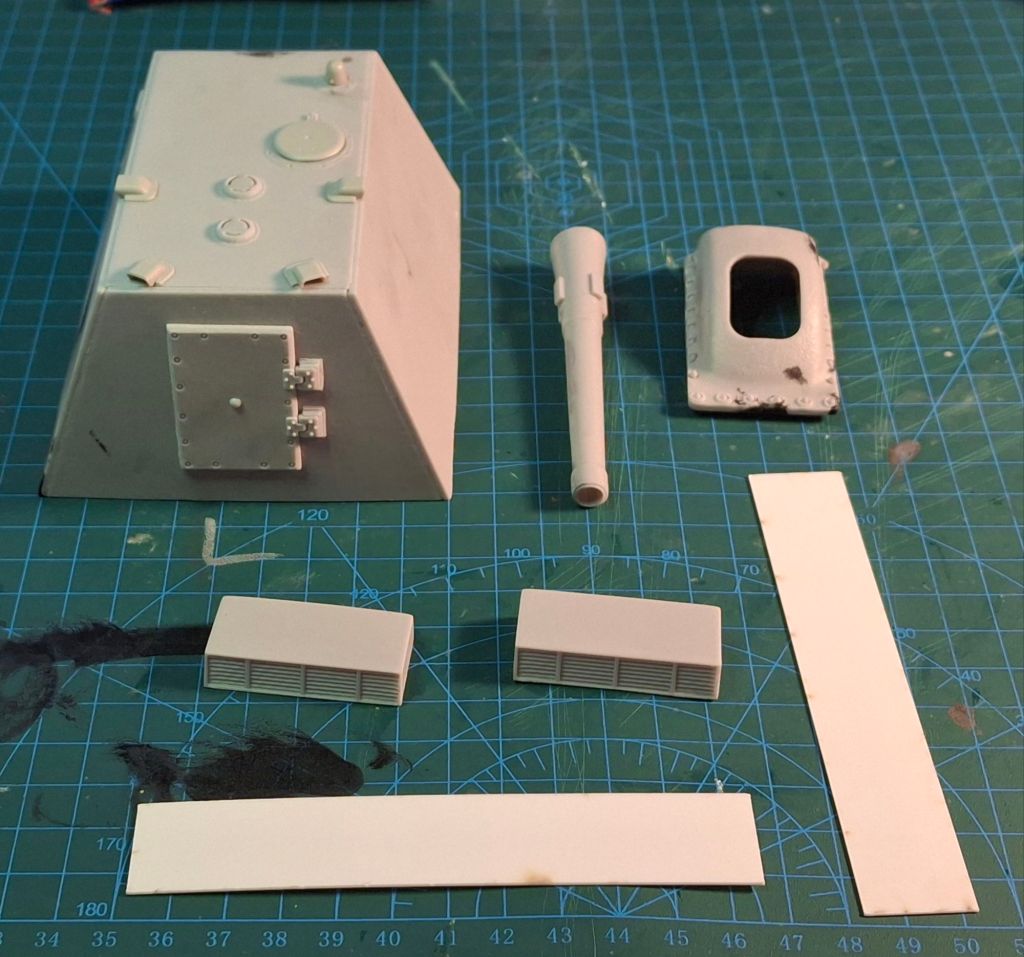
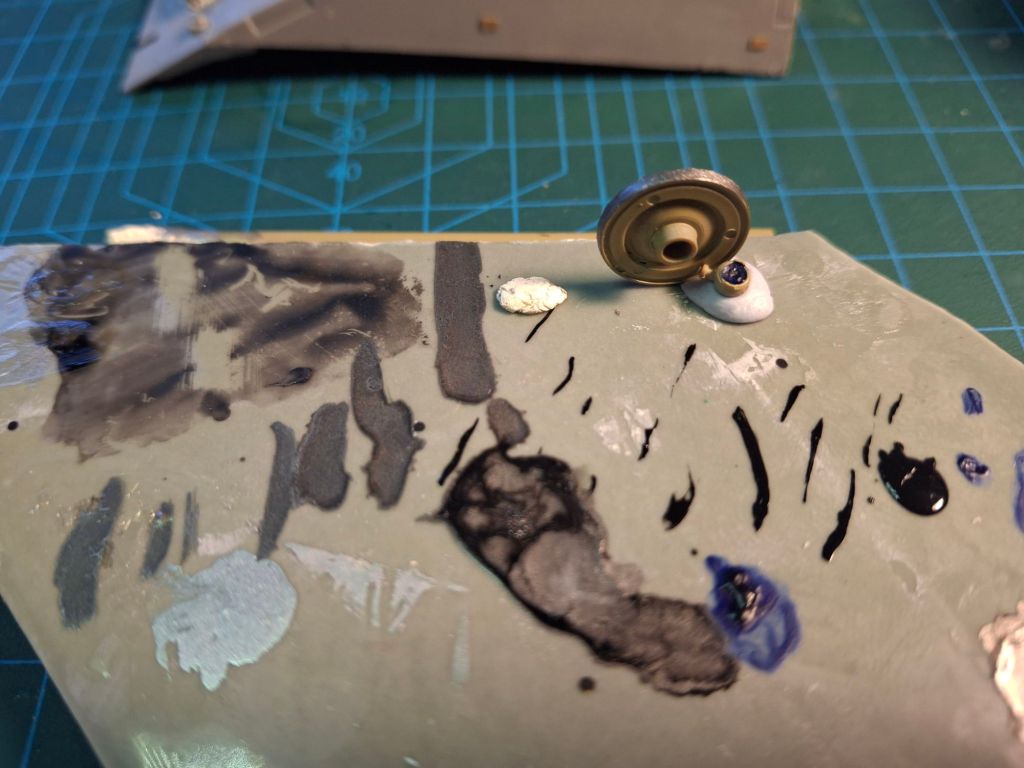
In the meantime whilst giving the turret time to set the Ziv20 conversion has also been dug out. As much of this is again cleanup its a good space filler whilst waiting on paint/glue drying.
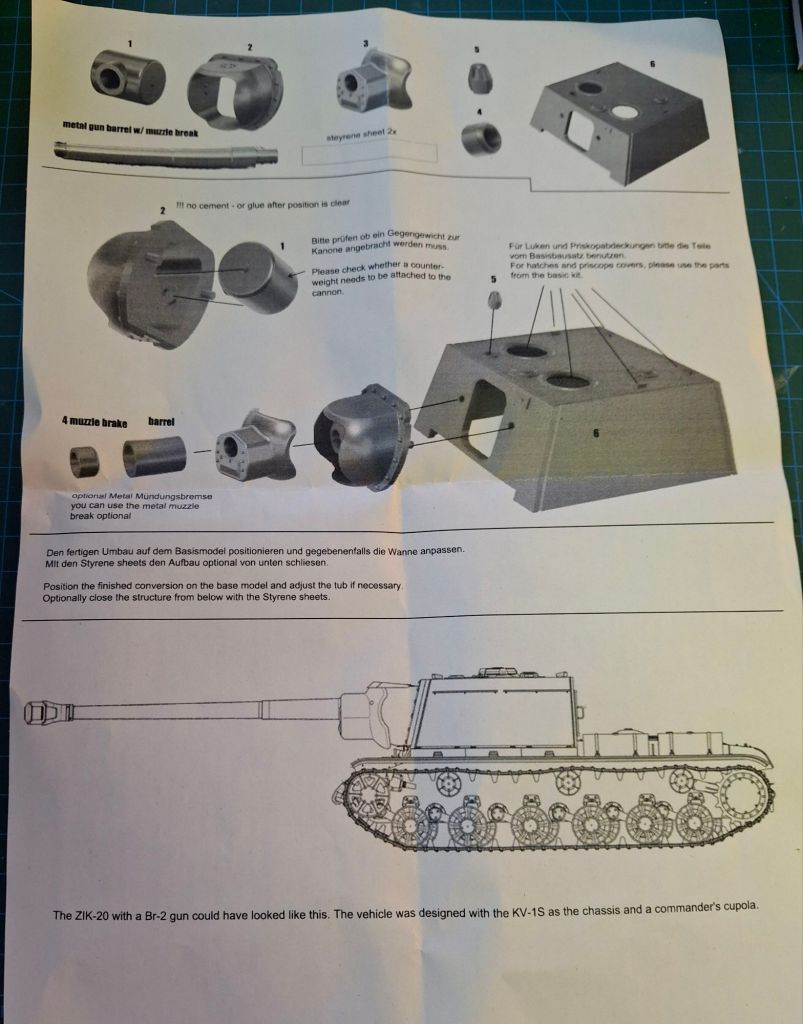
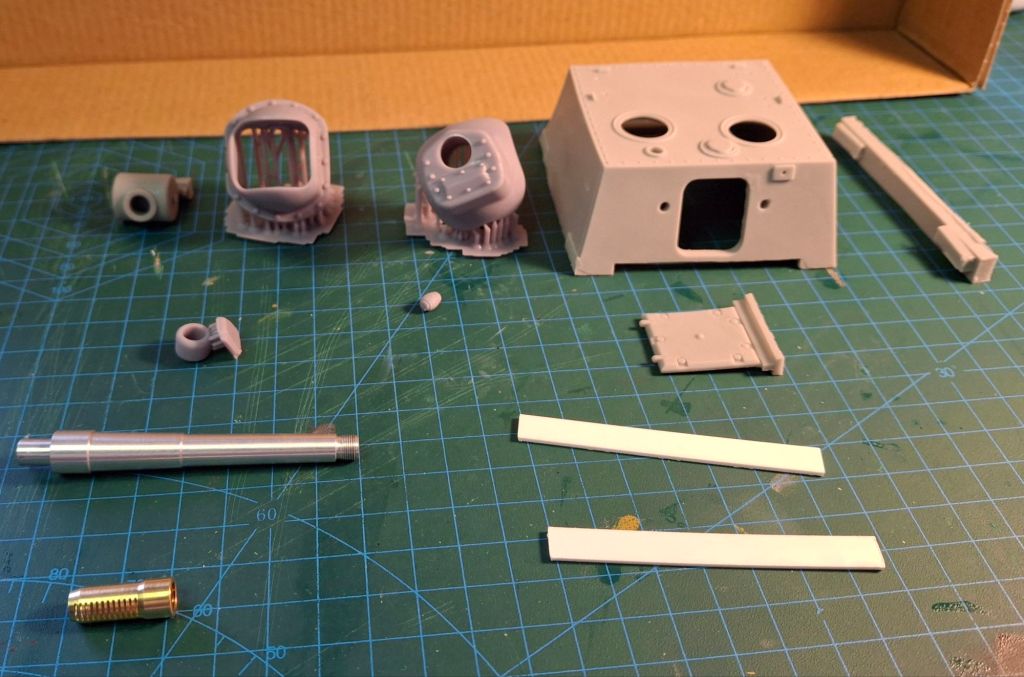
The turret has already been started with the usual care around cutting resin. The rest of the parts are either 3D printed or metal. The barrel and muzzle brake are particularly nice.
I couldn’t wait to start so the turret moulding piece is already off the sprue. Only having to cut about a third of the length is a nice touch. The conversion isn’t cheap at 70Euros posted to Australia but is worth it.
Unlike some people over on Facebook I usually leave my yearly review until the last day, not before Christmas!
So here it is – all the kits I finished this year
Yep that’s all and that was back in Feb
So what happened, well seven weeks Europe vacation that I can’t complain about, heaps of house renovations including my new indoor model room. The new model room can’t be complained about but again I didn’t do much modelling. And then of course there was the FW Ta183 disaster that killed that kit. On top of all that was some family stuff and managing to cut the back of my leg did not help either.
The last month or so has been better and I have made some real progress on the U19 KV1 conversion. Unlike previous years there has been a serious determination not to rush things to get a model finished by year end.
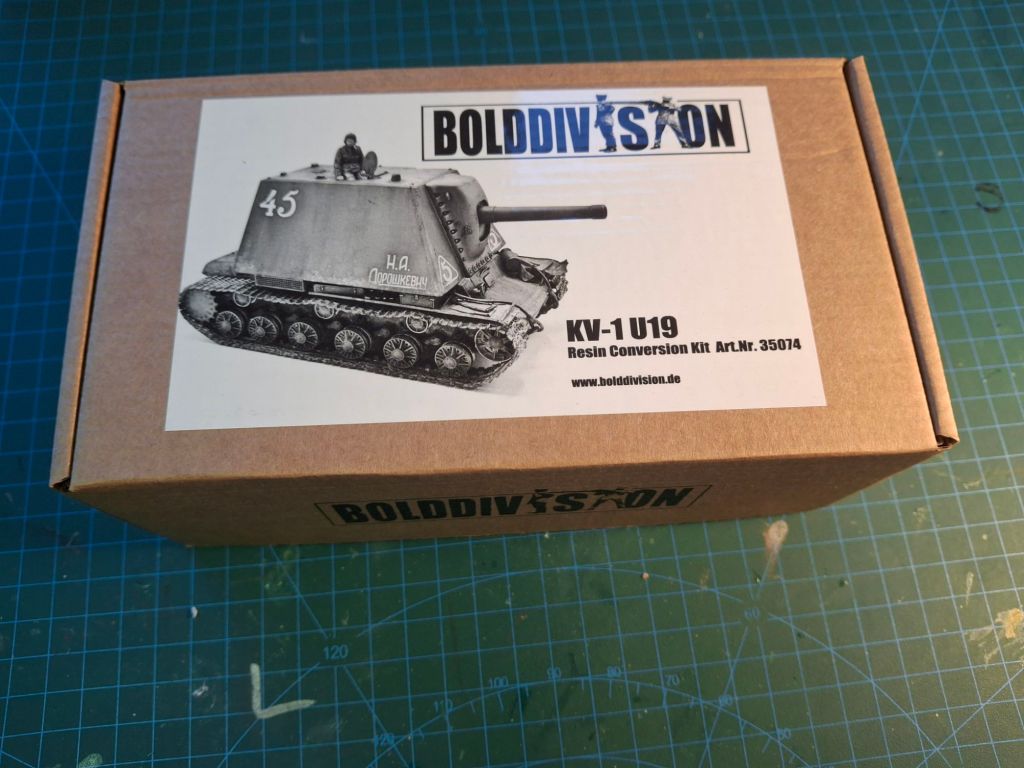
Today the missing piece from the conversion turned up with another KV1 project turret from bolddivision so it will be full steam ahead on that.
Tomorrow will be spraying the tracks in rusty tracks from Mig and finishing off the turret including the steps.
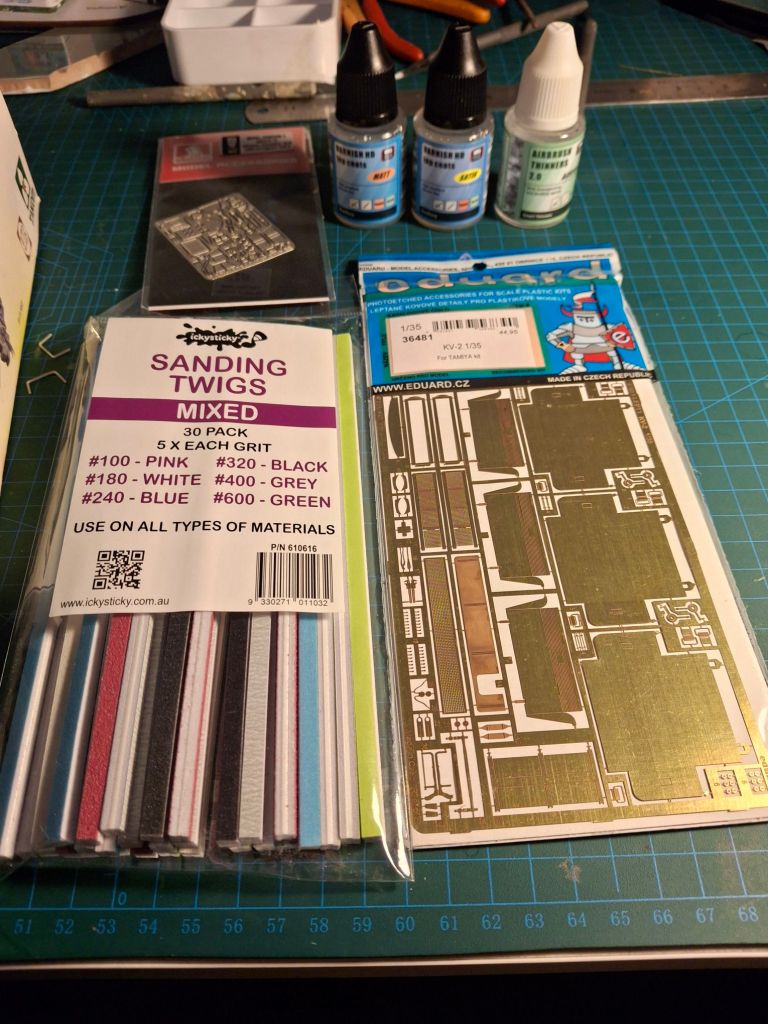
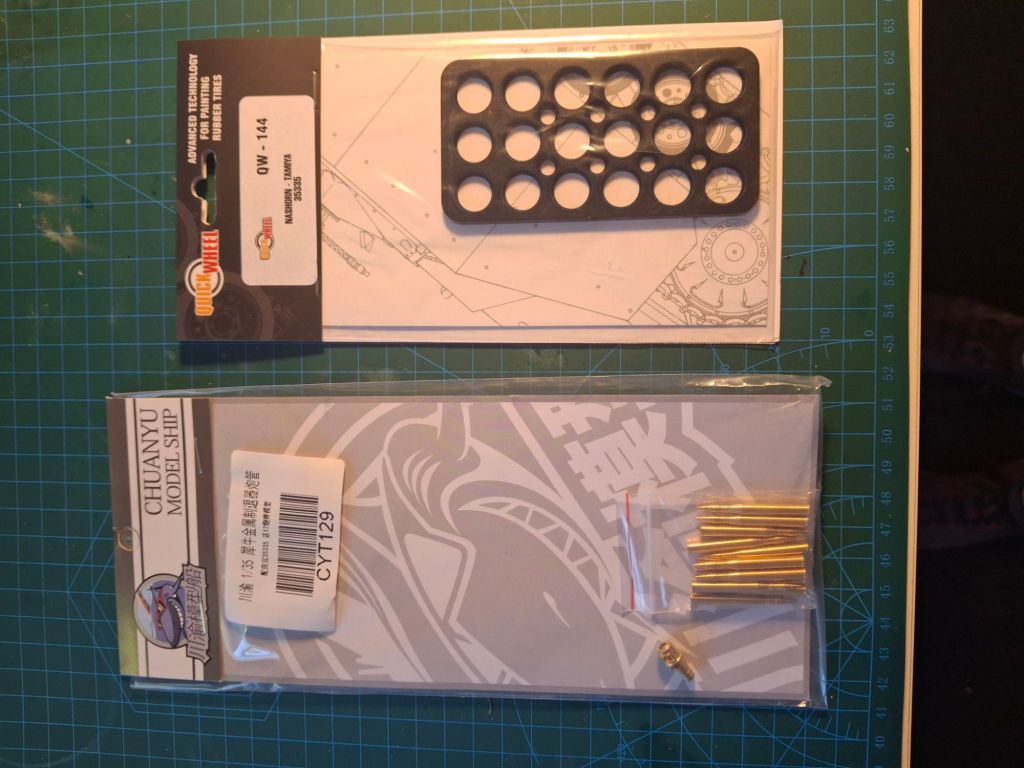
And lastly another BNA delivery with some varnish, sanding sticks and etched brass for my next KV2 and one for a 1/48 Okha.
And well this says it all about many parts of 2025.
you’re partner/children/friends etc bring you tricky modelling adjacent projects.
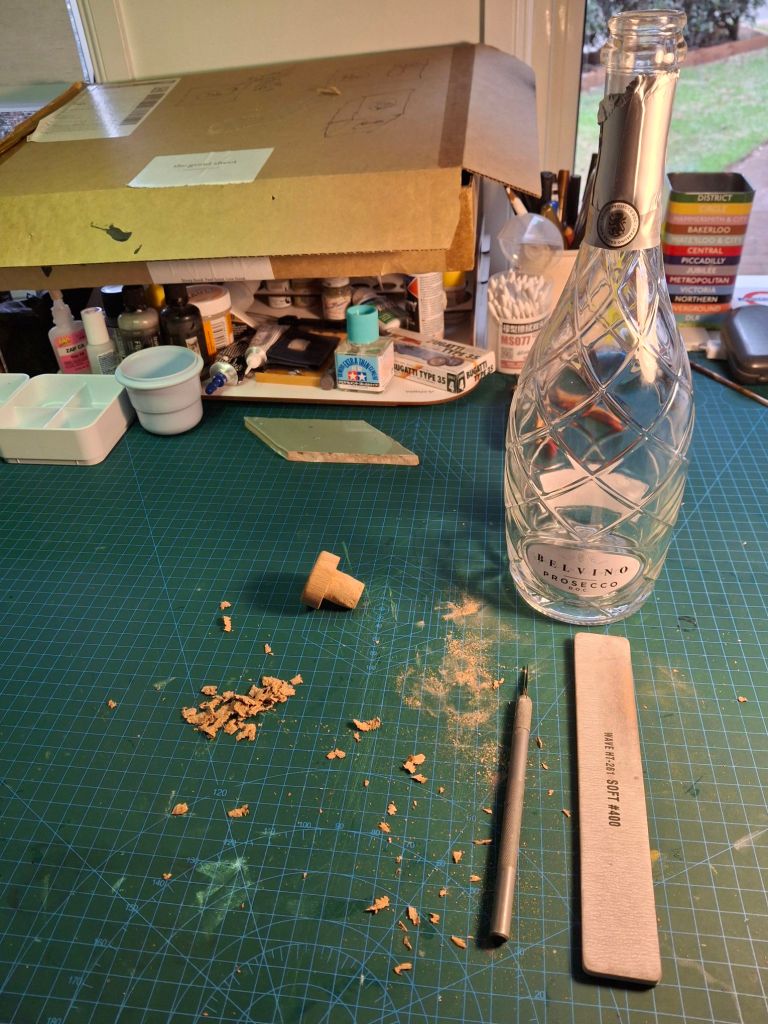
Today’s effort was this – ” I really like this champagne style bottle but I want to put this stopper in the top to replace the original cork. Of course the cork on the stopper is too large for the bottle and needs the diameter reduced.
Cue scalpel work then the advice that it will need to look nice so it will need to be sanded.
Anyway the job is now complete!
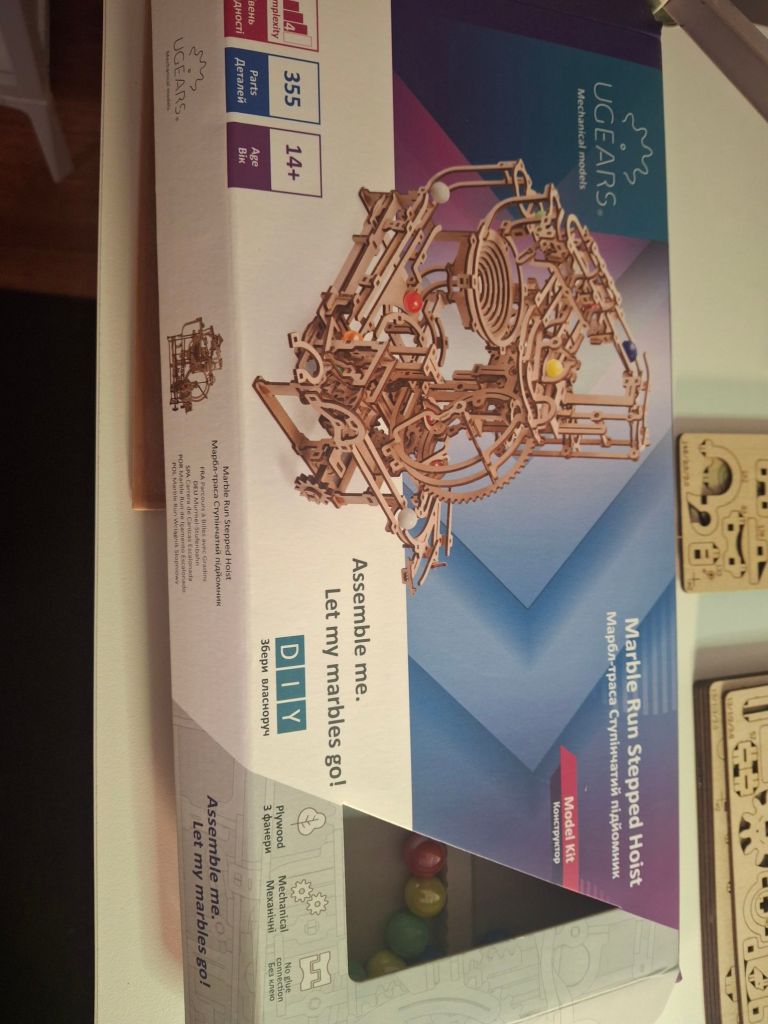
For Christmas I got the Bovington book on tanks and a Ugear assembly for a marble run which will get a start sometime. And it’s patriotic as it’s made in Ukraine.
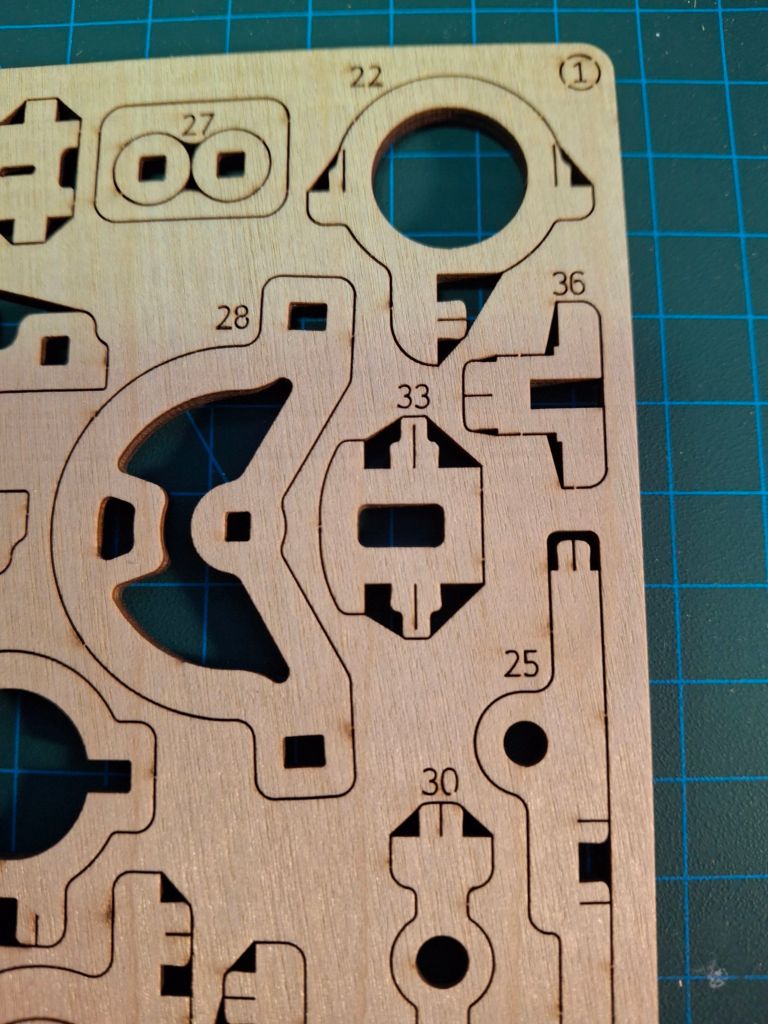
At 355 parts and a 71 page instruction sheet this may be a long build in the new year.
Each of the six main sheets are labelled.
And now a cartoon that summarises AI well.
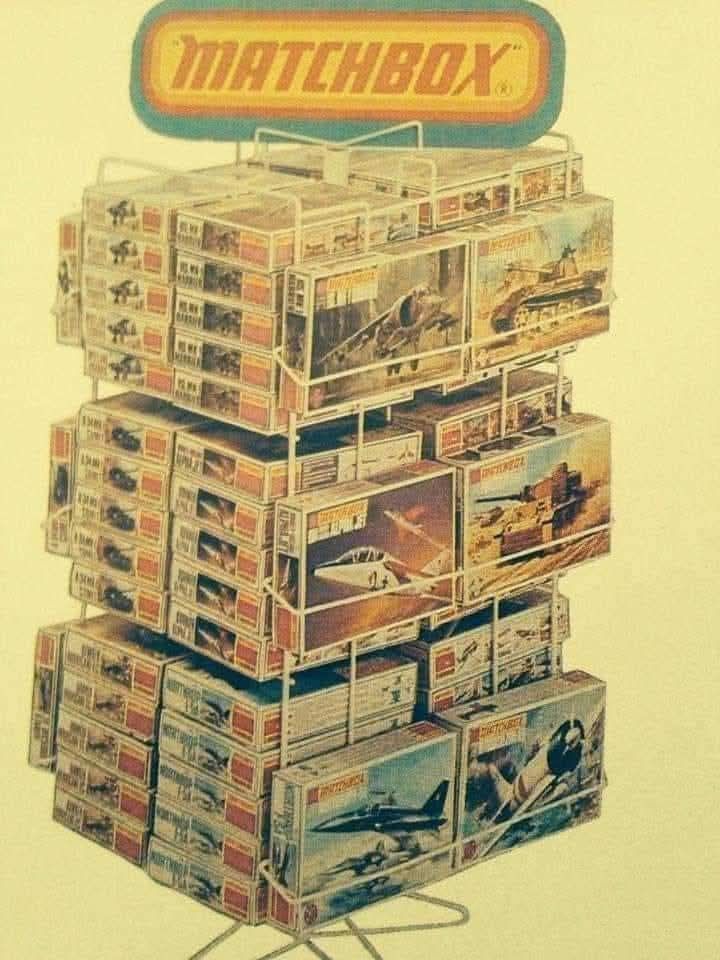
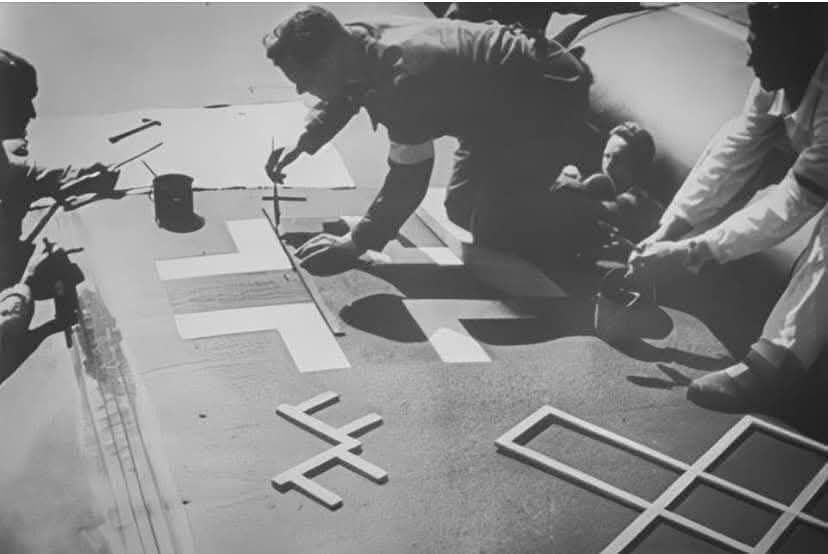
And a blast from the past
Loved their colour coded kits and the awesome trenches!
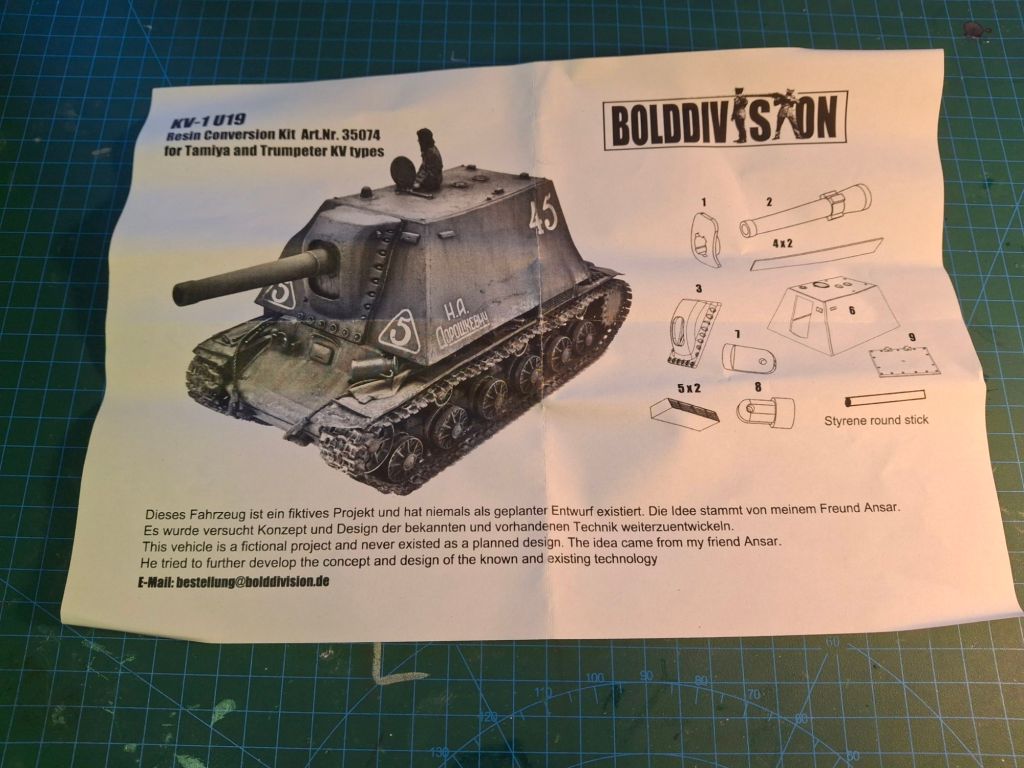
So reading the instructions confirms this is very what if being based on a proposal that never materialised in steel.
Despite that it’s a nice resin kit that is easy to cut out and clean up. I’m impressed that rifling on the barrel is included although a tiny smear of filler is required on the barrel to fill a hole. There is a slight step that needs sanding out.
A bit of fettling is required to get the mantlet to fit and will need some filler. Dissapointingly the barrel cover was missing. I contacted bolddivision.de directly and got a very quick reply offering the missing part free and with a little encouragement from them another KV2 turret variant was also purchased.
I still think the KV2 is a stupid tank from a military standpoint but the ugly beauty of the turret designs is unsurpassed!
I’m going to get a Tamiya KV2 to go with this as I expect their tracks will have less moulding pins to remove compared to the Trumpeter kit.
With Christmas looming fast I’ll be taking a break for a few days. The conversion does not come with any turret steps so research is needed to add these. If the weather improves I intend to spray the turret with black Vallejo and the body with Tamiya primer.
I need to hunt for some Russian decals, maybe the old set of rub down ones I have will do. I think a fair bit of weathering will be appropriate on this.
This will have to go to one side soon while I wait for the missing part to arrive but as much painting as possible will be done in the meantime.
The front part of the E100 is on but it needs some filler and cleanup but that’s been a bit of a mojo killer.
I’ve switched glues recently from mainly super glue to Tamiya’s new Low odor thin glue combined with the quicker acting normal thin glue. I use the latter in my spray booth to cope with the smell. The low odor with open windows makes this a better option for gluing plastic.
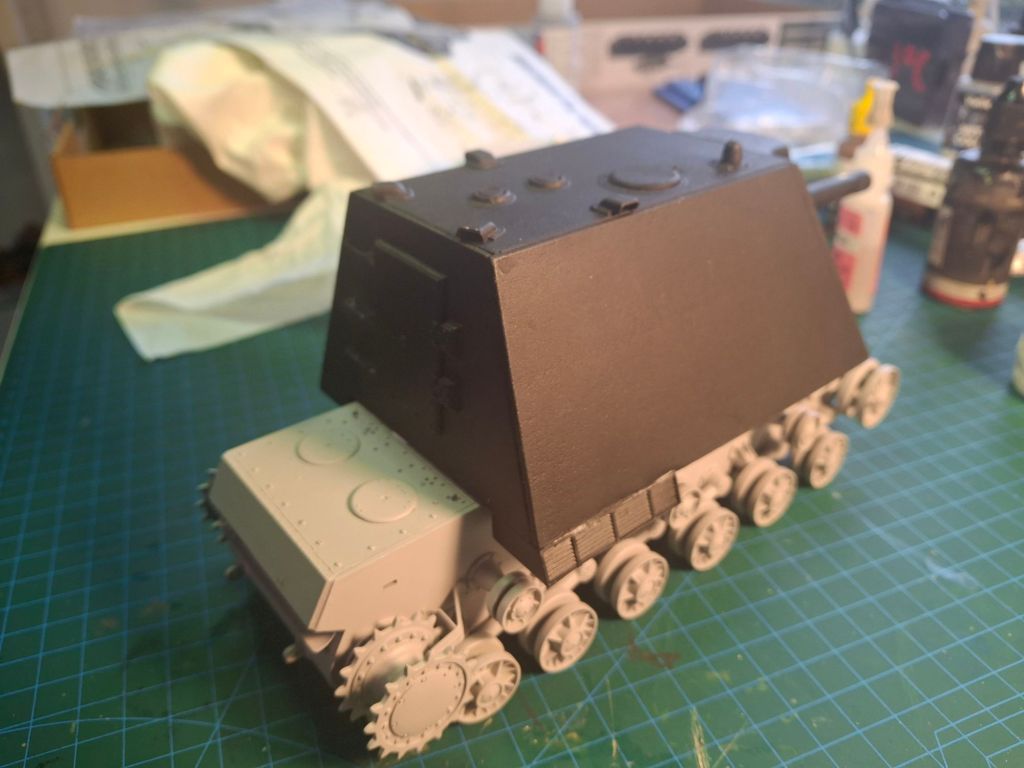
The KV1 from Trumpeter is moving along quite well but the resin conversion is untouched do far. On the whole the kit isn’t bad with the instructions being ok. What probably distinguishes this from the Tamiya kit is that it probably wouldn’t have mearly as many moulding pins to sand back. I’ve cheated by only doing the ones on the outside that are visible.
It’s still the thing I least like about doing 1.35 scale tanks. The tracks have a large top run with sag moulded in. As this is such a characteristic of the KV1/2 series its nice to not have to induce this as I had to do in the 1/72 version with rubber band tracks. The bottom is also mostly one run and two small pieces with lots of individual tracks for around the wheels at either end.
This is the usual tedium relieved by YouTube or movies on my tablet.
Yep lots of cleanup!This is how you apply Luftwaffe markings 🙂
After a bit of break including five days away I’ve restarted this kit. Before this I had assembled the engine bay then undid this as I had cocked up the fit. I should have put on the rear plate first then the engine area. I like the ModelCollect kits but the instructions are not exactly helpful at times.
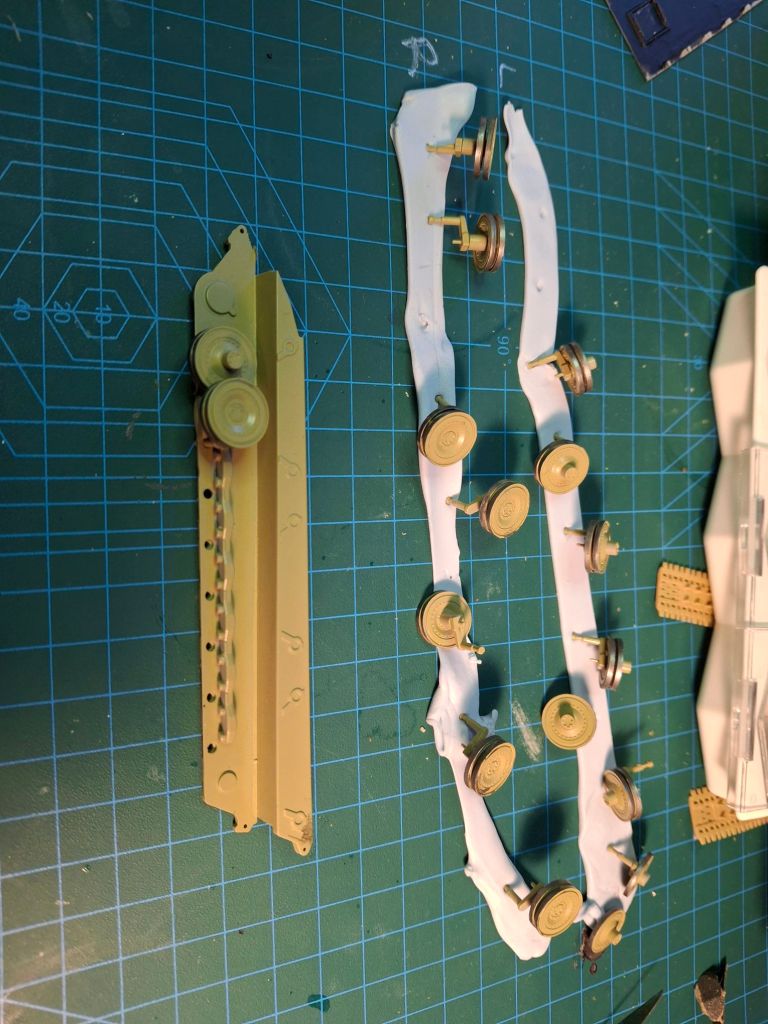
More work after discarding the wheel springs which were nearly invisble from the side but seriously impacted assembling the wheels.
I’ve done some work on the tracks with the two right hand rusty pigments over the track colour with the left had Russian earth to be added next.
The above is a roughly assembled version. Annoyingly the nice metal barrel does not fit properly onto the barrel movement plastic bit so the gun will be fixed.
Well it’s been nearly two months since my last update. I’ve only restarted modelling this week as my rekindled mojo from last time disappeared very quickly.
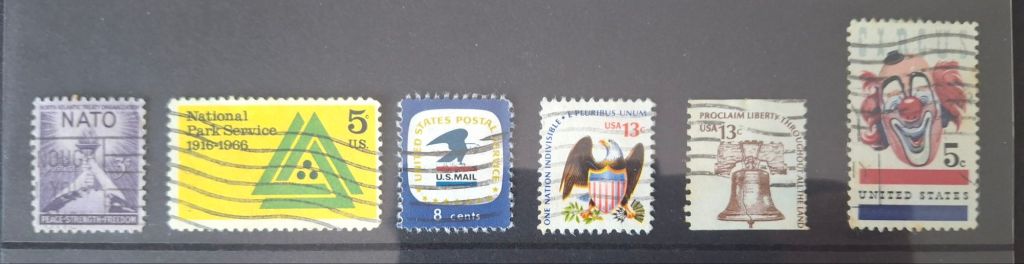
In the meantime I have been doing more work on my stamp collection and lots of personal stuff not the subject of this blog and investigations, just kidding, but someone nearby has been.
My USA stamps are emblematic of current conditions there of things lost and unfortunately gained.
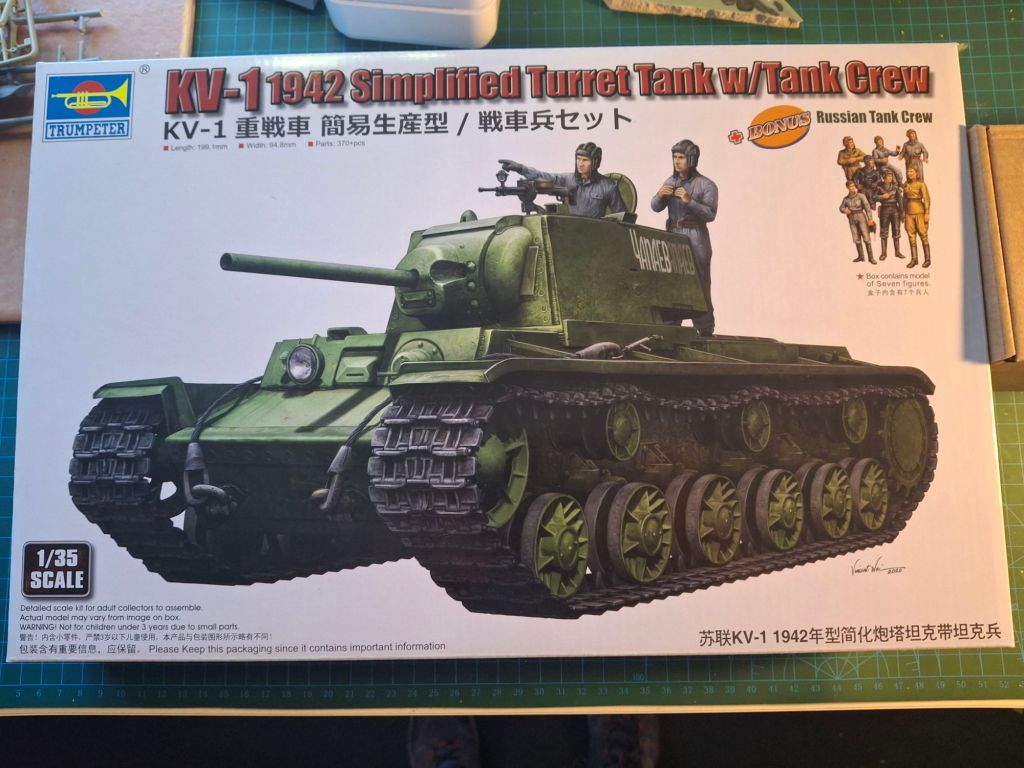
So on the modelling front I’ve bought the following kit and accessories. The last Tamiya tank kit I did was the Churchill Crocodile flame thrower back in the 1970s.
Also sourced was the Trumpeter KV1 U19 conversion making an ugly tank even uglier. I’ve had this in my BNA basket for nearly six months as it is over $100.
It’s more of a mobile pillbox than the KV2.
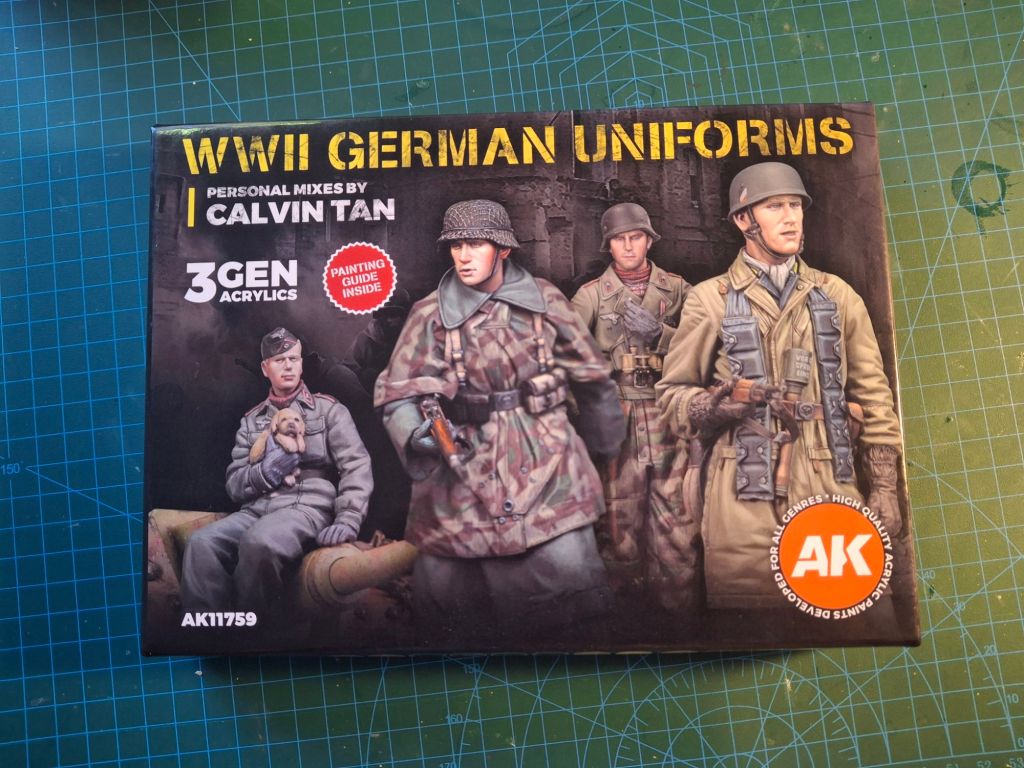
And this paint set from Combat Company my nearby hobby shop.
And lastly on the actual modelling front is my work on the Modelcollect E100 Jagd.
I’ve painted the steel wheels and started various bits in my usual many sub assemblies approach. The tracks are rubber band but half covered by the track guards.
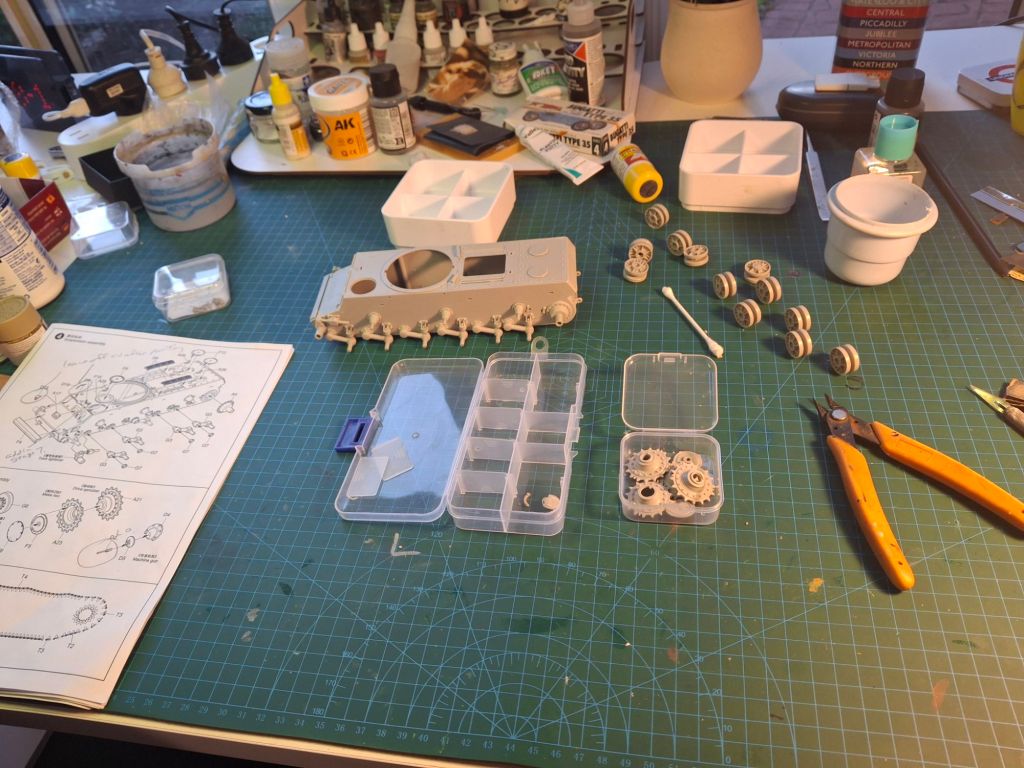
These boxes are from Daiso ? the Japanese $2 type store. The one on the right has closable clear lids and I’ve put paper in the bottom with both the part number and step number on it so I can remember where the small parts go for the final stages.
This has been a term I’ve used for a model that may just be a passing fancy. Shown here is an anime version of a Japanese Shinden fighter. This part built kit briefly saw the light of day before the mojo faded and it returned to the Shelf of Doom!
As the kitchen is being rebuilt as part of the ongoing renovations it has meant that kitchen stuff has now migrated into my model room as a temporary measure for a couple of weeks. Fortunately it’s not too much in the way.
Glasses etc not model kits 🙂
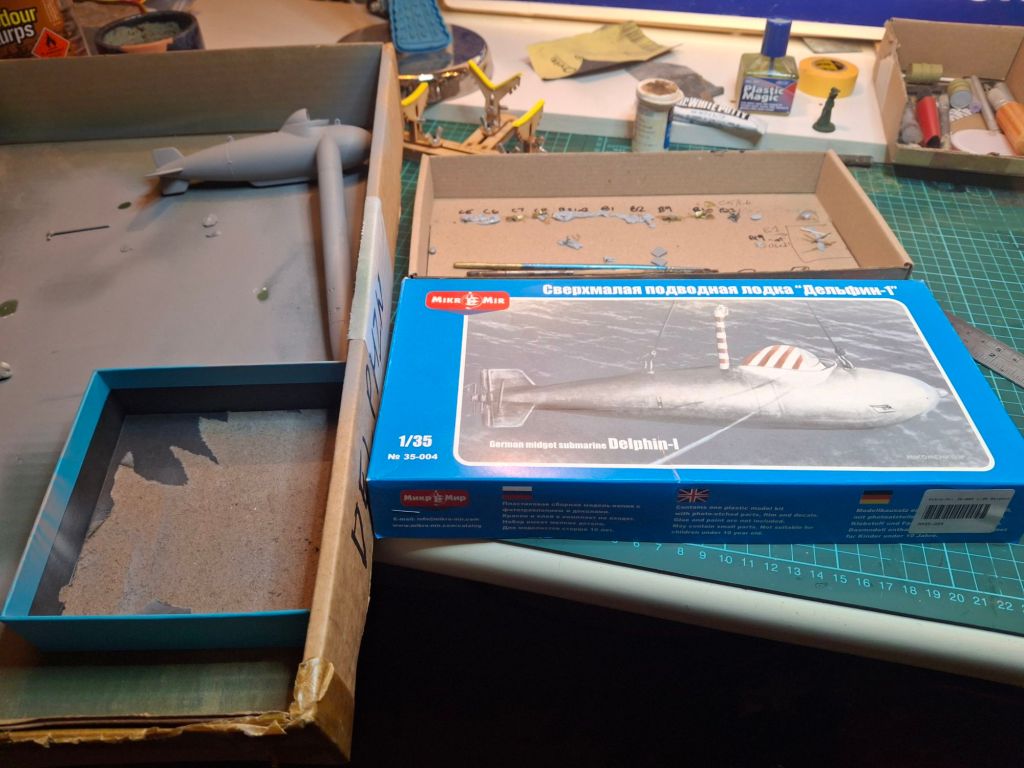
Replacing the model above has been the Delphin from the shelf which is being worked on on the old garage bench. This kit is basically up to the painting stage and mostly needs a little planning before starting the painting stage.
Lastly is a new old kit being a E-100 Jagd version from MODELCOLLECT in 1/72 which I’ve just started. The barrel has an etched brass section at the front. This just didn’t fold in a circle as well as I wanted but a bit of judicious sanding and use of Vallejo filler will hopefully see it right.
I’m off for a few days so progress will be slow this week.
It has been good to get my mojo back and I’m really looking forward to the renovations finishing soon as the painters are following straight on after the kitchen is finished.