First port of call after getting the tickets was off to Swap and Sell. This was more like the days of old with too many people in too small a space but this arrangement was supposedly Covid compliant.
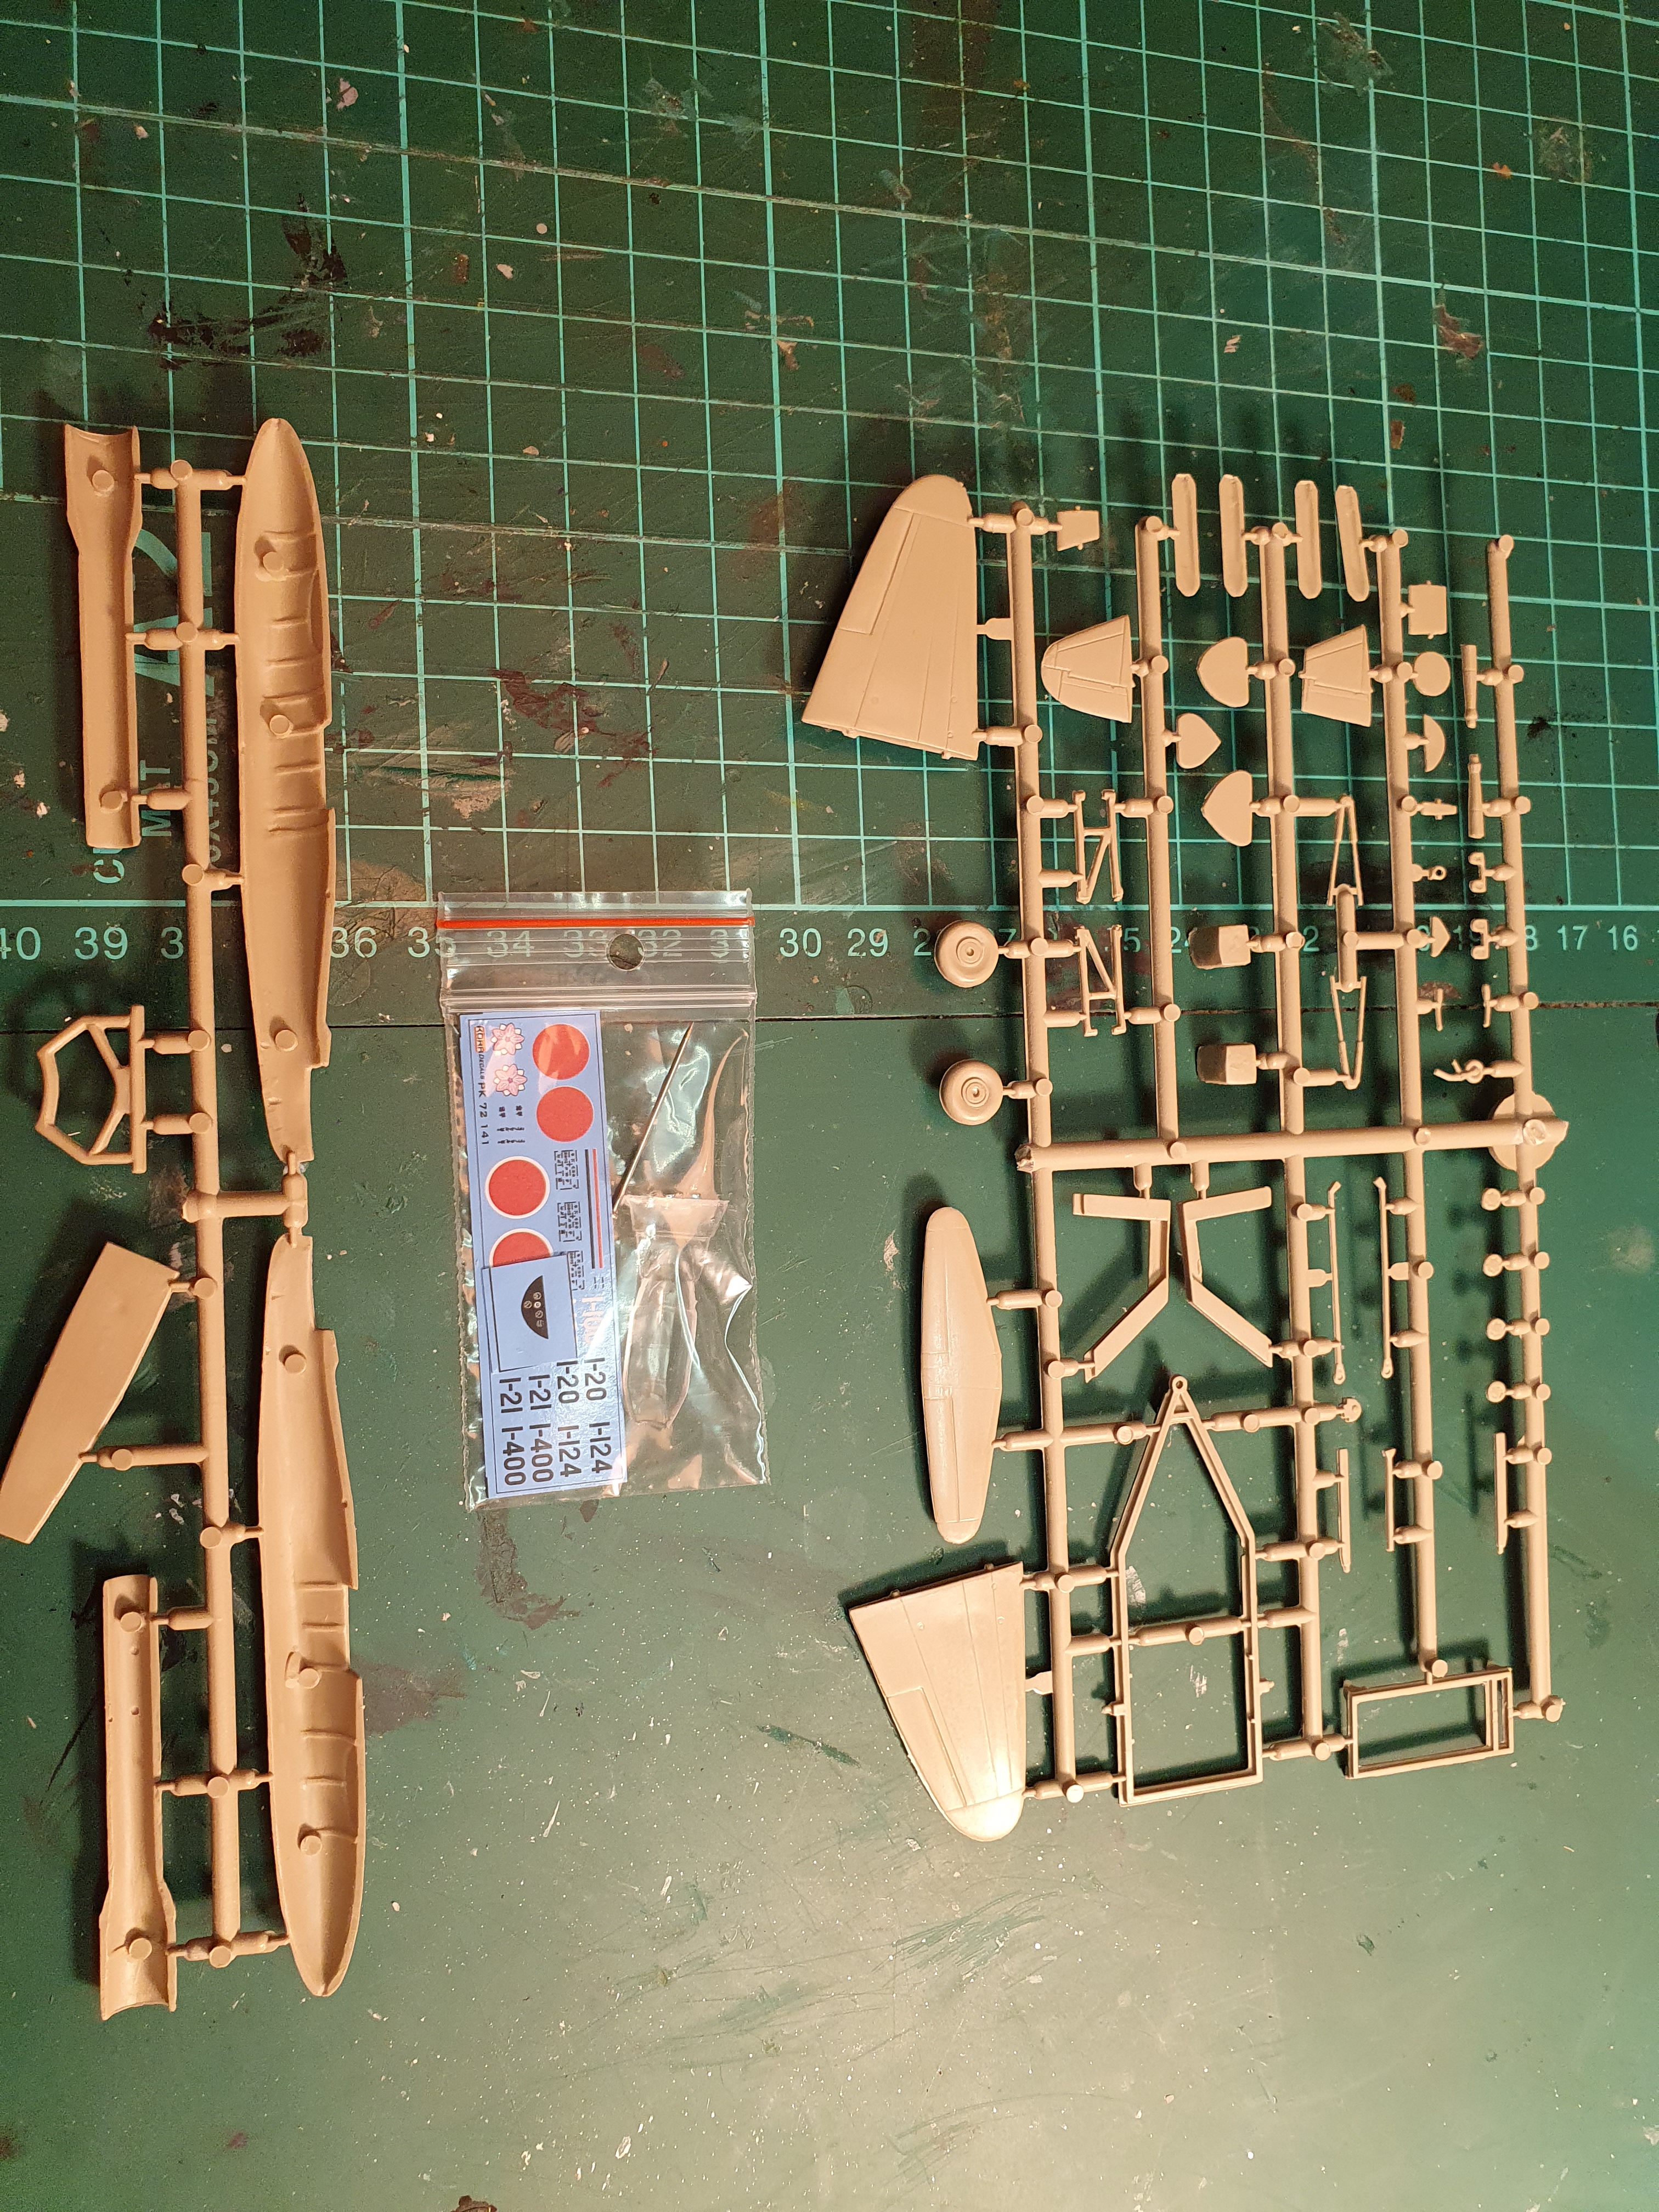
I bought a tiny model car kit.


There was a good range of kits etc but nothing I desperately had to have.
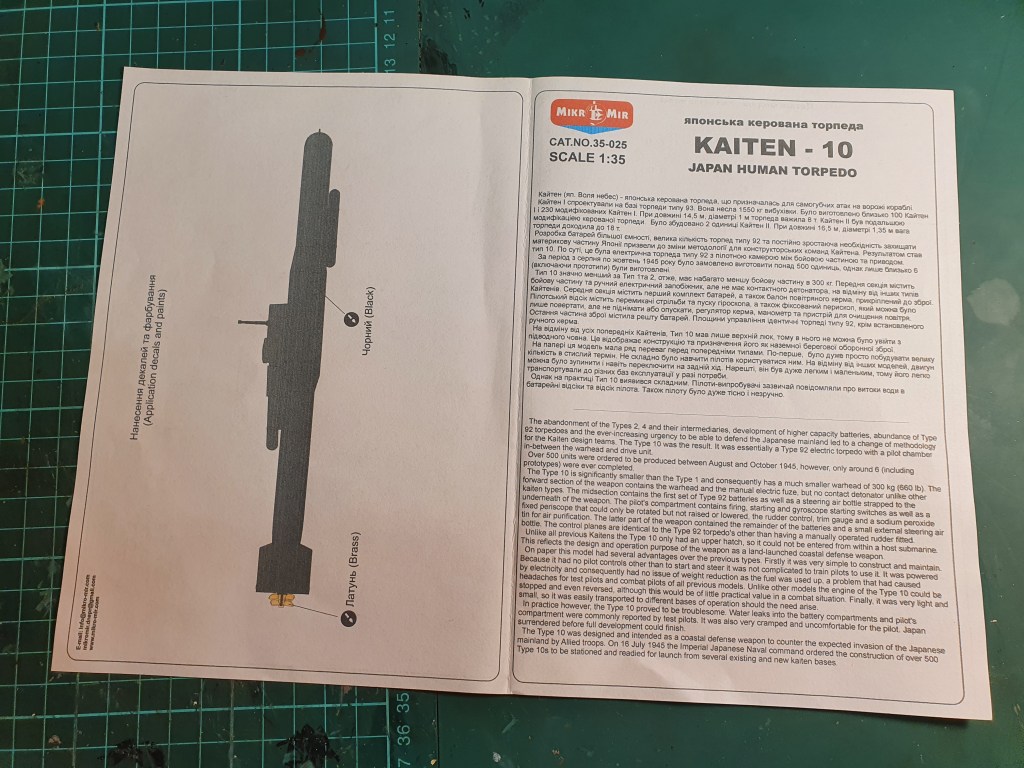
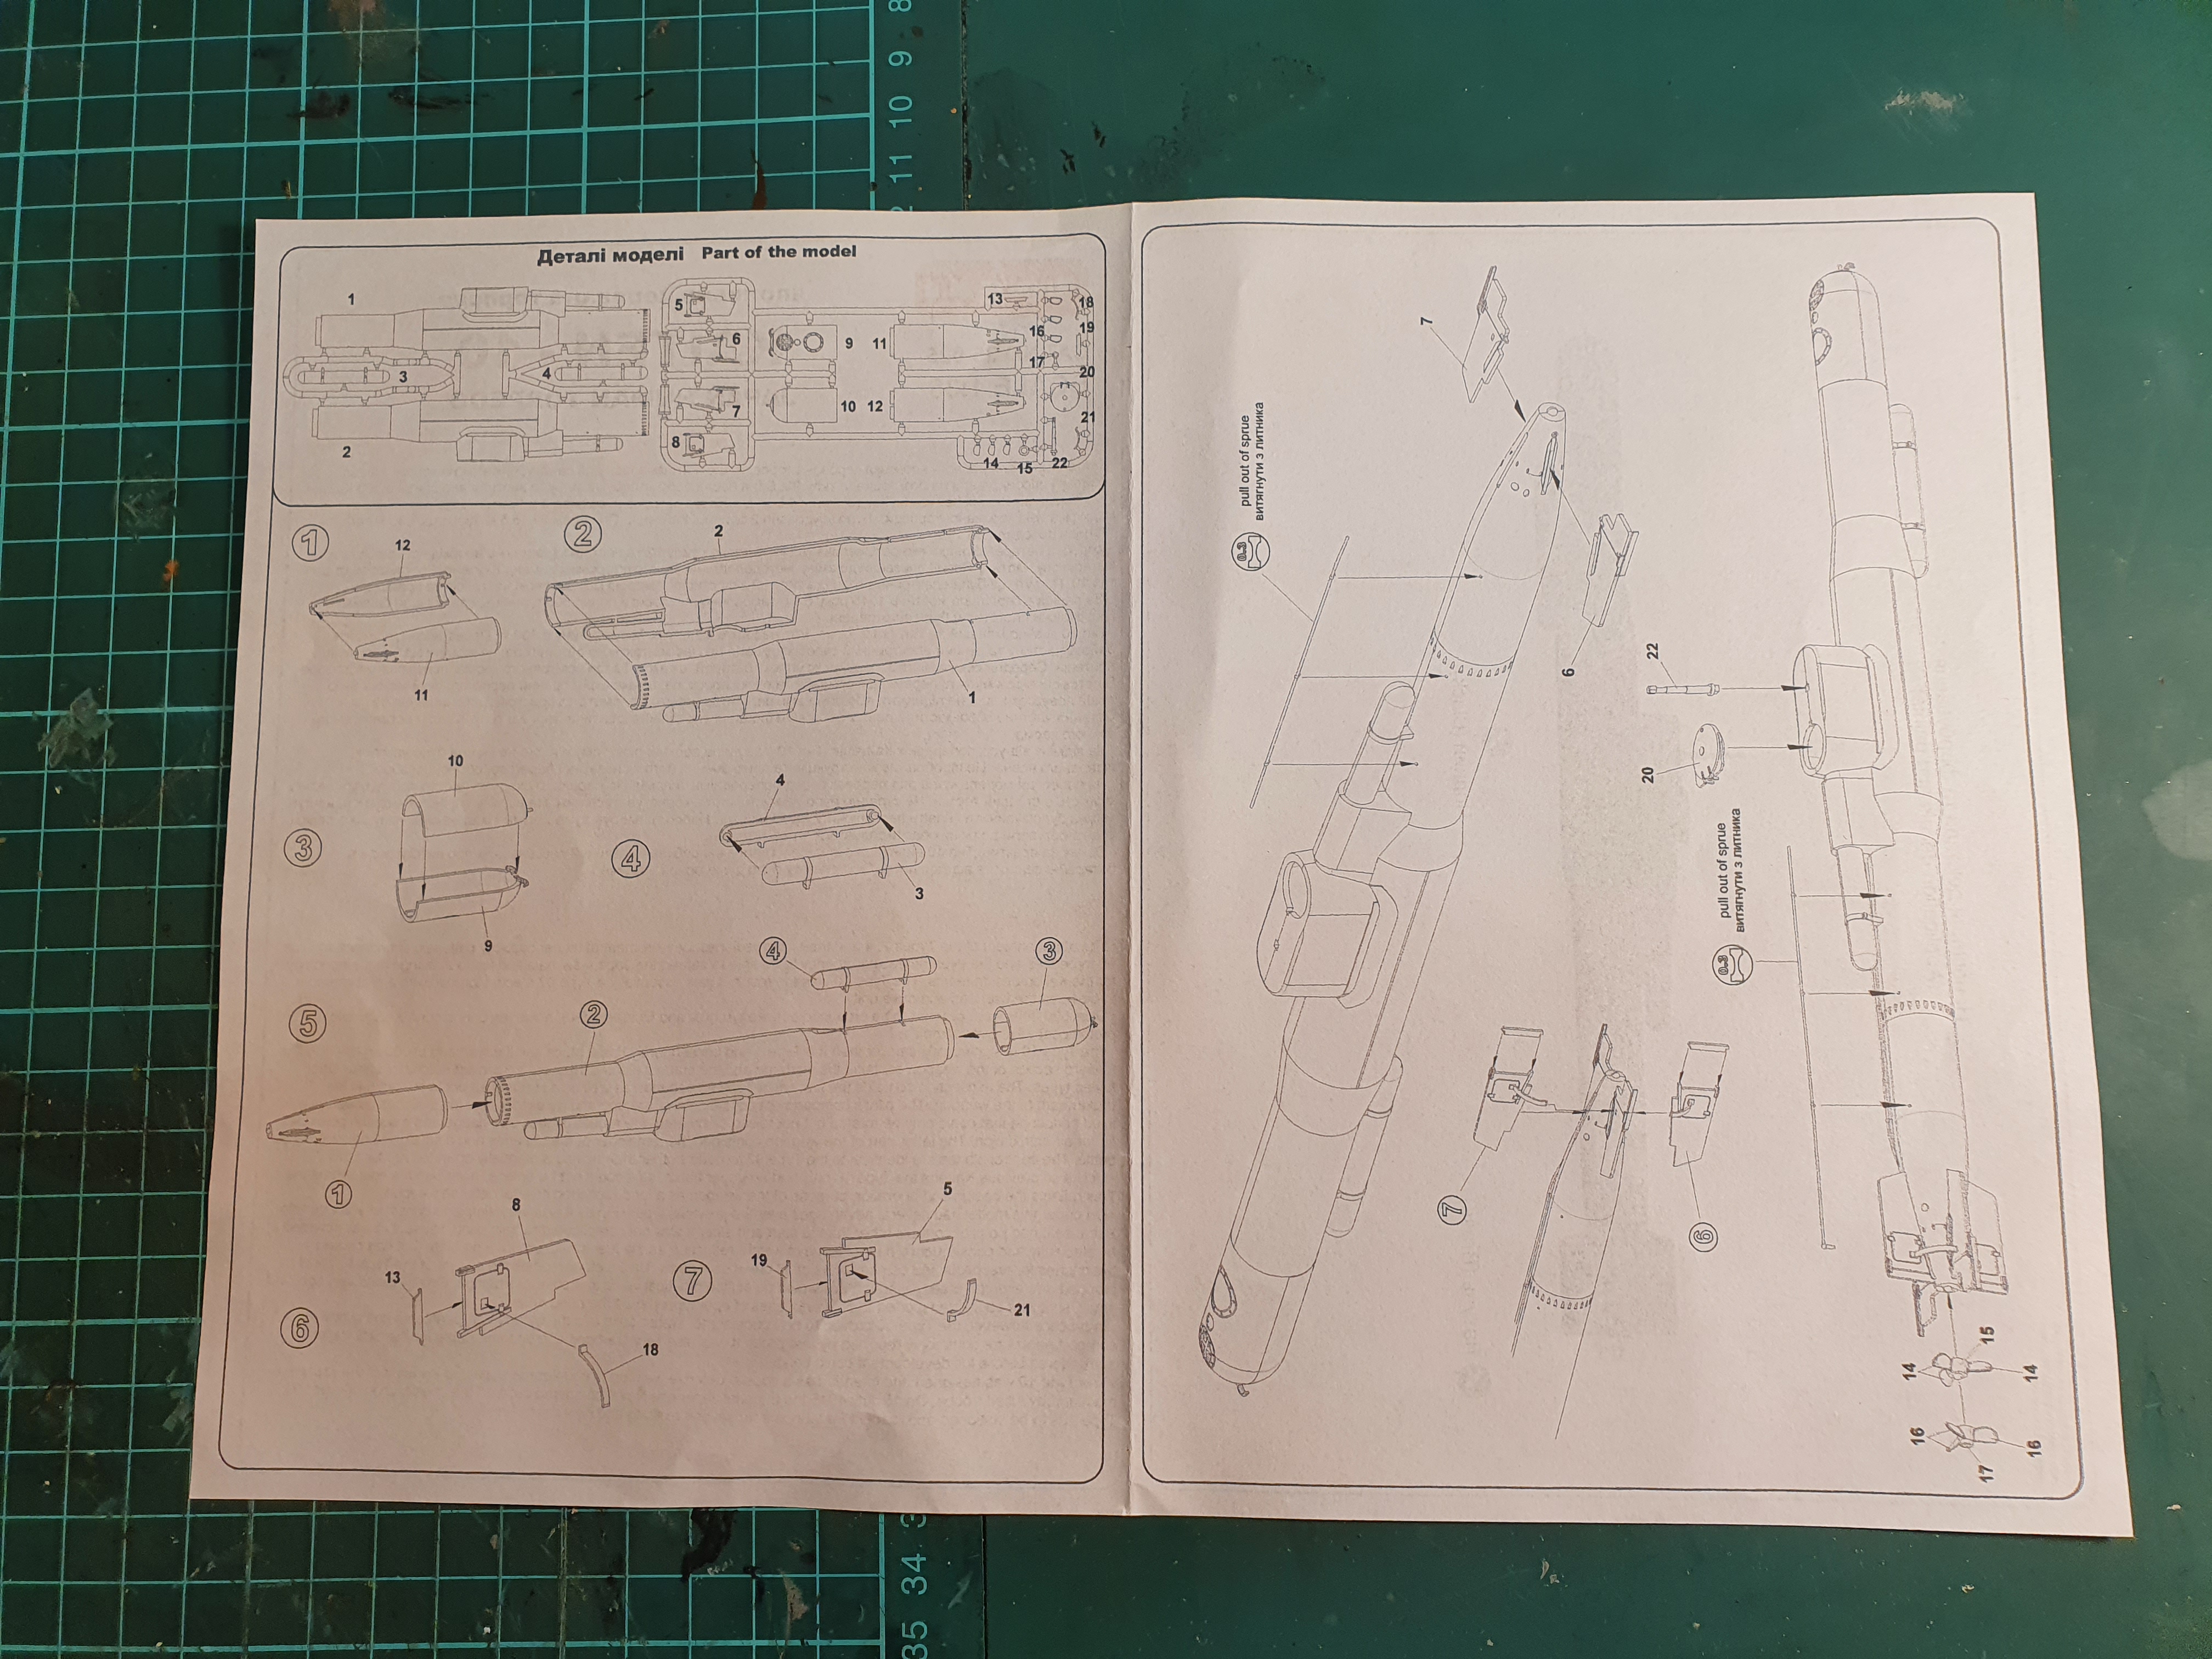
Next stop was the traders downstairs and here I just got two books and a display stand for that Jap amphibious tank if I manage to finish it.
The first is an updated version of the NUTs & Bolts book on German AA Panzer IVs. It’s much thicker with lots more pictures and a modelling section.

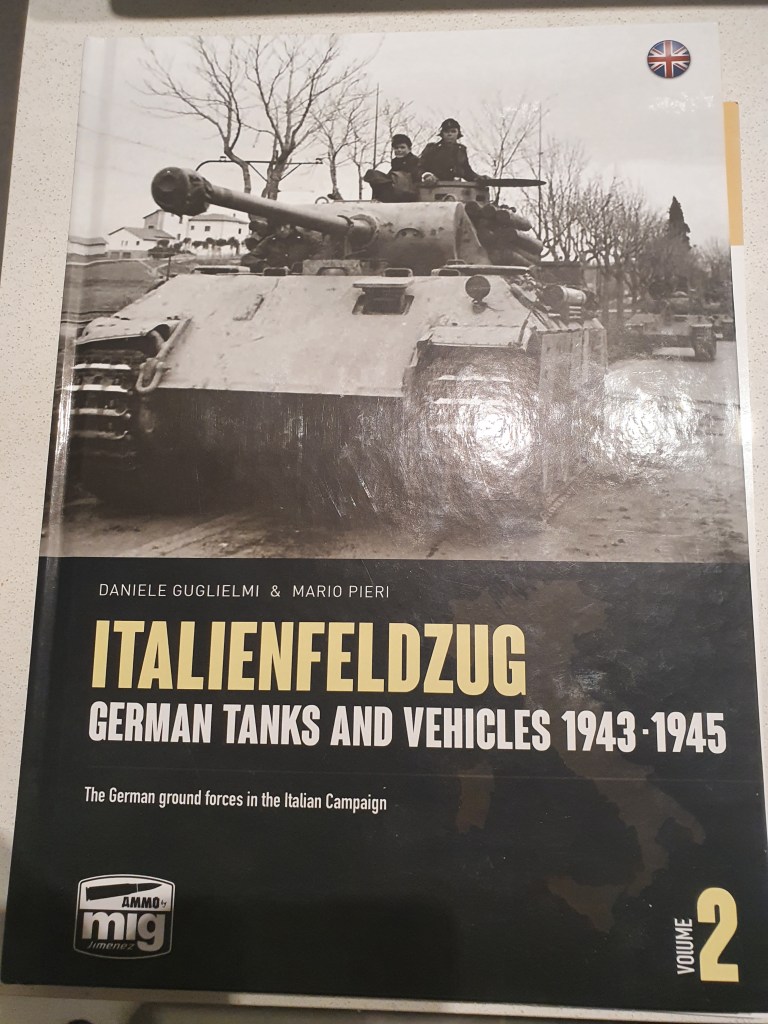
The second book is the Ammo book on German armour in Italy which has quite a bit on the Panther and has lots of photos.
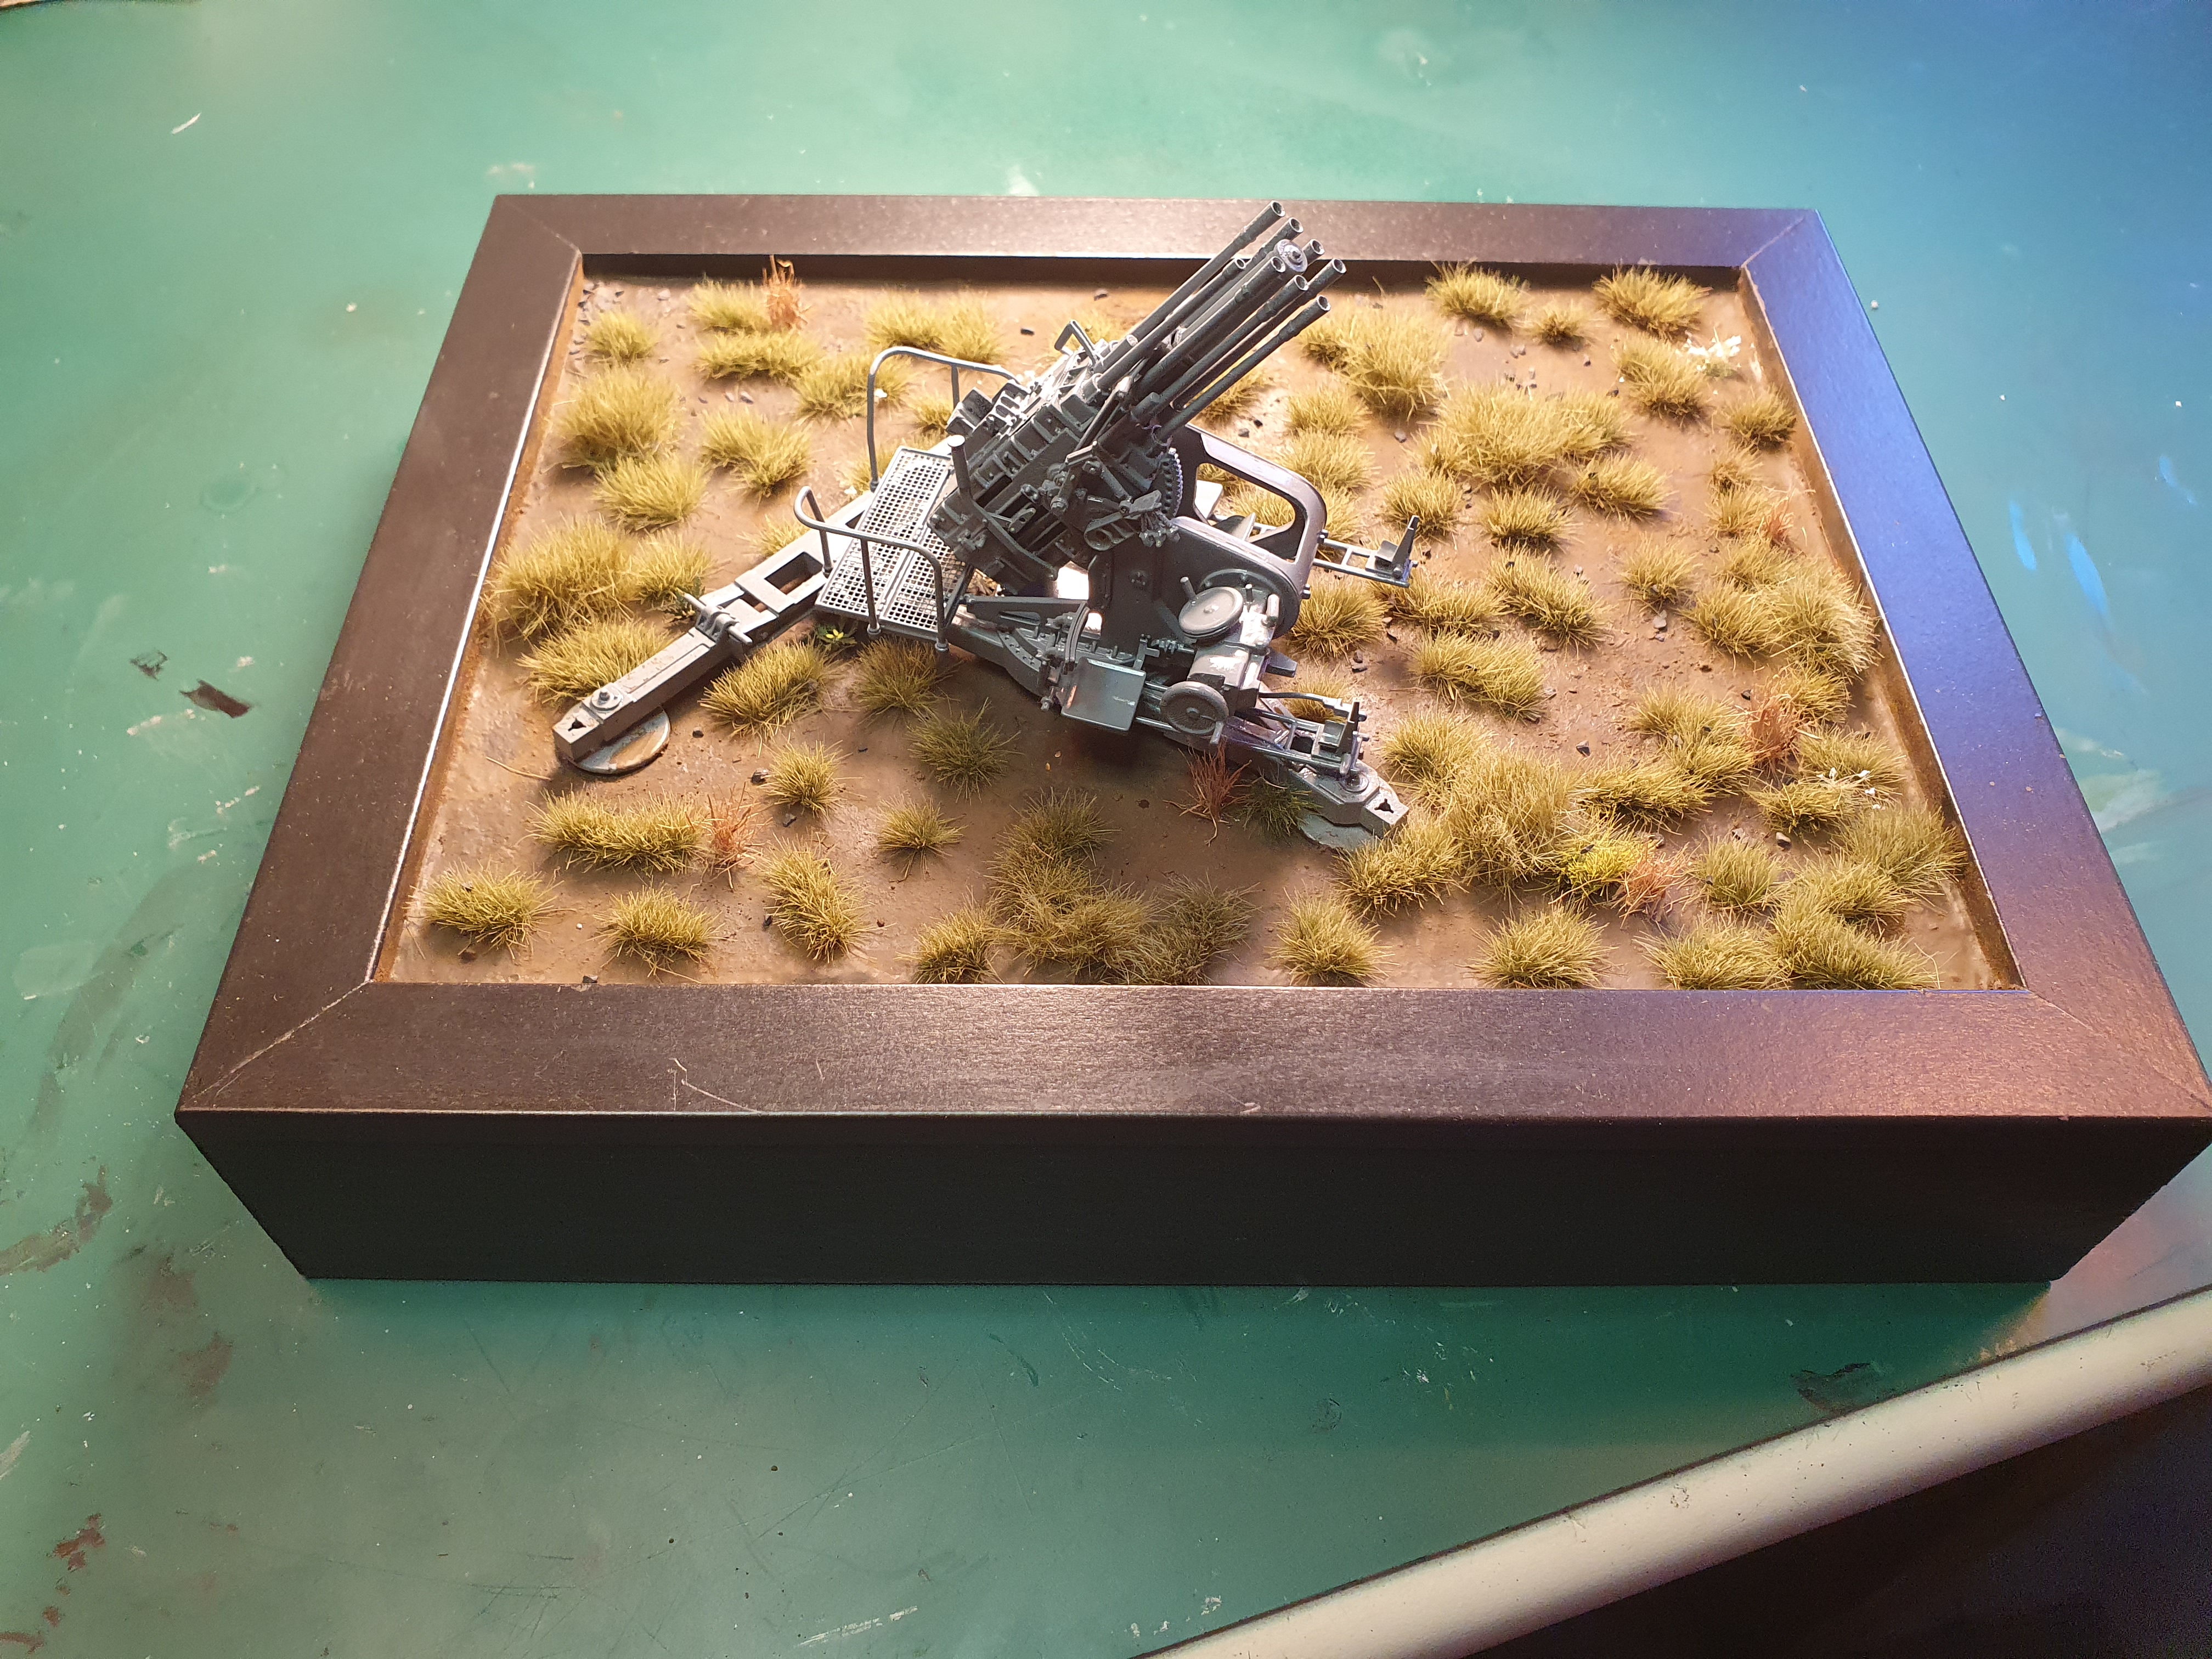
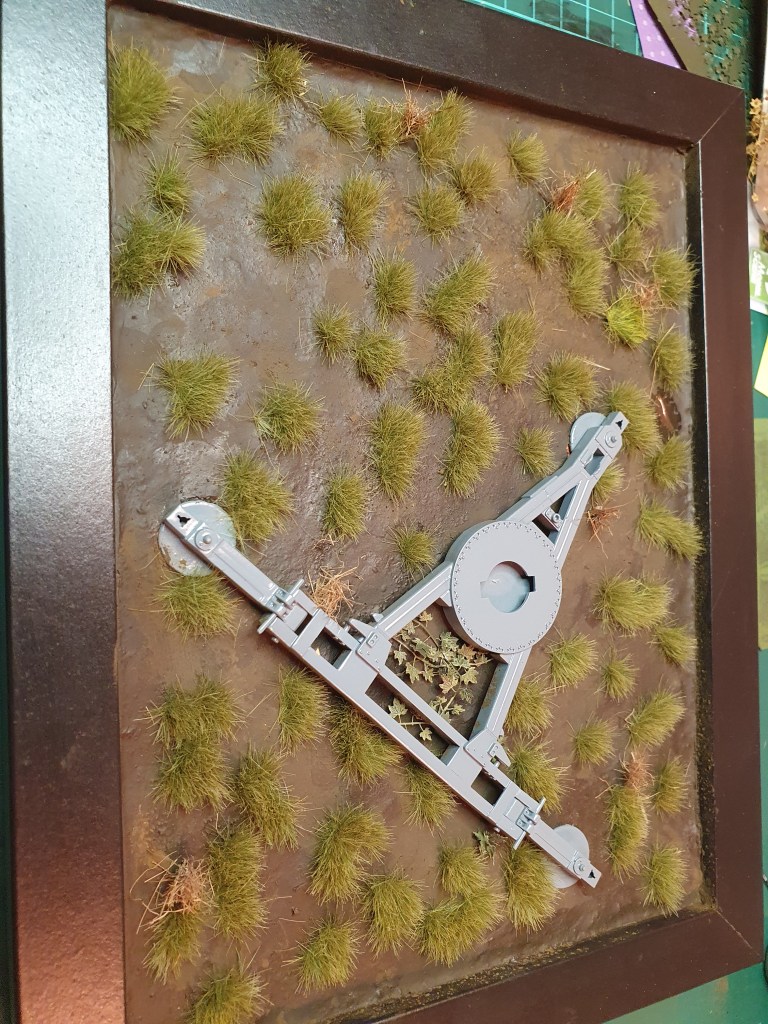
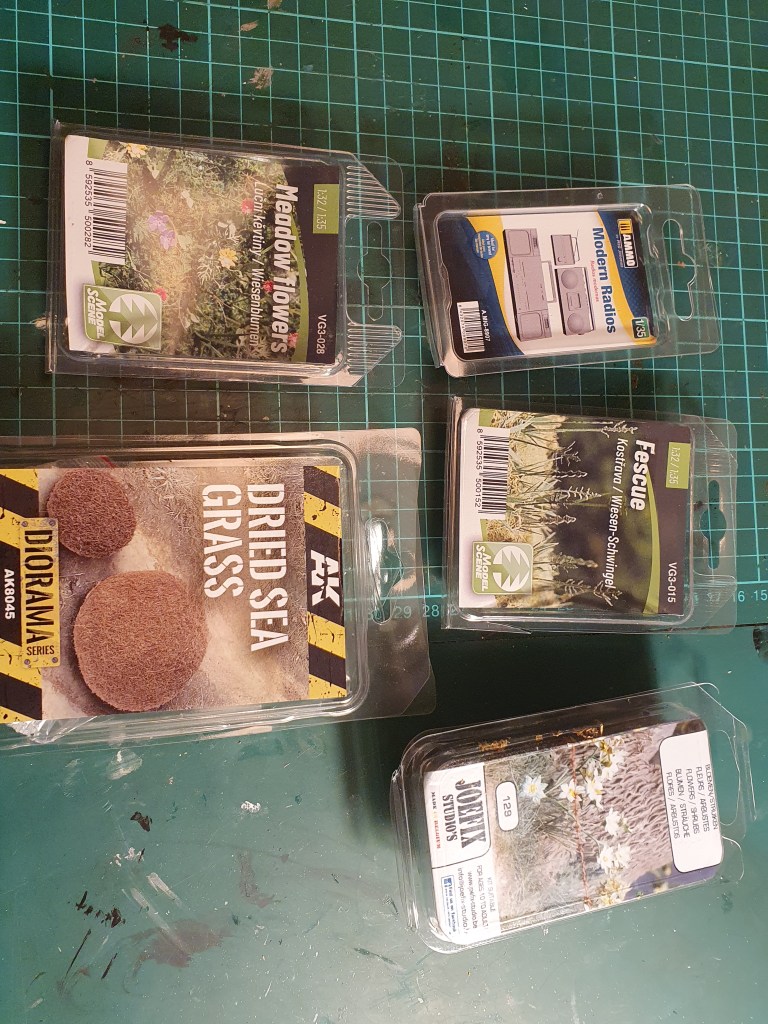
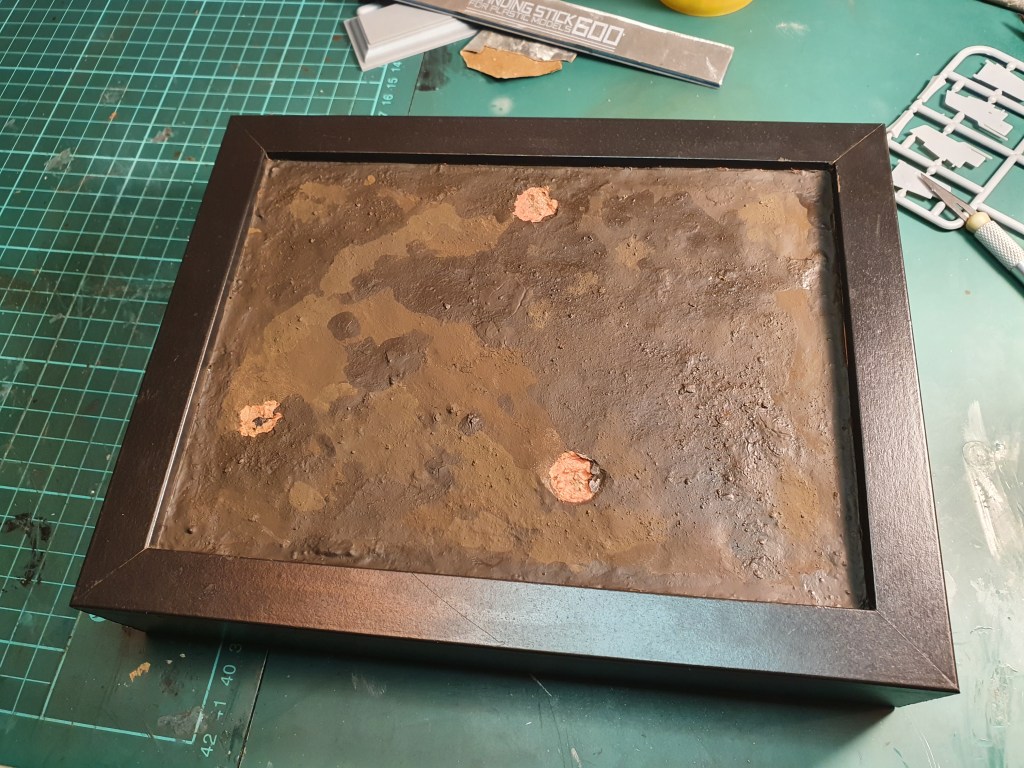
And lastly is the diorama base.

Next up is the actual models. I expected that given there was a two year hiatus there would be lots but some sections were still quite sparse. Perhaps others suffered my problem of lots of building but very little finished.
Customer numbers were reported as down on Saturday and I’m not sure making it mandatory to get kits in for judging on Friday really helped.
I suspect they will go back to the Queens birthday long weekend next year if at all possible.
I visited Hearns on Friday and didn’t buy anything as I often don’t. They seem to be moving more into Gundam and DnD areas with other areas especially model railways diminishing.