Model of the week

Leave a comment

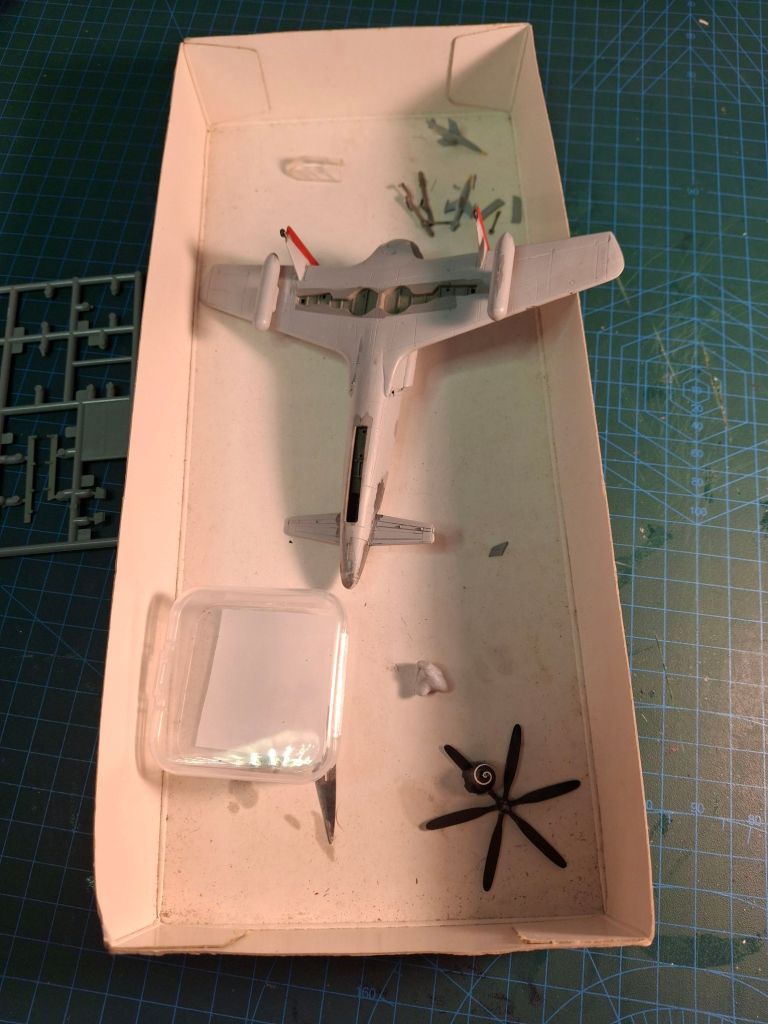
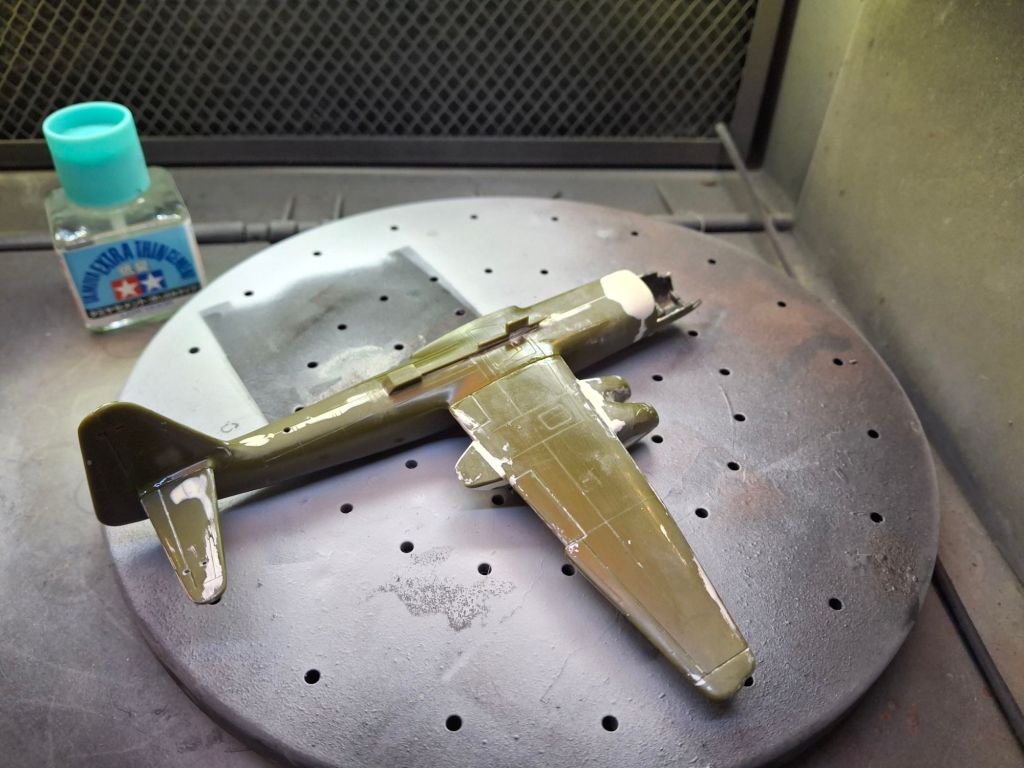
The Shinden is now back in the box but this time it’s for all the right reasons.

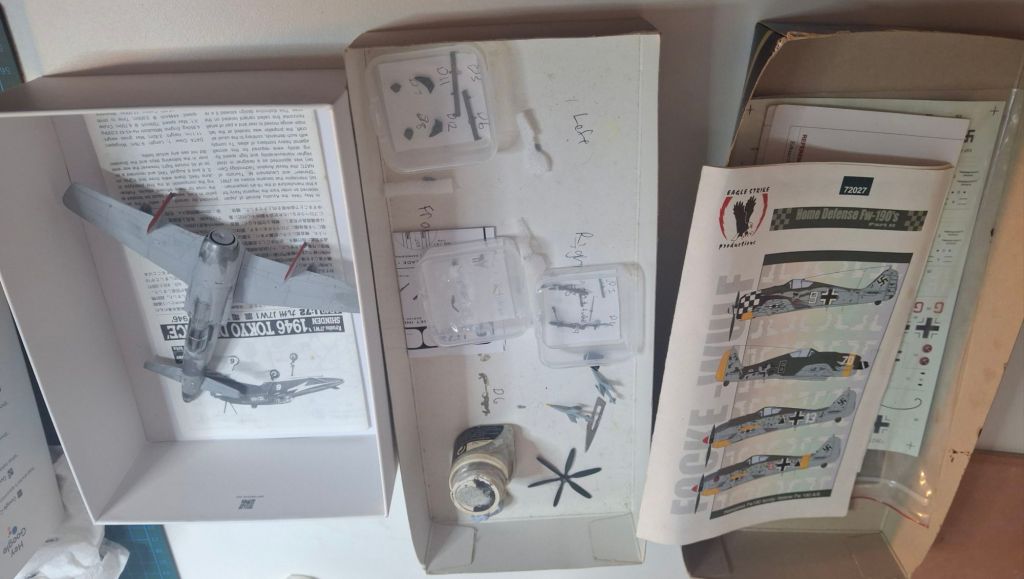
I have finished all the pre priming tasks, the X-4s are now fixed with missing fins all back in place. These are in a scheme of 76 body with a yellow warning nose. I have consciously avoided the wood grain finish favoured by many. It’s now late 1947 and there is some capacity to camouflage weapons again in much the same way as the earlier Hs 293s were.

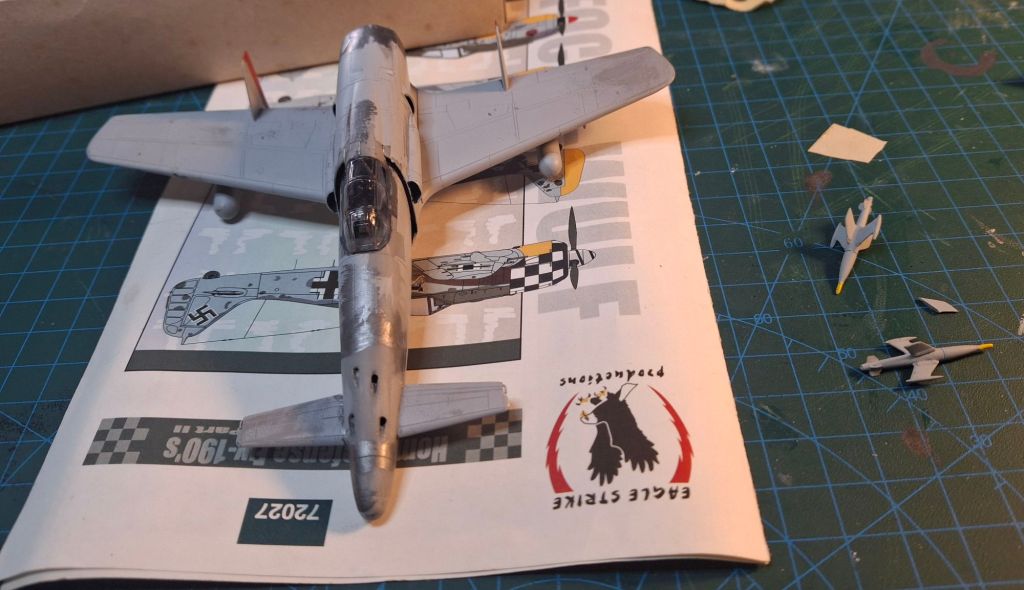
The canopy was attached with Deluxe Photo etch glue which is a PVA type glue that flows thin. This was after a quick light buff with toothpaste to get rid of some scuff marks then a dip in Glass coat Gauzy from AK. This treatment for canopies seems better than Future.

I’ve also test fitted four metal guns from Master Model. Next up will be an order to Super Hobby for more of these. In particular they do about half a dozen Fw190 sets so you can get exactly the combo you want. Particularly useful for Luft 46 modelling and at a reasonable price.

The only real difficulty was the wheels which are not well defined and in the case of the front u/c it is all one piece. Much back and forth painting before I was happy.

Back to the box before painting

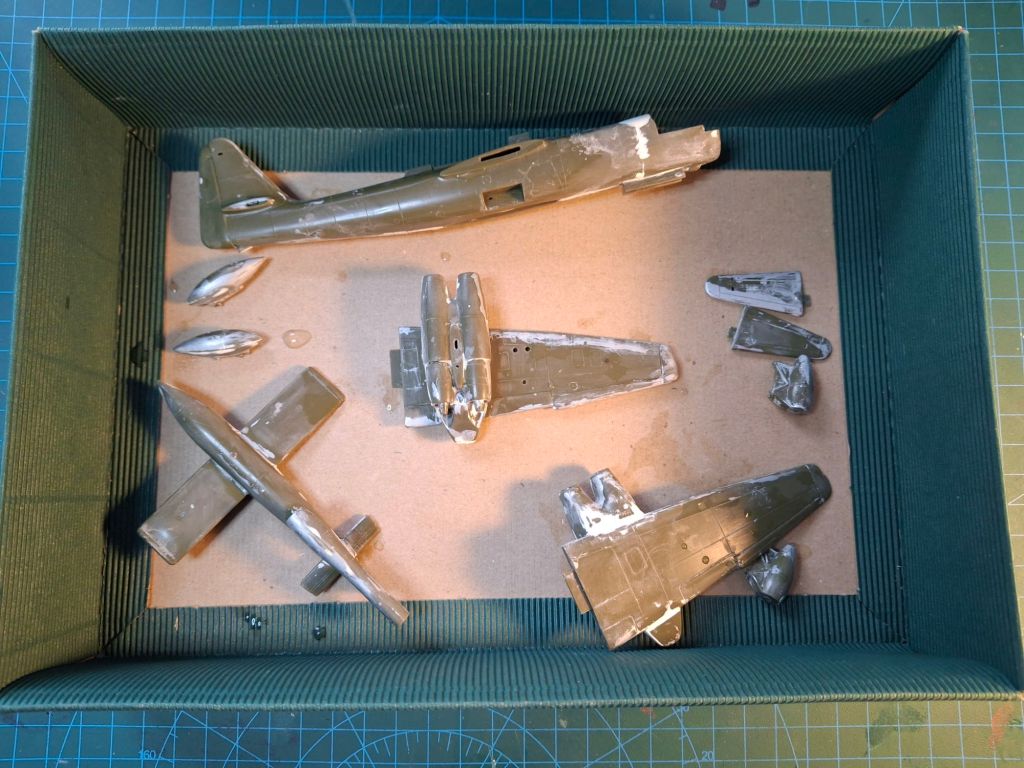
Next up is the Revell reboxing of the old Frog Arado 234 kit from the 1970s.This is a blast from my youth that I had built. As a teenager I built it in the basic version but not with V1 on the top.

Yeah basically it’s a dog of a kit that manages to make the Dragon version look acceptable. Detail is pretty crude especially in the cockpit, u/c and the elevator balances. And of course the sink hole on one side of the tail. I particularly remember the cockpit to fuselage joint being a pain. I recall using sprue goo that was my filler of choice at the time, now it’s Milliput.

Collected from a model show swap meet years ago and started.

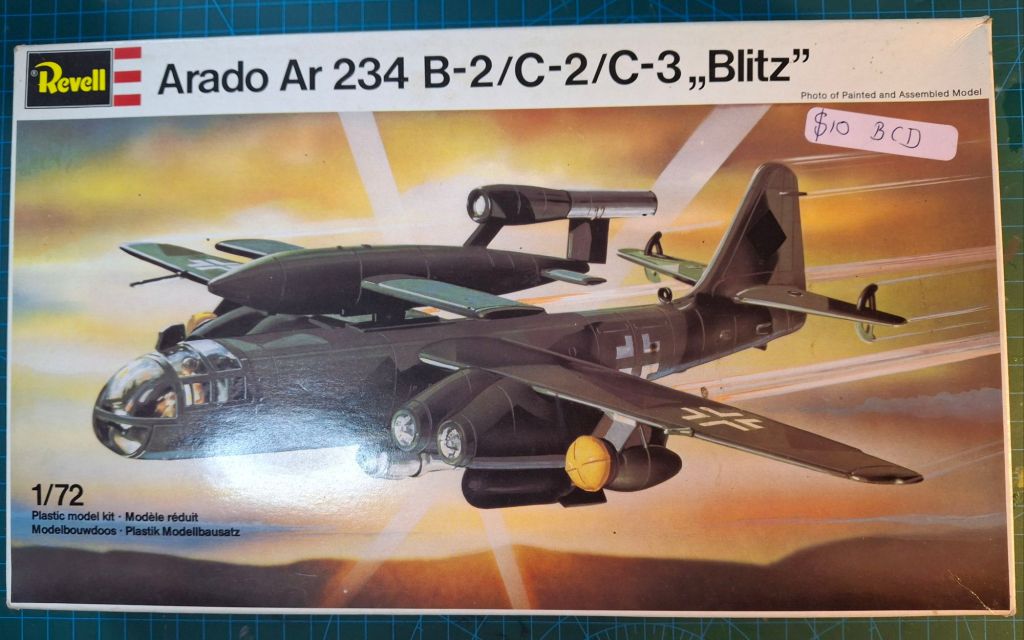
As I used to hang my models on fishing line from my ceiling all kits were wheels up which given the crude nature of the U/C was a good choice.

Some assembly had been done on this kit by me but I’d obviously got sick of how crude it was. I will be bringing it all together over the next while, but  I’m not looking to polish the turd too much.

The downside of looking through all these old part done kits is that some kits just no longer spark any joy! The Planet Models resin He P1073 kit is now in the bin, there are many other kits that are more worthy of my time. 

After more cleanup assembly is going forward

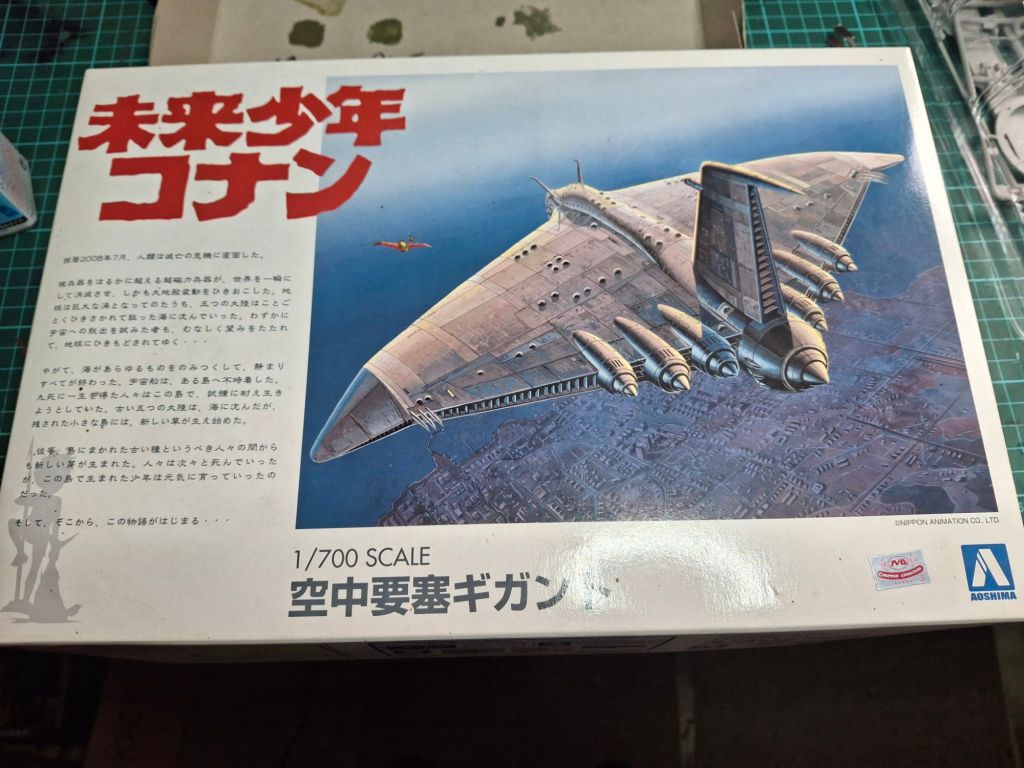
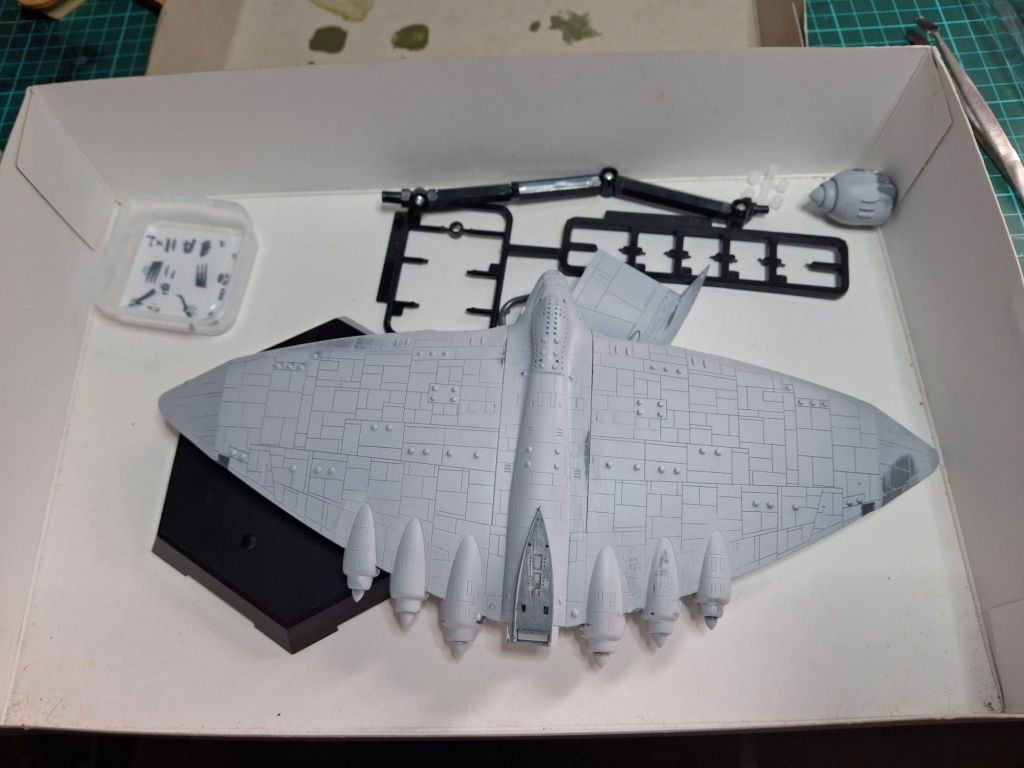
And lastly I found an imaginary kits site on Facebook so here are a few favourites

Summer time blues

Leave a comment

It’s been too hot and moist the last week or so. Whilst most of my modelling is done in my new indoor room any airbrushing is consigned to the garage.

This means the weather needs to be a little milder before I can get stuck in favouring Autumn and Spring.

In the meantime I have been going through my boxes of Doom. In my last blog I’d rejected one railcar kit but I’ve now rejected the other one too. I think this is scale issue. In 1.72 the plastic is not strong enough to deal with all the fiddling neccessary to get six wheeled bogies lined up. Everything gets bent out of shape and is just too frustrating. This was a double kit box so the untouched kit will be sold.

The extra strength and size favours doing this in 1.35 sometime.

Next up was the Dragon Helldiver, now part of the pooch screwing here was my fault but basically it is not well designed if you want to have the cockpit and gun position open as was often done with this plane. If I see the Academy one I will give it a go. Again I just can’t be bothered so parts were stripped and the remainder is another paint mule.

So next up is this 1/700 Bandai Anime kit from Future Boy Conan. I bought it because I liked the shape and didn’t mind the movie. Initial thoughts were to Germanify it in a Luftwaffe bomber scheme. I got it out and fixed a couple of bits and then was about to reapply some primer. The more I looked at it the more I realised I had no further interest in this kit. It’s back in the box but I think it’s going to Melbourne with a $1 sticker on it to give it away!

And lastly today I had a look at my Hase Shinden that I was Germanifying with X-4s and a Luftwaffe Fw190 camo scheme.

This one is a bit different, it just needs a few things done. I need to do the 5% things before painting. I often don’t test fit my undercarriage and other bits like guns,  wheels, cockpits etc so this time I’m getting all those done in the next few days. After that it will go back in the box but it will be in my painting pile.

Love a Wurzberg

And this time like the other tanks etc already there I will know it’s truly ready to be finished.

Life’s too short for bad wine and shitty kits

Leave a comment

As I’m not going to live to 200 which is what I probably need to finish all my kits I have become a bit more fussy about the kits I build.

Which brings me to todays’ kit. Modelcollect do a 1/72 plastic German railcar. I’d previously had a go at this kit and ran into problems. Hence it was in one of my Boxes of Doom. Actually the first of these.

So I got this out to reassess it. And very quickly it becomes apparent why it was set aside. Modelcollect have a tendency to do in 1/72 what Miniart does in 1/35. Namely if one part would suffice why not divide it up into three parts and make everything harder for the modeller.

And that’s what they’ve done so it’s more like herding cats than modelling. So after trying for an hour I’ve given up. I will strip out a few useful parts and save the box but the rest is bound for the bin.  

Particularly compare stages two and three of the instructions to the  kit below.

In the same Box of Shame ( one of seven) is a comparable kit from T-model of the same wagon. Better instructions and fewer parts with metal wheels and a nice paper wood strip to put on top along with lots of brass this is a much better kit than Modelcollect’s effort.

More later on how I make out this kit which has two wagons able to be built from it. I’m sure it was much more expensive but worth it.

And here is the instructions for a comparison.
Just not as many parts to line up with the wheels as a separate stage  not part of needing octopus arms to assemble !

Well that’s one done

Leave a comment

A few days ago I finished my first kit for the year. Now this is not my usual fare. It’s laser cut wood with over 300 parts over eight frets. This has been overall a fun kit with some fit issues. I made one mistake that I repaired with Milliput so that’s a very typical kit for me.

The kit is a marble run that works by cranking a handle and runs through a few cycles to add2 interest. It’s fun cranking the handle and watching people’s faces as it cycles through.

Not my usual fare but good fun as a pallette cleanser and now I’ve finished my first kit for the year. I’m still yet to start practicing my airbrushing but I need cooler weather as it is in my garage.

Nearly finished at this point but a different view.