This is a reference for older Australians. I went out today and arrived home to find the Ta 183 in two pieces. Seems the cleaner vacuumed my room and knocked the kit to the floor. I spent an hour trying to get it fixed up and started assembly at the nose.
Seems that it was weakened by the fall because a piece of plastic just popped up from the middle of the fuselage leaving a big hole. As repairs would be very problematic at best it with very little grab area left it headed off to the bin.
A very frustrating and wholly preventable experience. I’ve cleaned my desk and will take a few days break. I will not be letting this happen again! Sigh!
Just a quick update on this. I’m still yet to join the fuselage halves as I’m working on fit issues at the nose due to the new resin nose intake from Quikboost. I’m sure it’s probably more a me issue although having to add extra weight to cover off the resin exhaust weight hasn’t helped.
I was going to put in new wingtip lights but after carving out one side it just looked too big to me, even in 1.48. So instead I’ve filled it all in and decided on a new course. I’m thinking that if this did make it into production that simplification imperatives would have led to Focke Wulf just recycling the FW190 wingtip lights rather than something so large so I’m going with that.
Another new thing was trying out the Mr Putty white putty. This is quite a curious product that goes on like a white version of the more usual hand made putty from sprue and glue. It definitely needs a reasonable drying time but is a good half way point between the Vallejo plastic putty and Milliput in terms of hardness and sticking power. I used this on the X-4s which famously for some reason have flat spots on the body between the fins. They’ve now had a spray with the last of my Tamiya grey primer so I’m off next week to Hobbyco to get more.
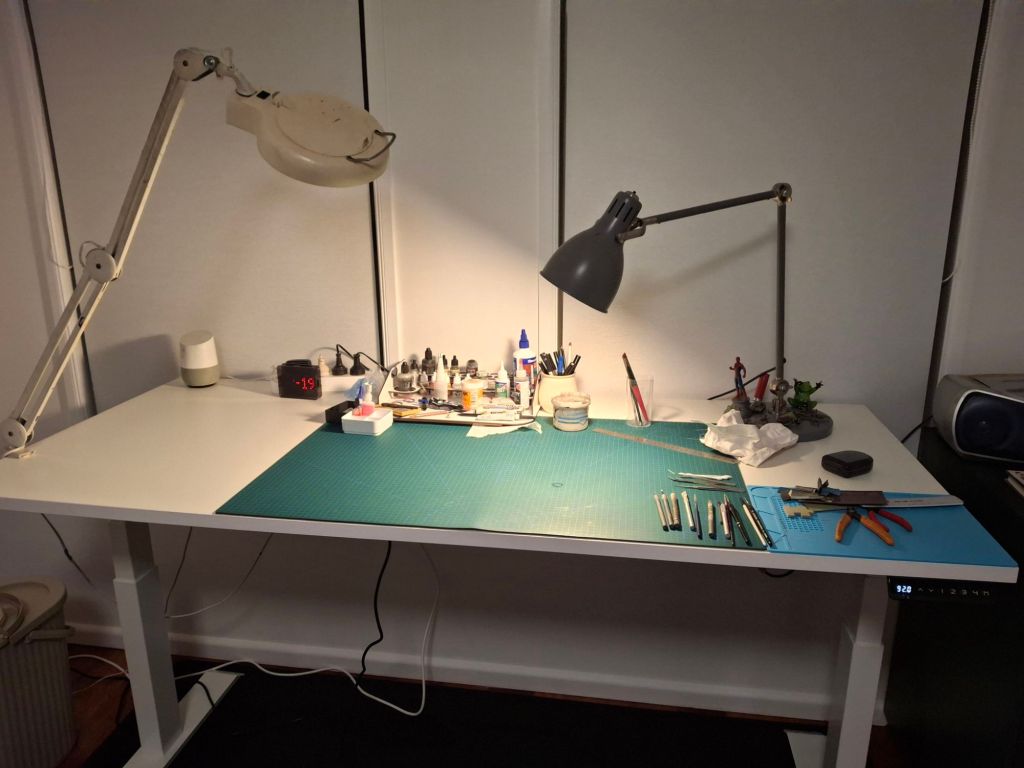
Top left in this photo is a parts tray from IKEA in a nice heavy plastic which is really doing the job well
I’m now in my new model room. This is across the hall from my garage, my old modelling room. I’m still taking the occasional item from the old room especially as my paints are still stored there. Additionally I’m using it to do any gluing with Tamiya Thin to keep the smell out of my new room.
Importantly I now have air-conditioning and a sparse but focused room now. I’m no longer sharing my space with storage, gardening tools, fridges etc.
So let’s start off with a quick tour.
As you enter on the left is a wall with framed drawings of the Dornier 335 by Alan Bentley. I actually had these as blueprints in a larger format way back in the late 70s but not as well presented and when I moved out of home these stayed behind.
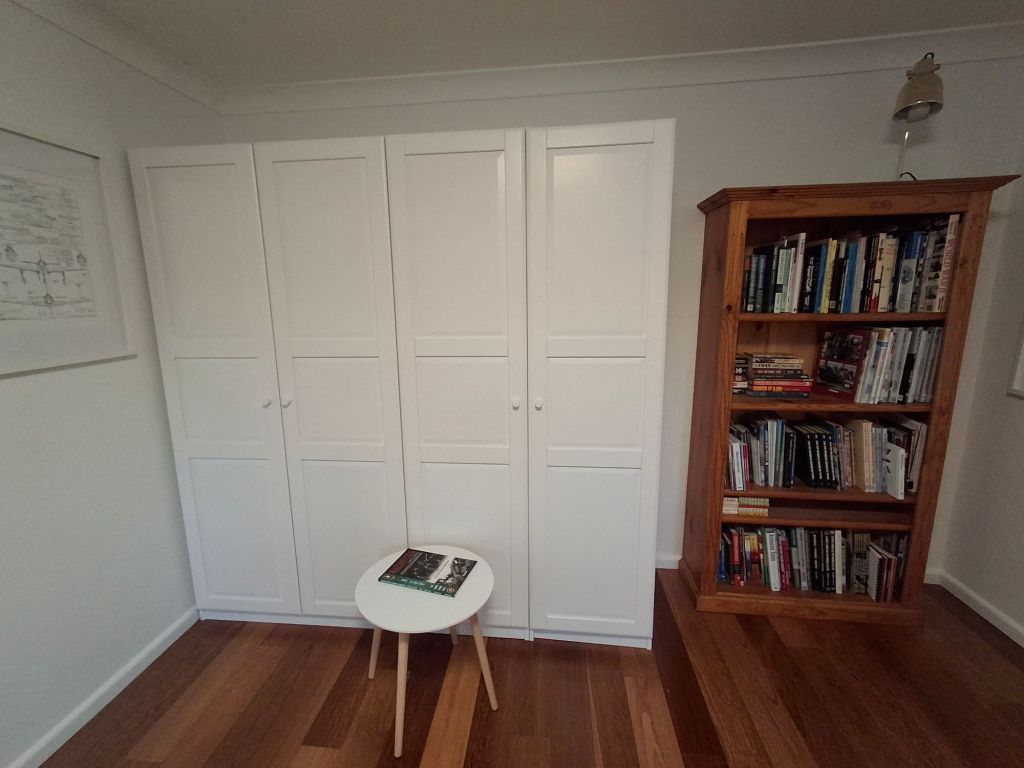
Going round to the right you come to the back wall and this is where the four IKEA cupboards assembled by my eldest son are as well as bookshelves on the right.
Close up of the Do335 printsAs you can see above nearly all of my unstarted model kits are stored in archive boxes as well as some books including a shelf of modelling related books with thise on the bottom right being various unread military books.
Going around to the right we come to more framed prints being Hs 129 on top and the R4M rocket on the bottom.
Close up of the R4M Panzerblitz
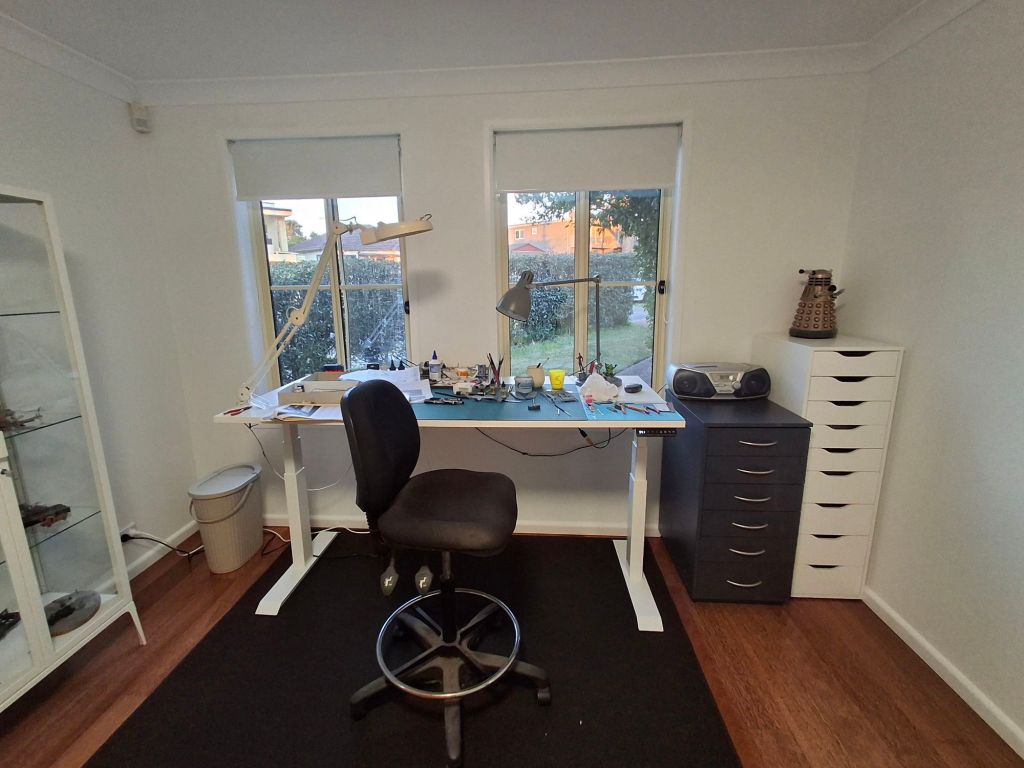
After that are my three IKEA display shelves.
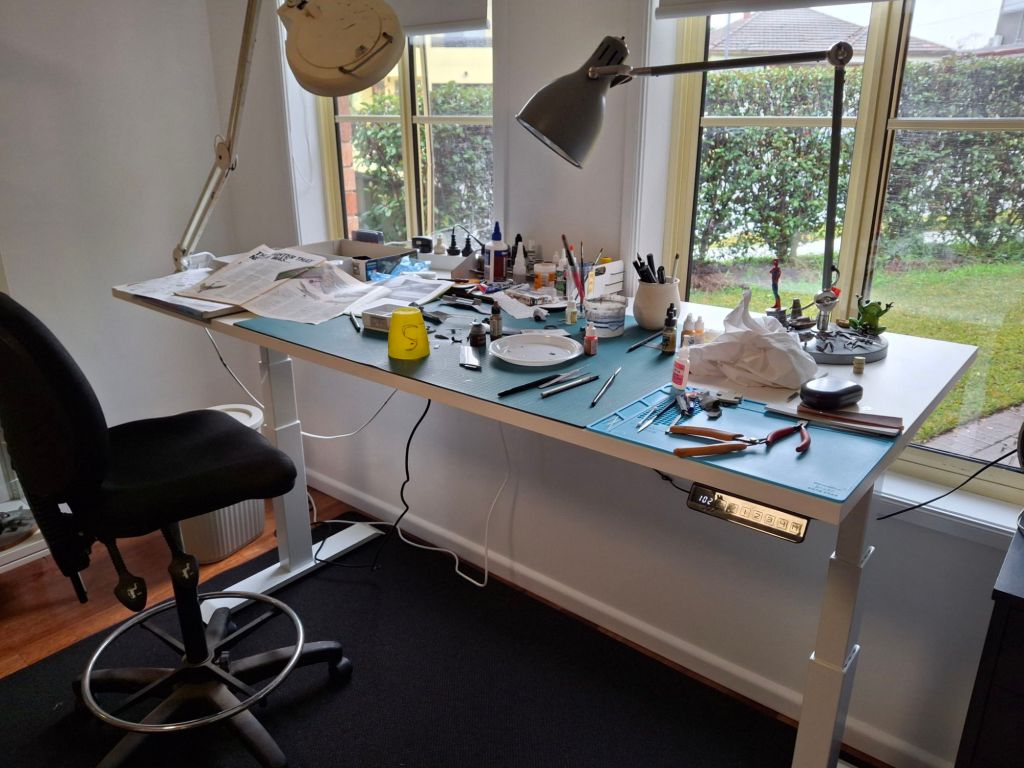
Finally we come to the front of the room with two windows and a sit to stand desk which was again sourced by my eldest.
On the right is my older grey set of drawers from the garage and a new Ikea set of drawers.My desk has returned to my normal level of mess but somehow feels tidier as everything seems more accessible, it just feels more comfortable with less distractions.
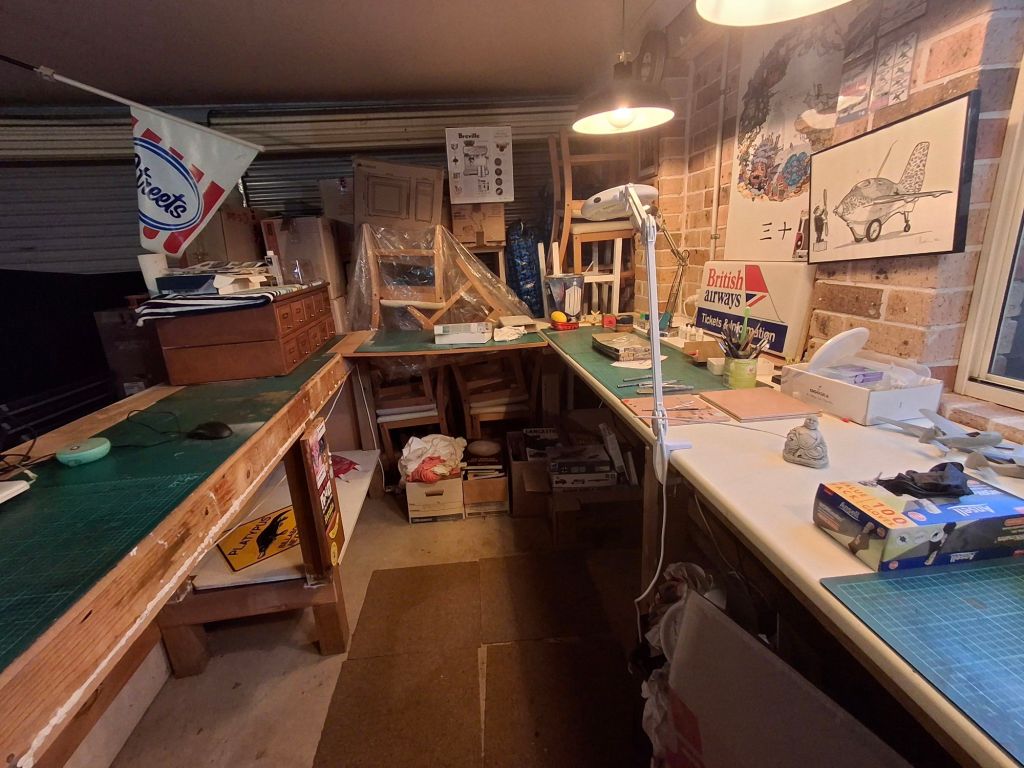
And lastly here is the garage desk. I’ve got two nearly finished kits out there that I hope to work on their painting in the future.
This is the Arba conversion for the Me262 purpose built bomber.