Well that was inevitable it seems

Leave a comment

Apart from the relatively crude moulding the LiP13 kit from PM suffers from a pretty shitty canopy.

Firstly it does not fit very well which I have been slowly addressing and secondly the mould attachment points are overlarge and impinge into the canopy area.

I had tried to fix this with a fun afternoon of sanding the canopy with toothpaste but due to the cheap brittle plastic they used this resulted in some stress lines in the glass and very little visible difference in the obvious attachment points.

So somewhat inevitably the only solution left is to vacform a new canopy. I have done this before but not for many years and of course in the post Xmas clean up I have of course thrown out the couple of sheets I was keeping just in case.

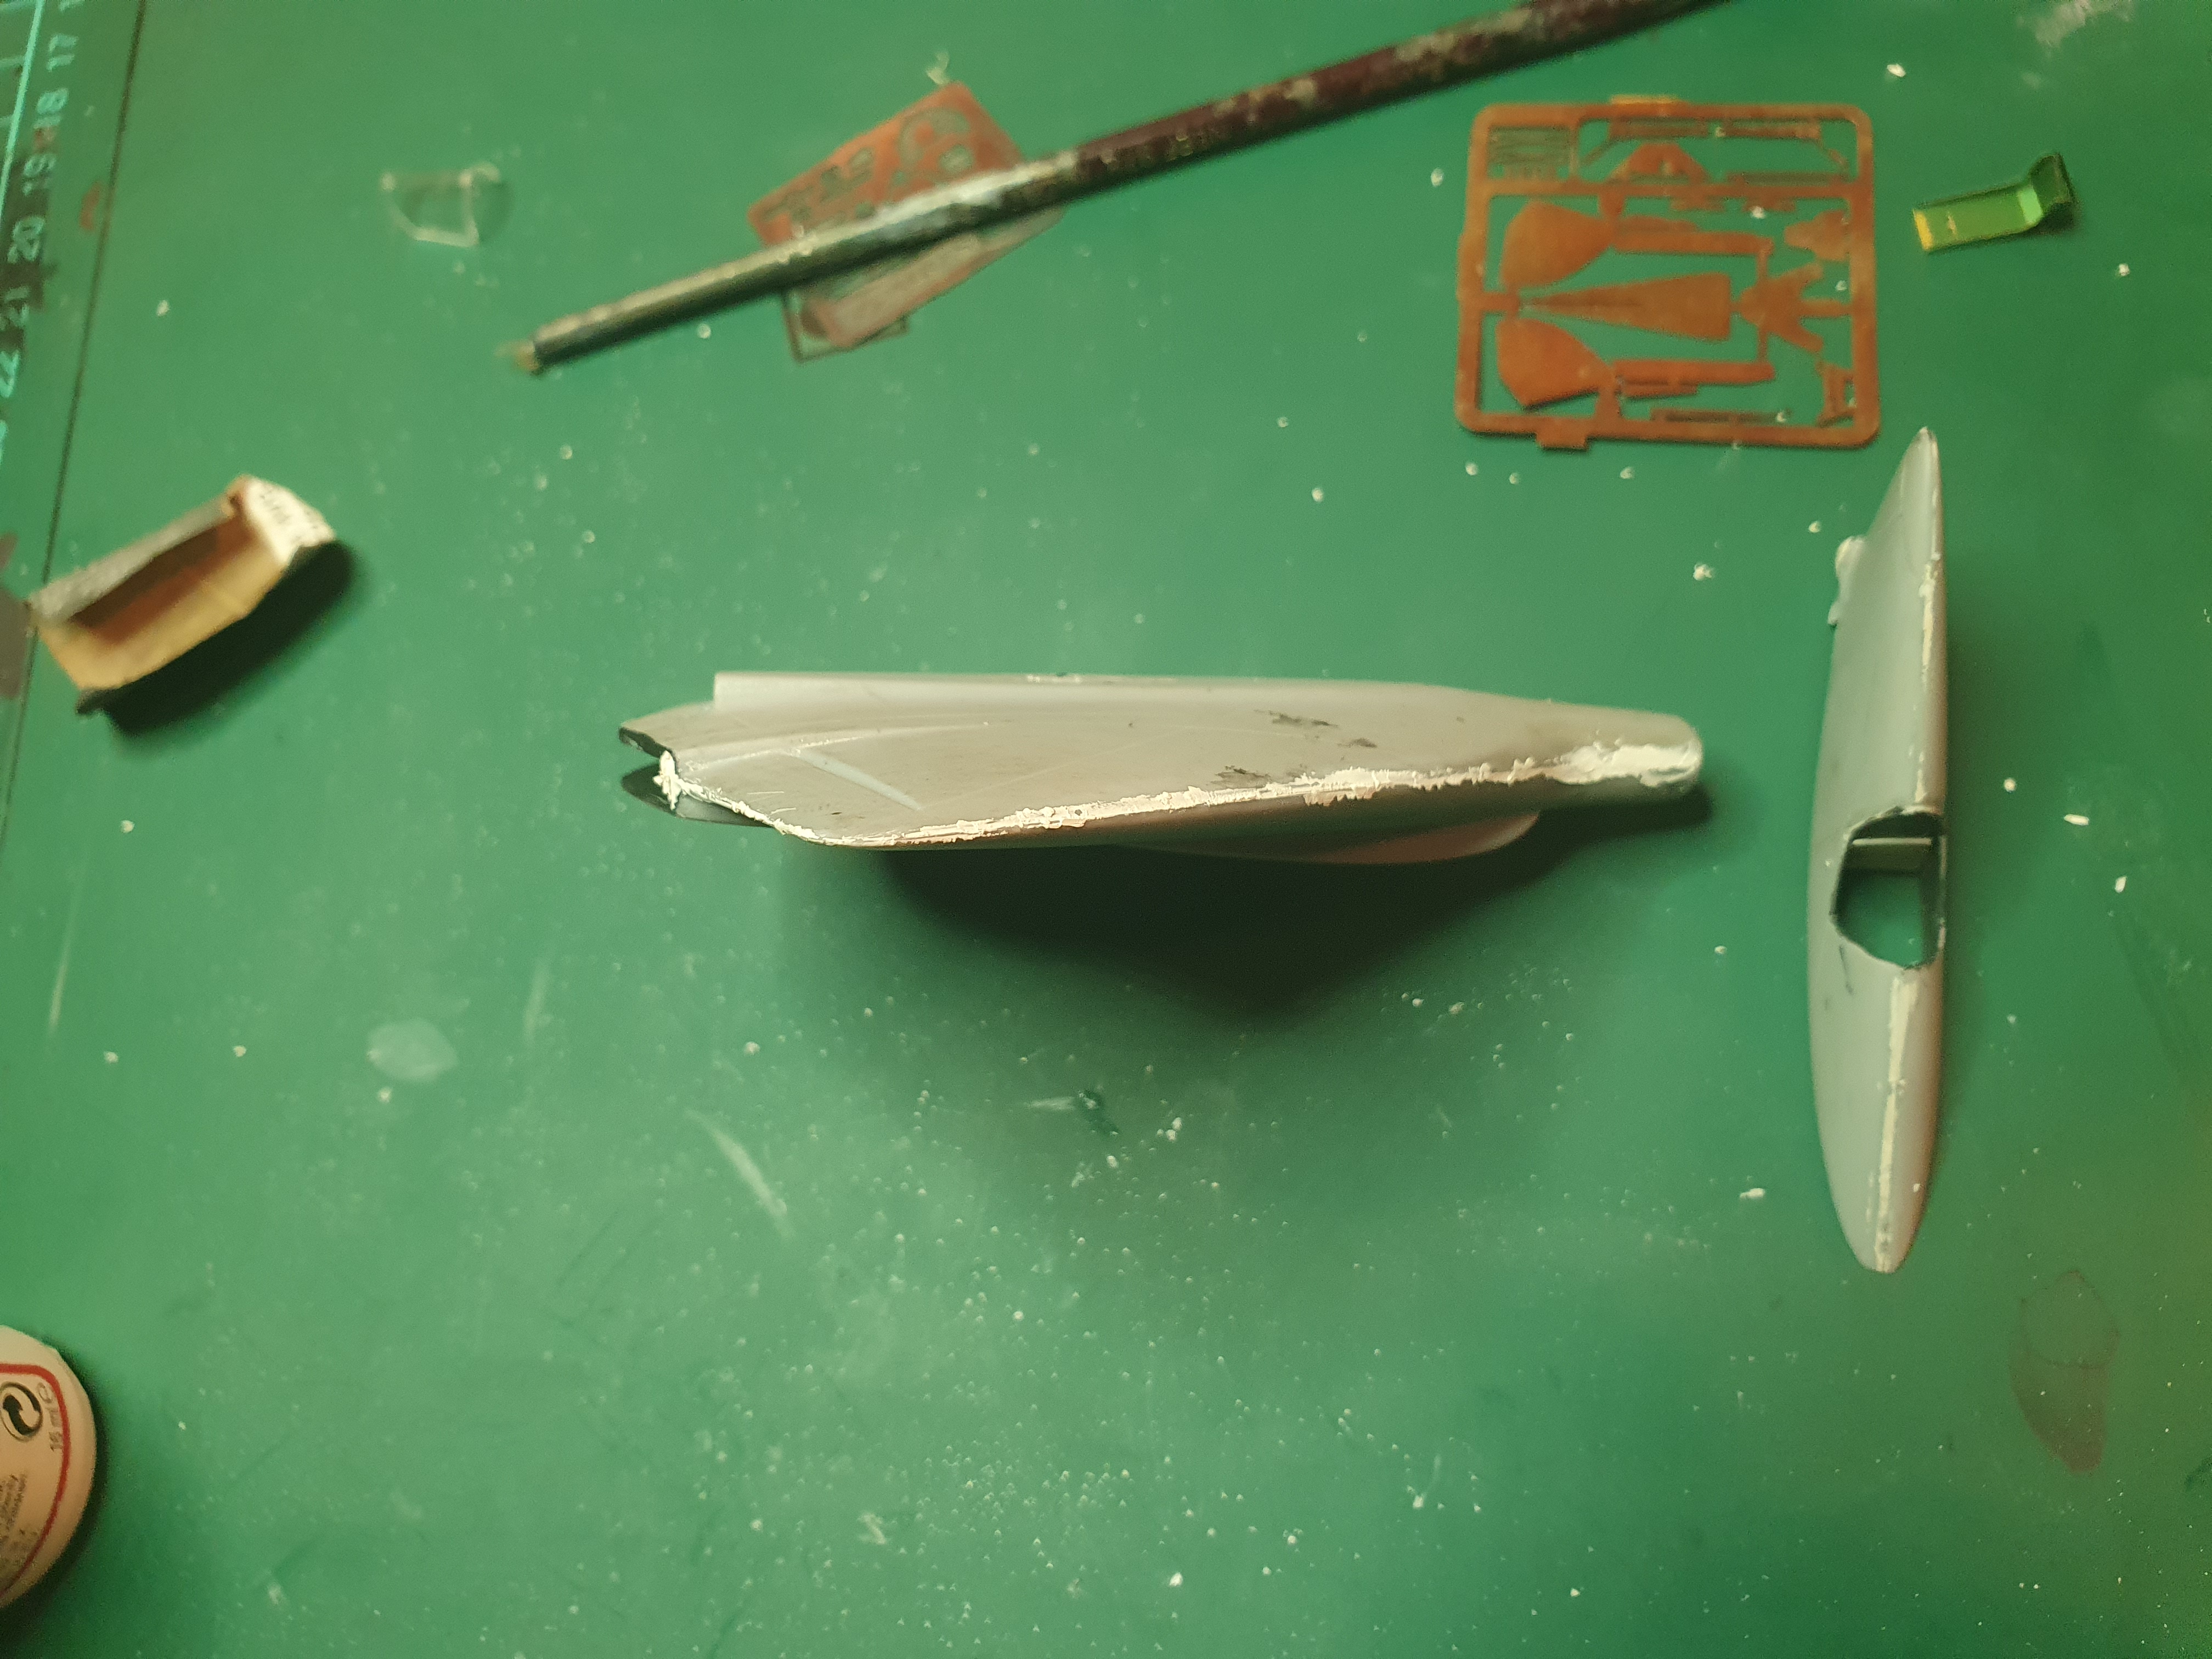
The white blob at the front left is the canopy filled with Milliput !

Li P13 PSR stage achievement unlocked

Leave a comment

Did a bit more yesterday. I’ve got the two body halves joined and Milliputed now.

I’ve also started some work on the cockpit by thinning the sidewalls and adding in a backplate for the seat. I’ve also added in a rocket engine at the back of the tail in metal tube. I had to break out the faux Dremel for the first time in years to carve out this hole as the Dremel drills were too large. Surprisingly it still works.

Day 4 Lippisch P13

Leave a comment

More work over the last two days. I was going to do the rear exhaust area in Milliput but have now switched to plastic card.

Putting the plastic card at the cockpit rear has incidentally improved the canopy fit in at least one dimension of the three.

I’ve also quickly assembled a German etch brass seat that fits in now. I’m going to thin the cockpit walls a little so I can fit in some instrument panels along the side. Not joining the fin in yet is allowing me work in the cockpit area at least.

Day 2 Li P13

Leave a comment

Some changes after a fair bit of modelling. I’ve put the kit trolley back in the spares box and dug out the trolley for the Ar E377 from the Dragon.

As I’ve already done most of the filling and sanding already this seems the better option. Again this was from the spares box.

Note the blocking plate is now in the bottom section. I’ve also found a drawing for the cockpit as a side view so will be using that for detailing purposes. The square of plastic at the front is now in as a backing plate to start boxing in the cockpit.

The to Paint list

Leave a comment

see below

New Year,  a new (old) model

Leave a comment

Last year was disappointing for the known reasons and I didn’t get any models finished but I now have a pile of 9 ready to paint kits.

I’m going to do some more airbrush practice on Wednesday so maybe I will be able do some real painting this month.

In the meantime I  have dug out the PM Lippisch P13a kit. It’s a reasonably well known kit but not necessarily in a good way. It’s a simple kit in terms of parts count but otherwise has lots of fit issues and parts that are just too simple in their detail level.

There is a good review on Modelling Madness which summarises the issues well – canopy does not fit and the cockpit needs better details, intake needs  replacement with a metal tube as does the rocket at the rear, a blanking plate in the middle, the trolley wheels are too simple and shitty decals.

As I go along you’ll see what I have done.

This was after I sanded off the pebbly surface and removed the location tabs

Intake in after some Dremeling (RHS) and lots of Milliput .I’m going to keep the fin portion apart for a while until I fix up the cockpit and canopy area and then fit it.

I did find two diagrams of roughly what the cockpit area should look like at least.

The pilot sits up surprisingly high according to these diagrams.