Been away last weekend picking up some kits mainly being the Special Hobby He 162. I’ve forged on with more work on the DAS Werk MaschineKannon including lots of moulding pins
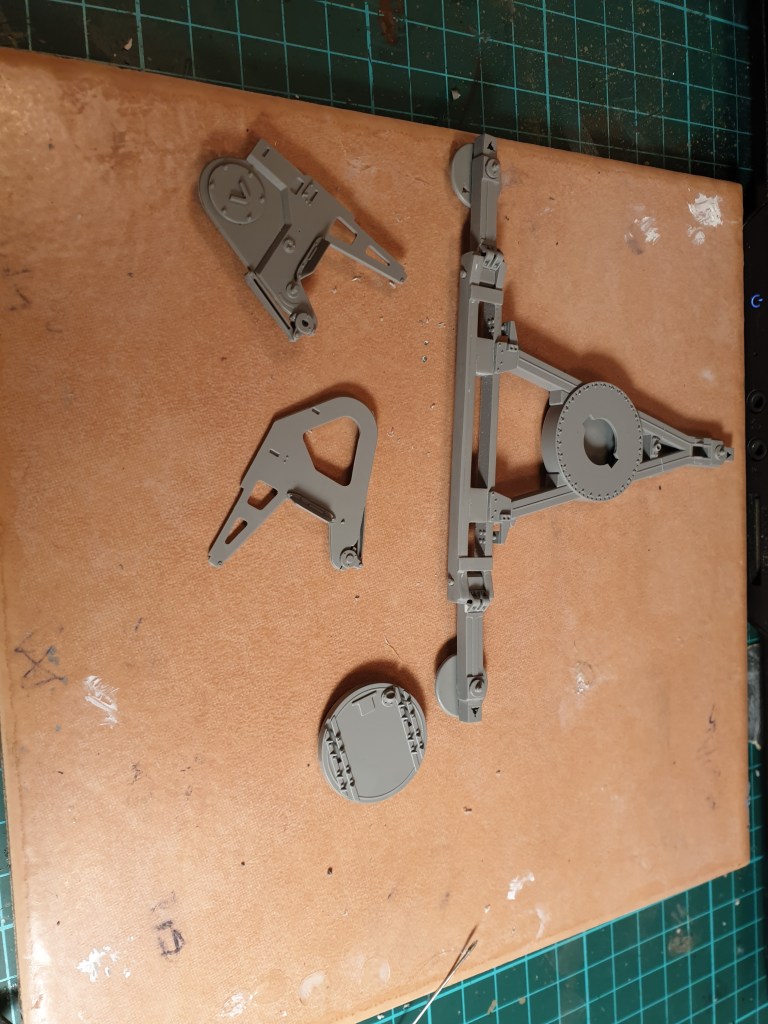

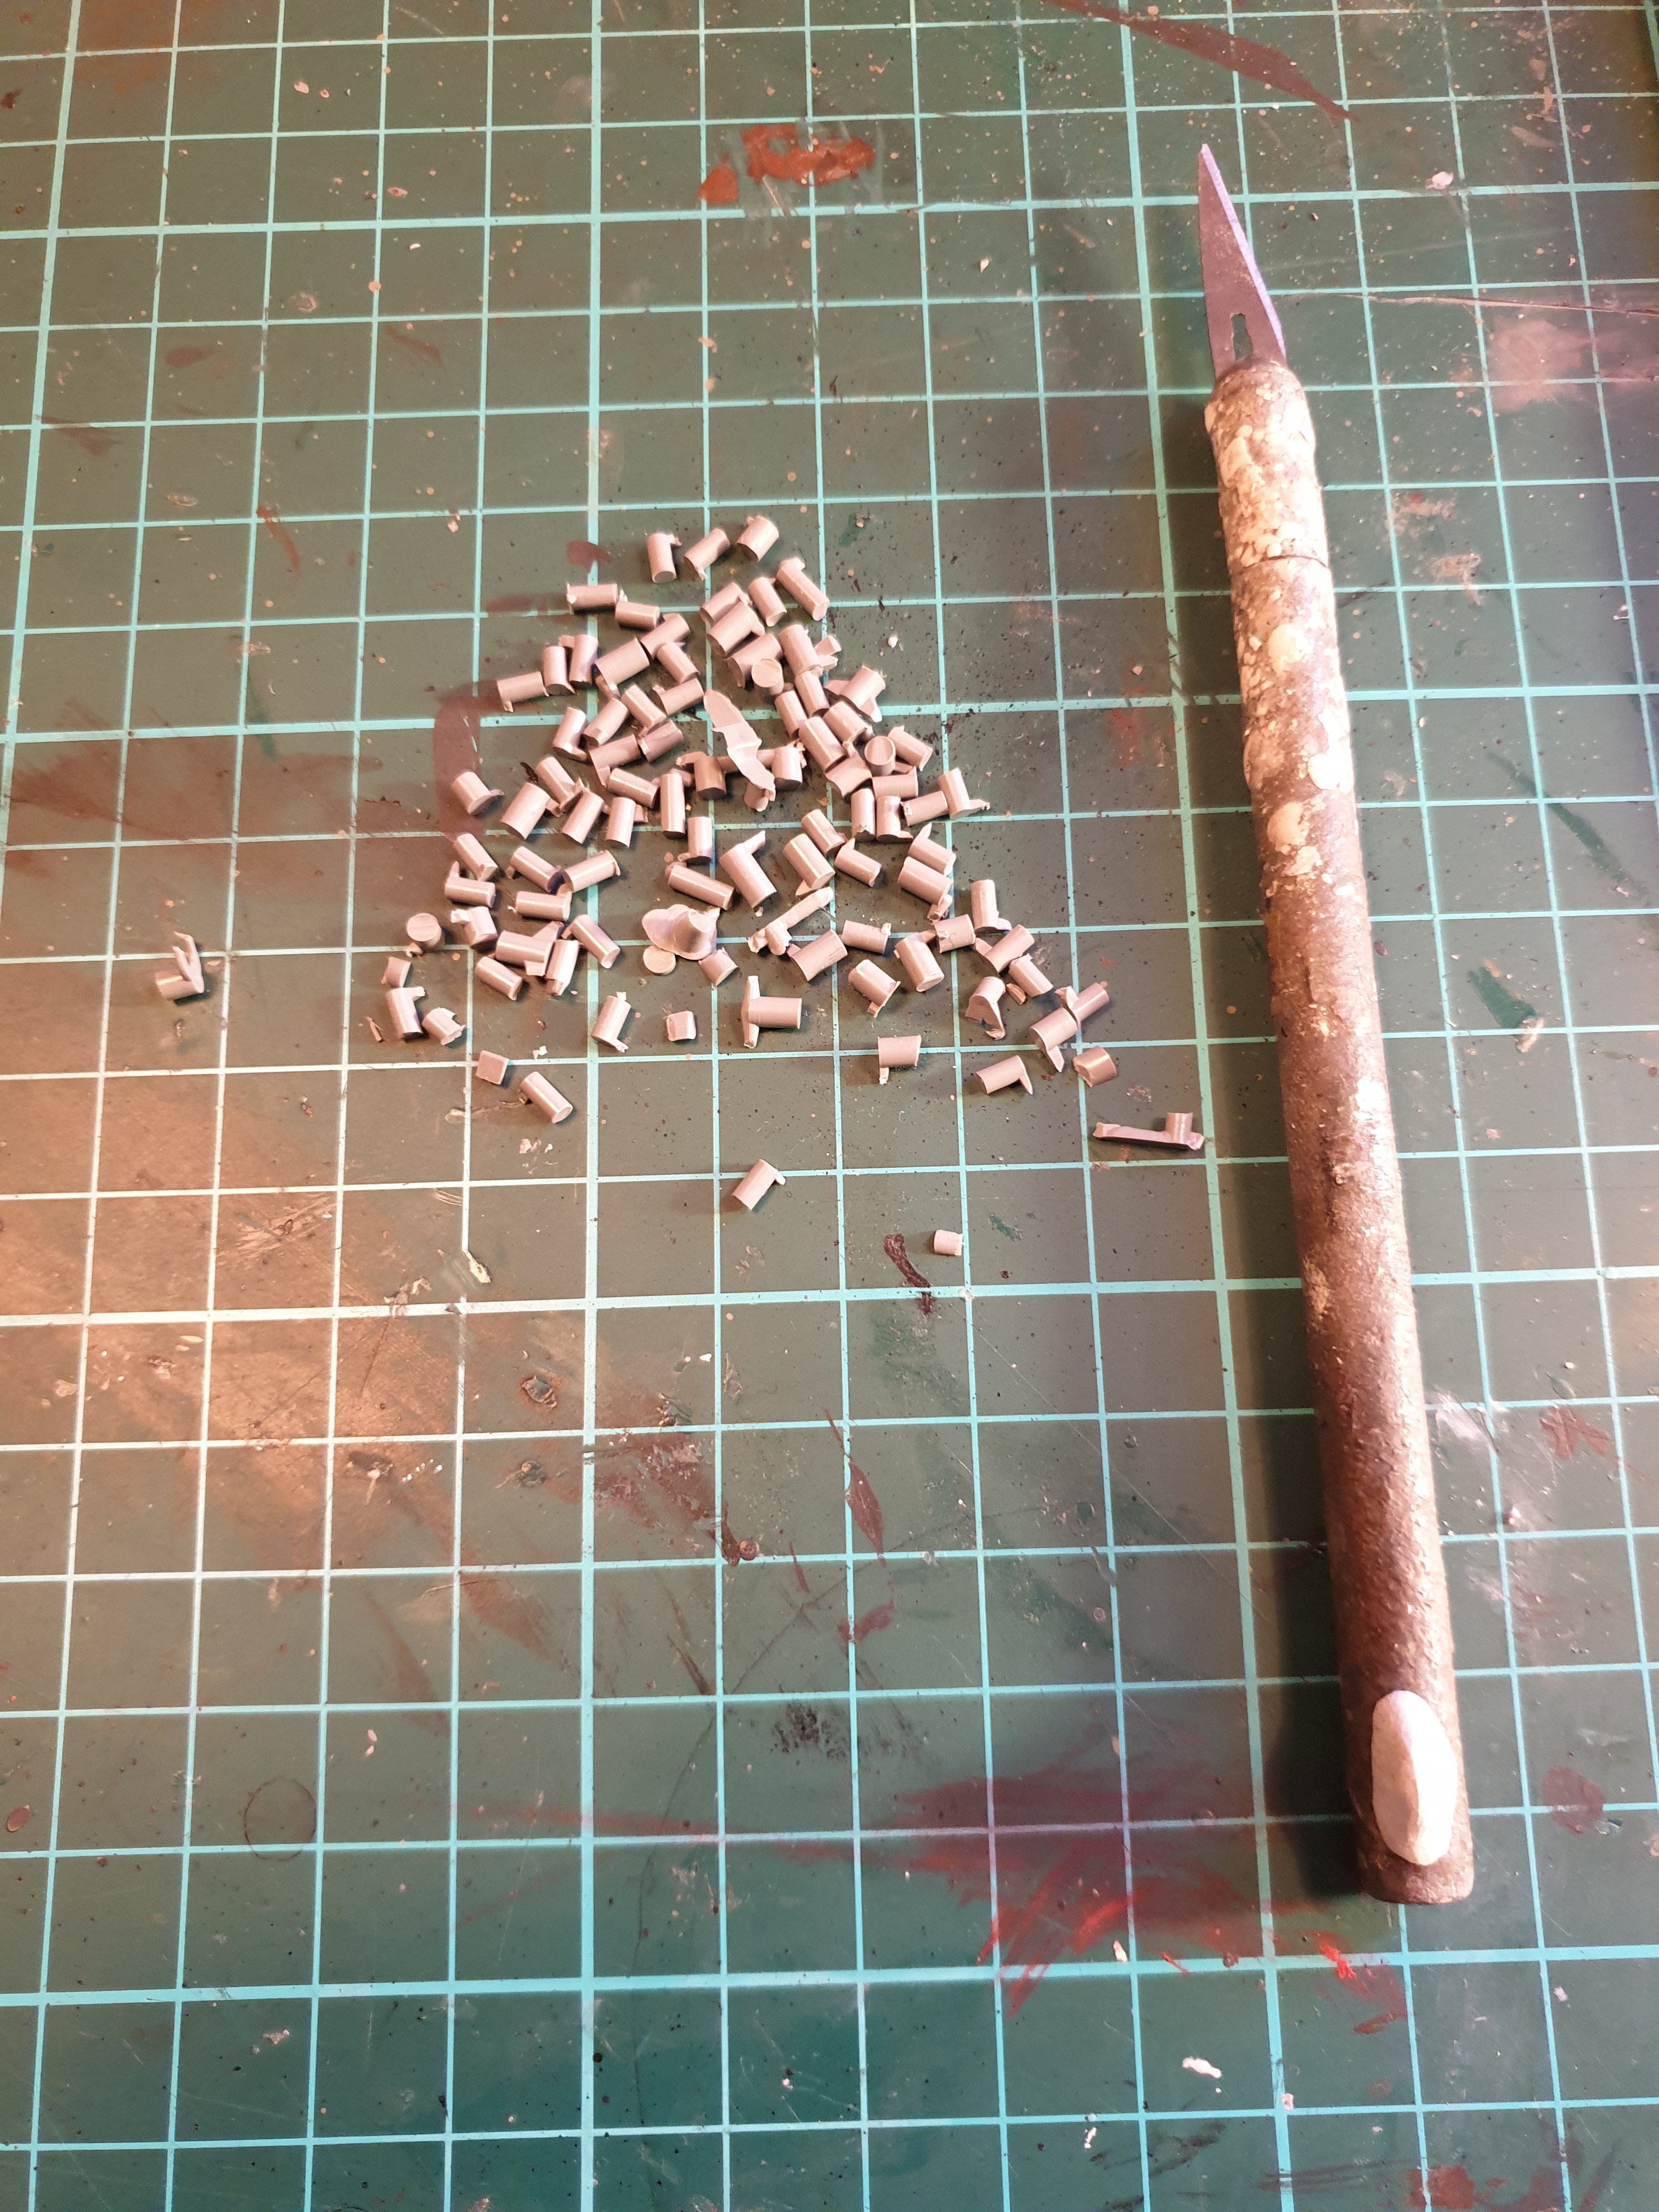
Current state of play More on the AA cannon
June 27, 2020
luft46 Uncategorized 1 Comment
Been away last weekend picking up some kits mainly being the Special Hobby He 162. I’ve forged on with more work on the DAS Werk MaschineKannon including lots of moulding pins

Jun 27, 2020 @ 16:47:40
I have my SH He 162 progressing nicely, tonight the fuse halves are starting to be glued (only the nose at this stage). Here are a few observations about the kit:
I think the front wheel bay (C7) is too wide, the rudder pedals seem too far apart – like riding a fat horse? If I was going to do it again I’d aggressively sand down the sides and knock a millimeter off the width of this part. But in RLM66 and no weathering/silvering on the rudder pedals (so they stay hidden) the stock arrangement is OK.
I cheated and used some black decal (from the kit’s own swastikas) to simulate the window in the nose wheel well.
Part A4 and the UC bay parts (A3 A10 A11) all could benefit from having their edges sanded down, the tolerances on this kit are very tight and even leaving the tiniest bit of mold seam will prevent the fuse from mating properly. Same goes for paint buildup in these areas – keep it out of the cockpit bulkhead slot and scrape it away from the inside gearbay walls. Having said all that, I can tell I will still have a narrow gap behind the gear door apertures on the belly.
Cockpit decal went on perfectly and matched the molded instrument rings nicely. I pre-assembled step 3 and 4 (and re-inforced with a blob of sprue goo) before inserting in the fuse half – and left out the seat and stick for fitting later.
Above and forward of the nosewheel well (C7) there is some space for about two small split shot sinkers (suitably crushed and/or cut up to fit). I have left off the gunbay doors (B5 B6) so if extra weight is required it can be glued on to the rear of the cockpit bulkhead (A4).
One of the sprue gates on the canopy (D3) is in a ridiculous position – between the two hinge tab things. Some patient sanding with a narrow metal file was required to clean this up while leaving the hinge tabs intact. This is probably the biggest boo-boo in this kit’s engineering.
Engine turbine (A8) is both way too thick (front to back) and slightly too large in diameter to fit into the slot inside the engine halves. In my case, the top seam on the engine nacelle needed a modest amount of filler due to a tiny step.
Wings went together well, the lower insert fits very well but there is a tiny gap on the leading edge needing a smear of filler. Don’t sand off the stall strips on the leading edge near the wing root.
I haven’t assembled them yet, but the mainwheels are intended to attach to the legs via a tiny molded plastic pin – I’m not sure this will be strong enough, I might drill and pin a tiny bit of brass for this.
To get the gear legs into the sockets (dryfitting), the mold seams on the mounting tabs on the gear legs needed cleaning up, resulting in the splay angle of the gear legs not being very precise, some fiddling at the glue stage will be required to get the right leg angles. External references will be required for this.
Anyway, hope this helps, I’ll update you on anything else I find.