That moment….

Leave a comment

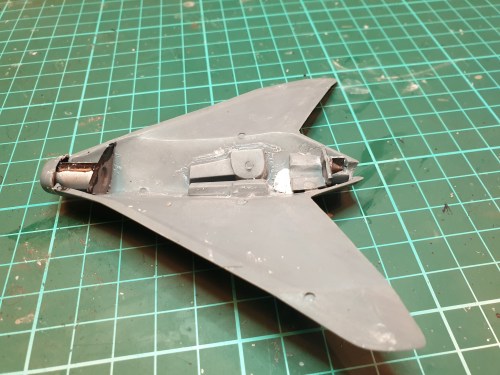
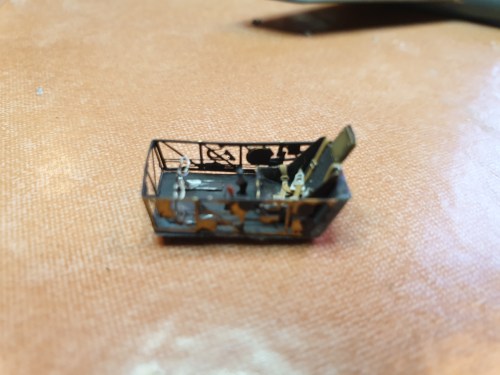
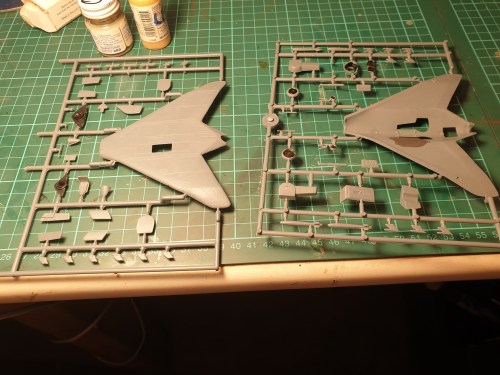
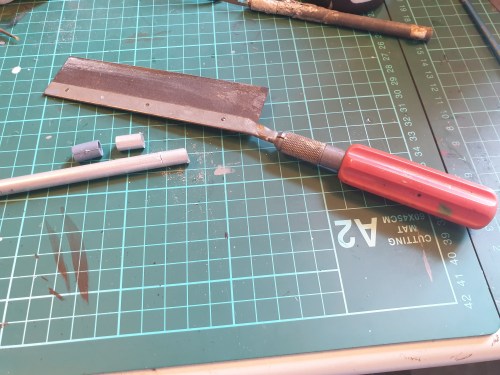
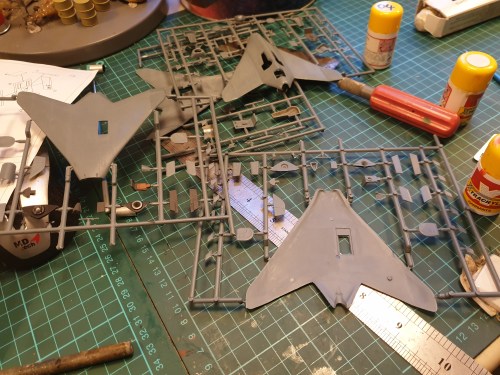
when you have spent hours trying to get the cockpit and exhaust to fit properly on a plastic kit and decide you can’t face doing it a second time.

You then dig out the resin kit done years before by the same manufacturer and realise that they have straight out copied from their earlier resin kit but worse the cockpit and exhaust areas were handled better in the original. So now for the day fighter version I will be doing the resin version and where appropriate I may use some of the plastic kit parts.

Definitely Limited Run

Leave a comment

By this stage I am convinced the Ae607 kit from RS Models is definitely limited run. Why …well a number of things. The cockpit assembles adequately until you get to the seat. This is overly large and when fitted will not fit under the canopy. I replaced this with a Eduard German seat and Airwaves seatbelts.The real shocker is the exhaust. This is just plain too big. I’m still fettling it and there is more to come. For the second one I think I will use some plastic tube and the engine rear only. The mounting plate it is on is useless.On the DBF front it now has primer on which isn’t too bad considering not a lot of modelling was done.

Progress report or the PSR report

2 Comments

Some photos of all kits under construction. The DBF is nearly ready to prime except I snapped off a tailplane during the PSR cycle so it will be Milliputed tonight when the garage finally cools down from the peak of around 37C.

The 607 NF is also up to its next PSR stage but I want to fit the exhaust and then putty. The area around the cockpit coaming with Milliput on it is a self inflicted error with overdoing the Tamiya glue causing the plastic to be eaten away, should have used superglue instead?

The 607 day fighter has the etched brass cockpit done and is ready for more work.

Etched brass

1 Comment

Pictured below is my tool kit for etched brass work.

The tools are arranged left to right with the ones on the right being most useful and those on the left being least used and useful. The tile is also essential to cut out the brass on with an ordinary blade.

I forgot to add in a thin steel ruler which would fall around the middle. I know those folding tools on the left were a big craze a few years back but I’ve found them tricky to use precisely myself.

Your mileage or kilometrage may vary. It’s funny but as an Australian the metric system was introduced when I was 11 and I still use both systems in everyday life

BV Ae607 RS Models

Leave a comment

This is one many of us have been waiting forever for. RS did a resin version back in the 90s which was well liked but of course was not bought in huge numbers being resin.

The plastic version was long promised and I had just about given up on seeing it ever given how long it was in their catalogue as coming.

The kit is typical short run and comes in both a day and night fighter version so I bought one of each. The day fighter version will have a detailed cockpit etc from NH and be on its u/c and the night fighter version will be basic detail with 2 added Schrage Musik guns and no X-4’s and in flight mode.

The decals are mostly out of register but otherwise it looks ok.

Preliminary work can be done via lots of painting of interior details. The main body needs a quick sand as the surface is slightly pebbly in feel.

I also replaced the two part engine intake with a small length of brass tube to avoid having to sand the job.

I bought a few paintbrushes as they were 50% off.

Back to basics

Leave a comment

After a bit of an average year for not finishing kits I’ve picked up the FLY 1.144 Daimler Benz Project F.

This is a small simple kit with the instructions on the back of the box and a nice sheet with some suggested colour schemes for Germany, Hungary and Japan.

Assembly is easy but you may need a little filler on various joints if you are like me. The simple canopy is small but will require some fettling to get it to fit.